
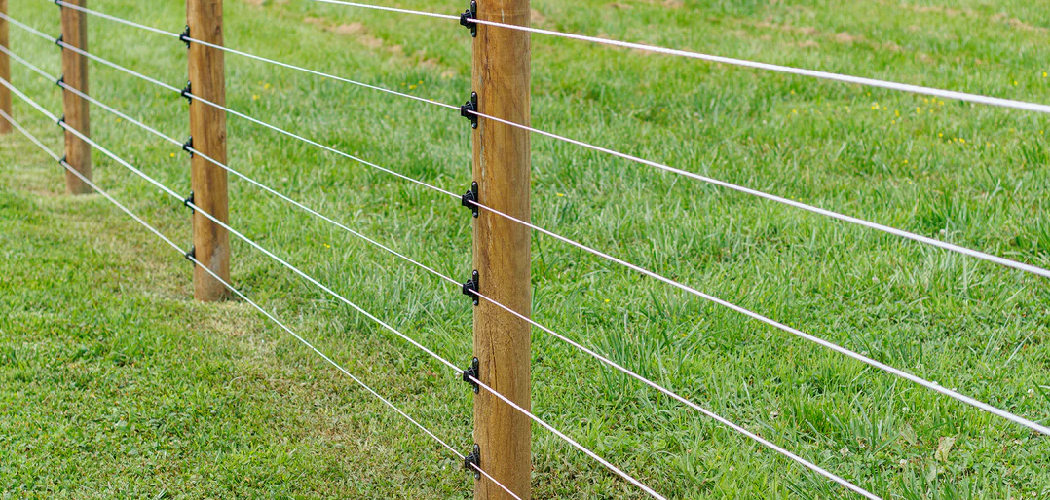
A leaning fence post tells everyone the job was rushed. Posts that shift, rot, or wobble drag down the whole fence line within a season or two. The fix starts at the ground. Set your posts right and the rest of the fence stays straight, tight, and standing for decades. Learning how to set wood fence posts gives you full control over depth, alignment, and the kind of footing that survives wind, frost, and years of weather.
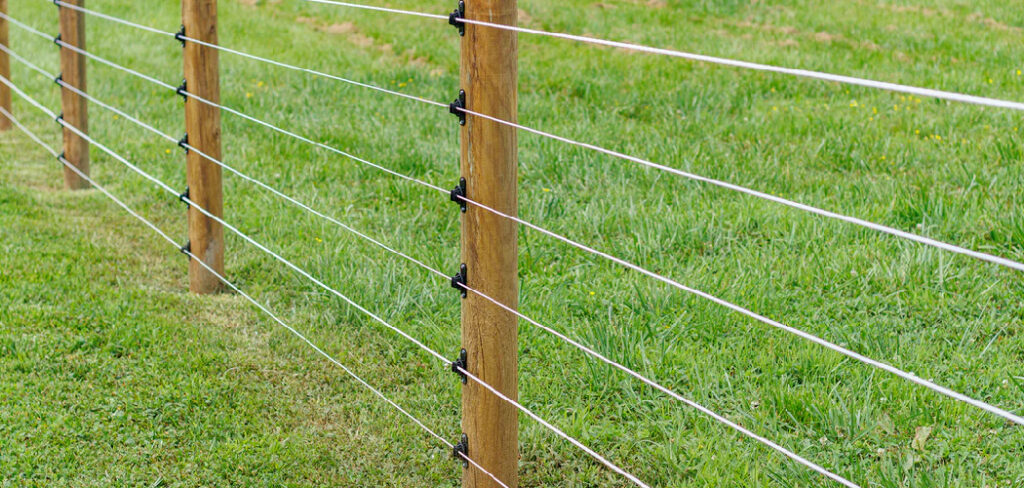
The process is simpler than it looks: dig deep enough, plumb each post, and anchor it with the right material. Whether you’re fencing a backyard, a garden, or a property line, the method holds. This guide walks you through every step, from marking the fence line to backfilling the last post, so your fence stands solid.
Why This Matters
A poorly set post is a problem you pay for twice. First with wasted lumber and concrete, then again when you rip it out and start over. Set posts correctly the first time and you skip both costs.
Hiring a crew to install a fence runs into thousands. Doing it yourself drops that cost to materials alone, and the savings grow with every post you set. A standard backyard fence has dozens.
You also dodge the most expensive mistakes — posts too shallow to resist frost heave, or set out of line so the rails won’t reach. Both force a full redo.
The skill builds real confidence. Set one post plumb and solid, and you’ll trust yourself to handle gates, corners, and slopes. A well-anchored post is the foundation every strong fence depends on.
Tools and Materials You’ll Need
Gather everything before the first hole. A complete kit keeps you moving and prevents concrete from setting while you hunt for a tool.
- Dig clean, narrow holes — post hole digger or power auger
- Break through rock and roots — a digging bar
- Set correct depth and spacing — tape measure and marking paint
- Keep every post vertical — a post level or standard bubble level
- Anchor posts firmly — fast-setting concrete mix
- Improve drainage at the base — gravel or crushed stone
- Resist rot and insects — pressure-treated wood posts
- Hold posts steady while curing — scrap lumber for bracing
- Run a straight fence line — mason’s string and stakes
- Speed up the layout (optional) — a laser level for long, level runs
Step-by-Step Guide on How to Set Wood Fence Posts
Step 1 – Mark the Fence Line and Post Spacing
A crooked layout ruins everything downstream. Get the line straight now and every post falls into place.
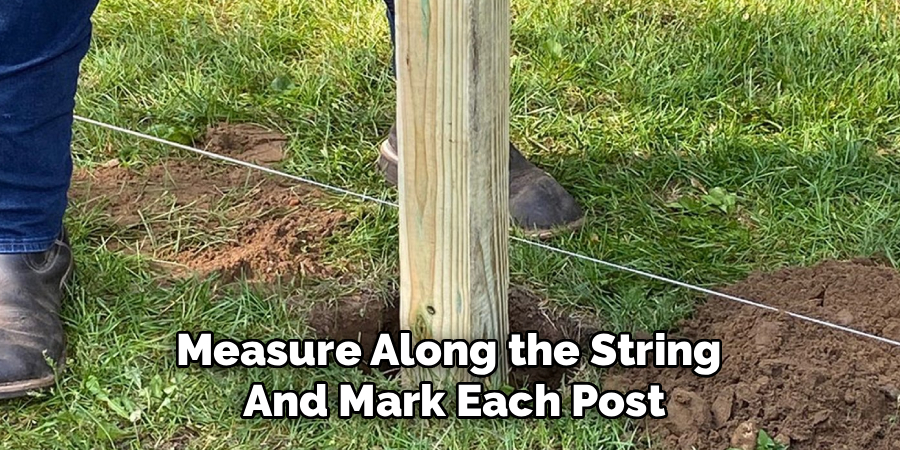
Drive a stake at each end of the fence run. Pull mason’s string tight between them, a few inches above the ground. This string is your guide for the entire line. Sight down it — it should look like one clean, unbroken edge.
Measure along the string and mark each post location with spray paint, usually 6 to 8 feet apart depending on your panels. Keep spacing consistent. Uneven gaps mean rails and panels won’t fit later.
Stand back and check the marks. They should run in a dead-straight row. A wandering line here turns into a wavy fence you’ll see from the street.
Step 2 – Dig the Post Holes to the Right Depth
Shallow holes are the number one reason fences fail. Frost and wind push weak posts right out of the ground.
Use a post hole digger or auger to bore each hole at the marked spots. Aim for a depth equal to one-third of the post’s above-ground height, plus 6 inches for gravel. In most climates, that means 2 to 3 feet deep.
Keep the hole narrow and the sides clean. You’ll feel the digger bite into firm soil and hear the scrape of blades against the walls. Three times the post width is a good hole diameter.
A correct hole looks deep and tight, not wide and shallow. Crumbling, sloped sides mean you’ve gone too wide and weakened the footing.
Step 3 – Add a Gravel Base for Drainage
Water trapped at the bottom of a hole rots posts from the base up. Gravel solves it.
Pour 4 to 6 inches of crushed stone or gravel into the bottom of each hole. Tamp it down firmly with the end of a post or a digging bar. You’ll hear the stones lock together with a gritty crunch as they compact.
This base lets water drain away from the wood instead of pooling against it. It also gives the post a stable, level footing to rest on.
Check that the gravel sits flat across the bottom. A sloped base tilts the post before you even start. Level gravel here is one of the simplest ways to extend the life of pressure-treated lumber in the ground.
Step 4 – Set the Post and Check for Plumb
This is the heart of how to set wood fence posts — get the post vertical and hold it there. A post even slightly off-plumb throws off the whole fence.
Stand the post in the hole on top of the gravel. Attach a post level to two adjacent sides, or hold a bubble level against each face in turn. Adjust until the bubbles center on both planes.
The post should stand dead straight in every direction, not just one. Sight it against the string line and against nearby posts. A leaning post sticks out instantly once the rails go on.
Hold this position. The next step locks it in, so any wobble now becomes permanent.
Step 5 – Brace the Post in Position
Concrete shifts a free-standing post the moment you pour. Bracing prevents it.
Nail or screw two lengths of scrap lumber to the post, running them down to the ground at angles like a tripod. Drive stakes where the braces meet the dirt and fasten them. The post should now stand on its own, completely steady.
Recheck plumb with your level after bracing. Tightening braces often nudges the post a hair off vertical. Adjust until the bubbles sit centered again.
Give the post a light push. It shouldn’t budge. A braced post that still rocks means a loose stake or a weak fastener. Fix it before you pour, because once concrete sets, the angle is locked for good.
Step 6 – Pour and Mix the Concrete
Weak footing equals a wobbly fence. Concrete gives each post the anchor it needs to resist wind and frost.
Pour dry fast-setting concrete mix directly into the hole around the post, filling to about 3 inches below ground level. Add water according to the bag’s instructions. The mix should turn into a thick, oatmeal-like slurry.
You’ll see the dry powder darken and bubble as the water hits it. Poke the mix with a stick to release air pockets that weaken the footing. Slope the top of the concrete slightly away from the post so water sheds off instead of pooling.
Most fast-setting mixes firm up in 20 to 40 minutes. The surface goes from glossy and wet to dull and stiff as it cures.
Step 7 – Backfill and Finish the Top
A messy top collects water and invites rot. Finish it clean.
Once the concrete sets, fill the remaining few inches with soil and tamp it down firm. Pack it tight against the cured concrete so no gap remains. You’ll feel the ground go solid underfoot as you compact it.
Mound the soil slightly around the post so rainwater runs away from the wood. A flat or dipped finish traps moisture exactly where you don’t want it.
Wipe any concrete splatter off the post face while it’s still fresh. A clean post with a sloped, packed base looks professional and drains properly. This finish work decides how well your fence post treatment holds up over the years.
Step 8 – Let the Posts Cure Before Building
Rushing the rails defeats the whole job. Concrete needs time to reach full strength.
Leave the braces in place and let the concrete cure for at least 24 to 48 hours before attaching rails or panels. Check the bag — some mixes reach handling strength sooner, but full cure takes longer.
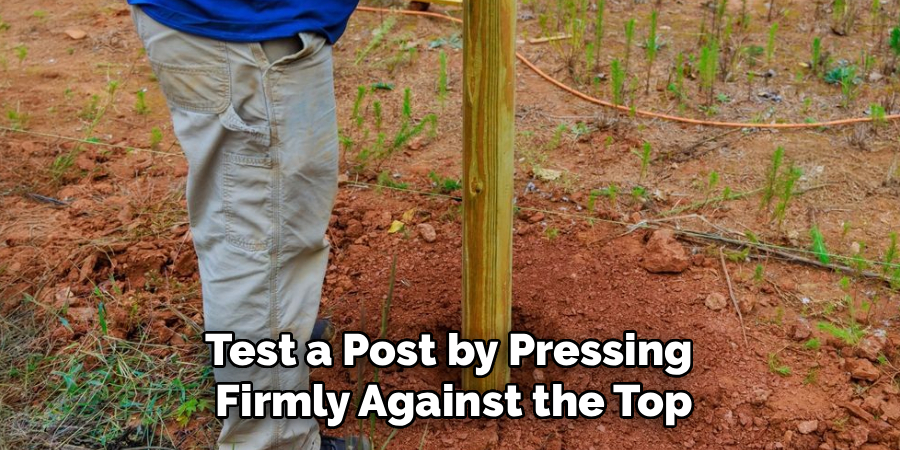
Test a post by pressing firmly against the top. A cured post holds rock-solid with no give at the base. Any movement means the concrete needs more time.
Once cured, remove the braces. The post should stand perfectly plumb on its own. Sight down the fence line one last time. Every post should line up straight and even, ready for rails, pickets, or panels.
Common Mistakes to Avoid
The biggest mistake is digging holes too shallow. People want to save effort, so they stop at a foot or so and call it done. Then the first hard frost or strong wind pushes the post sideways. Dig to one-third of the post’s above-ground height, and your footing resists frost heave and wind load for decades.
Skipping the gravel base is another costly error. Set a post directly on dirt and water collects at the bottom, soaking the end grain until it rots. Even pressure-treated lumber fails faster this way. A few inches of crushed stone gives water somewhere to drain and adds years to the post.
Many beginners pour concrete without bracing the post first. The wet mix shifts the post as it sets, leaving it leaning permanently. Brace every post and recheck plumb before you pour, since concrete locks the angle the moment it firms up.
Rushing the cure ruins solid work. Hanging rails on fresh concrete cracks the footing and loosens the post. Wait the full cure time, even when you’re eager to finish.
Finally, people finish the top flat or dished, trapping water against the wood. Always mound the soil and slope the concrete so rain sheds away from the post.
Expert Tips
Set your corner and end posts first, then run a string between them. Every line post lines up to that string, which keeps long runs perfectly straight.
Cut posts to final height after they’re set, not before. Set them slightly long, then trim the tops level once the concrete cures. This hides small differences in hole depth and gives you a clean, even fence line.
Add a cap or angled cut to each post top. Flat tops soak up rain and rot first. A small slope or a wooden cap sheds water and protects the most exposed end grain.
Watch the weather before you pour. Concrete cures best between 50 and 80°F. Cold slows the set dramatically, and rain dilutes the mix. Pick a dry, mild day for the strongest footing.
Frequently Asked Questions
How Deep Should Wood Fence Posts Be Set?
Set posts at a depth equal to one-third of their above-ground height, plus 6 inches for gravel. For a 6-foot fence, that means a hole around 2.5 to 3 feet deep. Deeper posts resist frost heave and wind far better. In cold climates, dig below the frost line to keep posts from shifting when the ground freezes and thaws.
Do I Need Concrete to Set Fence Posts?
Concrete gives the strongest, longest-lasting footing, especially for gate posts and corners that carry extra load. It anchors posts against wind and frost better than soil alone. For light fences in firm soil, tamped gravel can work, but concrete is the reliable choice for most installations. Always add a gravel base underneath so water drains away from the wood.
How Long Does Concrete Take to Cure for Fence Posts?
Fast-setting concrete firms up in 20 to 40 minutes and reaches handling strength within a few hours. For full strength, wait 24 to 48 hours before attaching rails or panels. Keep the posts braced during this time. Rushing the cure cracks the footing and loosens the post, so give it the full window even when you’re ready to keep building.
Should I Put Gravel at the Bottom of a Fence Post Hole?
Yes. A 4-to-6-inch layer of crushed gravel at the bottom of each hole lets water drain away from the post instead of pooling against the end grain. This drainage prevents rot and extends the post’s life, even with pressure-treated lumber. Tamp the gravel flat and firm so the post rests on a stable, level base before you set it.
What Kind of Wood Is Best for Fence Posts?
Pressure-treated lumber rated for ground contact is the best choice for fence posts. The treatment resists rot, fungus, and insects that destroy untreated wood underground. Cedar and redwood also resist decay naturally and look great, but they cost more. For the part that sits in the ground, always choose a wood treated specifically for direct soil contact.
Conclusion
Setting fence posts comes down to a clear order: mark a straight line, dig deep enough, add gravel, plumb each post, brace it, then anchor it with concrete and let it cure. Follow that sequence and your fence stands straight and solid through frost, wind, and years of weather.
Knowing how to set wood fence posts saves you thousands over hiring a crew and puts the quality entirely in your hands. You control the depth, the alignment, and the footing that keeps every post from leaning or rotting. The work rewards patience over speed. Dig to the right depth, check plumb twice, brace before you pour, and give the concrete time to cure.
Get the posts right and the rest of the fence falls into place — rails sit level, panels line up, and gates swing true. Set one post solid and plumb, and you’ll have the skill to fence an entire property. Do it once the right way, and your fence stands for decades.
