
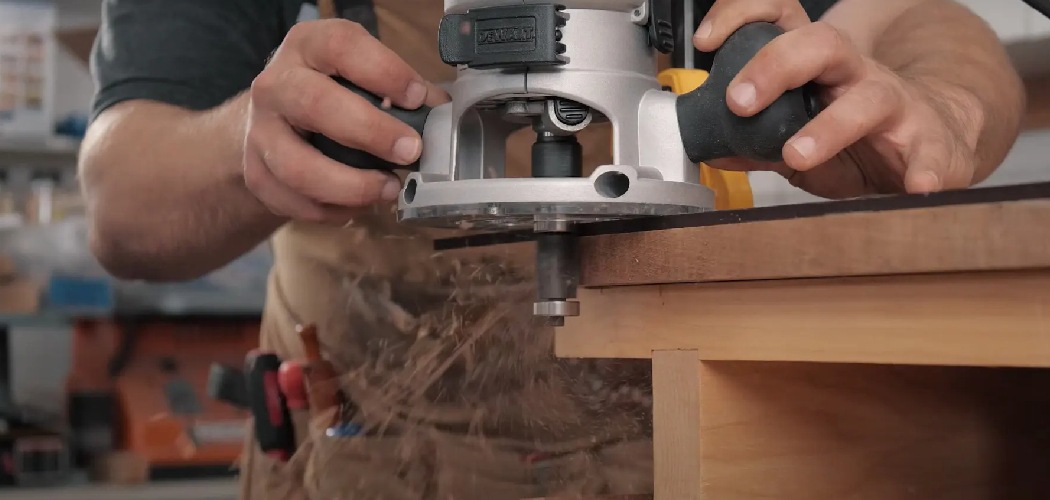
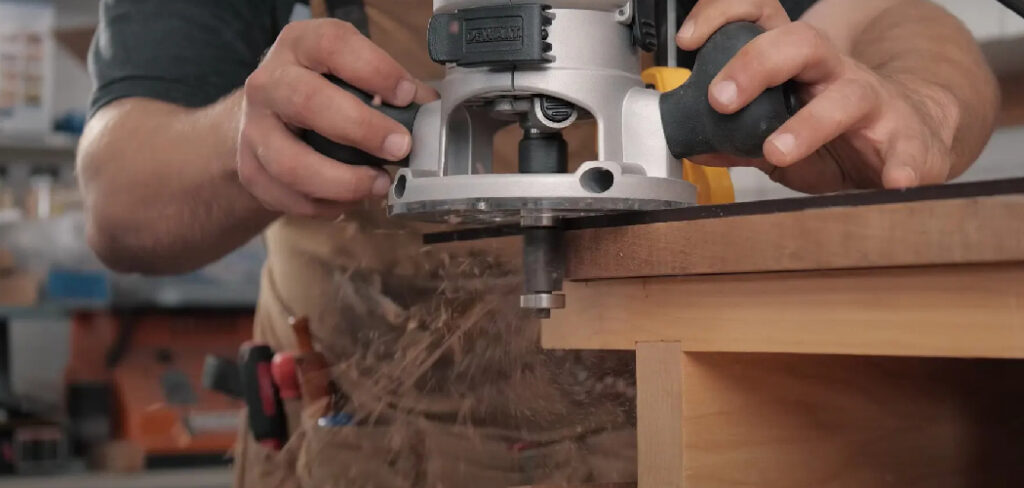
A jointer costs hundreds of dollars and eats up serious shop space. Most beginners don’t have one. You don’t need one either. Learning how to joint wood without a jointer means you can flatten boards, square edges, and build tight glue joints using tools you probably already own. A hand plane, a table saw, or a simple router sled gets the job done. The results can match machine work when you know the technique. Crooked edges ruin tabletops, cabinet doors, and shelves before you even reach for the glue. This guide walks you through every method, step by step, so you can produce flat faces and straight edges with confidence — no expensive machine required.
Why This Skill Matters
Skip the $500 machine. Build better projects anyway. Most rough lumber arrives cupped, bowed, or twisted, and untreated boards never glue up clean. That gap between two warped edges shows up as a visible seam or a weak joint that splits later. Jointing fixes the problem at the source.
Learning this skill saves you money on tools and on wasted wood. You stop tossing boards that looked unusable. You gain control over every panel you build. Confidence follows fast. Once you square an edge by hand and watch two boards mate without a gap, you trust your own work. That trust changes how you tackle bigger projects — tabletops, doors, drawer fronts — without second-guessing every cut.
Tools and Materials You’ll Need
Gather these before you start. Each one earns its place.
- Flatten faces by hand: a No. 5 or No. 6 hand plane, sharpened
- Square edges fast: a table saw with a reliable fence
- Flatten wide boards: a router with a straight bit and a shop-built router sled
- Check your work: a quality straight edge or known-flat reference
- Guide your cuts: a long, straight piece of plywood or MDF for a track jig
- Hold the board steady: a sturdy workbench with clamps or bench dogs
- Mark high spots: a pencil and winding sticks
- Smooth the surface: 80- and 120-grit sandpaper
- Optional — speed up flattening: a random orbital sander for final cleanup
A sharp blade matters more than any single tool. Dull edges tear fibers and leave you chasing flatness you’ll never reach.
Step-by-Step Guide on How To Joint Wood Without a Jointer
Step 1 – Inspect and Mark the Board
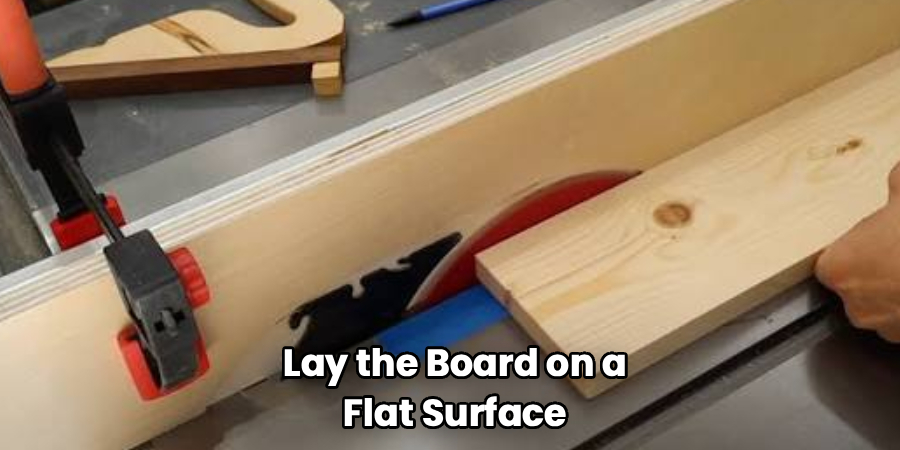
Lay the board on a flat surface and look down its length at eye level. You’re hunting for cup, bow, and twist. Rock the board. If it teeters, you’ve found a high corner. Place winding sticks across each end and sight across the top — any misalignment shows the twist instantly.
Mark every high spot with a pencil. Scribble loose squiggles over the raised areas so you know exactly what to remove. Note which face sits flattest; that becomes your reference face. This first read saves hours later. Skip it and you’ll plane blindly, chasing flatness in the wrong direction. The board tells you where to start. Listen to it before you touch a tool.
Step 2 – Choose Your Reference Face
Pick the flattest face and commit to it. This surface becomes your baseline for everything that follows. Every other cut references off it, so choosing wrong throws the whole board out of square.
Set the board on your workbench with the reference face up. Clamp it down or wedge it against bench dogs so it can’t shift. A moving board ruins flatness faster than a dull blade. Press down on each corner. If it rocks, slide a thin shim under the low side until it sits dead still. You want zero movement. When you push and the board stays planted with a solid, quiet thud instead of a hollow knock, you’re ready to flatten.
Step 3 – Flatten the First Face with a Hand Plane
Set your hand plane for a light cut and work diagonally across the board, then switch to the opposite diagonal. This cross-hatch pattern knocks down high spots without digging troughs. Listen for the sound. A clean cut hisses and peels a thin, curling shaving. A dull blade scrapes and chatters — stop and sharpen if you hear that.
Check progress with your pencil marks. When the squiggles disappear evenly, the high spots are gone. Run the plane along the grain for the final passes to leave a smooth surface. Knowing how to joint wood without a jointer starts here, with a flat reference face you can trust. Feel the surface with your palm. It should read flat and even, with no ridges catching your skin.
Step 4 – Use Winding Sticks to Confirm Flatness
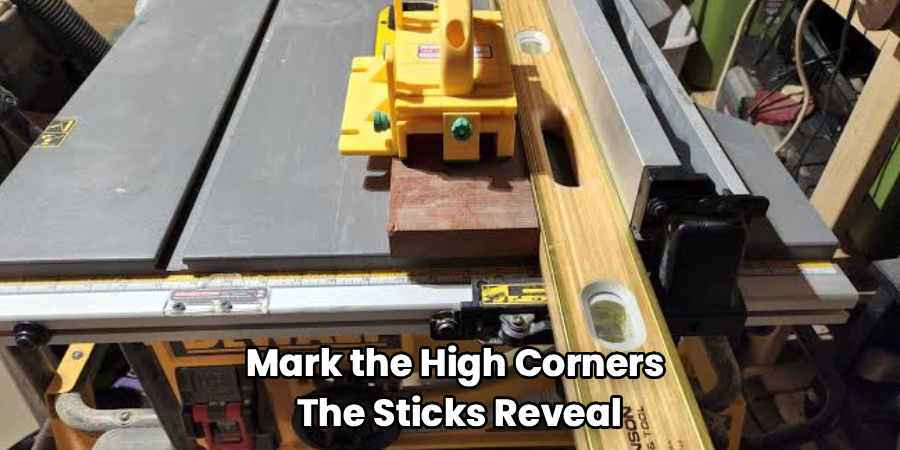
Place one winding stick at each end of the board and crouch down until your eye lines up with the top edges. If the sticks look parallel, the face is flat across its width. If one tilts, you still have twist to remove.
Mark the high corners the sticks reveal. Plane those areas with light, targeted passes, then check again. This back-and-forth feels slow, but it’s the difference between a flat panel and a rocking tabletop. Trust the sticks over your eyes — wood fools you at a glance. Repeat until the sticks sit perfectly aligned. When they do, you’ve got a true reference face, and the hardest part of the job is behind you.
Step 5 – Joint the Edge with a Table Saw
A table saw gives you a fast, square edge once your face is flat. Set the board’s reference face flat on the table and press the cleanest edge against the fence. If that edge is too rough to ride the fence, clamp a straight piece of plywood to the board first and run the plywood against the fence instead.
Feed the board steadily. Listen for a smooth, consistent cut — no burning, no slowdown. A clean pass leaves a crisp edge with light blade marks you can sand out. Burning means you’re feeding too slow or the blade is dull. This table saw method is the fastest route to learning how to joint wood without a jointer for straight, square edges.
Step 6 – Try the Router Sled for Wide Boards
Wide slabs won’t fit through a table saw safely, and few hand planes flatten them quickly. A router sled solves both problems. Build a flat frame with two parallel rails, set your router on a platform that slides across them, and shim the board so it sits stable underneath.
Run the router in overlapping passes from one end to the other. You’ll hear a steady whir and see fine dust spray as the bit shaves the surface level. Move slow and keep each pass touching the last. Skip gaps and you’ll leave ridges that telegraph through your finish. When the whole face reads smooth and uniform under your hand, flip the board and flatten the second side the same way.
Step 7 – Square the Opposite Edge
With one edge straight, square the second to match. Set your table saw fence to the board’s final width and run the jointed edge against the fence. The blade trims the opposite edge parallel and clean in one pass.
Measure the width at both ends before you cut. Equal numbers mean the edges run parallel. A taper means your fence drifted or the first edge wasn’t true — fix that before you commit the cut. Feed the board with even pressure and watch the offcut fall away in a consistent strip. That steady ribbon tells you the cut is straight. Run your finger along the new edge. It should feel crisp and uniform, ready to glue against its neighbor.
Step 8 – Test the Fit and Sand
Set two finished boards edge to edge and look for daylight. A tight joint shows no gaps and needs no force to close. If light sneaks through the middle, you have a slight crown to plane down. If the ends gap, the center is high.
Make light corrective passes until the seam closes clean. Then sand the faces with 80-grit, moving up to 120 for a smooth finish. Feel for any ridge left from planing or routing — your fingertips catch flaws your eyes miss. When the boards mate with a quiet, full-contact press and the surfaces feel uniform, you’re done. The wood is jointed, square, and ready for glue-up.
Common Mistakes to Avoid
The biggest mistake is working with a dull blade. A dull hand plane or saw blade tears wood fibers instead of slicing them, leaving a rough, fuzzy surface that never reads flat. You’ll chase smoothness forever and burn out before you get there. Sharpen first. Always.
Skipping the reference face ranks second. Beginners flatten both sides at once and end up with a board that’s smooth but not square. Commit to one flat face, then reference everything off it. Order matters more than speed here.
Rushing the table saw feed causes burning and rough edges. When you push too slow, the blade scorches the wood and leaves marks that fight you during sanding. Feed at a steady, confident pace and let the blade do its work.
Many people trust their eyes over their tools. Wood looks flat when it isn’t. Use winding sticks and a straight edge every time. Your eyes lie; the tools don’t.
Finally, ignoring board movement wrecks accuracy. An unclamped board shifts mid-cut and throws off every measurement. Lock it down before you start, and check that it sits without rocking.
Expert Tips
Sharpen more often than you think you need to. Pros stop and hone the moment a cut feels harder, not after the surface looks rough. A blade that slices clean does half the work for you. The difference between a 10-minute job and an hour of frustration is usually a five-minute sharpening.
Let lumber acclimate before you joint it. Bring boards into your shop a few days early so they adjust to the humidity. Wood you flatten today can cup again tomorrow if it’s still releasing moisture. Patience here protects every cut you make.
One more: number your boards and mark the grain direction before glue-up. Pros lay out the panel, draw a giant triangle across the faces, and never lose track of orientation. It saves you from gluing a board backward and watching the grain clash.
Frequently Asked Questions
Can You Really Joint Wood Without a Jointer?
Yes. A hand plane, table saw, or router sled produces flat faces and square edges that rival machine work. The trick is method, not machinery. Flatten a reference face first, then square your edges off it. With sharp tools and careful checking, your joints will close tight and glue up clean — no dedicated jointer needed.
What Is the Fastest Method for Edge Jointing?
A table saw is fastest for edge jointing. Set your reference face flat on the table, press a clean edge against the fence, and feed the board through. One pass delivers a straight, square edge. For rough edges, clamp a straight plywood guide to the board first and ride that against the fence instead.
How Do I Flatten a Board That’s Too Wide for My Table Saw?
Build a router sled. Set the board on shims so it sits stable, run two parallel rails along each side, and slide a router across the top in overlapping passes. The bit shaves the surface dead flat. This method handles wide slabs and tabletops that no table saw or hand plane can manage quickly.
Do I Need a Hand Plane If I Have a Table Saw?
A hand plane helps, but it’s not required. A table saw squares edges fast, yet it won’t flatten a cupped or twisted face. For face flattening, you need a hand plane, a router sled, or a sander. Together, a table saw and one face-flattening method cover every jointing task a beginner faces.
How Do I Know If My Joint Is Tight Enough?
Set the boards edge to edge and look for daylight through the seam. A tight joint shows no gaps and closes with light hand pressure — no clamps forcing it shut. If light sneaks through, plane the high spots down. When the boards mate with full, quiet contact across the whole edge, you’re ready to glue.
Conclusion
You don’t need an expensive machine to build square, flat, gap-free panels. Knowing how to joint wood without a jointer comes down to three things: a flat reference face, sharp tools, and constant checking with a straight edge and winding sticks. Flatten one face first. Square your edges off it with a table saw or router sled. Test the fit before you commit to glue.
Start small. Joint a single board for a cutting board or shelf, and feel the difference a tight joint makes. Each project sharpens your eye and steadies your hand. Soon you’ll flatten cupped lumber and square rough edges without a second thought, building tabletops and cabinet doors that mate seamlessly.
The skill rewards patience over horsepower. Take your time, trust your tools over your eyes, and keep that blade sharp. Your projects will hold tighter, look cleaner, and last longer — all without a jointer taking up space or money in your shop.
