
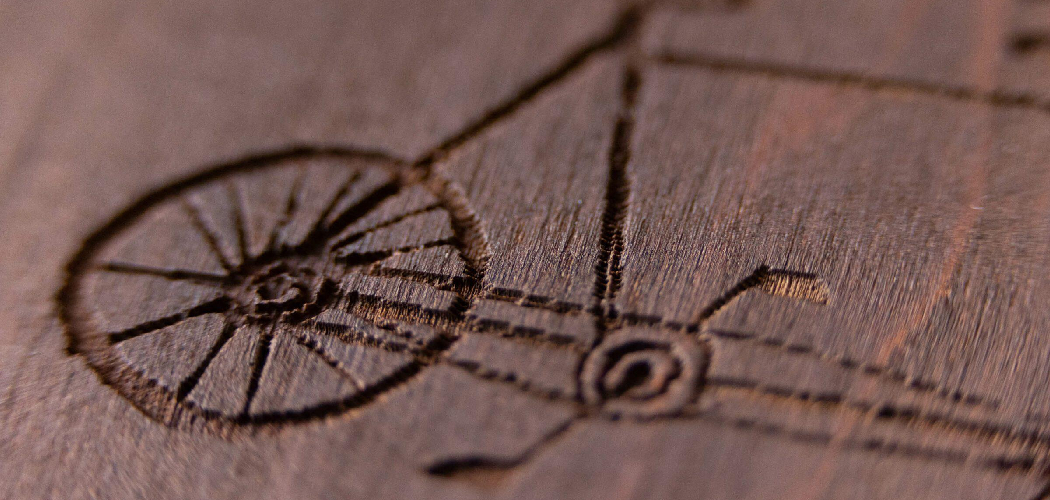
You want clean, sharp designs burned into wood that look professional. A laser engraver gets you there faster than any chisel or wood-burning pen. The good news: learning how to laser engrave wood is far simpler than most beginners expect. With the right setup, you can turn a plain cutting board, sign, or coaster into a custom piece in minutes.
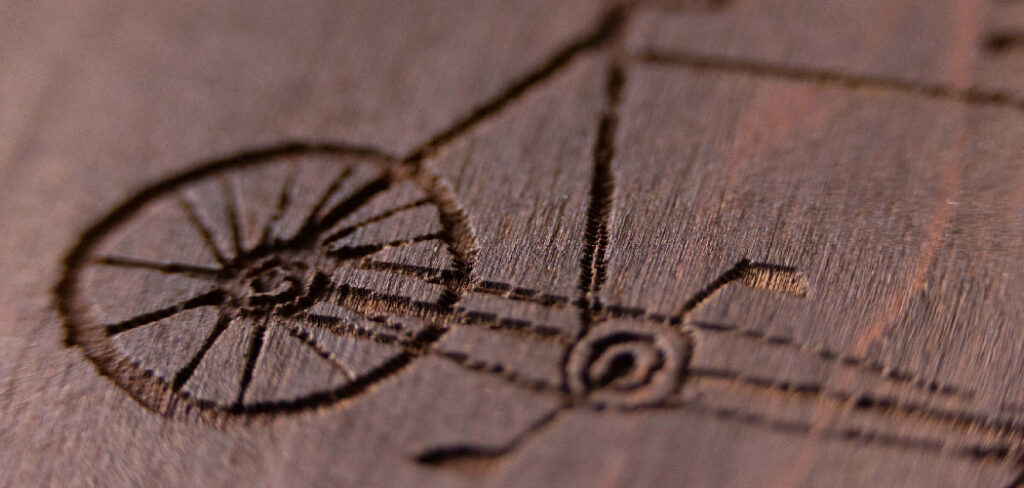
Laser engraving uses focused light to remove or darken the wood surface, leaving precise lines and shading no hand tool can match. Whether you bought your first hobby machine or you rent time at a maker space, the process follows the same steps. This guide walks you through every stage — from choosing your wood to clearing smoke residue — so your first project comes out crisp.
Why Laser Engraving Wood Matters
Custom woodwork sells. It also makes meaningful gifts and personal projects you can be proud of. Learning this skill saves you money and time on every piece you make.
Hire someone to engrave a sign and you pay setup fees, design charges, and a per-item rate. Do it yourself and your only cost is the wood and electricity. For DIY beginners, the payoff goes beyond savings. You build confidence with each run, and you stop fearing the machine.
Mistakes get cheaper too. When you understand laser power, speed, and focus, you stop scorching good lumber. You waste less material. You also extend what your woodworking can do — adding logos, names, patterns, and art that lift basic builds into finished products people notice.
Tools and Materials You’ll Need
Gather everything before you start. A clear bench keeps your run smooth and safe.
- Laser engraver — diode or CO2 machine sized for your projects
- Engraving-safe wood — basswood, maple, birch plywood, or cherry
- Design software — LightBurn or your machine’s bundled program
- Vector or raster files — SVG, PNG, or JPG artwork ready to import
- Safety glasses — rated for your laser’s wavelength, not generic lenses
- Fume extraction or fan — vents smoke away from your work area
- Masking tape or painter’s tape — reduces surface scorching on bare wood
- Damp cloth and mild soap — clears soot and residue after engraving
- Calipers or ruler — confirms material thickness for accurate focus
- Air assist pump (optional) — blows away debris and sharpens edges
That last item is optional, but it cuts burn marks and keeps your lines clean.
Step-by-Step Guide on How to Laser Engrave Wood
Step 1 – Choose the Right Wood for Engraving
Your wood choice decides how good the result looks. Start with light, even-grained species. Basswood, maple, birch plywood, and cherry engrave with high contrast and minimal flare-up.
Avoid oily or resinous woods like pine for your first runs. Pine has hard and soft grain bands, so the laser cuts deep in some spots and barely marks others. You get a blotchy, uneven burn.
Run your hand across the surface. It should feel smooth and flat, with no knots near your design area. Knots scorch unpredictably and can ruin a clean layout.
Knowing how to laser engrave wood starts with picking material that burns consistently. Pick a flat, dry board and you eliminate half the problems before you power on.
Step 2 – Prepare and Secure the Surface
A loose board shifts mid-run and smears your whole design. Clamp or weigh it down so it stays dead flat against the bed.
Wipe the surface clean first. Dust and oil leave streaks that show up as faint ghost marks after engraving. A quick pass with a dry cloth is enough.
For bare, light-colored wood, lay down painter’s tape across the design area. The tape absorbs the brown smoke residue that otherwise stains the surface around your lines. You peel it off after, leaving crisp edges.
Press the tape down hard so no air bubbles remain. Bubbles trap heat and cause uneven darkening. When the board feels solid and the surface looks clean, you’re ready to set up your file.
Step 3 – Create or Import Your Design
Open your design software and load your artwork. Vector files like SVG give you sharp, scalable lines — perfect for logos, text, and outlines. Raster files like PNG or JPG work for photos and detailed shading.
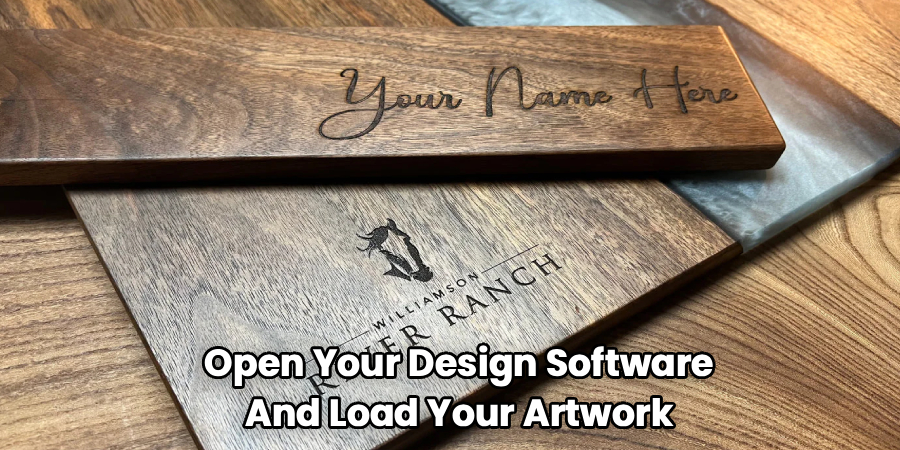
Size your design to fit the board with margin to spare. Crowding the edges risks running off the material. Center it on screen so the preview matches your physical layout.
Convert text to paths if your software prompts you. This locks the font so it engraves exactly as you see it. Check for stray points or open lines that could leave gaps.
Zoom in and inspect every edge. Clean vectors produce clean burns. Messy files produce messy results, no matter how good your machine is.
Step 4 – Set Your Laser Power and Speed
This is where most beginners stumble. Power and speed control how deep and dark your engraving turns out. Too much power scorches; too little leaves faint marks.
Start with your machine’s recommended settings for wood, then adjust. High speed with moderate power gives light, clean surface engraving. Slow speed with high power cuts deeper for a bold, recessed look.
Lower power produces a soft tan line. Higher power burns dark brown to black. Listen as the laser runs — a steady hum means smooth travel, while stuttering signals the machine is straining.
Mastering how to laser engrave wood comes down to dialing these two numbers. Write down what works for each wood type so you can repeat it.
Step 5 – Run a Test on Scrap
Never commit your final board without testing. Grab a scrap of the same wood and run a small section or a settings grid.
A material test pattern engraves rows at different power and speed combinations. You see exactly which setting gives the contrast you want. This five-minute step saves you from ruining an expensive piece.
Watch the test closely. The line should be sharp with clean edges and your chosen depth. If you see heavy charring or a raised, crusty surface, drop the power. If the mark looks washed out, slow the speed down.
Smell matters too. A light woody smoke is normal. A harsh, acrid stink means you’re burning too hot and need to back off.
Step 6 – Focus the Laser
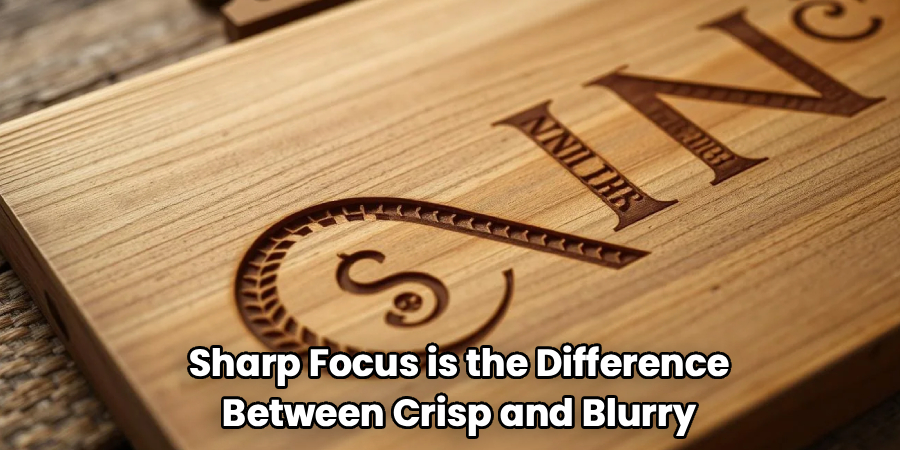
Sharp focus is the difference between crisp and blurry. The laser beam must converge to its smallest point right at the wood surface.
Many machines use a focus gauge or spacer block — set it on the wood, lower the head until it touches, then lock it. Autofocus models measure thickness for you. Use your calipers to confirm the board’s height if you’re setting it manually.
An out-of-focus beam spreads wide and weak. Your lines come out fuzzy and pale, with soft edges that look amateur. A focused beam delivers a tight, dark line with crisp borders.
Double-check focus every time you swap material thickness. Even a few millimeters off throws the result. Get this right and your detail snaps into clarity.
Step 7 – Start the Engraving
Frame the job first. Most software runs a perimeter trace so you see exactly where the laser will travel. Watch the pointer outline your design on the board and confirm it sits inside your material.
Put on your safety glasses, switch on your fan or extractor, and start the run. Stay in the room the entire time. A laser left alone is a fire risk.
Watch the head glide back and forth, leaving a fresh dark line in its wake. You’ll smell light smoke and see thin wisps rising. That’s normal. Flames or thick black smoke are not — kill the job if you see either.
Resist the urge to touch the board mid-run. Let the machine finish its full pass.
Step 8 – Clean and Finish
When the run ends, wait a few seconds before opening the lid. Let the smoke clear so you don’t breathe it in.
Peel off the masking tape slowly to reveal sharp, clean edges underneath. Wipe the surface with a damp cloth and a drop of mild soap to lift soot and brown residue. Don’t soak the wood — a light pass is plenty.
Let it dry fully. Then run your fingers over the engraving. It should feel slightly recessed and smooth, with no sticky char.
Finish with a wipe of oil, wax, or clear sealer to protect the wood and deepen the contrast. The engraving darkens and pops against the surrounding grain, turning a test piece into a finished product.
Common Mistakes to Avoid
The biggest mistake beginners make is skipping the scrap test. They load a finished board, hit start, and watch good wood scorch because the settings were wrong. Five minutes of testing on scrap saves you the cost and frustration of a ruined piece. Always test first.
Ignoring focus is the next trap. An out-of-focus beam produces pale, fuzzy lines that no amount of power can fix. Many new users blame their machine when the real problem is a head set a few millimeters too high or too low. Check focus every single run.
Poor ventilation causes two problems. First, smoke stains the wood around your design, leaving a hazy brown film. Second, the fumes are genuinely unhealthy to breathe. Run a fan or extractor every time, no exceptions.
Choosing the wrong wood wrecks results before you even start. Resinous pine and knotty boards burn unevenly and leave blotchy, inconsistent marks. Stick to smooth, light hardwoods and quality plywood for your early projects.
Finally, walking away from a running laser invites disaster. Wood burns. A small flare can become a fire in seconds. Stay present, stay alert, and keep extinguishing materials nearby.
Expert Tips
Keep a settings logbook. Write down power, speed, and focus for every wood type you run. After a few projects, you’ll have a reference that eliminates guesswork and gets you perfect results on the first pass.
Defocus on purpose for shading. Lowering the head slightly spreads the beam and creates soft, grayscale tones — ideal for photo engraving on wood.
Clean your lens and mirrors regularly. Smoke residue builds up fast and steals power, leaving you with weaker, inconsistent burns. A clean optical path runs at full strength.
Engrave dark woods like walnut for high contrast without staining. The natural color holds detail beautifully. For a final touch, a single coat of clear matte sealer locks in your work and makes the engraving stand out for years.
Frequently Asked Questions
What Wood Is Best for Laser Engraving?
Light, even-grained hardwoods give the best results. Basswood, maple, cherry, and birch plywood engrave with high contrast and clean edges. Avoid resinous woods like pine, which burn unevenly because of their soft and hard grain bands. Knot-free boards also matter — knots scorch unpredictably. For beginners, basswood and birch plywood are the most forgiving and consistent choices.
Do I Need to Seal Wood Before Engraving?
No, you don’t need to seal wood beforehand. Most people engrave bare wood, then apply oil, wax, or sealer after to protect the surface and deepen contrast. Applying masking tape before engraving helps prevent smoke stains on light woods. Sealing first can actually interfere with the burn, so save your finish for the final step after cleaning.
How Do I Stop Burn Marks Around My Design?
Burn marks come from smoke residue settling on the surface. Cover your design area with painter’s tape before engraving — it absorbs the soot and peels away to reveal clean edges. Add air assist if your machine supports it, since it blows debris away from the cut. Good ventilation also pulls smoke off the surface before it stains the wood.
What Settings Should I Use to Laser Engrave Wood?
Start with your machine’s recommended wood settings, then fine-tune on scrap. High speed with moderate power gives light surface engraving; slow speed with high power cuts deeper and darker. Settings vary by wood type, thickness, and laser strength, so a test grid is essential. Log what works for each wood so you can repeat it on future projects.
Is Laser Engraving Wood Dangerous?
It carries real risks, but you control them easily. Wear laser-rated safety glasses, never the generic kind. Run a fan or fume extractor, since wood smoke is harmful to breathe. Most important, never leave a running laser unattended — wood can catch fire fast. Keep extinguishing materials nearby and stay in the room until the job finishes.
Conclusion
Custom engraved wood looks professional, sells well, and costs little once you own the gear. You’ve now got the full process: pick smooth, light wood, secure it flat, prep a clean file, dial in your power and speed, test on scrap, focus the beam, run the job, then clean and seal. Each step builds on the last, and each one matters.
The skill compounds fast. Your first piece teaches you more than any video. By your third or fourth project, you’ll work from your own settings log and produce crisp results on the first try. Mistakes shrink. Confidence grows.
Knowing how to laser engrave wood opens up gifts, products, and personal projects you couldn’t make before. Start with a simple coaster or sign. Keep your scrap tests, log your settings, and respect the safety basics. Power on, run your first design, and watch a plain board turn into something worth showing off. The machine does the precision — you bring the vision.
