
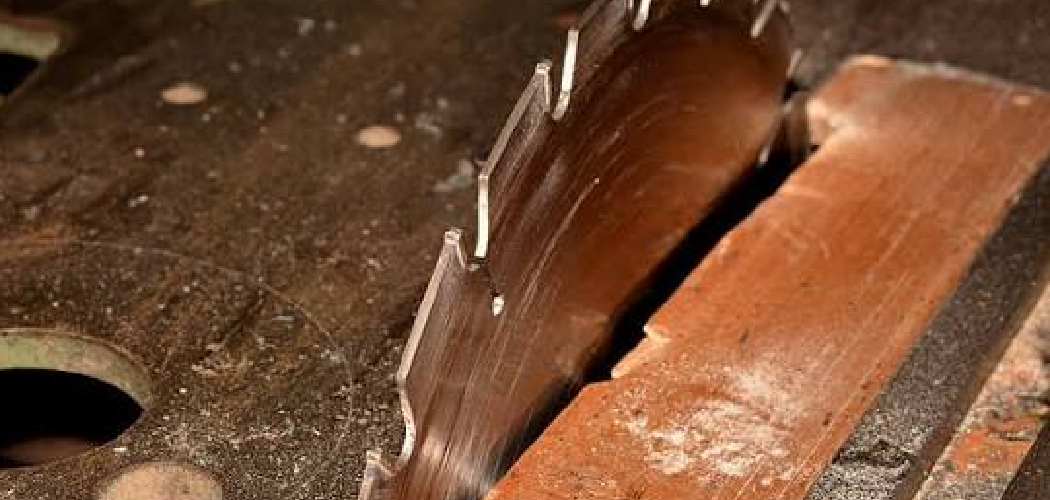
Composite wood looks tough, and it is. But cut it the wrong way and you get melted edges, ragged ends, and wasted boards that cost three times more than pine. The good news: clean cuts are easy once you know the method. Composite decking, PVC trim, and fiber cement board each behave differently under a blade, and matching your technique to the material makes all the difference.
Learning how to cut composite wood saves you money, protects expensive boards, and gives your deck or trim project a professional, finished look. You don’t need a pro shop or years of practice — just the right blade, steady hands, and a few key habits. This guide walks you through every step, from setup to the final clean edge, so your first cut looks as sharp as your last.
Why Cutting Composite Wood Matters
Composite boards cost more than lumber. A single decking board runs $30 to $70, so a botched cut hurts your wallet fast. Master the technique and you stop throwing money into the scrap pile.
Clean cuts also protect your project’s integrity. Ragged or melted ends trap water, swell over time, and shorten the life of your deck or trim. A smooth, square cut seals out moisture and locks in durability.
Then there’s confidence. Once you cut composite cleanly the first time, every project after gets faster. You stop second-guessing your blade choice and start trusting your setup.
Most failed composite projects trace back to one bad cut. Get this skill right and you avoid the most common — and most expensive — DIY mistake.
Tools and Materials You’ll Need
Gather everything before you start. A mid-cut tool hunt leads to rushed, sloppy work.
- Make straight crosscuts – circular saw or miter saw
- Cut clean, melt-free edges – fine-tooth carbide blade (60–80 teeth)
- Mark accurate lines – tape measure and pencil
- Keep cuts perfectly square – speed square or combination square
- Hold boards steady – sawhorses or a stable workbench
- Secure the board – two heavy-duty clamps
- Protect your eyes and lungs – safety glasses and a dust mask
- Smooth rough edges – 120-grit sandpaper or a fine file
- (Optional) Capture fine dust – a shop vacuum positioned near the cut line
One note on blades: skip the framing blade you use for lumber. A coarse blade with few teeth tears and melts composite. The fine-tooth carbide blade is the single most important item on this list.
Step-by-Step Guide on How to Cut Composite Wood
Step 1 – Set Up a Stable Work Surface
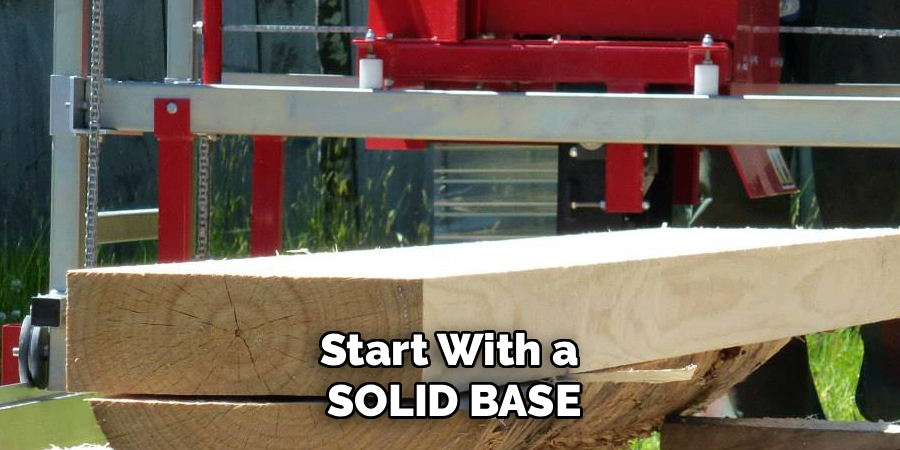
Start with a solid base. A wobbly board ruins your cut before the blade even touches it.
Place your composite board across two sawhorses or a sturdy workbench. Position the supports so the board doesn’t sag in the middle or tip when you press down. Composite is heavier than wood, and that extra weight needs even support.
Clamp the board down at both ends. You want zero movement when the saw runs. A board that shifts mid-cut leaves a wavy, angled edge you can’t fix.
Run your hand along the board to confirm it sits flat and firm. No rocking, no flex. When you tap it and hear a solid, dull thud instead of a hollow rattle, you’re ready to mark your line.
Step 2 – Measure and Mark Your Cut Line
Accuracy starts here. Measure twice, mark once — the oldest rule in the shop, and it still saves boards.
Pull your tape measure to the exact length and make a small pencil mark. Then line up your speed square against the board’s edge and draw a crisp line straight across the face. The square keeps your cut at a true 90 degrees.
Dark composite hides pencil marks. If you can’t see the line clearly, use a strip of painter’s tape across the cut zone and mark on top of it. The tape also reduces surface chipping as the blade exits.
Step back and check your line against the measurement one more time. A clear, square line is your roadmap for a clean, confident cut.
Step 3 – Choose and Install the Right Blade
The blade makes or breaks the job. Knowing how to cut composite wood cleanly comes down to using a fine-tooth carbide blade with 60 to 80 teeth.
More teeth mean smaller, smoother bites and far less melting. A coarse blade rips through the material, generating heat that fuses the plastic in the composite into gummy, ragged edges.
Unplug your saw before swapping blades. Loosen the arbor nut, remove the old blade, and seat the fine-tooth blade with the teeth pointing in the direction of rotation — usually forward at the bottom. Tighten firmly.
Spin the blade by hand to confirm it runs true with no wobble. A properly installed sharp blade glides through composite with a smooth, even hum instead of a strained, grinding screech.
Step 4 – Set the Correct Blade Depth
Blade depth controls both safety and cut quality. Set it wrong and you risk tear-out or kickback.
Lower the blade so it extends only about a quarter inch below the bottom of the board. Too deep, and more teeth drag through the material at once, increasing heat and rough edges. Too shallow, and the blade can’t clear the cut cleanly.
With a circular saw, rest the shoe flat on the board and adjust the depth lever until the blade clears the underside by that small margin. On a miter saw, depth is fixed, so just confirm the blade fully passes through the board’s thickness.
The right depth gives you a clean exit cut with minimal fuzz on the back face. You’ll feel the saw move smoothly, without bogging down or straining against the material.
Step 5 – Position Yourself and the Saw
Your stance affects your control. Plant your feet shoulder-width apart and keep your body to the side of the blade, never directly behind it.
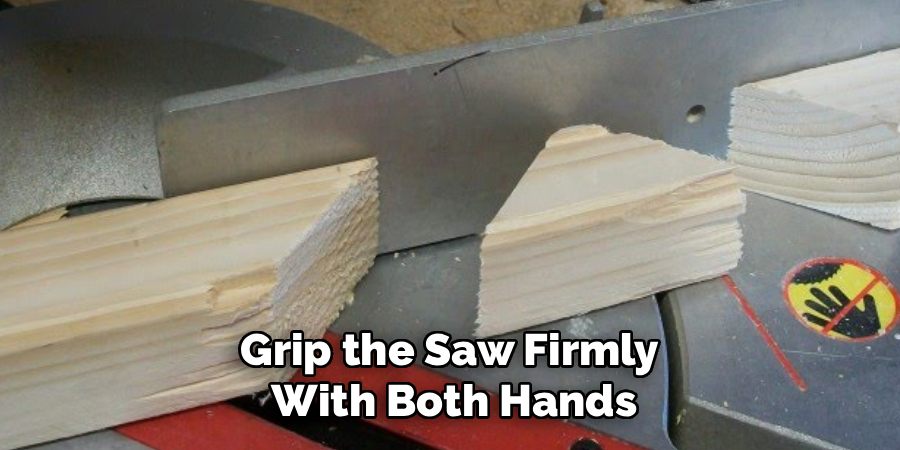
Grip the saw firmly with both hands if you’re using a circular saw. Rest the front edge of the shoe on the board before the blade contacts the material. This gives you a stable launch point and keeps the cut straight from the start.
Line up the blade just outside your pencil line, on the waste side. Cutting on the line itself eats into your measurement and leaves the board short.
Take a breath and check your sightline down the blade guide. When you can see a clear, unobstructed path along your marked line, you’re set to cut composite decking boards with control and accuracy.
Step 6 – Make a Slow, Steady Cut
Speed kills clean edges. Rushing through composite generates friction heat that melts the plastic and leaves a gummy ridge.
Start the saw and let it reach full speed before the blade touches the board. Then push forward with slow, even pressure — let the blade do the work, not your arm. You should hear a consistent, smooth cutting sound, not a high-pitched whine or a labored growl.
Keep the saw tracking right along the waste side of your line. Don’t twist or force it sideways; that bends the blade and burns the edge.
Watch the dust. Fine, dry shavings mean you’re cutting at the right speed. Stringy, melted strands mean you’re moving too fast or your blade is dull. Ease off and let the teeth glide.
Step 7 – Support the Offcut as You Finish
The last inch of any cut is where boards crack or splinter. As you near the end, the unsupported offcut wants to drop and tear.
If you have a helper, ask them to lightly hold the waste end — not lift it, just steady it. Working solo? Position a third support under the offcut before you start so it doesn’t fall and snap a chunk off your finished edge.
Keep your cutting speed steady right through to the very end. Don’t slow down so much that the blade lingers and melts, but don’t rush the exit either.
When the blade clears the board, release the trigger and let it stop completely before lifting. A clean break with no torn corner tells you your support and pacing were spot-on.
Step 8 – Smooth and Inspect the Cut Edge
Even a perfect cut leaves slight roughness. A quick finishing pass turns a good edge into a great one.
Run your fingertip lightly along the fresh edge. Feel for fuzz, small burrs, or a melted ridge. Most clean cuts need only a light touch-up; sloppy ones tell you to adjust your blade or speed next time.
Sand the edge gently with 120-grit sandpaper, moving with the length of the board. For PVC trim or fiber cement board, a fine file works well on stubborn spots. Wipe away dust to reveal the true finish.
The goal is a smooth, square edge that matches the factory ends of your boards. When your cut edge feels as clean as the manufactured side, you’ve nailed it.
Common Mistakes to Avoid
The number one mistake is using the wrong blade. A coarse framing blade with few teeth tears through composite and generates so much heat it melts the plastic into a sticky, ragged mess. Always reach for a fine-tooth carbide blade with 60 to 80 teeth. It’s a small swap that completely changes your results.
Cutting too fast ranks a close second. Composite isn’t lumber, and forcing the saw through it builds friction heat that fuses and burns the edge. Slow down. Let the blade glide and you’ll get clean, dry shavings instead of melted strings.
Skipping clamps causes more bad cuts than people admit. An unsecured board shifts mid-cut, leaving a wavy, off-square edge that won’t seat properly against adjoining boards. Clamp both ends every single time.
Many beginners also forget to support the offcut. The unsupported waste end drops in the final inch and snaps off a corner of the finished piece. Add a third support or grab a helper.
Finally, cutting on the line instead of beside it leaves your board short. Always position the blade on the waste side of your mark so the finished piece holds its full measurement.
Expert Tips
Pros let the blade cool between cuts. After several passes, composite residue builds on the teeth and increases melting. A quick wipe with a rag — once the blade stops — keeps it cutting clean all day.
For long rip cuts down a board’s length, clamp a straightedge guide to the surface and run your saw shoe against it. Freehand rip cuts drift; a guide keeps them dead straight.
Cut composite slightly cooler when you can. On hot afternoons, the material softens and melts more easily. Early morning cuts come out crisper.
Keep a spare blade on hand. A dull blade is the hidden cause of most melted edges, and you won’t always notice it dulling until your cuts get rough. Swap it the moment shavings turn stringy.
Frequently Asked Questions
What Blade Should I Use to Cut Composite Wood?
Use a fine-tooth carbide-tipped blade with 60 to 80 teeth. The high tooth count makes smaller, smoother cuts and prevents the heat buildup that melts composite. Skip standard framing blades — their coarse teeth tear the material and leave gummy, ragged edges. A quality fine-tooth blade works on a circular saw or miter saw and delivers factory-clean results every time.
Can I Cut Composite Decking With a Circular Saw?
Yes. A circular saw fitted with a fine-tooth carbide blade cuts composite decking cleanly and is perfect for straight crosscuts and rip cuts. Clamp the board, set the blade depth to about a quarter inch below the board, and cut slowly along the waste side of your line. For repeated identical cuts, a miter saw adds speed and consistency, but the circular saw handles most deck projects fine.
Why Does My Composite Board Melt When I Cut It?
Melting means too much heat. The usual causes are a coarse blade, cutting too fast, or a dull blade dragging through the material. Switch to a fine-tooth carbide blade, slow your feed rate, and let the saw reach full speed before contact. Watch your shavings — dry, fine dust means you’re cutting right, while stringy, melted strands signal heat and a needed adjustment.
Do I Need a Special Saw for Fiber Cement Board?
No special saw, but you do need the right blade and dust control. Fiber cement board cuts with a circular saw using a polycrystalline diamond (PCD) blade designed for the material. It creates fine silica dust, so wear a mask and use a shop vacuum or score-and-snap method outdoors. Standard wood blades dull quickly on fiber cement, so invest in the proper blade.
How Do I Get a Smooth Edge on PVC Trim?
PVC trim cuts cleanly with a fine-tooth blade, and a slow, steady feed prevents melting. After cutting, smooth any small burrs with 120-grit sandpaper or a fine file, working along the board’s length. Because PVC is soft, light pressure is all you need. The result should feel as smooth as the factory edge, ready to install with no visible roughness.
Conclusion
Clean cuts in composite wood come down to a few non-negotiables: a fine-tooth carbide blade, a clamped and supported board, and a slow, steady feed. Get those three right and every cut comes out square, smooth, and melt-free. Master how to cut composite wood and you protect expensive boards, extend your project’s life, and build the confidence to tackle bigger jobs.
Remember the pattern at every stage — set up solid, measure square, match your blade, cut slow, support the offcut, and finish the edge. Skip the rush and let the saw do the work. The most common DIY failures trace back to a single bad cut, and now you know exactly how to avoid them.
So clamp that board, install the right blade, and make your first cut with purpose. Your deck, trim, or fence project deserves edges that look as good as the day they left the factory — and you have everything you need to deliver them.
