
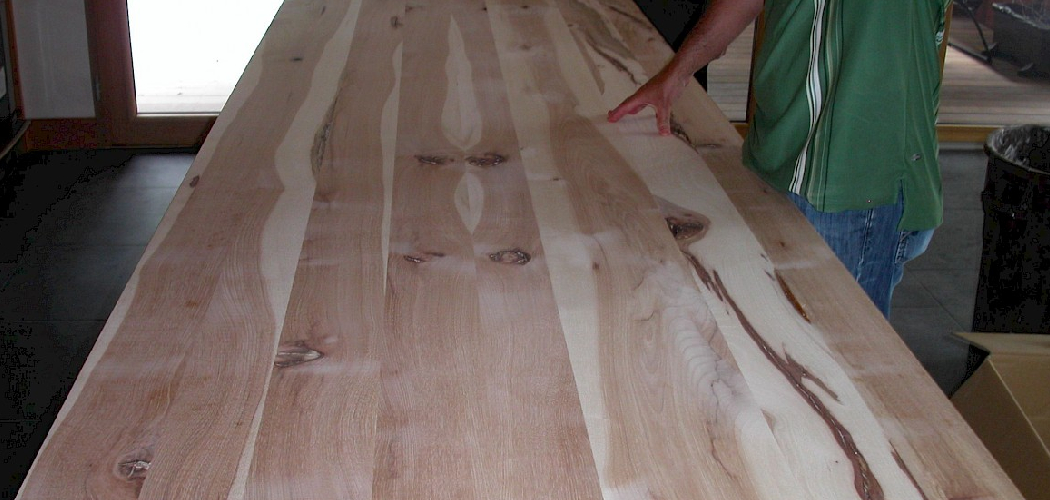
Dull, flat wood hides its best feature: the grain. You sanded the surface, wiped it clean, and the figure still looks lifeless. The fix is technique, not luck.
Grain depth comes from how you prep, condition, and finish the surface. Get those three steps right and the wood comes alive—lines sharpen, color deepens, and the texture catches light from every angle.
This guide shows you how to make wood grain pop using methods that work on oak, walnut, maple, and pine alike. You’ll learn how to raise the grain, choose the right stain, and lock in depth with the correct finish. By the end, you’ll turn plain boards into surfaces with real character and dimension.
Why This Matters
Flat-looking wood wastes good material. You pay for figured oak or walnut, then bury its character under a careless finish. Knowing how to enhance grain protects that investment.
This skill saves money. You skip expensive pre-finished panels and get better results from raw lumber. You also stop ruining boards with blotchy stain jobs that force a full sand-down and restart.
It builds confidence fast. Once you control grain depth on a scrap piece, every project improves—furniture, trim, cutting boards, tabletops.
Most important, it extends the life of your work. A proper finish seals the wood pores, blocks moisture, and keeps the surface looking sharp for years. Learn this once and every future build looks like it came from a pro shop.
Tools and Materials You’ll Need
Gather everything before you start. Stopping mid-finish lets stain dry unevenly and ruins your blend.
- Smooth the surface — sandpaper in 120, 180, and 220 grit
- Raise the grain — clean water and a lint-free cloth
- Block blotching — pre-stain wood conditioner
- Add color and depth — oil-based or gel wiping stain
- Wipe and blend — clean cotton rags or shop towels
- Apply evenly — foam brush or staining sponge
- Seal the finish — oil finish, polyurethane, or hard wax oil
- Clear the dust — tack cloth or vacuum with brush attachment
- Protect your space — drop cloth and nitrile gloves
- Cut depth even faster — a random orbital sander (optional, but it levels large surfaces in minutes)
Match your finish to the job. Oil finishes deepen natural wood texture. Gel stain controls color on tricky woods like pine and maple.
Step-by-Step Guide on How to Make Wood Grain Pop
Step 1 – Sand the Surface Progressively
Skipped grits leave scratches that swallow stain and flatten the grain. Sand in order.
Start with 120-grit to remove mill marks and old finish. Move to 180-grit, then finish with 220-grit. Sand with the grain in long, steady strokes—never across it.
Listen as you work. Coarse paper rasps; fine paper whispers. Run your palm over the board between grits. A ready surface feels uniformly smooth with no ridges or rough patches.
Watch the dust color and the surface sheen. Even, consistent dust means you’re cutting the whole surface. Shiny spots mean you missed an area—go back over them.
Stop at 220 for stained projects. Sanding finer closes the wood pores and blocks stain from soaking in.
Step 2 – Raise the Grain with Water
Raw sanding hides loose fibers that pop up later and roughen your finish. Raising the grain solves this first.
Dampen a lint-free cloth with clean water and wipe the surface evenly. Don’t soak it—just enough to darken the wood slightly. The water swells the fibers and pulls them upright.
Watch the surface change. Within minutes, you’ll feel a fine fuzz rise across the board, like the texture of a cat’s tongue. That roughness is exactly what you want.
Let it dry fully, about 30 minutes to an hour. The wood lightens back to its dry color as moisture leaves. This step is how to make wood grain pop with crisp definition instead of a muddy, fiber-clogged finish.
Step 3 – Knock Back the Raised Fibers
Now you remove the fuzz without erasing your prep. A light touch matters here.
Take fresh 220-grit paper and sand the surface with the grain using gentle pressure. You’re shaving off the raised fibers, not recutting the wood. Heavy sanding undoes the grain-raising you just did.
Feel the change under your fingers. The fuzz disappears and the surface turns glass-smooth—smoother than before the water step. That silky feel tells you the grain is set and ready.
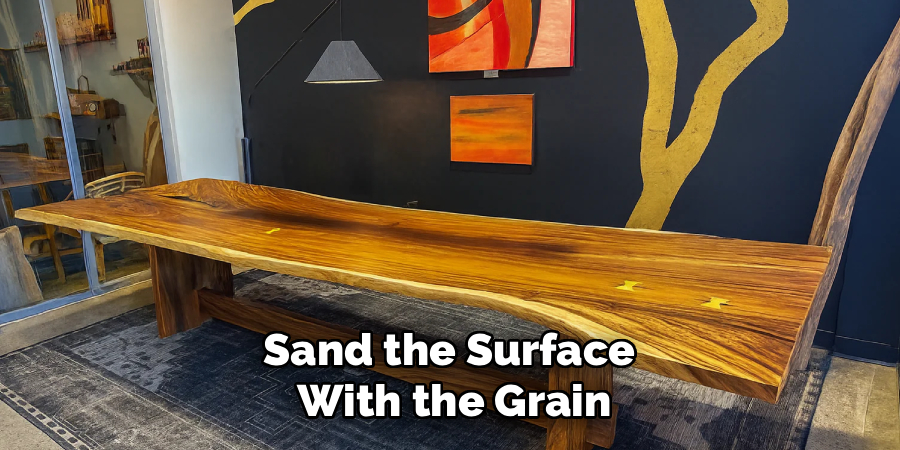
Wipe away the fine dust with a tack cloth. Hold the board to the light at a low angle. A properly knocked-back surface looks clean and even, with the grain lines already showing more contrast than bare sanded wood.
Step 4 – Apply Wood Conditioner
Blotchy stain ruins soft and porous woods like pine, maple, and cherry. Conditioner stops it cold.
Brush or wipe a thin, even coat of pre-stain wood conditioner across the whole surface. It partially seals the wood pores so stain absorbs evenly instead of pooling in soft spots.
Watch how the wood drinks it in. Open-grain areas darken faster than dense ones—that’s the conditioner doing its job, balancing absorption.
Wait the time on the label, usually 15 minutes, then wipe off any excess. Don’t let it dry hard before staining. Stain within two hours for the best bond. Skip this step on dense hardwoods like oak, where blotching rarely happens and conditioner can mute the color.
Step 5 – Apply Stain to Build Depth
This is where flat wood gains dimension. Stain settles into the grain and makes the figure jump.
Load your foam brush or rag and spread the wiping stain along the grain in full, overlapping strokes. Work a manageable section at a time so the edges stay wet. Let it sit two to five minutes.
Watch the grain darken and separate from the surrounding wood. The lines deepen, and the natural wood texture starts to read in three dimensions.
Knowing how to make wood grain pop comes down to this contrast—dark grain against lighter field. Wipe off the excess with a clean rag, always with the grain, until the surface looks even and no wet pools remain.
Step 6 – Wipe and Control the Color
Streaks and dark patches come from leftover stain. Clean wiping fixes the tone.
Fold a fresh rag and pull it across the surface in long, single-direction strokes. Each pass lifts surplus stain and evens the color. Flip to a clean section of rag often—a loaded rag just smears pigment back down.
Look for a uniform sheen with no shiny puddles. Glossy spots mean stain still sits on top; matte areas have absorbed correctly. Hit the glossy spots with your rag again.
For deeper color, let the first coat dry fully, then apply a second. Two thin coats build richer grain depth than one heavy coat, which dries gummy and hides the figure you worked to reveal.
Step 7 – Seal with the Right Finish
Bare stained wood looks flat until you seal it. The topcoat is what makes grain glow.
Choose your finish by use. An oil finish soaks in and deepens the grain with a warm, natural look. Polyurethane builds a hard, protective film. Hard wax oil splits the difference—low sheen, easy repair.
Apply thin coats with a clean brush or cloth, following the grain. Watch the surface come alive the instant finish touches it. The grain darkens, the color richens, and the figure gains a wet, dimensional depth.
Let each coat dry, then scuff lightly with 320-grit before the next. Two to three thin coats give you durability and that deep, finished look without drips or cloudiness.
Step 8 – Buff and Inspect the Final Surface
The last pass sharpens the shine and catches any flaws. Don’t skip the inspection.
Once the final coat cures, buff the surface with a soft, lint-free cloth in circular motions, then finish with the grain. This evens the sheen and removes any dust nibs.
Run your hand across the wood. It should feel smooth and continuous, with no grit or rough edges. Tilt the piece under a light. The grain should show clear contrast and depth, catching the light differently as you move it.
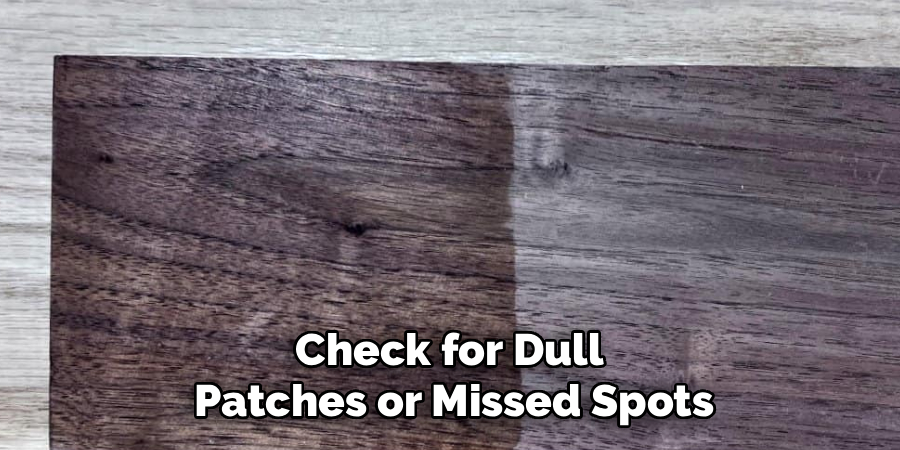
Check for dull patches or missed spots. A quick extra coat fixes them. When the figure looks deep and the surface feels like glass, your work is done.
Common Mistakes to Avoid
The most common error is skipping grits during sanding. Jumping from 120 straight to 220 leaves deep scratches that the finer paper can’t erase. Those scratches trap stain and create dark streaks that flatten the grain instead of sharpening it. Work through each grit in order and your surface absorbs stain evenly.
Skipping wood conditioner on soft woods causes blotching every time. Pine, maple, and cherry have uneven density, so raw stain soaks into soft patches and leaves ugly dark clouds. A thin coat of conditioner balances absorption and keeps the color uniform. Use it on any wood prone to blotching.
Sanding past 220 before staining is another trap. Fine grits burnish the surface and close the wood pores, so stain can’t penetrate. The result looks pale and washed out. Stop at 220 for stained projects and save the finer grits for between topcoats.
Leaving excess stain on the surface ruins the finish. Stain that isn’t wiped off dries sticky, stays tacky for days, and hides the grain under a muddy film. Wipe thoroughly with a clean rag, always with the grain, until no wet pools remain.
Finally, rushing the dry time between coats traps solvents and clouds the finish. Patience here protects all your earlier work.
Expert Tips
Pros wet the bare wood with mineral spirits before finishing to preview the final grain. The wet surface shows exactly how deep the grain will read once sealed, so you spot problem areas before you commit.
Use gel stain on blotch-prone woods like pine and birch. It sits on the surface more than liquid stain, giving you tighter color control and cleaner grain contrast.
For maximum depth, layer a dye stain under a pigment stain. The dye colors the dense fibers; the pigment fills the open grain. The two together create dimension a single stain can’t match.
Always test your full process—conditioner, stain, and topcoat—on scrap from the same board. Wood varies piece to piece, and a five-minute test saves a ruined project.
Sand between topcoats with 320-grit for a surface that feels like glass.
Frequently Asked Questions
Does Raising the Grain Really Make a Difference?
Yes. Raising the grain with water swells loose fibers so you can sand them off before finishing. This prevents a rough, fuzzy surface after the first coat of stain or oil. The result is a smoother finish and crisper grain definition. The step takes under an hour and dramatically improves how sharp and deep the wood figure looks.
What Finish Makes Wood Grain Pop the Most?
Oil finishes like tung oil and Danish oil create the deepest grain pop. They soak into the wood pores and amplify natural contrast, giving a warm, three-dimensional look. For a harder protective layer with similar depth, use hard wax oil. Polyurethane protects best but adds a film that can look slightly flatter. Match the finish to how the piece will be used.
Should I Use Wood Conditioner on All Wood?
No. Use conditioner on soft or blotch-prone woods like pine, maple, cherry, and birch. It evens out stain absorption and prevents dark cloudy patches. Skip it on dense hardwoods like oak and walnut, where blotching rarely happens and conditioner can mute the color. When unsure, test stain on scrap from the same board first.
Why Does My Stain Look Blotchy?
Blotching happens when soft areas of wood soak up more stain than dense areas. It’s common on pine, maple, and cherry. Apply a pre-stain wood conditioner before staining to balance absorption. Also confirm you sanded evenly through each grit—leftover scratches grab extra pigment. Wipe excess stain promptly and always work with the grain for an even tone.
Can I Make Grain Pop Without Stain?
Yes. A clear oil finish alone deepens grain by saturating the wood and boosting natural contrast. Tung oil, linseed oil, and hard wax oil all enrich the figure without adding color. This keeps the wood’s natural tone while adding depth and a wet, dimensional look. It’s the best route when you want texture and grain without changing the wood’s shade.
Conclusion
Grain depth isn’t an accident—it’s a process you control. Sand through each grit, raise the grain with water, knock back the fibers, condition soft woods, then stain and seal with the right finish. Follow that order and flat boards turn into surfaces with real dimension and character.
The payoff is worth the effort. You get richer color, sharper figure, and a professional finish from raw lumber—all while protecting the wood for years. Oil finishes deepen natural texture. Gel stain tames blotch-prone woods. Conditioner keeps your color even.
Learning how to make wood grain pop changes every project you build, from cutting boards to tabletops to trim. The skill compounds: each piece looks better than the last.
Grab a scrap board this weekend and run the full process—sand, raise, condition, stain, seal. Watch the grain come alive under your hands. Once you see the difference, you’ll never finish wood the flat way again.
