
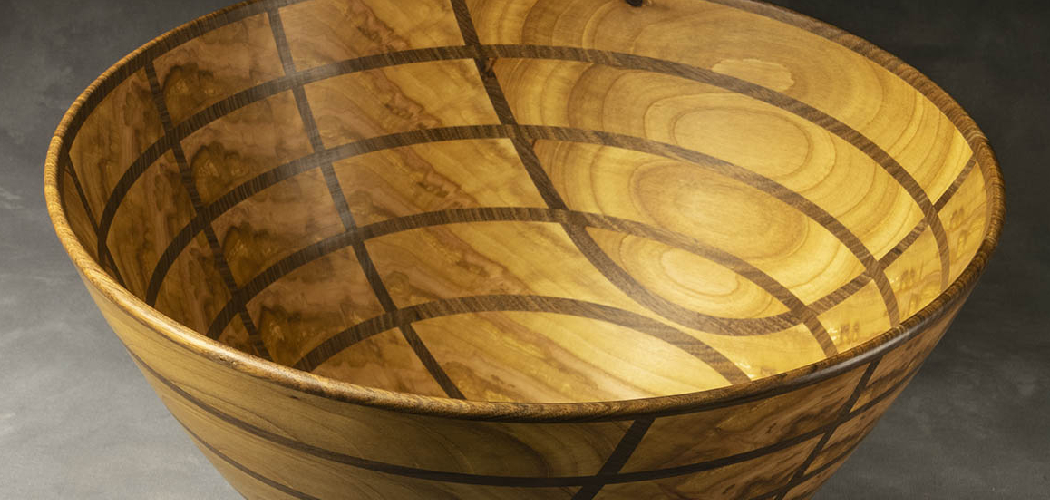
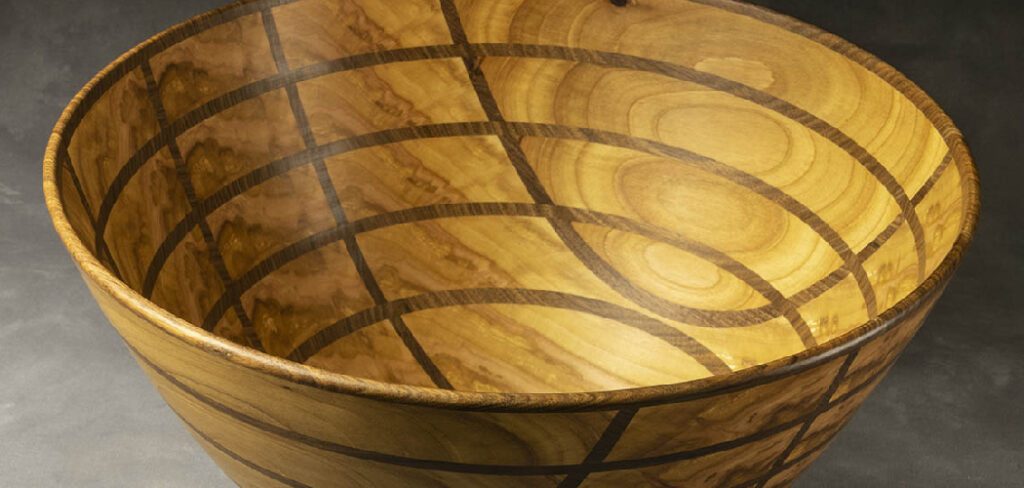
A segmented bowl looks complicated. It isn’t. You glue small wood pieces into rings, stack the rings, and turn the whole thing round on a lathe. The result is a bowl with bold patterns you could never get from a single block of wood.
Learning how to make a segmented bowl gives you full control over color, grain, and shape. You decide where the dark walnut sits and where the light maple breaks it up. Beginners assume this project needs years of practice. The truth is simpler. Master a few clean cuts and tight glue joints, and your first bowl will turn heads. This guide walks you through every step, from cutting segments to applying the final finish.
Why This Matters
Buying a finished segmented bowl costs $80 to $300. Making one costs the price of scrap wood and glue. The math favors you.
But money isn’t the only reason. Segmented turning teaches precision that improves every other woodworking project you touch. You learn to cut exact angles. You learn to clamp without slipping. You learn how wood moves with humidity.
These skills carry forward. A tight glue joint on a bowl means tighter joints on furniture later. Accurate angle cuts on segments mean cleaner miters on picture frames.
You also avoid a costly trap. Many beginners waste expensive lumber on solid-block bowls that crack. Segmented work uses small offcuts. Less waste. Less risk. More finished projects on your shelf.
Tools and Materials You’ll Need
Gather everything before you start. Stopping mid-glue to find a clamp ruins a ring.
- Lathe — turns the stacked bowl round and shapes the walls
- Miter saw or table saw with a sled — cuts precise segment angles
- Bandsaw — rough-cuts blanks and trims excess (optional but speeds work)
- Wood glue — bonds segments with a strong, gap-free joint (PVA or Titebond III)
- Disc sander — flattens each ring before stacking
- Wood segments — hardwood offcuts like maple, walnut, cherry, or oak
- Hose clamp or band clamp — squeezes each ring tight while glue cures
- Calipers — measure wall thickness and check ring diameter
- Bowl gouge and scraper — cut and refine the turned surface
- Sandpaper — grits from 120 to 400 for a smooth finish
- Finish — oil, wax, or lacquer to seal and protect
One optional item earns its place fast: a digital angle gauge. It confirms your saw angle in seconds.
Step-by-Step Guide on How to Make a Segmented Bowl
Step 1 – Plan Your Bowl Design
Start with a sketch. Decide how many rings you want and how many segments fill each ring. A 12-segment ring is forgiving for beginners. More segments mean smaller angle errors but tighter tolerances.
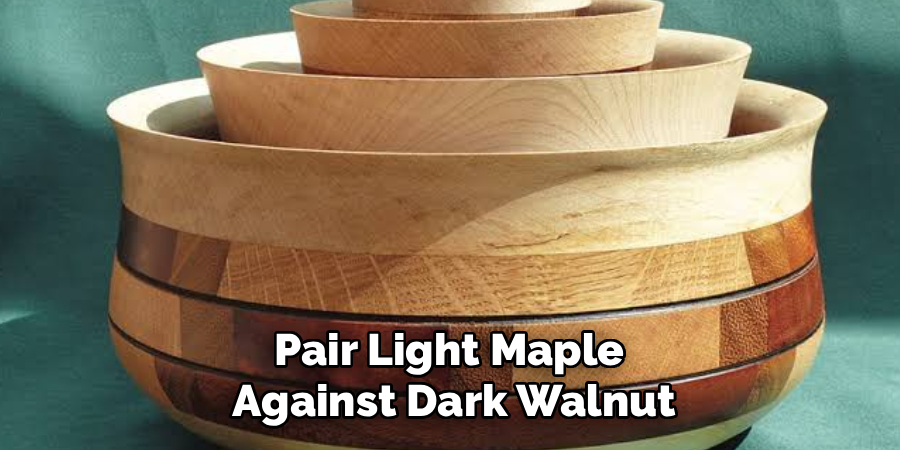
Pick your woods now. Contrast sells the look. Pair light maple against dark walnut so the pattern pops.
Calculate your segment angle. Divide 360 by the number of segments, then halve it. For 12 segments, you cut each end at 15 degrees.
Write down ring diameters and segment lengths on paper. Keep the sheet at your bench. A clear plan prevents the most common beginner mistake — guessing as you go and ending up with rings that don’t match.
Step 2 – Cut Your Wood Segments
Set your saw to the exact angle from your plan. Test it on scrap first. Cut two pieces, fit them together, and check the joint. A clean fit shows no light through the seam.
Cut all segments for one ring at the same time. This keeps every piece identical. Inconsistent lengths throw the ring out of round.
Listen as you cut. A sharp blade slices with a smooth, steady whir. A dull blade chatters and burns the edges. Burn marks mean weak glue joints later.
Stack your cut segments in order. Label rings if you mix woods. Learning how to make a segmented bowl rewards organization here — scattered segments cost you time and accuracy.
Step 3 – Dry-Fit Each Ring
Lay your segments in a circle without glue. This is your test run. The ends should meet with no gaps.
Press the ring together gently. Look at every joint. If you see a wedge of daylight, your angle is slightly off. Even a half-degree error multiplies across 12 segments into a visible gap.
Fix it now. Shave the angle on your sander or recut. A dry-fit takes five minutes. A failed glue-up wastes an hour and a ring of wood.
Run your finger across the inside seam. It should feel flush, not stepped. When the ring closes tight all the way around, you’re ready for glue. Patience here decides whether your bowl looks clean or rough.
Step 4 – Glue and Clamp the Rings
Apply a thin, even layer of wood glue to each segment face. Too much glue creates squeeze-out and a messy joint. Too little starves the bond.
Assemble the segments into a ring on a flat surface. Wrap a band clamp or hose clamp around the outside. Tighten slowly. You’ll hear faint creaks as the joints pull together.
Watch for small beads of glue along every seam. That bead confirms full contact. A dry gap means a weak spot that may split on the lathe.
Wipe away excess with a damp rag. Let the ring cure for at least an hour, longer for full strength. Rushing this step is the fastest way to lose a ring to a cracked joint.
Step 5 – Flatten Each Ring
A flat ring stacks tight. A warped ring leaves gaps that show in the finished bowl.
Run each cured ring across a disc sander or flat sanding board. Press evenly and rotate often. Check your progress against a flat surface or with a straightedge.
You want both faces dead flat and parallel. Hold the ring up to a light. No daylight should sneak under the edge when you set it down.
Sand slowly. Removing too much throws off your wall thickness later. A few light passes beat one heavy grind.
The surface should feel smooth and even under your palm. This flat foundation is what makes the next glue-up clean and gap-free.
Step 6 – Stack and Glue the Rings
Now build your bowl shape. Set your base ring down and test each ring on top, rotating to offset the seams. Staggered joints look better and turn stronger.
Apply an even coat of glue to the mating faces. Center each ring carefully. A ring set off-center wastes wood when you turn it round.
Clamp the stack with even pressure. A press or weighted clamp works well. Check that the rings stay aligned as you tighten.
Let the full stack cure overnight. This is the heart of how to make a segmented bowl that holds together under spinning force. A weak ring joint at high lathe speed is dangerous and disappointing. Strong glue-ups here protect both your project and your hands.
Step 7 – Mount and Turn the Bowl
Attach the glued blank to your lathe using a faceplate or chuck. Spin it by hand first to check for wobble. Adjust until it runs true.
Start the lathe slow. Set your bowl gouge on the rest and take light cuts. You’ll feel the tool slice into the wood and watch ribbons peel away. Smooth ribbons mean a sharp tool and good control.
Shape the outside first, then hollow the inside. Check wall thickness often with calipers. Aim for an even wall, around 6 to 10 millimeters.
Listen for changes in sound. A clean cut hums steadily. A catch makes a sharp bang — back off and reset your angle. Take your time and let the tool do the work.
Step 8 – Sand and Apply Finish
Sanding turns a good bowl into a great one. Start at 120 grit with the lathe running slow. Move up through 180, 240, 320, and 400. Skip no grits — each removes the scratches from the last.
Wipe the dust between grits. Run your fingertips over the surface. It should feel like glass, with no ridges between segments.
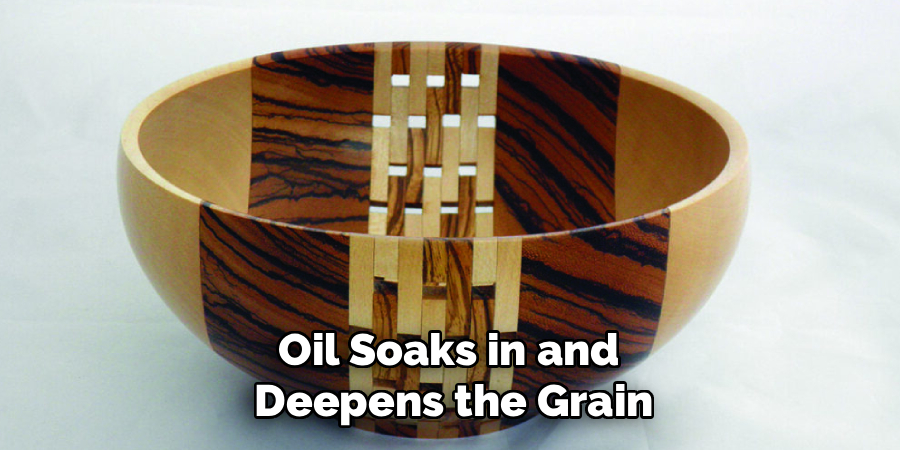
Apply your finish. Oil soaks in and deepens the grain. Wax adds a soft sheen. Lacquer builds a hard, glossy shell. For a first bowl, a wipe-on oil is forgiving and fast.
Let each coat dry, then buff lightly. Two or three thin coats beat one thick one. The finish seals the wood and makes your pattern glow.
Common Mistakes to Avoid
The biggest mistake is a wrong segment angle. A half-degree error per cut seems tiny, but across 12 segments it stacks into a gap you can’t hide. Always test your angle on scrap and dry-fit every ring before glue touches the wood.
Rushing the glue is the second killer. Beginners clamp a ring and start cutting the next within minutes. Wood glue needs time to reach full strength. Turn a bowl too soon and a joint can fly apart at speed. Give every glue-up at least an hour, and stacked rings a full night.
Skipping the flattening step ruins otherwise good work. Warped rings leave visible gaps and weak bonds. Flatten both faces of every ring on a sander until no light shows underneath.
Uneven wall thickness is another trap. Thin spots crack and thick spots look clumsy. Check with calipers as you turn, not after.
Finally, beginners often sand too fast and skip grits. Jumping from 120 to 320 leaves scratches the finish only highlights. Move through every grit in order.
Expert Tips
Cut a few spare segments for every ring. One bad cut won’t stop your build, and matched offcuts save you from recutting a whole batch.
Number your rings with chalk as you stack them. When you offset the seams, the order stays clear and your pattern lines up the way you planned.
Use a glue with a longer open time when you assemble large rings. It gives you seconds to align all segments before the bond grabs.
Sharpen your gouge more often than feels necessary. A keen edge cuts cleaner across glue joints, where dull tools tend to tear. You’ll feel the difference instantly.
One last trick: turn at lower speeds until you trust the blank. Speed adds risk. Control adds quality. Build confidence first, then push the pace.
Frequently Asked Questions
How Many Segments Should a Beginner Use Per Ring?
Start with 12 segments per ring. Twelve gives you a forgiving 15-degree cut angle and rings that close tightly without extreme precision. Fewer segments make each angle error more visible. More segments demand tighter tolerances than most beginners can hold. Once your first bowl turns out clean, move up to 16 or 24 segments for finer detail.
What Wood Glue Works Best for Segmented Bowls?
Use a quality PVA glue like Titebond III. It bonds hardwood with a strong, water-resistant joint and gives you enough open time to align segments. Cured PVA turns cleanly on the lathe without dulling your tools. Avoid thick construction adhesives, which create messy joints and weak spots. Always apply a thin, even coat for the best bond.
How Long Should the Glue Cure Before Turning?
Let single rings cure at least one hour and stacked blanks cure overnight. Wood glue reaches handling strength in about an hour but full strength in 24. Turning a blank before the joints fully set risks a ring flying apart at lathe speed. When in doubt, wait longer. Patience protects both your bowl and your safety.
Do I Need a Lathe to Make a Segmented Bowl?
Yes, a lathe is essential to turn the stacked rings round and hollow the inside. There’s no practical way to shape a true bowl without one. If you don’t own a lathe, check a local makerspace or woodworking club. Many offer lathe access and beginner classes, so you can build your first bowl before buying your own machine.
Why Are There Gaps in My Glue Joints?
Gaps come from inaccurate angle cuts or warped ring faces. If segments don’t meet flush during a dry-fit, your saw angle is slightly off — recut or sand the ends. If rings show gaps when stacked, your faces aren’t flat. Run them across a disc sander until no light shows underneath. Always dry-fit before gluing to catch these issues early.
Conclusion
A segmented bowl proves that small, precise pieces beat one big block. You cut clean angles, glue tight rings, stack them with offset seams, and turn the whole thing into a bowl that shows off your skill. Each step builds on the last. Plan well, dry-fit often, and never rush the glue.
The skills you gain here pay off across your whole shop. Accurate cuts, strong joints, and patient finishing make every future project better. Your first bowl won’t be perfect, and that’s fine. Your second will be sharper. Your fifth will look like it came from a gallery.
Now you know how to make a segmented bowl from scrap wood to finished shine. Gather your offcuts, set your angle, and start cutting. The best way to learn is to make sawdust. Pick two contrasting woods, build one ring today, and let the project grow from there. Your lathe is waiting.
