
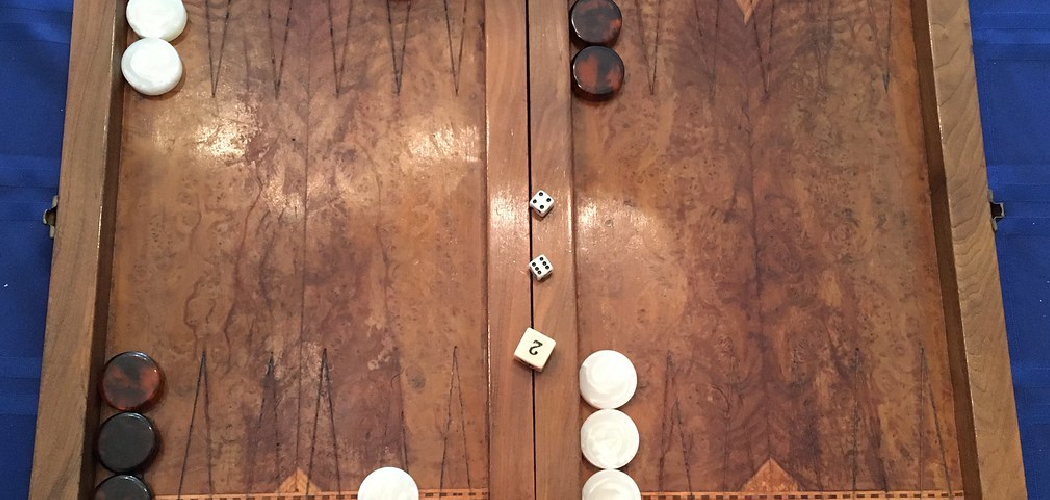
A handmade backgammon board beats anything you’ll find in a store. The weight of solid hardwood, the depth of contrasting points, the way the wood warms under your hands during a long game — none of that comes from a folding cardboard set. Building your own gives you a board that lasts generations and looks like furniture.
It also costs far less than a premium set once you have the materials. Learning how to make backgammon takes patience, basic tools, and a willingness to measure twice. The payoff is a heirloom-quality game board you built yourself. This guide walks you through the full process, from selecting hardwood to applying the final finish, so you end up with a board that plays smooth and looks sharp for decades.
Why Learning This Matters
A quality backgammon set runs $150 or more. Build your own, and you cut that cost while controlling every detail — wood species, point colors, board size, finish.
The skills carry across projects. Cutting accurate points teaches you precision. Gluing up a panel teaches you clamping and flatness. Applying a smooth finish teaches you the final step every woodworker needs. Master these on a backgammon board, and you’re ready for cutting boards, serving trays, and chess boards next.
There’s confidence in it too. Your first clean inlay or tight glue joint changes how you see your own work. You stop buying what you can build. A finished board you made yourself proves the skill is real — and it sits on your table as a daily reminder.
Tools and Materials You’ll Need
Gather everything before you start. Stopping mid-glue to find a clamp ruins a panel.
- Two contrasting hardwoods — maple and walnut give classic light-dark points
- Wood glue — for panel glue-ups and point assembly
- Table saw or circular saw — to rip and crosscut your stock square
- Router and straight bit — to cut clean point inlays or recesses
- Bar clamps — at least four, to hold glue-ups flat and tight
- Random orbital sander — to smooth surfaces through grit progression
- Sandpaper — 80 through 220 grit for a clean final surface
- Wood finish — oil, polyurethane, or wax for protection and shine
- Tape measure, square, and pencil — for accurate layout
- Painter’s tape — to mask crisp glue and finish lines
- Optional: a CNC machine or laser engraver — to cut perfect points fast and add custom detail
Step-by-Step Guide on How To Make Backgammon
Step 1 – Plan Your Board Dimensions
Start with a plan, not a saw. A standard backgammon board measures about 18 inches wide by 16 inches deep when open, with two equal halves split by a center bar. Each half holds 12 points arranged six per side.
Sketch your layout on paper first. Mark the width of each point — usually 1.25 inches at the base — and the gap between them. Decide how long the points will be, typically 5 to 6 inches, leaving room for stacked checkers.
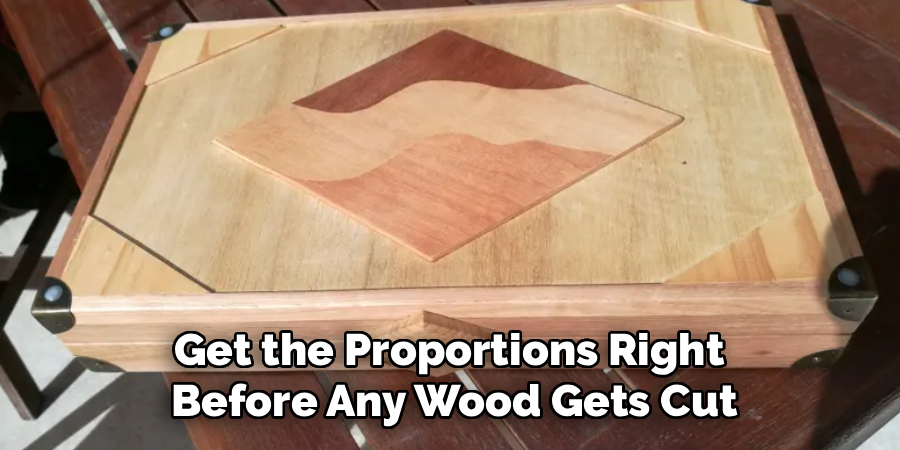
Knowing how to make backgammon that plays well starts here, on paper. Get the proportions right before any wood gets cut. A point too narrow crowds the checkers; too wide, and the board looks clumsy. Measure your own checkers and size the points to fit them snugly.
Step 2 – Select and Mill Your Hardwood
Choose two contrasting hardwoods for visual punch. Maple and walnut are the classic pairing — light against dark, easy to source, stable over time. Cherry, mahogany, and padauk also work if you want warmer tones.
Mill your boards flat and square. Run them through a planer or sand them until each face feels smooth and even under your palm. Cup or twist in the stock will telegraph through the finished board, so check for flatness against a known straight edge.
Listen as you plane — a clean cut hisses smoothly, while tearout chatters and leaves a rough patch. Aim for surfaces that feel glassy before glue-up. Quality wood prep here saves hours of sanding later and gives every point a crisp, clean line.
Step 3 – Cut the Points
Now cut your triangular points. Set your table saw or miter gauge to slice consistent triangles from both wood colors. Each point should taper from its 1.25-inch base to a fine tip.
Cut a few extra. Test pieces let you dial in the angle before committing your good stock. The triangles should match each other exactly — uneven points stand out the moment the board is assembled.
Run your thumb along each cut edge. It should feel sharp and clean, with no fuzz or torn grain. A crisp tip means a tight fit later. Sloppy cuts leave gaps that glue won’t hide. Sort your finished points into light and dark piles, keeping the cleanest ones for the most visible spots on the board.
Step 4 – Glue Up the Playing Field
Arrange your points in alternating colors across each half of the board. Lay them out dry first, checking the pattern and spacing before any glue touches the wood.
Spread a thin, even layer of glue on each mating edge. Too much glue squeezes out and stains the surface; too little leaves a weak joint. Press the points together and watch for a small, even bead of squeeze-out — that’s the sign of a solid bond.
Clamp the assembly flat and tight. You’ll hear the clamps creak as they pull the joints closed. Wipe away wet glue immediately with a damp cloth, since dried squeeze-out blocks finish and shows as pale streaks. Let it cure fully before moving on.
Step 5 – Build the Frame and Center Bar
Frame the board to hold everything together and protect the edges. Cut four border pieces from one of your hardwoods, mitering the corners at 45 degrees for clean joints.
The center bar splits the board into two halves and holds checkers that have been hit. Cut it to match the board’s depth and glue it down the middle, square to the frame. Check it with your square — even a slight tilt throws off the symmetry.
Dry-fit the frame before gluing. Each corner should close tight with no gap. When you press the miters together, they should meet in a crisp line you can barely feel. Clamp the frame, confirm everything sits flat, and let the glue set before sanding.
Step 6 – Sand to a Smooth Finish
Sanding makes or breaks the final look. Start with 80 grit to level any glue squeeze-out and uneven points, then work up through 120, 150, and 220.
Sand with the grain, not across it. Cross-grain scratches catch the finish and show as cloudy streaks. After each grit, wipe the surface clean and run your hand across it — the wood should feel smoother with every pass, until 220 leaves it silky.
Pay attention where light and dark woods meet. Over-sanding can blend dark dust into the lighter wood, muddying the crisp line between points. Use a light touch at those seams. A well-sanded board reflects light evenly and feels cool and smooth, ready to take a clean, lasting finish.
Step 7 – Apply the Wood Finish
Finish protects the board and brings the grain to life. Choose oil for a natural matte look, polyurethane for a durable hard coat, or a wax for a soft sheen.
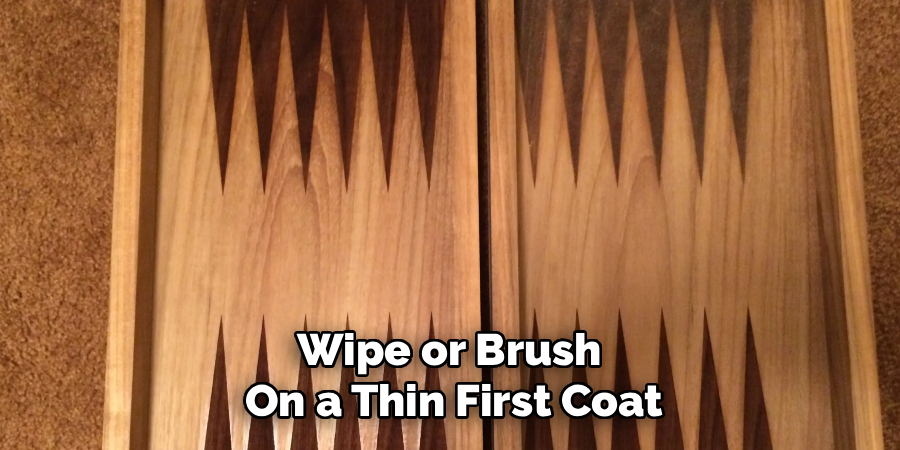
Wipe or brush on a thin first coat, following the grain. The wood will darken instantly and the contrast between your points will jump out. Let it dry fully, then sand lightly with 320 grit to knock down any raised fibers you feel under your fingertips.
Apply two or three coats for solid protection. Each layer should go on thin and even — thick coats run, pool, and dry sticky. Knowing how to make backgammon that survives years of play comes down to this finish. A smooth, well-sealed surface lets checkers slide cleanly and wipes clean in seconds.
Step 8 – Add Hinges and Final Details
Turn your board into a case if you want it to fold and store checkers inside. Cut the board in half along the center, then join the two halves with a piano hinge or two brass butt hinges.
Mortise the hinges flush so the board closes flat. A hinge sitting proud leaves a gap and stresses the screws. Test the fold a few times — it should swing smoothly with a quiet, solid action, not a grind.
Add a simple latch or clasp to keep it shut. Sand and finish any new cuts to match the rest of the board. These final touches turn a flat playing surface into a complete, portable game you’ll be proud to bring out at any gathering.
Common Mistakes to Avoid
The biggest mistake is inaccurate point cutting. Backgammon points must match in size and angle, and even a half-degree error multiplies across 24 triangles. By the last point, your pattern drifts visibly. Cut test pieces first, lock in your saw setup, and check every triangle against your first clean one before you trust it.
The second common error is rushing the glue-up. Spread glue too thick and it squeezes onto the surface, drying into pale blotches that reject finish. Spread it too thin and joints fail under clamping pressure. Aim for a thin, even coat and a small, consistent bead of squeeze-out, then wipe it clean while wet.
Sanding across the grain causes trouble too. Cross-grain scratches stay invisible on bare wood but show up the instant finish hits them. Always sand with the grain, and step through your grits in order without skipping.
Skipping flatness checks ruins boards. Cupped or twisted stock looks fine until assembly, then rocks on the table and throws off your points. Confirm every board is flat before glue-up.
Finally, applying finish too thick leaves a sticky, runny mess. Thin coats dry fast and build a smooth, durable surface.
Expert Tips
Build a cutting jig before you cut a single point. A simple sled with a stop block lets you cut identical triangles every time, removing guesswork and keeping your pattern dead consistent across the whole board.
Number your points lightly in pencil during dry-fit. When glue-up gets hectic and squeeze-out spreads, those marks keep your alternating color pattern from getting scrambled.
Finish a test scrap from the same boards first. Different woods absorb finish differently, and walnut darkens far more than maple. Testing shows you the real contrast before you commit to the actual board.
Sand the frame and field separately before final assembly when you can. Reaching tight inside corners after the frame is on is slow and frustrating. And always let glue cure overnight — pushing a fresh joint into the next step opens gaps you can’t fix.
Frequently Asked Questions
What Are the Best Woods for a Backgammon Board?
Maple and walnut are the best pairing for most builders. They offer strong light-dark contrast, mill cleanly, and stay stable over time. Maple gives crisp, pale points while walnut delivers rich, dark ones. Cherry, mahogany, and padauk also work well if you want warmer tones. Choose two woods with clear contrast so your points read clearly across the board during play.
How Long Does It Take to Build a Backgammon Board?
A backgammon board takes 10 to 15 hours of work spread across several days. Cutting and gluing the points is the longest stage, and glue needs overnight curing between steps. Sanding and finishing add several more hours, with drying time between coats. Don’t rush the curing and drying stages. The waiting protects your joints and gives you the smooth, lasting finish that makes the board worth building.
Do I Need Expensive Tools to Make a Backgammon Board?
No. A circular saw, a few clamps, and an orbital sander cover the basics. A table saw and router make point cutting faster and cleaner, but they aren’t required. Patience and accurate measuring matter more than expensive equipment. Many builders complete their first board with hand tools and careful layout. Start with what you own, and add tools only as your projects grow more ambitious.
What Size Should a Backgammon Board Be?
A standard backgammon board measures roughly 18 inches wide by 16 inches deep when open. Each point spans about 1.25 inches at the base and runs 5 to 6 inches long. Size the points to fit your specific checkers — they should stack without crowding. Measure your checkers first, then build the board around them. Matching the board to your pieces guarantees comfortable, clean gameplay every time.
How Do I Make My Board Last Longer?
Apply a quality finish and reapply it as needed. Two or three thin coats of polyurethane or oil seal the wood against moisture, spills, and daily wear. Keep the board out of direct sunlight and away from heat, which can warp the panel over time. Wipe it clean with a soft, dry cloth. A well-finished, well-stored board plays smooth and looks sharp for decades.
Conclusion
A handmade backgammon board rewards careful work like few other projects. Master the fundamentals of how to make backgammon — accurate point cutting, clean glue-ups, flat sanding, and thin, even finish coats — and you build a game board that lasts generations.
Remember the rules that matter most. Cut test pieces before trusting your saw setup. Spread glue thin and wipe squeeze-out while it’s wet. Sand with the grain, never across it. Build your finish in thin layers, not thick ones. Each step builds on the last, so don’t rush the glue and drying stages.
Every board you build sharpens your skills. The first points feel slow and uncertain. By the final coat, you’re reading the wood and working with confidence. That progress is the real reward of doing it yourself.
So sketch your layout, choose your hardwoods, and start cutting. The board you finish will play smooth, look like furniture, and stand as proof of work you did with your own hands. Grab your pencil and get started.
