
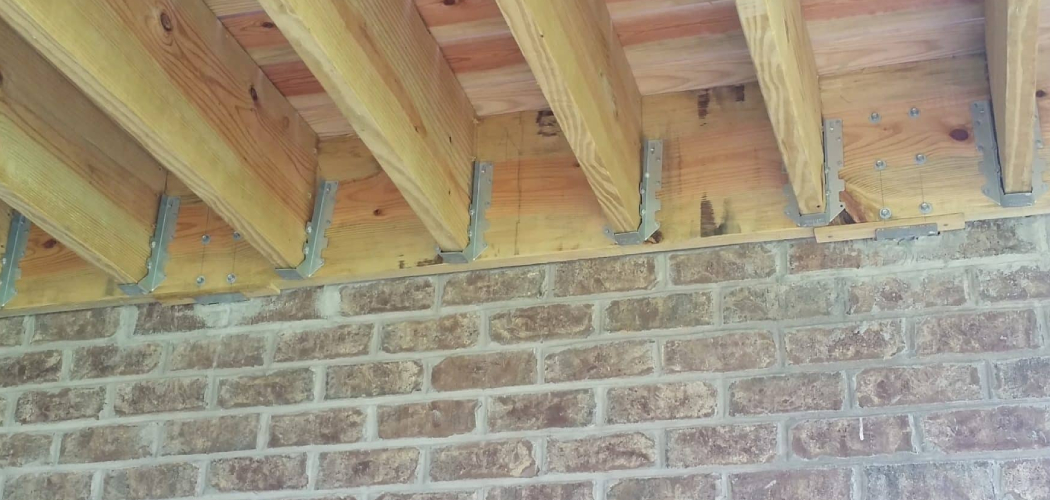
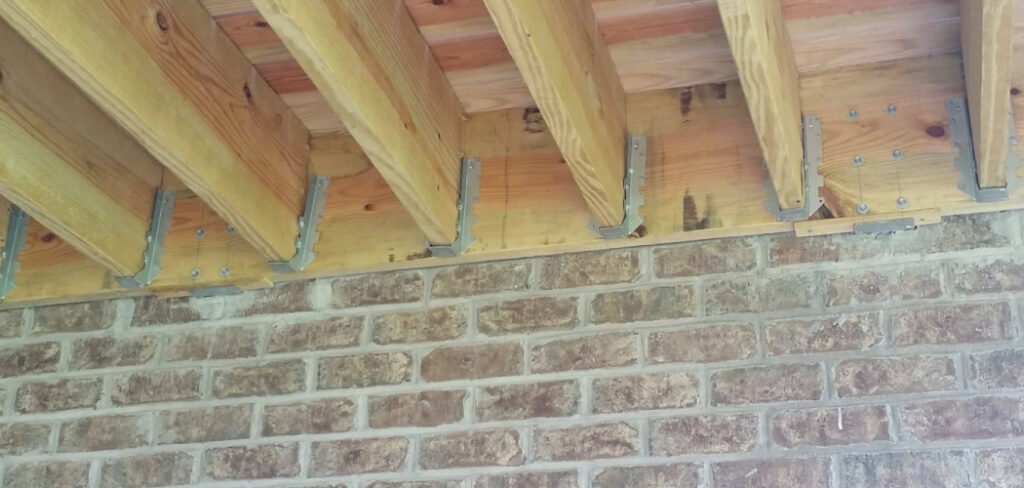
Brick feels permanent. Wood feels workable. Put them together, and a lot of people freeze.
That hesitation is fair. Brick is hard, dense, and unforgiving. Drill it wrong, and you crack a face. Anchor it wrong, and your shelf pulls loose in a month.
But here’s the truth: attaching wood to brick is one of the most useful skills a DIYer can own. A floating shelf. A mantel. A ledger board for a deck. A trellis. All of them start at this exact joint.
Once you understand how the two materials work together, the fear disappears. You stop guessing. You start building. This guide walks you through how to attach wood to brick step by step, so your project holds tight and stays put for years.
Why Attaching Wood to Brick Matters
Most people pay someone for this. You don’t have to.
A handyman charges by the hour. A simple ledger board or mantel mount can cost you a small fortune in labor alone. Learn this once, and you keep that money. Every time.
There’s confidence in it too. Brick intimidates beginners. The first hole you drill feels like a gamble. By your third, you’re calm. By your fifth, you’re fast.
The bigger reward is safety. A shelf that falls is more than annoying. A ledger board that fails is dangerous. Knowing the right anchor, the right depth, and the right fastener means your work holds real weight without surprises.
Save money. Build confidence. Avoid costly mistakes. That’s what this one skill gives you. And it carries straight into bigger projects down the road.
Tools and Materials You’ll Need
Get everything in one place before you start. A clean setup keeps your focus where it belongs.
- Hammer drill – a regular drill struggles in brick; a hammer drill pounds as it spins
- Masonry drill bits – carbide-tipped, sized to match your anchors
- Concrete screws (Tapcon screws) – or sleeve anchors for heavier loads
- Masonry anchors or wall plugs – for screws that need a grip in the hole
- Wood ledger board or your project wood – pressure-treated for outdoor use
- Exterior wood fasteners – galvanized or stainless to resist rust
- Level and tape measure – for accurate, square layout
- Pencil or marker – to mark drill points
- Safety glasses and dust mask – brick dust is sharp and fine
- Vacuum or blower – to clear dust from each hole
Optional but handy: a masonry adhesive (construction epoxy) adds extra holding power for non-structural pieces and seals gaps against moisture.
Step-by-Step Guide on How to Attach Wood to Brick
Step 1 – Plan Your Layout and Mark Your Points
Start with measurement, not the drill. A few minutes here saves hours later.
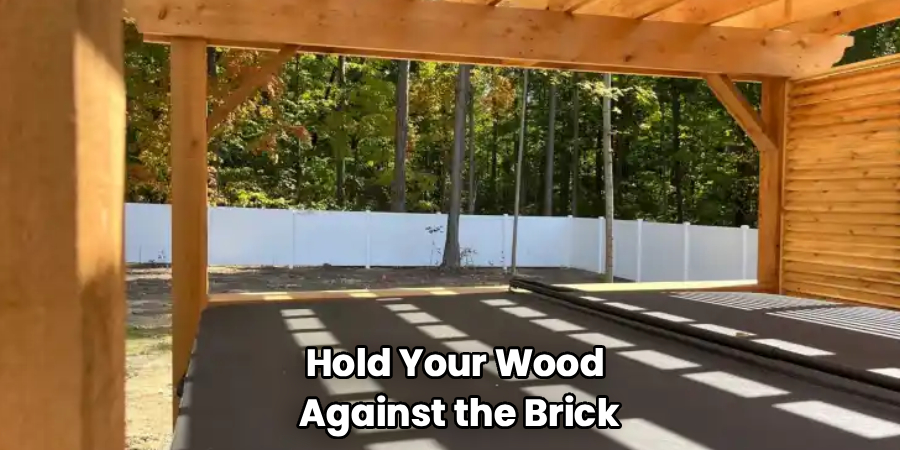
Hold your wood against the brick where you want it. Use a level to set it dead straight. A bubble off-center means a crooked shelf later, and your eye will catch it every time.
Mark each fastener point through the wood with a pencil. Aim for the brick itself, not the mortar lines, when you need strong holding power. Solid brick grips an anchor far better than soft mortar.
Space your marks evenly. For a ledger board, follow the load requirements, usually every 16 inches. Knowing how to attach wood to brick starts with this layout, because every hole you drill depends on it being right.
Step 2 – Choose the Right Anchor for the Load
Match the anchor to the weight. This single choice decides whether your work holds.
For light items like a small shelf, concrete screws (Tapcon screws) drive straight into a pre-drilled hole and grip fast. You’ll feel them bite as they go.
For heavier loads, a mantel, a cabinet, a structural attachment, step up to sleeve anchors or wedge anchors. These expand inside the hole and lock against the brick with serious force.
Outdoors, always pick exterior wood fasteners rated for weather. Galvanized or stainless steel resists rust. A cheap zinc screw will streak and weaken within a season.
When unsure, size up. An anchor that’s too strong costs you nothing. One that’s too weak costs you the whole project.
Step 3 – Set Up Your Hammer Drill
Now the tools come alive. Fit a carbide masonry bit that matches your anchor size exactly.
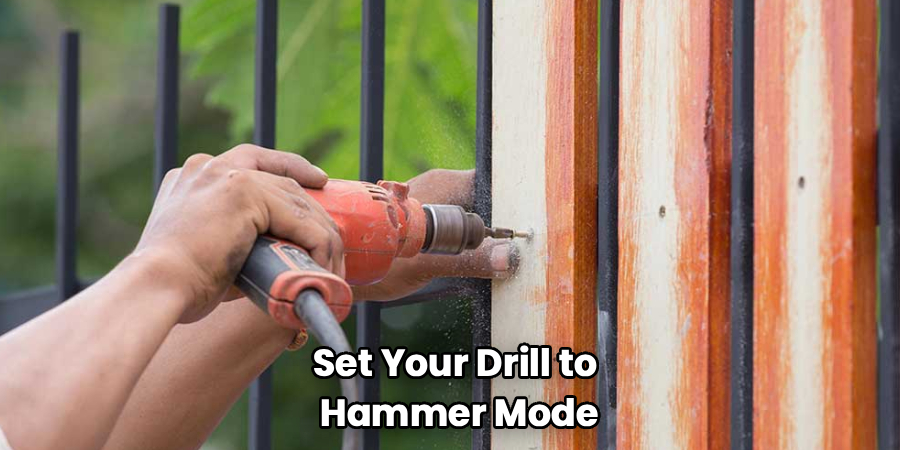
Set your drill to hammer mode. You’ll hear the difference immediately, a rapid, rattling punch instead of a smooth spin. That pounding action is what breaks through dense brick.
Mark your drill depth with a strip of tape on the bit. Measure your anchor length and add a quarter inch for dust clearance. The tape tells you when to stop, so you don’t drill too deep or too shallow.
Put on your safety glasses and dust mask now. Brick dust is fine, sharp, and it flies. Test the drill against scrap or a hidden spot first to feel how the bit bites before you commit to your marked points.
Step 4 – Drill Your Pilot Holes
Line up the bit on your first mark. Hold the drill level and steady, square to the wall.
Start slow. Let the bit find its spot before you add pressure. Push too hard too fast, and the bit wanders, leaving an oversized, sloppy hole.
As you drill, you’ll feel the brick give way in a steady grind. Red or brown dust will spill out, a good sign you’re in solid brick. If the dust turns gray and the drilling feels easy, you’ve hit mortar, so adjust your aim if you need brick.
Keep the drill straight through the whole hole. A tilted hole means a tilted anchor. Drill each marked point to your taped depth, then ease the bit out while it’s still spinning.
Step 5 – Clean Out the Holes
Don’t skip this. Dust is the enemy of a strong anchor.
Each hole fills with fine powder as you drill. Leave it there, and your anchor sits on a bed of loose grit instead of gripping solid brick. The hold weakens before you even hang anything.
Blow the dust out with a blower, a can of compressed air, or a vacuum nozzle. You’ll see the powder puff out in a small cloud. Run a thin brush in and out if you have one.
Check each hole by eye. A clean hole shows crisp, solid walls. A dusty one looks hazy and packed. This is the quiet step that separates anchors that hold for years from ones that loosen in weeks.
Step 6 – Position the Wood and Insert Fasteners
Bring the wood back up to the wall. Line your drilled holes with your pencil marks, and recheck level one more time.
For concrete screws, drive them through the wood directly into the clean holes. You’ll feel firm, steady resistance as the threads cut into the brick. That tension means a solid grip.
For sleeve or wedge anchors, slide them through the wood and into the hole, then tighten. The anchor body expands and clamps against the brick walls. You’ll feel it suddenly snug up and stop.
This is the heart of how to attach wood to brick, the moment two stubborn materials become one. Snug each fastener firmly, but don’t overtighten. Crushed wood fibers or a stripped anchor undo all your careful work.
Step 7 – Check Alignment and Tighten Evenly
Pause before the final crank. Tightening order matters.
Work from one end to the other, or from the center out, snugging each fastener a little at a time. Even pressure keeps the wood flat against the brick. Crank one fastener fully first, and you’ll pull the board into a slight twist.
Run your hand along the wood. It should sit flush and tight with no gaps behind it. A visible gap means uneven tightening or an unseen high spot on the brick.
Give the wood a firm push and pull. Solid mounting won’t budge or creak. Any wobble or movement tells you an anchor isn’t fully seated, so back it out, check the hole, and reset it before you trust it with weight.
Step 8 – Seal and Finish for Protection
The hold is done. Now protect it for the long haul.
Outdoors, run a bead of exterior caulk or masonry adhesive along the top edge where wood meets brick. This blocks rainwater from sneaking behind the board and rotting it from the back.
Wipe away the excess with a damp finger for a clean line. A smooth, even bead looks tidy and sheds water. A lumpy one traps moisture and looks rough.
Seal any exposed fastener heads against rust if they’ll face the weather. A dab of paint or sealant does it.
Let everything cure fully before you load the wood with weight. Patience here protects all the work behind it, and gives you a mount that shrugs off seasons of rain, sun, and use.
Common Mistakes to Avoid
The most common error is using a regular drill instead of a hammer drill. A standard drill spins, but it can’t punch through dense brick. You’ll burn out the bit, overheat the motor, and end up with a shallow, ragged hole that no anchor can grip. The hammer action does the real work, so use the right tool from the start.
Another frequent slip is drilling into mortar when the load needs brick. Mortar is softer and easier to drill, which tempts beginners. But mortar crumbles under stress and won’t hold a heavy anchor. For real weight, aim for the solid brick face every time.
Skipping the dust cleanout ruins more anchors than people realize. A hole packed with powder gives your anchor nothing solid to bite. It feels tight when you set it, then loosens within weeks. Always blow each hole clean before you fasten.
Many people also pick the wrong fastener for the job. A small concrete screw won’t hold a loaded mantel, and an oversized wedge anchor can split a thin brick. Match the anchor to both the load and the brick.
Finally, don’t ignore weather. Indoor screws rust fast outside, staining your wall and failing early. Use exterior wood fasteners outdoors, always.
Expert Tips
A few habits separate clean work from frustrating work. Keep a spare masonry bit on hand. Carbide tips dull faster than you expect in hard brick, and a dull bit wanders, smokes, and works twice as slow. Swap it the moment drilling feels sluggish.
Drill into the brick face, not the mortar, whenever you need strong holding power. Brick is denser and grips anchors far better. Save the mortar joints for light, decorative pieces only.
Vacuum as you drill. Hold the nozzle right beside the bit, and you catch the dust before it coats your floor and clouds your view of the marks.
For anything structural, like a deck ledger board, check local code and load ratings before you buy anchors. Guessing on a structural attachment is never worth the risk.
Frequently Asked Questions
Can I Attach Wood to Brick Without Drilling?
Yes, for light items. A strong masonry adhesive or construction epoxy can bond small wood pieces, trim, or decorations directly to clean, dry brick. It works well for non-structural projects that carry little weight. But for shelves, mantels, ledger boards, or anything load-bearing, adhesive alone isn’t safe. Those need mechanical anchors drilled into the brick to hold real weight reliably and prevent dangerous failures over time.
What Screws Are Best for Attaching Wood to Brick?
Concrete screws, often called Tapcon screws, are the go-to choice for most jobs. They drive into a pre-drilled hole and grip the brick directly, no separate plug needed. For heavier loads, sleeve anchors or wedge anchors hold far more force. Outdoors, always choose galvanized or stainless steel exterior wood fasteners so they resist rust and last through years of weather without staining your wall.
Do I Need a Hammer Drill for Brick?
For real results, yes. A hammer drill combines spinning with a rapid pounding action that breaks through dense brick cleanly and quickly. A regular drill can sometimes manage one small hole, but it strains the motor, dulls bits fast, and leaves ragged holes. If you’re drilling more than a single hole, a hammer drill saves your tools, your time, and your patience.
Should I Drill Into the Brick or the Mortar?
It depends on the load. For strong, weight-bearing attachments, drill into the solid brick face. Brick is dense and grips anchors firmly. Mortar joints are softer and easier to drill, but they crumble under stress and can’t hold heavy weight reliably. Reserve mortar for light, decorative pieces only. When in doubt, choose brick for any project that must hold real weight safely.
How Much Weight Can Wood Attached to Brick Hold?
It depends entirely on your anchors and brick condition. Concrete screws in solid brick can hold light to medium shelves easily. Sleeve and wedge anchors hold far more, supporting mantels and cabinets when properly sized and spaced. Old, cracked, or hollow brick holds less. For structural loads like deck ledger boards, follow local building codes and rated anchor specs rather than guessing at capacity.
Conclusion
Brick stops being intimidating once you understand the joint. You plan your layout. You match the anchor to the load. You drill clean, clear the dust, and tighten evenly. That’s the whole rhythm.
Each step builds on the last. The right hammer drill cuts the hole. The right anchor grips the brick. The right fastener carries the weight. Get those three right, and your work holds.
Your first project might feel slow. That’s normal. By the second, your hands move with quiet confidence. By the third, you’re planning bigger builds, shelves, mantels, trellises, ledger boards, knowing the foundation will hold.
You’ve now seen how to attach wood to brick from the first pencil mark to the final bead of sealant. The skill is yours. The savings are yours. The confidence is yours.
So pick your project. Gather your tools. Mark your first hole this weekend, and watch wood and brick lock together into something solid that lasts for years.
