
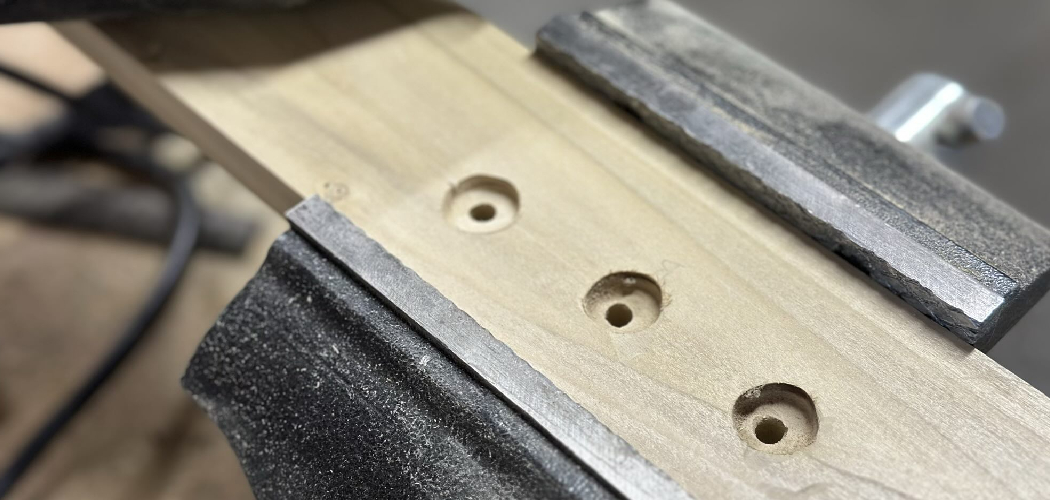
A wide hole done wrong splits your board, tears the surface, and wastes good lumber. Done right, it comes out clean, round, and ready for a cable pass-through, a pipe fitting, or a hidden joint. The difference comes down to the bit you pick and the technique you use. Learning how to drill a wide hole in wood saves you money, protects your workpiece, and gives you results that look professional every time.
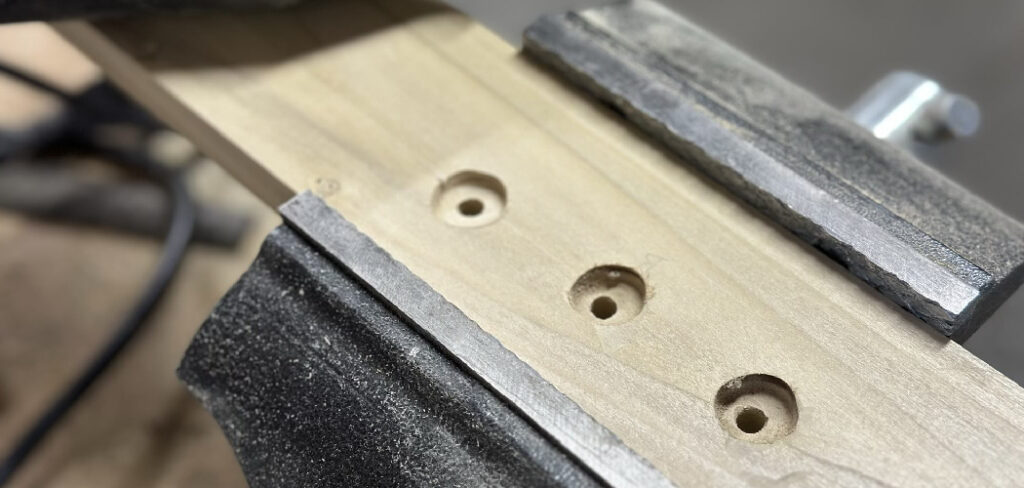
You don’t need a shop full of gear. You need the right cutting tool, a steady setup, and a few habits the pros rely on. This guide walks you through every bit type, every step, and every mistake to dodge — so your next large diameter hole comes out perfect on the first try.
Why This Matters
Most beginners ruin a board on the back side. The bit punches through, lifts the grain, and leaves a ragged crater of tear-out. That damage shows in finished work and weakens the joint. Master this skill and you stop scrapping material.
Clean wide holes open up real projects. You run wiring through a desk, fit a faucet into a butcher block, mount a closet rod, or build speaker enclosures that seal tight. Each job needs a smooth, accurate bore — not a chewed-up gap.
The skill also builds confidence. Once you control bit speed, pressure, and backing, you trust yourself with bigger cuts. You stop fearing the drill press and start using it as the precision tool it is. One afternoon of practice pays off across every build you tackle next.
Tools and Materials You’ll Need
Match the tool to the hole. Each bit cuts a different range of diameters and leaves a different finish.
- Hole saw — cuts large diameter holes from 1 to 6+ inches, ideal for pipes and pass-throughs.
- Spade bit — bores fast, rough holes from ½ to 1½ inches for hidden or non-finish work.
- Forstner bit — delivers the cleanest, flattest-bottomed holes up to 2+ inches.
- Drill press — holds the bit square and controls depth better than any handheld drill.
- Corded power drill — drives wide bits with steady torque when no press is available.
- Backing board — scrap stock that prevents tear-out on the exit side.
- Clamps — lock your workpiece so it can’t spin or shift.
- Tape measure and pencil — mark your center point accurately.
- Optional: drilling guide jig — keeps handheld holes perfectly vertical.
Step-by-Step Guide on How to Drill a Wide Hole in Wood
Step 1 – Choose the Right Bit
Pick your bit before you touch the wood. The choice decides your finish, your speed, and your accuracy.
Reach for a spade bit when the hole stays hidden and speed matters more than looks. It chews through fast but leaves rough walls and splintered edges.
Grab a Forstner bit when the hole shows or needs a flat bottom. It cuts slow, clean, and precise — perfect for furniture and visible joints.
Use a hole saw for anything over two inches, like running pipe or cutting speaker ports. It carves the perimeter and leaves a center plug.
Knowing how to drill a wide hole in wood starts here. The right bit turns a hard job into a smooth one. Match the tool to the task, and half the battle’s already won.
Step 2 – Mark Your Center Point
Accuracy starts with the mark. A wide bit follows its center, so a sloppy mark throws off the whole hole.
Measure twice from your reference edges. Where the two lines cross, that’s your center. Press a pencil dot or, better, tap an awl to make a small dimple.
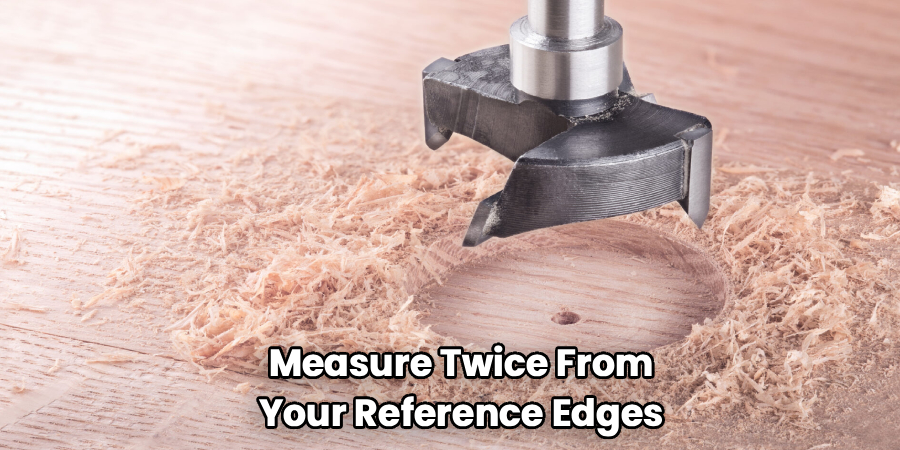
That dimple matters more than you’d think. It catches the bit’s center spur and stops it from wandering across the surface when you start.
Run your finger over the spot. You should feel a slight divot, not just a graphite smudge. On a Forstner bit or spade bit, that center point grips and holds the cut true.
Skip this step and the bit skates. You’ll hear it screech sideways and watch your clean line turn into a scarred mess.
Step 3 – Clamp and Support the Workpiece
A spinning wide bit grabs hard. If your board isn’t locked down, it’ll spin with the bit and gash your hands.
Clamp the workpiece firmly to your bench or drill press table. Push on it before you drill — it shouldn’t budge even slightly.
Place a backing board directly under the spot you’re drilling. This scrap stock supports the wood fibers as the bit breaks through, which kills tear-out on the exit side.
You’ll know it’s solid when there’s no rattle or flex. A loose setup buzzes and vibrates the second the bit bites.
Tight clamps and a good backing board separate clean work from ruined boards. Take the extra minute here. It’s far faster than scrapping a split panel and starting over.
Step 4 – Set the Correct RPM
Speed kills wide holes — too much of it, anyway. The bigger the bit, the slower it should spin.
A large hole saw or Forstner bit needs low RPM, often under 500. A small spade bit handles higher speeds without trouble. Run a big bit too fast and you’ll smell scorched wood and see dark burn rings on the walls.
On a drill press, set the belt or dial to the slow range for any bit over an inch. On a handheld drill, feather the trigger to keep it controlled.
Listen as you cut. A steady, low growl means you’ve got it right. A high-pitched whine or smoking edge means slow down now, before you glaze the wood and dull the bit.
Step 5 – Drill a Pilot Hole
A pilot hole guides your bit and steadies the cut. It’s a small precaution that saves big headaches.
Hole saws need one most. Their center drill bit acts as the pilot, anchoring the saw so the teeth bite evenly instead of skating across the surface.
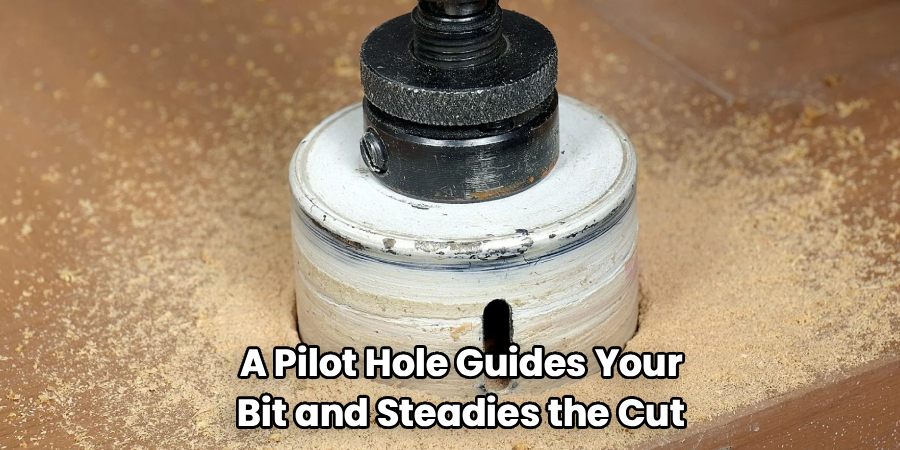
For very large Forstner work, drill a shallow starter recess first. It seats the bit’s rim and keeps it from chattering when the full cutting edge engages.
Spade bits with a long center spur usually self-pilot, so you can often skip this one.
You’ll feel the difference right away. A piloted bit enters smooth and stays centered. Without it, the bit dances, gouges the surface, and wanders off your mark before it ever cuts deep.
Step 6 – Start Slow and Steady
The first few seconds decide everything. Ease into the cut and the bit tracks true; rush it and you tear the surface.
Line the bit up dead vertical over your center mark. On a drill press, this is automatic. By hand, use a square or drilling guide to check your angle.
Start the drill at low speed and apply light pressure. Let the bit’s cutting edge score a clean ring before you push harder.
Watch the entry. Clean wood boring shows crisp shavings curling out and a sharp, defined rim. A bad start splinters the edge and lifts the grain.
This is the heart of how to drill a wide hole in wood: patience at the start. Once the bit seats fully, you can settle into a steady rhythm.
Step 7 – Maintain Even Pressure
Once the bit’s seated, your job is consistency. Push too hard and you stall the motor or burn the wood. Push too soft and the bit rubs instead of cutting.
Apply firm, even pressure and let the bit do the work. You should feel steady resistance and see a constant stream of chips clearing the hole.
Back the bit out every few seconds on deep cuts. This clears packed shavings and lets heat escape, which keeps the walls cool and clean.
Listen for that consistent cutting growl. If the sound climbs to a whine or the chips stop flowing, ease off and clear the debris. Smooth, repeated strokes build a clean bore far better than one hard, impatient shove that scorches the grain.
Step 8 – Break Through Cleanly
The exit side is where wide holes go wrong. Punch through fast and the bit blows out a ragged crater on the back.
Slow down as you near the bottom. With a backing board clamped tight underneath, the fibers stay supported and shear off clean instead of splintering.
No backing board handy? Drill halfway from the front, then flip the board and finish from the back so both faces stay crisp.
You’ll know you nailed it when the back edge looks as sharp as the front — round, smooth, and free of tear-out.
A blown-out exit shows torn fibers fanning around the hole. That’s the telltale sign of rushing the finish. Ease off the pressure for the last quarter inch and let the bit slice through.
Step 9 – Clean and Finish the Hole
A raw hole often needs a light touch to look finished. Inspect the walls and edges before you call it done.
Run your finger around the rim. Catch any fuzz, splinters, or rough spots and smooth them with fine sandpaper or a small round file.
For a hole saw cut, knock out the leftover plug and sand the inner wall if it’ll show. Forstner holes usually need little more than a quick pass.
Blow out the dust and check the fit with whatever’s going through — pipe, dowel, or cable. It should slide in snug without forcing.
A clean, smooth hole with crisp edges on both faces is your goal. That polished finish is what separates careful work from a hacked-up board.
Common Mistakes to Avoid
The most common mistake is spinning a wide bit too fast. Beginners crank the drill to full speed and burn the wood, leaving scorched walls and a dull bit. Big bits need low RPM. Slow the speed, listen for a steady growl, and the cut stays cool and clean.
Skipping the backing board ranks a close second. Without scrap stock under the workpiece, the bit blows out the exit side and leaves an ugly crater of tear-out. Always clamp a backing board behind the cut, or drill from both faces to keep edges crisp.
Many people also forget to clamp the workpiece. A wide bit grabs hard and can spin a loose board into a dangerous blur. Lock it down tight every time — no exceptions.
Picking the wrong bit ruins finish work too. A spade bit on a visible surface leaves rough, splintered walls. Use a Forstner bit when looks matter and save the spade for hidden cuts.
Finally, rushing the breakthrough wrecks otherwise good work. Pushing hard at the exit splits the grain. Ease off for the last quarter inch and let the bit slice through on its own.
Expert Tips
Sharpen or replace dull bits before big cuts. A sharp Forstner bit slices clean; a dull one burns and chatters no matter how slow you go. Sharp tools cut faster and safer.
Use a drill press whenever the diameter tops one inch. It holds the bit perfectly square and lets you control depth with the stop, something no handheld drill matches.
For oversized holes a hole saw can’t reach, drill a smaller hole first, then upsize with a larger bit. Stepping up keeps the cut controlled.
Clear chips often on deep bores. Packed shavings trap heat and scorch the walls. Back out every few seconds.
When you need a flat-bottomed hole that stops partway through, set a depth stop on the drill press and use a Forstner bit. Nothing else comes close.
Frequently Asked Questions
What’s the Best Bit for Drilling Large Holes in Wood?
It depends on the finish you need. Use a Forstner bit for clean, flat-bottomed holes up to about two inches, ideal for visible furniture work. Reach for a hole saw on anything over two inches, like pipe pass-throughs. Pick a spade bit for fast, rough holes that stay hidden. Match the bit to the job for the best result.
How Do I Stop Tear-Out When Drilling Wide Holes?
Clamp a backing board tightly behind your workpiece. The scrap stock supports the wood fibers as the bit breaks through, so they shear off clean instead of splintering. If you have no backing board, drill halfway from the front, then flip the board and finish from the back. Slowing down near the exit also keeps both faces crisp and free of tear-out.
What Speed Should I Use for a Large Drill Bit?
Slow. The larger the bit, the lower the RPM. Run big hole saws and Forstner bits under 500 RPM, and slower still for diameters over two inches. Smaller spade bits tolerate higher speeds. Watch and listen as you cut — a steady low growl means you’re right, while smoke or a high whine means slow down before you burn the wood and dull the bit.
Can I Drill a Wide Hole Without a Drill Press?
Yes. A corded power drill with steady torque handles wide bits fine. Clamp the workpiece, mark your center with an awl, and use a drilling guide jig to keep the bit vertical. Start slow, apply even pressure, and back out often to clear chips. A drill press makes the job easier and more accurate, but careful technique gets clean results by hand.
Do I Need a Pilot Hole for a Hole Saw?
Yes, and most hole saws include one built in. The center drill bit acts as the pilot, anchoring the saw so its teeth bite evenly instead of skating across the surface. Make sure that center bit extends past the saw teeth before you start. Tap an awl dimple on your mark first, and the pilot grips dead-center for a clean, accurate cut.
Conclusion
Clean wide holes come down to a simple sequence: pick the right bit, mark your center, clamp the workpiece, slow the speed, and ease through the exit with a backing board behind it. Follow those steps and your holes come out round, smooth, and free of tear-out every time.
Knowing how to drill a wide hole in wood turns a frustrating, board-wasting task into a quick, repeatable skill. You save lumber, build cleaner projects, and trust yourself with bigger cuts. The difference isn’t expensive gear — it’s bit choice, speed control, and a little patience at the start and finish.
Keep the rules simple. Big bit, low RPM. Always clamp. Always back up the exit side. When the finish matters, choose a Forstner bit and a drill press.
Grab a piece of scrap and practice one hole today. Set your speed low, support the back, and watch the bit cut clean. Once you feel that smooth bore come out perfect, you’ll tackle every wide hole with confidence.
