
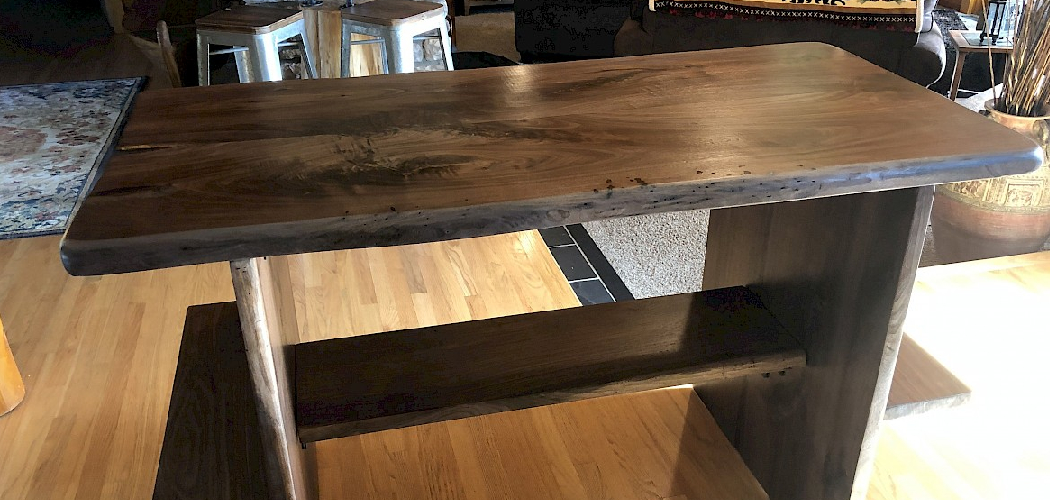
Bark falls off. That’s the problem most people hit when they build a live edge piece and want to keep the natural bark intact. One season later, chunks flake away and leave a ragged scar where the raw edge used to be. The fix comes down to two things: stabilizing the bark before it loosens and sealing it so it stays put for good. Learning how to finish live edge wood with bark protects that natural edge, saves you from redoing the work, and gives your slab a finished look that lasts for years.
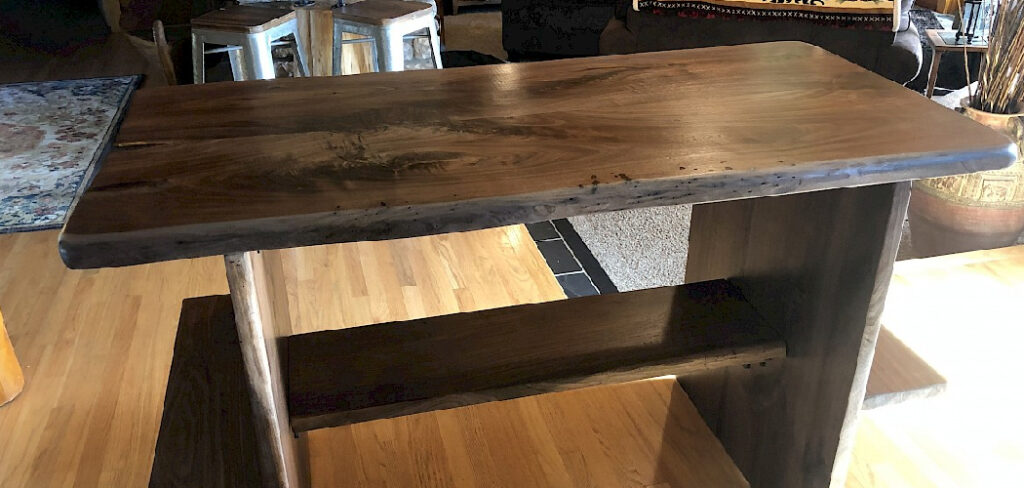
You don’t need a pro shop. You need the right sealer, a steady process, and a few habits that keep bark locked in place. This guide walks you through every step to finish a live edge slab with the bark intact and durable.
Why This Matters
A loose bark edge ruins an otherwise beautiful slab. The bark is the reason you chose live edge in the first place — its raw texture, its natural line, its character. Lose it and you lose the whole appeal.
Stabilizing and sealing bark saves you money. A slab with intact bark holds far more value than one with a chewed-up edge. Redoing a failed finish costs you time, materials, and often the slab itself.
It also builds confidence. Once you control bark adhesion and grain sealing, you stop guessing and start producing repeatable results. You trust yourself with bigger, more expensive slabs.
The skill pays off across every live edge project — coffee tables, shelves, headboards, charcuterie boards. Master it once and every natural wood finish you tackle next comes out cleaner and lasts longer.
Tools and Materials You’ll Need
Match each product to the job. The right sealer and stabilizer make or break bark retention.
- Lock bark in place — thin penetrating epoxy sealer or CA glue for bark stabilizer.
- Build a durable topcoat — clear epoxy resin or hard wax oil for the natural wood finish.
- Smooth the surface — sandpaper in 80, 120, 220, and 320 grits.
- Remove loose debris — stiff brush, compressed air, or shop vacuum.
- Protect the work surface — drop cloth or plastic sheeting.
- Apply finish evenly — foam brushes, nitrile gloves, and clean rags.
- Mix resin accurately — graduated mixing cups and stir sticks.
- Cure dust-free — a covered, warm workspace.
- Optional: heat gun — speeds penetration and pops surface bubbles in epoxy.
Step-by-Step Guide on How to Finish Live Edge Wood With Bark
Step 1 – Inspect and Test the Bark
Loose bark won’t survive a finish. Check it before you commit to keeping it.
Run your fingers along the entire edge. Press firmly at several points. Bark that flexes, crackles, or lifts under light pressure is already failing and needs stabilizing or removal.
Tap along the edge with a fingernail. A solid, tight bond gives a dull thud. A hollow, papery rattle tells you the bark has separated from the cambium underneath.
Wood species matters here. Walnut and elm hold bark well. Cherry and many softwoods shed it fast no matter what you do.
If most of the bark is sound, you can save it. If it crumbles in your hand, accept that the natural edge wants to come off and plan to remove it cleanly instead.
Step 2 – Remove Loose Debris and Insects
Bark hides dirt, bugs, and rot. Clear it all out before you seal anything in.
Work a stiff brush along the edge to knock free crumbling bits and packed grime. You’ll see flakes, sawdust, and sometimes small insects fall away.
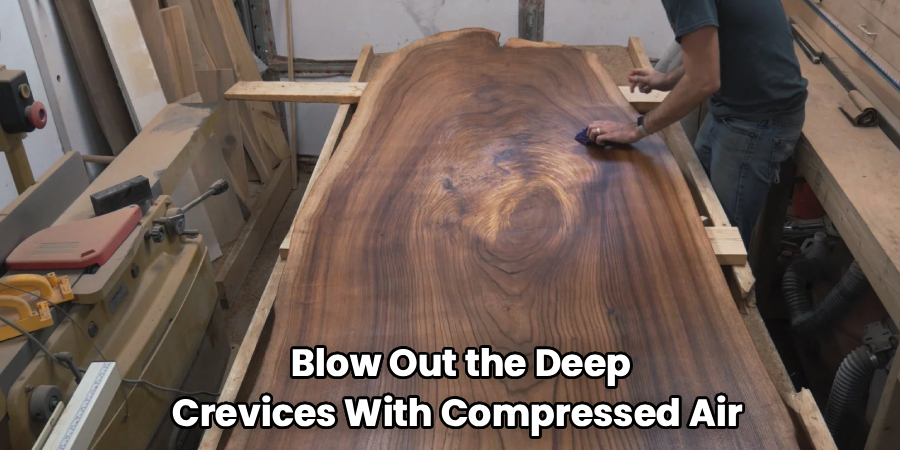
Blow out the deep crevices with compressed air or pull them clean with a shop vacuum. Listen for the change in sound as packed debris clears and the nozzle runs free.
Check for live infestation. Tiny exit holes and fine powder mean active borers. Treat the slab before you go further, or the bugs keep eating under your finish.
A clean edge feels firm and dry, not gritty or damp. Sealing over dirt traps moisture and weakens the bark bond from day one.
Step 3 – Stabilize the Bark
This step decides everything. Knowing how to finish live edge wood with bark starts with locking that bark to the wood before any topcoat goes on.
Flow thin penetrating epoxy or CA glue into every gap between the bark and the slab. Work it into the seams with a brush or fine tip until the wood stops drinking it in.
You’ll feel the bark firm up as the adhesive cures. Press a stabilized section and it should hold solid, with no flex or crackle.
Pay extra attention to corners and thin flakes — they fail first. Saturate them fully.
Let it cure completely before moving on. Rushing this leaves soft spots that pop loose later and pull your finish off with them.
Step 4 – Sand the Flat Surfaces
Smooth wood takes finish evenly. Sand the faces now, but keep your tools off the bark.
Start with 80 grit to flatten high spots and remove mill marks. Step up through 120 and 220, then finish at 320 for a glassy feel.
Sand only the flat faces of the live edge slab. The natural bark edge stays untouched — sanding tears it loose.
Run your palm across the surface between grits. It should feel progressively smoother, with no ridges or scratches catching your skin.
Watch the dust color. Consistent, fine powder means even sanding. Dark streaks or shiny patches mean you skipped a spot or glazed the surface.
Vacuum and wipe the slab clean before any finish touches it. Leftover grit shows up as bumps under the topcoat.
Step 5 – Seal the Grain and Bark Edge
A sealed surface accepts finish uniformly and resists blotching. Lock the grain before you build your topcoat.
Brush a thin coat of sealer or thinned finish across the faces and along the stabilized bark edge. The wood pulls it in fast, especially end grain and porous areas.
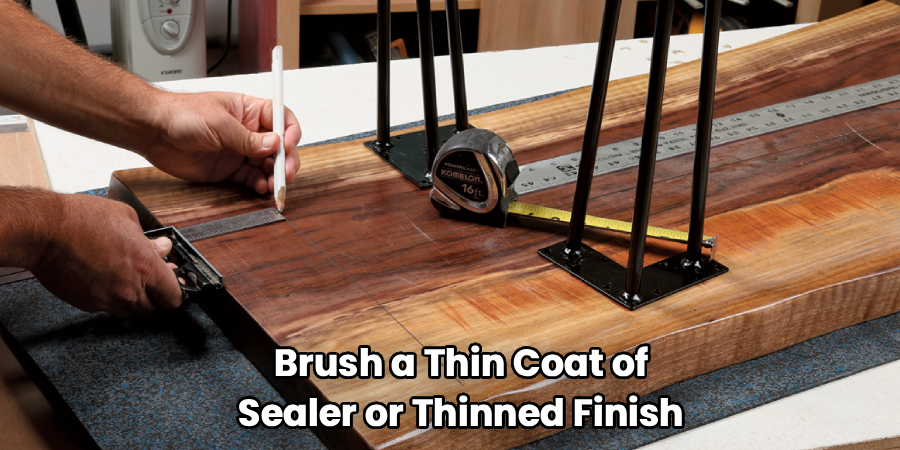
Watch for shine. Dull, dry patches are still drinking sealer and need another pass. An even sheen means the grain is sealed.
Coat the bark edge too. This grain sealing step bonds the surface bark fibers and stops them from flaking under handling.
Let it dry fully, then scuff lightly with 320 grit. You’ll feel raised fibers knock down smooth, leaving a clean base for the finish coats that follow.
Step 6 – Apply the Finish Coats
Now you build protection and depth. Thin coats beat thick ones every time.
For a hard, glossy look, pour or brush clear epoxy resin across the surface and let it self-level. For a natural, low-sheen feel, wipe on hard wax oil or polyurethane in thin layers.
Spread each coat evenly with a foam brush or rag. You’ll watch the grain darken and the figure jump to life as the finish soaks in.
Wait the full cure time between coats. Recoating too soon leaves a tacky, soft film that never hardens right.
Most slabs need two to four coats. Run your hand over the surface — it should feel smooth, even, and free of sticky spots before you add the next layer.
Step 7 – Treat and Protect the Bark Edge
The bark edge needs its own attention. A finished face means nothing if the natural edge still sheds.
Brush extra finish into the bark, working it deep so the topcoat bonds with the stabilizer underneath. You’ll see the bark darken and tighten as it saturates.
For a tougher hold, coat the edge with clear epoxy. It encases the bark in a hard shell that survives knocks and handling.
Check coverage in raking light. Dull, unsealed spots reflect differently than the glossy, protected areas around them.
A properly treated edge feels solid and slightly slick, not dry or papery. This is the detail that separates a slab that lasts from one that flakes apart in a year.
Step 8 – Cure, Buff, and Final Inspect
Curing finishes the job. Skip it and the finish stays soft and marks easily.
Let the slab cure in a warm, dust-free space for the full time the product calls for — often several days for epoxy and oils. The surface should harden to a firm, non-tacky finish.
Buff lightly with a fine pad or clean rag to even the sheen and clear any dust nibs. You’ll feel the surface turn smooth and consistent under your hand.
Inspect the bark edge one last time. Press and tap along it. Every section should hold tight with no flex, rattle, or loose flakes.
Wipe the whole slab down. A clean, fully cured piece with a locked-in natural edge is ready to live in your home.
Common Mistakes to Avoid
The biggest mistake is finishing over loose bark. People love the look and rush to seal it without testing the bond first. Within months, the bark flakes off and tears the finish with it. Always inspect and stabilize before you apply any topcoat. If the bark crackles under pressure, it isn’t ready.
Skipping the stabilizer ranks second. A clear topcoat alone won’t hold bark in place. Without thin penetrating epoxy or CA glue flowed into the gaps, the surface finish sits on top while the bark separates underneath. Stabilize first, finish second — never the other way around.
Sanding the bark edge wrecks it fast. Beginners run their sander right along the natural edge and watch it crumble. Keep abrasives on the flat faces only. The bark needs sealing, not sanding.
Trapping moisture or insects causes slow failure. Sealing over damp wood, dirt, or active borers locks problems inside. The slab looks fine at first, then bubbles, stains, or sheds bark as the trapped trouble works outward. Clean and dry the edge fully first.
Finally, rushing the cure leaves a soft finish that scratches and dents at the first touch. Give every coat its full time.
Expert Tips
Warm the slab slightly before applying penetrating epoxy. Warm wood draws thin epoxy deeper into the bark seams, which improves adhesion far better than cold application. A heat gun on low works well.
Use thin epoxy for stabilizing and thick epoxy for the topcoat. They do different jobs. Thin penetrates and locks; thick builds a durable, level surface.
Flood the bark edge in multiple light passes instead of one heavy coat. Each pass wicks deeper and bonds more fibers than a single flood that just pools on top.
Pop epoxy bubbles with a quick pass of a heat gun or torch flame held high. You’ll see them rise and vanish in seconds.
Work in a warm room. Cold slows curing and traps bubbles, while steady warmth gives you a clear, hard finish every time.
Frequently Asked Questions
Can You Keep the Bark on Live Edge Wood?
Yes, if the bark is tight and you stabilize it. Tap and press the edge first — solid bark gives a dull thud and won’t flex. Flow thin penetrating epoxy or CA glue into the gaps to lock it down, then seal it with your topcoat. Species matters too: walnut and elm hold bark reliably, while cherry and softwoods often shed it.
What Is the Best Sealer for Live Edge Bark?
Thin penetrating epoxy is the best bark stabilizer. It wicks deep into the seams and bonds the bark to the slab before any topcoat goes on. For the surface, clear epoxy resin builds the toughest protective shell, while hard wax oil or polyurethane gives a natural, low-sheen look. Use thin epoxy to stabilize, then your chosen finish to protect.
How Do You Stop Live Edge Bark From Falling Off?
Stabilize before you finish. Clean the edge of debris and insects, then flow thin penetrating epoxy or CA glue into every gap between bark and wood until it stops absorbing. Let it cure fully, then seal the edge with extra finish or clear epoxy. This two-layer approach — stabilizer underneath, topcoat over it — keeps bark locked in place for years.
Should You Sand the Bark Edge?
No. Sanding tears the bark loose and destroys the natural texture you want to keep. Keep all abrasives on the flat faces of the slab. The bark edge needs sealing and stabilizing, not sanding. Use a brush, compressed air, or vacuum to clean it, then flow in stabilizer and seal it. Leave the raw edge untouched by sandpaper.
How Long Does a Live Edge Finish Take to Cure?
It depends on the product. Hard wax oils cure in one to three days, polyurethane in several days, and epoxy in three to seven days for a full hardness. Touch-dry isn’t fully cured. Wait the complete time before heavy use, or the finish dents and scratches easily. Cure in a warm, dust-free space for the best result.
Conclusion
Keeping bark on a live edge slab comes down to a clear sequence: test the bond, clean the edge, stabilize with thin epoxy, seal the grain, build your finish coats, and protect the bark edge before a full cure. Follow those steps and your natural edge holds tight for years instead of flaking off in a season.
Knowing how to finish live edge wood with bark turns a fragile, unpredictable feature into a durable, lasting one. You save the slab, save the rework, and build pieces that show off the raw beauty you bought them for. The difference isn’t luck — it’s stabilizing before you seal and giving every coat the time it needs.
Keep it simple. Stabilize first. Seal second. Never sand the bark. Cure fully.
Grab a small offcut and practice the process today. Flow in the stabilizer, seal the edge, and watch the bark lock solid. Once you feel that natural edge hold firm, you’ll finish every live edge slab with confidence.
