
Your store-bought mallet split after a few months of chisel work. Sound familiar? A shop-made hardwood mallet head outlasts most cheap factory versions and costs a fraction of the price. Learning how to make a wood mallet head puts a reliable striking tool in your hands and teaches skills you’ll use on every project after this one.
This guide walks you through the full process. You’ll cut, shape, drill, and fit a solid mallet head that handles years of joinery, carving, and assembly work. No lathe required. No fancy machinery. Just a few common tools, the right wood, and clear steps. By the end, you’ll own a custom woodworking mallet built to your grip and your bench.
Why Making Your Own Mallet Head Matters
A mallet is one of the first tools you’ll reach for at the bench. Buying a quality one costs real money. Building your own costs a scrap of hardwood and an afternoon.
You save cash on day one. You also gain something a purchase can’t give you: confidence. Cutting, squaring, and fitting a mallet head teaches measuring, layout, and joinery on a low-stakes project. Mess up the first one? You’re out a few dollars, not a paycheck.
You learn to spot your own mistakes early — a crooked cut, a loose handle, an off-center bore. Those lessons carry into every future build. A DIY mallet also lets you size the head and weight to your exact hand and work style.
Tools and Materials You’ll Need
Gather these before you start. Most are already in a basic shop.
- Dense hardwood blank — beech, maple, hickory, or oak, roughly 5″ x 3″ x 3″
- Hardwood for the handle — straight-grained ash or hickory, about 12″ long
- Tape measure and combination square — for accurate layout
- Pencil or marking knife — for clean reference lines
- Saw — handsaw, bandsaw, or miter saw for squaring the blank
- Drill and spade or Forstner bit — sized to your handle tenon
- Chisel and mallet — to clean the mortise (borrow one for now)
- Rasp and files — for shaping and refining
- Sandpaper — 80, 120, and 220 grit
- Wood glue and finish — boiled linseed oil or paste wax
- Optional: bench vise — holds the blank steady and speeds every cut
Step-by-Step Guide on How to Make a Wood Mallet Head
Step 1 – Select and Inspect Your Hardwood Blank
Start with dense, dry hardwood. Beech, maple, and hickory take repeated strikes without splitting. Avoid softwoods like pine — they dent and crush fast.
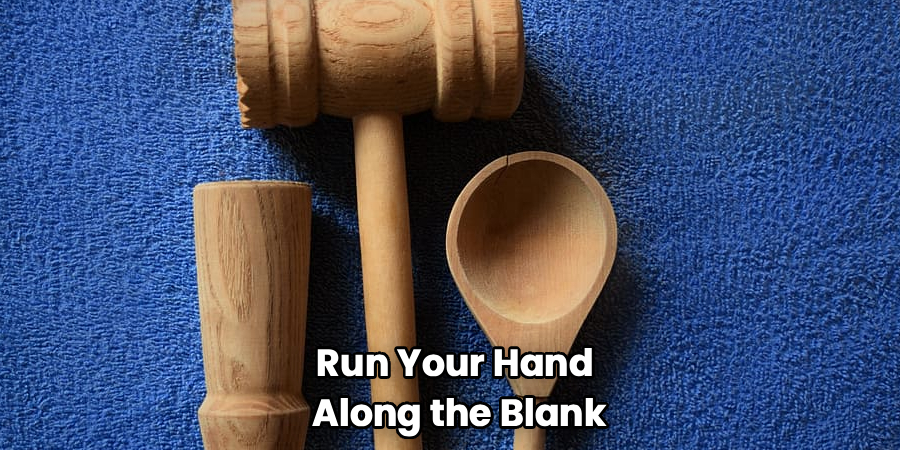
Run your hand along the blank. The grain should feel tight and straight, not wavy or full of knots. Knots create weak spots that crack under impact. Hold the wood to the light and check for splits or checking on the end grain.
Tap it on the bench. A solid hardwood blank gives a sharp, ringing knock. A dull thud often means hidden rot or moisture. Pick a piece around 5 inches long and 3 inches square. That size delivers good heft without feeling clumsy in your hand. This is the foundation of how to make a wood mallet head that lasts.
Step 2 – Mark Your Mallet Head Dimensions
Accurate layout decides everything that follows. Grab your combination square and pencil.
Measure and mark the final length of the head — 4 to 5 inches works for most joinery and chisel work. Square a line all the way around the blank so your cut stays true on every face.
Mark the center point on the top face for the handle hole. Draw diagonals corner to corner; where they cross is dead center. A misplaced center throws off the balance and makes the mallet feel wrong in motion.
Press firmly so the lines stay crisp. Faint marks lead to drifting cuts. When your reference lines are clean and square, you’ve set yourself up for a balanced, professional-looking shop mallet.
Step 3 – Cut the Blank to Size
Now bring the blank down to your marked length. Clamp it firmly in a vise or against a bench stop so it can’t shift.
Cut along your squared line with a handsaw, bandsaw, or miter saw. Keep the blade just outside the line — you can always trim more, but you can’t add wood back. Let the saw do the work with steady, even strokes.
Listen as you cut. A smooth, consistent sound means the blade is tracking straight. Chatter or grabbing signals a dull blade or too much force.
Check the cut face with your square. It should sit flat with no gaps showing light underneath. A square, clean face now means a balanced head later.
Step 4 – Drill the Handle Hole
The handle hole, or mortise, must be straight and centered. This step makes or breaks the fit.
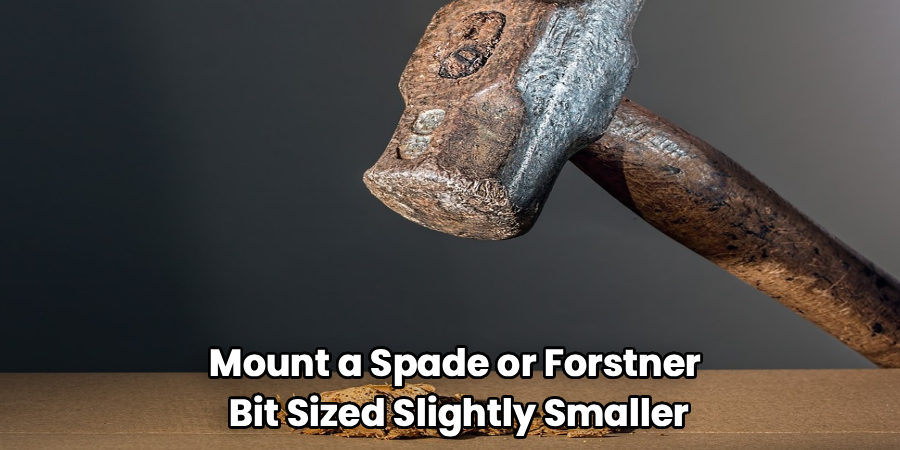
Mount a spade or Forstner bit sized slightly smaller than your handle tenon. Position the bit on your marked center point. If you have a drill press, use it — it bores perfectly vertical holes every time. Hand drilling works too, but go slow and check your angle from two sides.
Drill straight down, clearing chips as you go. You’ll feel steady resistance and see clean shavings curl out. If the bit wanders or smokes, ease off the pressure.
Stop short of going all the way through, or drill a through-hole if you plan a wedged handle. A square, centered bore is the heart of how to make a wood mallet head that strikes true.
Step 5 – Shape the Handle Tenon
The handle’s top end, the tenon, must fit the mortise snugly. Too loose and the head flies off. Too tight and you’ll crack the head forcing it in.
Mark the tenon length to match your hole depth. Use a rasp or chisel to pare the wood down evenly. Test the fit often — slide the tenon partway into the hole and check for slop.
Aim for a fit that needs firm hand pressure to seat. Run your fingers over the tenon; it should feel smooth and even all around, with no flat spots or ridges. A lopsided tenon rocks in the hole and loosens fast under use.
Patience here pays off. A precise tenon delivers a rock-solid joint.
Step 6 – Shape and Refine the Head
With the hole drilled, soften the head’s profile. Sharp corners chip and feel harsh in the hand.
Use a rasp to knock down the four top edges at a slight angle. Work in long, even strokes and watch the facets form. Many makers taper the striking faces slightly inward, which centers the impact and reduces glancing blows.
Switch to files as the shape comes together, smoothing the rasp marks. Run your palm over each face — it should feel uniform, with no high spots or dips.
Keep the two striking faces flat and parallel. Eyeball them against a straightedge. Uneven faces send your strikes off-line and tire your wrist. A clean, symmetrical head looks sharp and swings balanced.
Step 7 – Sand Every Surface Smooth
Sanding removes tool marks and readies the wood for finish. Start with 80 grit to clear rasp and file scratches.
Work through the grits in order — 80, then 120, then 220. Skipping grits leaves swirls that show up the moment you apply oil. Sand with the grain, not across it, to avoid ugly scratches.
Feel the surface between grits. It should grow smoother and silkier each pass. By 220 grit, the faces should feel almost polished under your fingertips.
Pay extra attention to the striking faces and the edges you chamfered. Blow off the dust and inspect under good light. Any remaining scratch will catch the light and tell you where to keep working.
Step 8 – Glue and Wedge the Handle
Time to join head and handle into one solid tool. Dry-fit everything first to confirm the tenon seats fully.
Brush a thin coat of wood glue inside the mortise and on the tenon. Drive the handle home with a few firm taps against the bench — you’ll hear the sound shift to a tight, solid knock as it seats.
For a through-tenon, cut a kerf in the tenon end and drive a hardwood wedge into it. The wedge spreads the tenon and locks the joint permanently. Watch the wood expand snugly against the hole walls.
Wipe away squeeze-out right away with a damp rag. Dried glue blocks finish and looks messy. Let it cure fully before use.
Step 9 – Apply a Protective Finish
A finish protects the wood and improves your grip. Boiled linseed oil is the classic choice for a chisel mallet.
Wipe on a generous coat with a clean rag. Watch the grain darken and come alive as the oil soaks in. Let it sit 15 minutes, then wipe off every bit of excess. Leftover oil turns gummy.
Apply two or three coats, letting each dry overnight. The surface should feel smooth and slightly warm, never sticky. Paste wax over the oil adds a final layer of protection and a soft sheen.
Skip glossy film finishes here. They peel under impact and feel slick in the hand. A simple oil finish ages well and renews with a quick re-coat.
Common Mistakes to Avoid
The most common error is choosing the wrong wood. Beginners grab whatever scrap is handy, often a softwood, and wonder why the head dents and splits within weeks. Always start with dense, dry, straight-grained hardwood. Beech, maple, and hickory reward you with years of service.
Drilling a crooked handle hole ranks a close second. An angled or off-center bore throws the whole mallet out of balance, so every strike lands wrong and your wrist pays the price. Take your time finding dead center, and bore straight down — a drill press helps enormously.
Forcing an oversized tenon into the mortise cracks more heads than hard use ever will. Pare the tenon slowly and test the fit often. You want firm hand pressure to seat it, not a hammer.
Rushing the sanding stage is another trap. Skip grits and you’ll see swirl marks bloom the moment finish hits the wood. Work through each grit in order.
Finally, flooding the wood with oil and leaving the excess creates a tacky, never-drying mess. Wipe every coat clean.
Expert Tips
Weight the head to your work. Heavier heads, around 20 ounces, drive chisels through tough mortises with less effort. Lighter heads suit carving and delicate joinery where control matters more than force.
Orient the end grain to face your strikes. End grain resists crushing far better than face grain, so a mallet built this way holds its shape for years longer.
Taper the striking faces a few degrees inward. This subtle angle means the face meets the chisel squarely even when your swing arcs slightly, which is most of the time.
Keep the wood slightly damp during shaping if it’s prone to chipping, then let it dry before finishing. And mark your finished mallet’s weight on the handle — once you build a second or third, you’ll want to grab the right one instantly.
Frequently Asked Questions
What Is the Best Wood for a Mallet Head?
Dense hardwoods perform best. Beech, hard maple, hickory, and white oak handle repeated impact without splitting or denting. Beech is a shop favorite for its balance of toughness and workability. Avoid softwoods like pine or cedar — they crush under the first few strikes. Pick a piece that’s fully dry and free of knots for the longest-lasting head.
How Heavy Should a Wood Mallet Head Be?
Most shop mallets fall between 12 and 24 ounces. A 16-ounce head suits general joinery and chisel work for most people. Go heavier, around 20 to 24 ounces, for chopping deep mortises with less effort. Choose a lighter head near 12 ounces for carving and detail work. Match the weight to your hand and the tasks you do most.
Do I Need a Lathe to Make a Mallet?
No. A lathe makes round, turned mallets, but you can build an excellent square or rectangular mallet with just a saw, drill, chisel, and rasp. Square joinery mallets actually offer a flatter striking face than turned ones, which many woodworkers prefer for chisel work. Hand tools alone produce a fully functional, durable mallet.
How Do I Stop the Mallet Head From Coming Loose?
Fit the tenon snugly and lock it in place. A wedged through-tenon is the most reliable method — drive a hardwood wedge into a kerf in the tenon end, spreading it tight against the mortise walls. Adding wood glue during assembly reinforces the joint. A properly fitted and wedged handle stays tight through years of heavy use.
What Finish Works Best on a Wooden Mallet?
Boiled linseed oil is the top choice. It soaks into the wood, protects against moisture, and improves your grip without leaving a slick film. Apply two or three thin coats, wiping off all excess each time. Paste wax over the oil adds extra protection. Avoid glossy varnishes or polyurethane — they peel under impact and feel slippery in the hand.
Conclusion
You now have everything you need to build a striking tool that outperforms most factory mallets. Knowing how to make a wood mallet head saves you money, sharpens your layout and joinery skills, and puts a custom tool in your hand that’s sized exactly to your work.
Remember the essentials: start with dense, dry hardwood, bore the handle hole straight and centered, fit the tenon snug, and finish with a few coats of oil. Each step builds on the last, and small errors are easy to catch early when you take your time.
Your first mallet may not look perfect, and that’s fine. It will still drive chisels, knock joints together, and remind you that you made it yourself. Build a second one and you’ll see real improvement. Pick your hardwood, clear your bench, and start cutting. The best tool in your shop is the one you built with your own hands.
