
Dull, scratched, or tired-looking wood drags down the whole room. The fix is simpler than you think. Learning how to polish wood turns a flat, lifeless surface into a smooth finish with real depth and shine. You do not need a workshop full of gear or years of practice. You need the right steps, a little patience, and a few basic supplies you may already own.
Polishing works on furniture, floors, cabinets, and small projects alike. Done well, it protects the wood while it beautifies it. This guide walks you through the entire process from start to finish. By the end, you will know exactly how to bring out a rich, lasting sheen on any wood surface in your home.
Why Polishing Wood Matters
A polished surface lasts longer. Polish seals the grain, blocks moisture, and shields against everyday scuffs. Skip it, and untreated wood dries out, cracks, and fades.
Polishing saves you money. A $15 can of wax restores a table you might otherwise replace. You extend the life of pieces you already own instead of buying new ones.
It also builds confidence fast. Wood finishing is forgiving. Mistakes buff out. Each project teaches your hands what a smooth, even coat feels like.
Most beginners ruin good wood by rushing or using the wrong product. This guide prevents that. You learn what works, what to avoid, and why each step matters. Master this one skill, and every wood project you touch looks more professional.
Tools and Materials You’ll Need
Gather everything before you start. A clean setup prevents mistakes mid-project.
- Clean lint-free cloths for applying product and buffing
- Sandpaper in 120, 220, and 320 grit for surface prep
- Tack cloth to remove fine dust between steps
- Wood polish, wax, or finishing oil matched to your project
- Mineral spirits or a wood cleaner to strip old grime
- Fine steel wool (0000 grade) for smoothing between coats
- Soft applicator brush or foam pad for even spreading
- Protective gloves to keep oils off your skin
- Drop cloth to protect your work area
- Random orbital sander (optional) — speeds up large surfaces and delivers an even finish
Choose a paste wax for furniture, a penetrating oil for raw hardwood, or a spray polish for quick upkeep. The right match makes every later step easier.
Step-by-Step Guide on How to Polish Wood
Follow these steps in order. Each one builds on the last. Knowing how to polish wood the right way comes down to preparation, patience, and steady hands.
Step 1 – Clear and Clean the Surface
Start with a bare, clean surface. Remove all items from the piece and wipe away loose dust with a dry cloth.
Mix a mild wood cleaner or a little mineral spirits onto a damp rag. Wipe along the grain, not across it. You will feel grime lift and the cloth darken as old residue comes off.
Pay attention to sticky spots and built-up polish in corners. These dull the final shine if left behind.
Let the surface dry completely. Rushing this traps moisture under your finish. The wood should feel cool and dry to the touch, with no slick film left from the cleaner.
Step 2 – Inspect for Damage
Run your hand across the wood. Feel for dents, deep scratches, and rough patches. Your fingertips catch flaws your eyes miss.
Look at the surface under angled light. Tilt a lamp low across the wood. Scratches and gouges throw shadows that show their true depth.
Mark trouble spots with a small piece of tape. This keeps you focused during sanding.
Decide what each flaw needs. Light surface scratches sand out fast. Deeper gouges may need wood filler first. Knowing the damage now prevents surprises later, when a polished coat highlights every imperfection you skipped.
Step 3 – Sand the Surface
Sanding creates the smooth base every finish needs. Start with 120-grit if the wood is rough, then move to 220-grit.
Always sand with the grain. Cross-grain scratches show through polish like white lines. Use light, even pressure and let the paper do the work.
Listen as you go. Fresh paper makes a crisp, gritty sound. When it goes quiet and smooth, the grit is worn — swap it out.
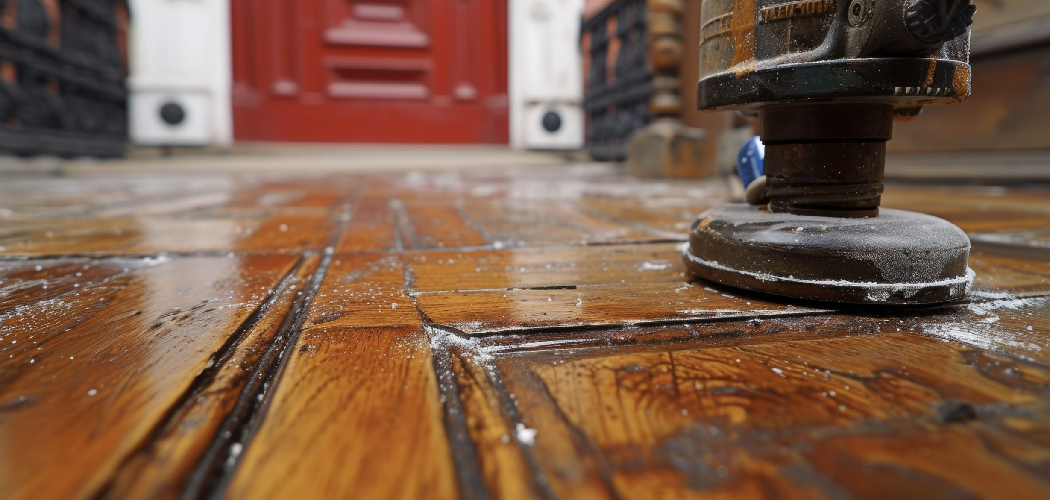
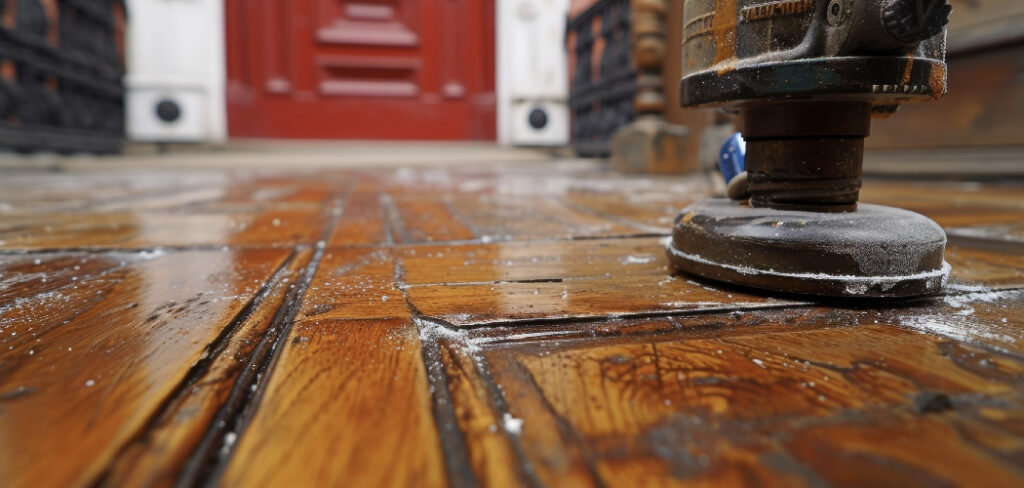
For large surfaces, an orbital sander saves time and keeps pressure even. Finish with 320-grit for a glass-smooth feel. Wipe your palm across the wood; it should glide without catching anywhere.
Step 4 – Remove All Dust
Dust is the enemy of a clean finish. Even fine particles create a gritty, bumpy coat.
Vacuum the surface first to pull off the heavy debris. Then wipe everything down with a tack cloth. It grabs the fine powder that a regular rag pushes around.
Check the corners, grooves, and carved details. Trapped dust here ruins an otherwise perfect job.
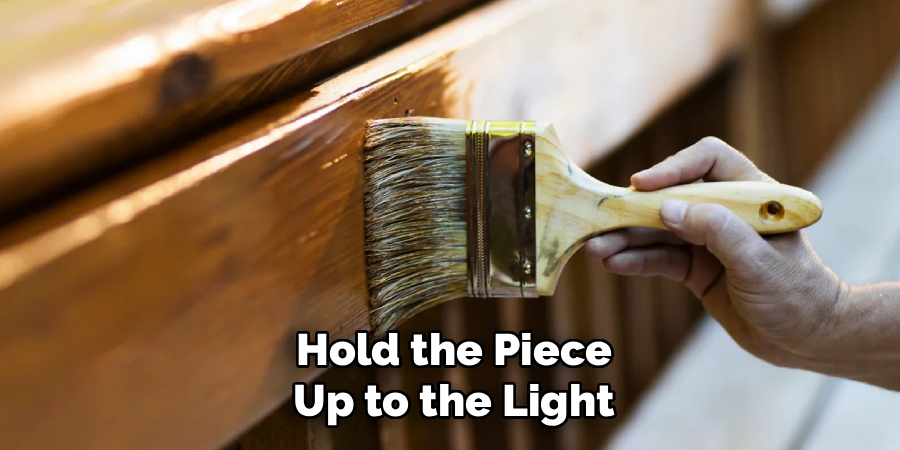
Hold the piece up to the light again. The surface should look matte and clean, with no streaks or specks. Run a finger across it — your skin should come away clean. Only then is the wood ready to take polish.
Step 5 – Apply the First Coat
Now the surface comes alive. Dip a clean cloth or foam pad into your polish, wax, or oil.
Apply a thin, even layer along the grain. Thin beats thick every time. Heavy coats stay tacky and dry unevenly, leaving a cloudy haze.
Watch the wood drink it in. Raw hardwood darkens and the grain pops with color and depth. This is the moment your effort starts to show.
Work in small sections so the product does not dry before you spread it. Cover the entire surface with steady, overlapping strokes. Leave no dry gaps and no thick puddles. Even coverage now means an even shine later.
Step 6 – Let It Cure, Then Buff
Patience here separates a flat finish from a brilliant one. Let the first coat soak in for the time listed on the product label — usually 15 to 30 minutes.
The surface should feel dry to the touch, not sticky. If your finger leaves a print, wait longer.
Now buff. Use a clean, dry cloth and rub in firm, circular motions, then finish along the grain. You will feel the surface turn slick and smooth under the cloth.
Watch the sheen rise. A soft glow appears as you buff, deepening with each pass. Keep going until the wood feels warm and looks evenly lustrous, with no dull or streaky patches.
Step 7 – Smooth and Add a Second Coat
One coat rarely gives full depth. A second coat builds richer color and stronger protection.
Before you reapply, lightly rub the surface with 0000 steel wool. This knocks down any tiny raised fibers and helps the next coat grip. Wipe away the fine residue with a tack cloth.
Apply the second coat exactly as you did the first — thin, even, and with the grain. The wood absorbs less this time, so use a lighter hand.
You will notice the color deepen and the surface even out. Streaks from the first coat disappear. This layering is the real secret to learning how to polish wood like a pro.
Step 8 – Final Buff and Protect
The last buff sets the shine. Once the second coat cures, buff the entire surface again with a fresh, dry cloth.
Use long, firm strokes along the grain. The wood should gleam with a deep, even sheen and feel silky smooth. Tilt it under the light — the reflection should be clean and consistent, with no cloudy spots.
For high-use surfaces like tables and floors, add a thin protective wax coat. Buff it out the same way.
Let the finish harden fully before normal use. Most waxes and oils need 24 to 48 hours to set hard. Wait, and your work will resist scratches and water for years.
Common Mistakes to Avoid
The biggest mistake is skipping surface prep. People want the shine, so they slap polish onto dirty or rough wood. The result looks blotchy and feels gritty. Every speck of dust and every scratch shows through the finish. Clean and sand first, every time, with no shortcuts.
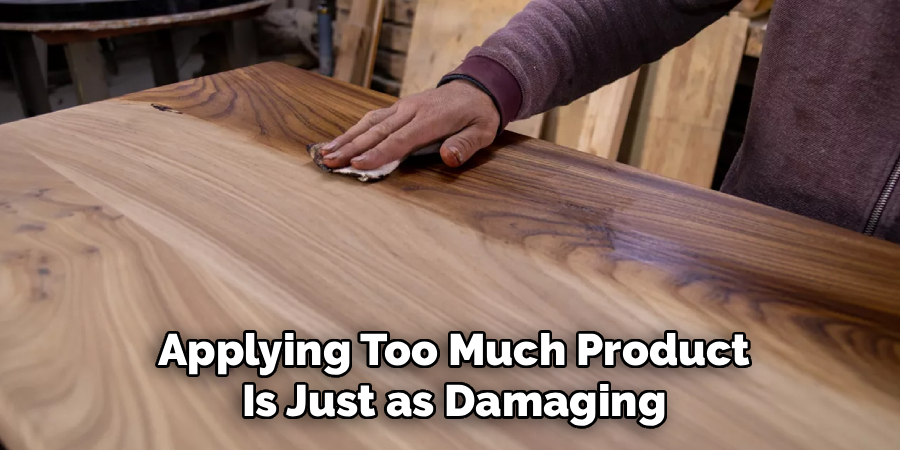
Applying too much product is just as damaging. A thick coat will not dry properly. It stays tacky, traps fingerprints, and dries into a cloudy, uneven film. Thin coats always win. Two thin layers beat one heavy one in both looks and durability.
Sanding against the grain ruins good wood fast. Cross-grain scratches are nearly invisible until polish makes them glow as ugly white streaks. Always follow the direction of the grain, and check your work under angled light before you finish.
Rushing the cure time wrecks the final result. Buffing or recoating too soon smears the finish and leaves drag marks. Read the label and wait. Finally, many beginners use the wrong product — oil where wax belongs, or spray polish on raw wood. Match your finish to your project before you start.
Expert Tips
Test your finish on a hidden spot first. The underside of a table or the back of a leg tells you how the product reacts to that specific wood before you commit to the visible surface.
Control your environment. Dust settles on wet finish, so polish in a clean, low-traffic room. Warm temperatures help oils and waxes dry evenly; cold rooms leave them tacky.
Keep separate cloths for each task — one for cleaning, one for applying, one for buffing. Cross-contamination drags grit into a fresh coat.
For an ultra-smooth result, buff with 0000 steel wool between every coat, not just the last. And work with the wood, not against it. Softwoods absorb fast and need lighter coats; dense hardwoods take polish slower but hold a deeper, longer-lasting shine.
Frequently Asked Questions
How Often Should You Polish Wood Furniture?
Polish most wood furniture two to four times a year. High-use pieces like dining tables may need it every few months, while decorative items can wait longer. Watch the wood itself — when the surface looks dull, feels dry, or no longer beads water, it is time. Over-polishing builds up residue, so wait until the wood shows real signs of wear.
Can You Polish Wood Without Sanding It First?
Yes, if the surface is already smooth and in good shape. For routine upkeep on an existing finish, just clean the wood and apply polish. Sanding is only essential when the surface is rough, scratched, or has old, damaged finish that needs to come off. When in doubt, run your hand across it — a smooth surface can skip sanding.
What Is the Difference Between Wax and Oil for Polishing?
Oil penetrates the wood, feeding the grain and deepening its color from within. It suits raw or thirsty hardwoods. Wax sits on top, forming a protective layer with a soft, low sheen. It resists moisture and fingerprints well. Many pros use oil first to nourish the wood, then wax on top to protect it. Choose based on the look and protection you want.
Why Does My Polished Wood Look Cloudy or Streaky?
Cloudiness usually means too much product or not enough buffing. A thick coat traps moisture and dries hazy. Streaks come from uneven application or buffing before the coat fully cures. Fix it by buffing harder with a clean, dry cloth. If that fails, wipe the surface with mineral spirits, let it dry, and reapply a thin, even coat.
How Long Does Polished Wood Take to Dry?
Drying time depends on the product. Spray polishes dry in minutes. Penetrating oils need several hours to absorb, and paste wax sets in 15 to 30 minutes before buffing. Full curing — when the finish hardens completely — takes 24 to 48 hours for most waxes and oils. Wait the full cure time before heavy use, or you risk smudges and water marks.
Conclusion
A beautiful wood finish comes down to a clear process, not luck. Clean the surface, sand it smooth, remove every speck of dust, then build thin coats and buff each one until it glows. Match your product to your project, work with the grain, and give every coat time to cure. These habits separate a flat, blotchy result from a deep, lasting sheen.
The best part is how forgiving this skill is. Mistakes buff out, and every project sharpens your hands and your eye. You save money, protect the wood you own, and gain real confidence with each piece you restore.
Now you know how to polish wood the right way — from raw surface to brilliant shine. Pick a small project, gather your supplies, and start today. The first table or shelf you finish will prove just how much shine you can pull from tired wood.
