
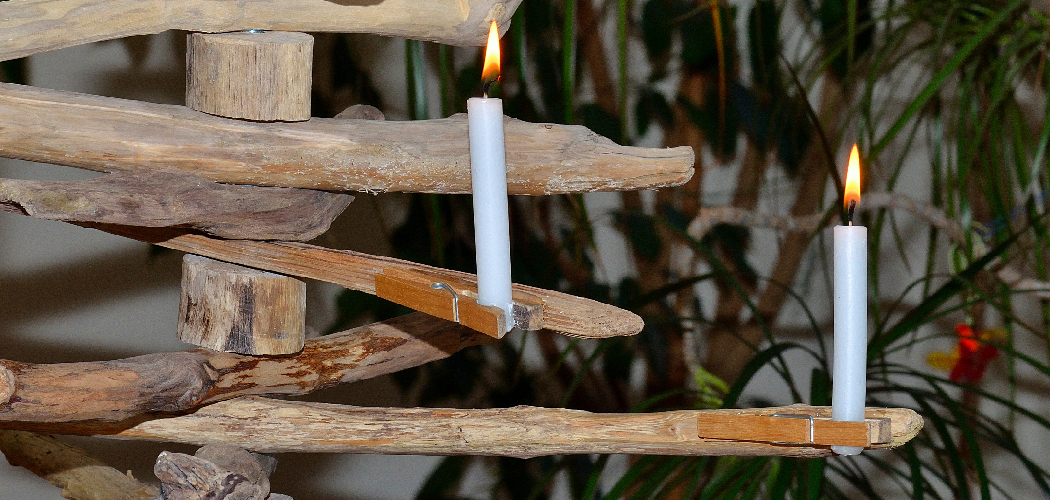
New lumber looks raw. It’s too orange, too smooth, too obviously fresh from the store. That clashes with the soft, silvery gray of true coastal wood. The good news? You don’t need to wait years on a beach to get that look. Learning how to make wood look like driftwood takes an afternoon, a few cheap supplies, and the right order of steps.
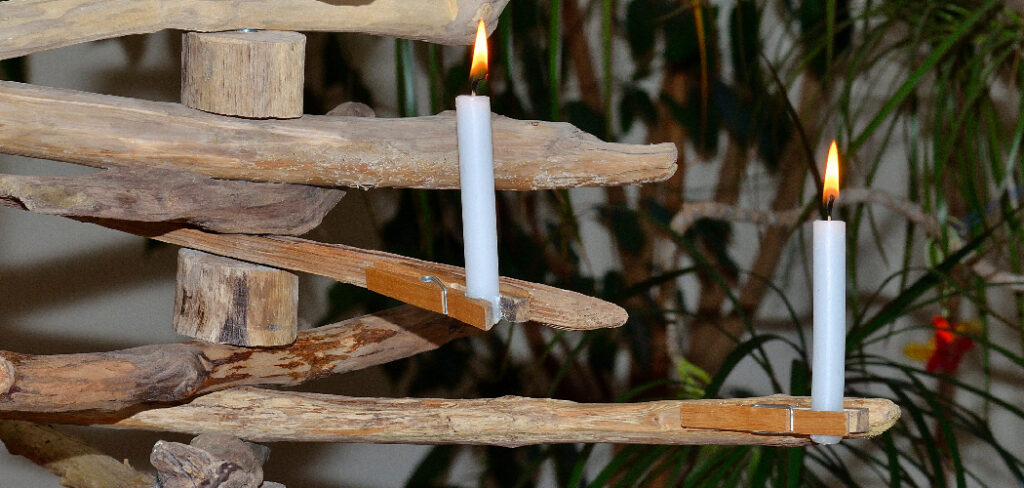
The secret is a chemical reaction between vinegar and steel wool that ages wood in hours, plus some wire brushing to bring out the grain. Do it right and people will swear your piece washed up after a decade at sea. This guide walks you through every step, from prepping bare wood to sealing your weathered finish, so your first project comes out looking authentically aged.
Why This Skill Matters
Aged wood costs a fortune. Reclaimed driftwood furniture and weathered planks sell at a premium, and real driftwood is hard to source in usable sizes. Learn this technique and you skip that markup entirely. You turn $5 pine boards into pieces that look like they’re worth ten times more.
The skill also opens up your design options. You control the exact shade of gray, the depth of the grain, the level of weathering. No two beach finds match, but you can match your whole project to one consistent look.
It’s forgiving, too. Beginners get great results on the first try because the chemistry does most of the work. Master this once and you’ll reach for it on picture frames, shelves, coastal decor DIY projects, and full furniture builds for years.
Tools and Materials You’ll Need
Gather everything before you start. The vinegar solution needs time to brew, so prep it first and you won’t stall mid-project.
- White vinegar — reacts with steel wool to create the aging stain
- Steel wool (0000 grade) — dissolves into the vinegar to drive the gray reaction
- A glass jar with a lid — holds and stores your homemade stain
- A wire brush — opens the grain for that weathered, textured surface
- Sandpaper (80 and 120 grit) — smooths and preps the bare wood
- Foam brushes or rags — apply the stain and any topcoat evenly
- Nitrile gloves — keep the iron stain off your hands
- Gray wood stain or watered-down white paint — adjusts and deepens the final tone
- Clear matte sealer — protects the finish without adding shine
- Strong brewed black tea (optional) — boosts the reaction on low-tannin woods like pine
Step-by-Step Guide on How To Make Wood Look Like Driftwood
Step 1 – Brew Your Vinegar and Steel Wool Stain
Start the chemistry first because it needs time. Tear one pad of 0000 steel wool into loose shreds and drop it into a glass jar. Pour in enough white vinegar to cover it completely, then rest the lid on top without sealing it tight — the reaction releases gas.
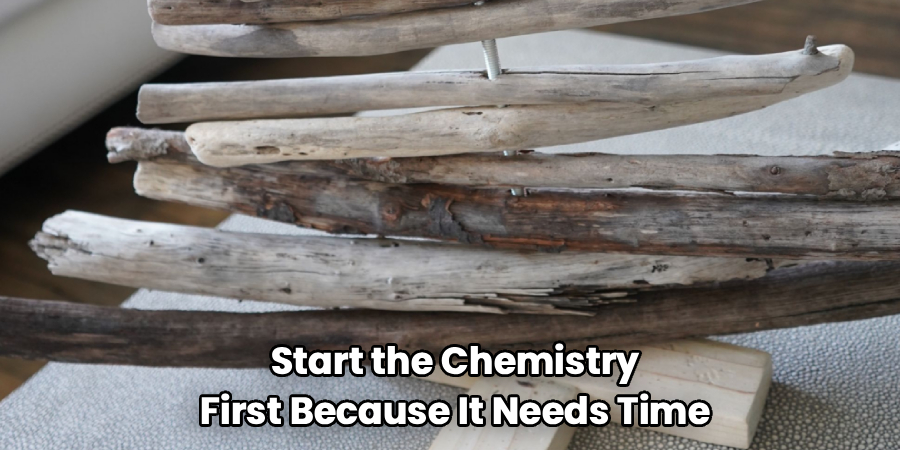
Let it sit. Six hours gets you a light effect. A full 24 to 48 hours gives you deep, reliable gray. You’ll see the liquid turn cloudy and amber as the steel wool dissolves, and you might catch a faint metallic smell. That’s the iron breaking down. This vinegar and steel wool technique is the engine behind the entire finish, so don’t rush it.
Step 2 – Sand the Bare Wood Smooth
Prep decides everything. Sand your bare wood with 80-grit first to knock down rough spots and mill marks, then follow with 120-grit to even the surface. Run your palm across the board — it should feel uniform, with no fuzzy patches or sharp edges catching your skin.
Don’t sand it glass-smooth, though. A slightly open surface drinks the stain better than a polished one. Stop once the wood feels clean and consistent.
Wipe away every speck of dust with a dry cloth or a vacuum. Leftover grit blocks the stain and leaves blotchy spots. When the surface looks bare, matte, and ready, you’re set for the next step. Clean wood takes color evenly — dusty wood fights you.
Step 3 – Open the Grain With a Wire Brush
Real driftwood has texture. The soft wood between the grain lines erodes faster than the hard grain, leaving those raised ridges you feel on a beach find. Wire brushing wood recreates that effect fast.
Drag a wire brush along the grain — always with it, never across. Use firm, steady strokes. You’ll hear a scratchy rasp and see fine fibers lift away as the soft early-wood wears down. Keep going until you feel shallow grooves form under your fingertips.
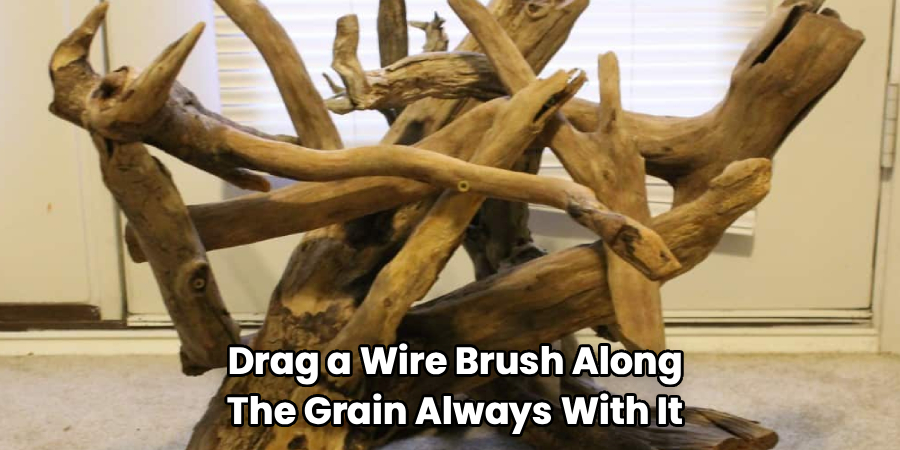
Work the whole board to the same depth so the texture stays consistent. Blow off the loose dust when you finish. This step is optional for a smooth weathered look, but for true driftwood character, it’s what sells the illusion.
Step 4 – Apply Tea for Extra Tannin
Pine, poplar, and other light woods lack the tannins that make the vinegar reaction work. Knowing how to make wood look like driftwood on these species means adding tannin yourself, and strong black tea does exactly that.
Brew several tea bags in a small amount of hot water until the liquid turns dark. Let it cool. Then brush a generous coat over your bare wood and let it dry completely — usually 30 to 60 minutes.
The tea soaks in clear to slightly tan, so don’t expect a dramatic change yet. It’s setting the stage. Skip this step on oak, walnut, or other high-tannin woods, which already react strongly on their own. For pale woods, the tea is what guarantees a rich gray.
Step 5 – Brush On the Vinegar Solution
Now the magic. Strain your vinegar and steel wool stain through a coffee filter to catch any undissolved bits, then load a foam brush or rag with the liquid. Apply a thin, even coat along the grain.
Watch closely. Within minutes the wood shifts color before your eyes — pale boards turn silvery gray, and tannin-rich woods go deep charcoal. It looks almost magical the first time. The surface may darken further as it dries over the next hour.
Don’t flood the wood. One thin coat usually does it. If you want more depth, let the first coat dry fully, then add a second. Uneven pooling leaves dark blotches, so keep your strokes light and consistent across the whole surface.
Step 6 – Let It React and Dry Fully
Patience pays here. The reaction keeps working as the stain dries, and the final color often looks different from the wet color. Give it a full hour at minimum, ideally two, in a dry, well-ventilated spot.
You’ll watch the surface lighten as moisture leaves. A board that looked nearly black when wet settles into a soft, weathered gray. That shift is normal — don’t add more stain while it’s still drying or you’ll overshoot the tone you want.
Touch a corner to check. The wood should feel dry, not tacky or cool. If the gray came out lighter than you hoped, this is the moment to brew a stronger batch and repeat. Once dry, evaluate the color in natural light before moving on.
Step 7 – Adjust the Tone for the Bleached Wood Effect
True driftwood isn’t one flat gray. It carries pale, sun-bleached patches mixed with deeper weathered streaks. To get that bleached wood effect, dilute white paint or gray wood stain with water until it’s thin and milky.
Wipe a small amount over the surface with a rag, then immediately wipe most of it back off. You’re leaving a faint haze in the grain, not painting over your work. The grooves from your wire brushing hold the lighter tone while the high points stay gray.
Step back and check the balance. Add more in spots that look too dark, or wipe back areas that turned chalky. This layering is what separates a flat gray board from a finish that reads as genuine, salt-washed driftwood.
Step 8 – Seal the Weathered Wood Finish
Bare aged wood marks easily and fades over time. Lock in your weathered wood finish with a clear matte sealer. Gloss ruins the look — driftwood never shines, so stay matte every time.
Apply a thin coat with a clean foam brush, working along the grain. Let it dry per the can’s instructions, usually two to four hours. The sealer slightly deepens the gray and pulls the whole finish together, much like wet sand looks darker than dry.
Run your hand over the dried surface. It should feel smooth in the grain but still show the texture you brushed in. For high-use pieces like tabletops, add a second coat for durability. Outdoor projects need an exterior-rated matte sealer to hold up against sun and rain.
Common Mistakes to Avoid
Rushing the vinegar solution tops the list. Brew it for only an hour and the reaction stays weak, leaving you with a faint, patchy gray instead of rich weathering. Give the steel wool at least 24 hours to dissolve. Strong stain is the foundation of a convincing finish, and there’s no shortcut around it.
Skipping the tea on pale wood is the second common error. Pine and poplar lack tannins, so the vinegar has little to react with. The result looks muddy or barely changes at all. One coat of strong black tea fixes this completely, so never skip it on low-tannin species.
Over-applying the stain wrecks more projects than under-applying it. Flooding the surface creates dark, blotchy pools that dry unevenly and look nothing like natural driftwood. Brush on thin coats and build the color gradually. You can always add another layer, but you can’t easily pull color back out.
Finally, two finish-killers. Wire brushing across the grain instead of along it tears the wood and creates an unnatural texture. And sealing with a glossy topcoat instantly betrays the illusion — real driftwood is dead flat. Stick to a matte sealer, every single time.
Expert Tips
Test your stain on a scrap of the same wood before touching your real project. Color varies wildly between species and even between boards, so a 30-second test saves you from a ruined piece.
Keep your vinegar and steel wool solution in a sealed jar and it lasts for months. The longer it ages, the stronger it gets, so a mature batch delivers faster, deeper gray.
For added realism, sand a few high spots lightly after sealing to expose hints of lighter wood underneath. Natural driftwood wears unevenly, and these worn edges sell the age.
Want subtle color variation? Apply your stain when the tea coat is still slightly damp in places. The uneven moisture creates natural-looking tonal shifts that perfectly mimic salt-washed wood. Small inconsistencies read as authentic — a perfectly uniform finish never does.
Frequently Asked Questions
How Long Does the Vinegar and Steel Wool Stain Take to Make?
Plan for 24 to 48 hours for the best results. The steel wool needs time to dissolve into the vinegar and release the iron that drives the graying reaction. A six-hour batch produces a light, subtle effect. For deep, reliable driftwood gray, let it sit at least a full day. Stored in a sealed jar, the solution keeps working and lasts for months.
Why Did My Wood Barely Change Color?
Your wood likely lacks tannins. Pale species like pine, poplar, and maple don’t react strongly with the vinegar solution on their own. Fix it by brushing on a coat of strong black tea first and letting it dry before you apply the stain. The tea adds the tannins the reaction needs. A weak, under-brewed vinegar batch causes the same problem.
Can I Use This Technique on Any Type of Wood?
Yes, but results vary by species. High-tannin woods like oak and walnut react fast and turn dark gray easily. Low-tannin woods like pine need a black tea pretreatment to react well. Always test on a scrap piece first, since each wood type and even individual boards take the stain differently. Adjust your stain strength and tea coat based on what you see.
Do I Have to Wire Brush the Wood?
No, wire brushing is optional. Skip it and you’ll still get a weathered gray color, just with a smooth surface instead of textured grain. But for authentic driftwood character, brushing is worth the effort. It opens the grain and creates the raised ridges that real driftwood develops from years of water erosion. Always brush along the grain, never across it.
What Sealer Should I Use for a Driftwood Finish?
Use a clear matte or flat sealer, never gloss. Driftwood has no shine, so a glossy topcoat instantly ruins the effect. A matte water-based polyurethane works well for indoor pieces and dries fast. For outdoor projects, choose an exterior-rated matte sealer that resists UV and moisture. Apply thin coats along the grain, and add a second coat on high-use surfaces like tabletops.
Conclusion
A convincing driftwood finish comes down to a few key moves. Brew a strong vinegar and steel wool stain. Sand and wire brush your wood. Add tea to pale species. Apply thin coats, let them react, then layer in the bleached tones. Seal it matte. Follow that order and your fresh lumber transforms into something that looks decades old.
The best part is how forgiving this process is. The chemistry does the heavy lifting, so even your first attempt will turn heads. Once you understand how to make wood look like driftwood, you’ll see cheap pine boards as blank canvases for shelves, frames, signs, and full furniture builds.
Your first piece might come out a shade darker or lighter than you planned. That’s fine — every batch teaches you how to dial in the color. Grab a scrap board and test your stain today. A few minutes of practice now gives you the confidence to age any project with coastal, salt-washed character. Build it, weather it, and enjoy the look.
