
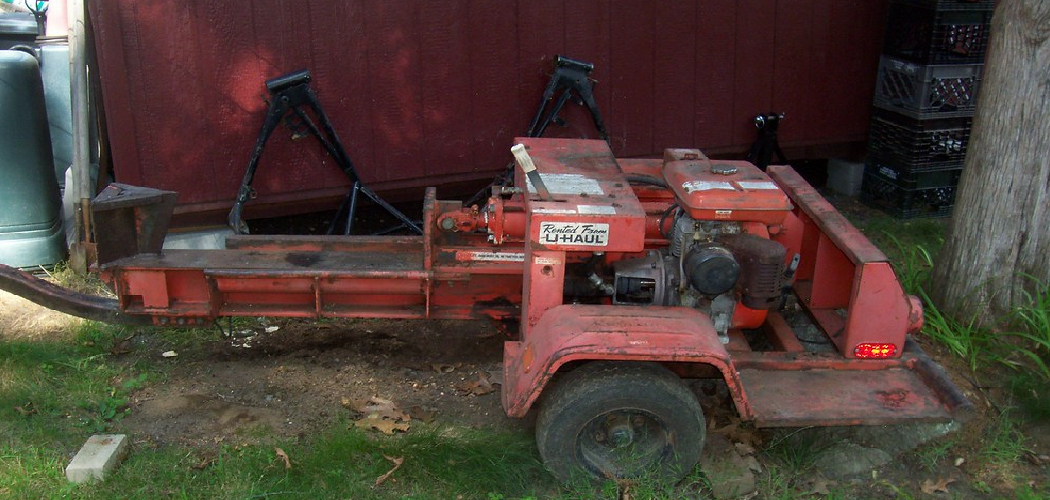
Splitting firewood by hand sounds rustic, but after the tenth swing your shoulders disagree. A wood splitter changes everything. It turns hours of sweaty axe work into a steady, almost satisfying rhythm of cracking logs. Learning how to use a wood splitter the right way saves your back, protects your fingers, and gives you a tidy stack of seasoned firewood faster than you’d expect.
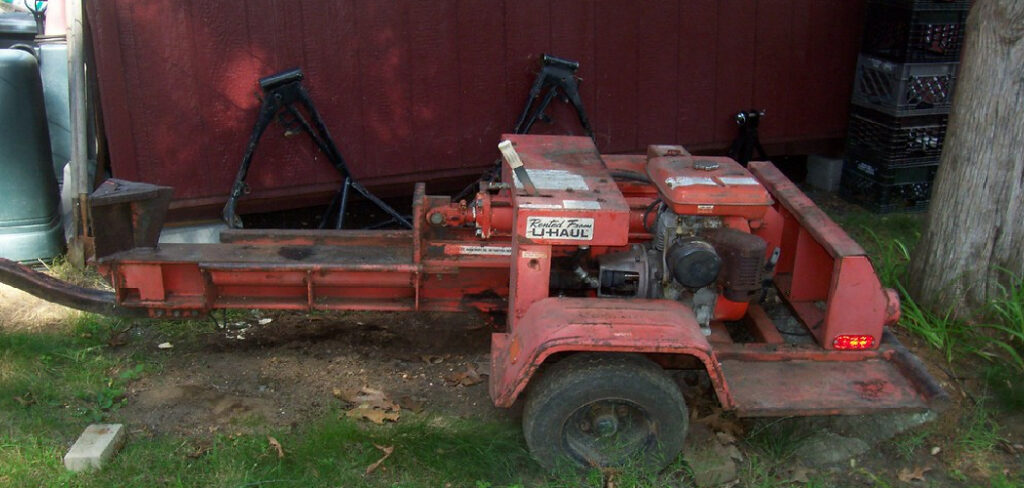
Whether you’ve rented a hydraulic splitter for the weekend or bought one for the long haul, the basics stay the same. You feed in a round of wood, let the machine do the heavy lifting, and walk away with clean splits. This guide walks you through every step, from setup to cleanup, so you can split safely and confidently.
Why Learning This Skill Matters
A cord of wood is heavy, and so is the bill if you pay someone else to process it. When you handle firewood splitting yourself, you keep that money in your pocket and gain real control over your fuel supply.
There’s confidence in it too. Once you understand how the machine grips and splits a log, you stop second-guessing every move. You read the wood grain. You spot knots before they cause trouble. You work faster without rushing.
Doing it right also protects your investment. A splitter is a serious tool, and careless use leads to dull wedges, blown hydraulic seals, or worse, an injury. Learn the proper technique early, and your equipment lasts for years while your woodpile grows steadily.
Tools and Materials You’ll Need
Before you fire up the machine, gather everything within arm’s reach. Stopping mid-job to hunt for gloves wastes time and breaks your rhythm.
- Wood splitter (hydraulic, gas, or electric) with a sharp splitting wedge
- Safety gear: heavy work gloves, safety glasses, steel-toe boots, and ear protection for gas models
- Rounds of wood, cut to a length your splitter can handle (usually 16–24 inches)
- Chainsaw or bow saw to trim oversized or uneven rounds
- Fuel or extension cord, depending on your machine
- A sturdy work surface or level ground to position the splitter
- A tarp or cart for collecting finished splits
- Optional: a log lift or roller table to spare your back when loading heavy rounds
Keep the area clear of clutter, pets, and curious kids before you start.
Step-by-Step Guide on How To Use a Wood Splitter
Step 1 – Set Up on Level, Solid Ground
Find a flat, firm spot before you do anything else. A splitter that wobbles or tilts shifts the pressure off your wedge and makes every cut unpredictable. Concrete, packed gravel, or hard-packed dirt all work well.
Position the machine so you can stand comfortably without bending or reaching. If you’re using a horizontal splitter, set it at waist height on a table or stand. Vertical models sit on the ground for the heaviest rounds.
Lock the wheels or set the stabilizer legs. Give the frame a firm shake to confirm it won’t roll. You want zero movement under load. A solid base keeps the wedge tracking straight and your hands far from harm.
Step 2 – Gear Up and Inspect the Machine
Pull on your gloves, glasses, and boots before you touch a single log. Splitting wood throws splinters and bark with surprising force, and your hands stay near moving steel the whole time.
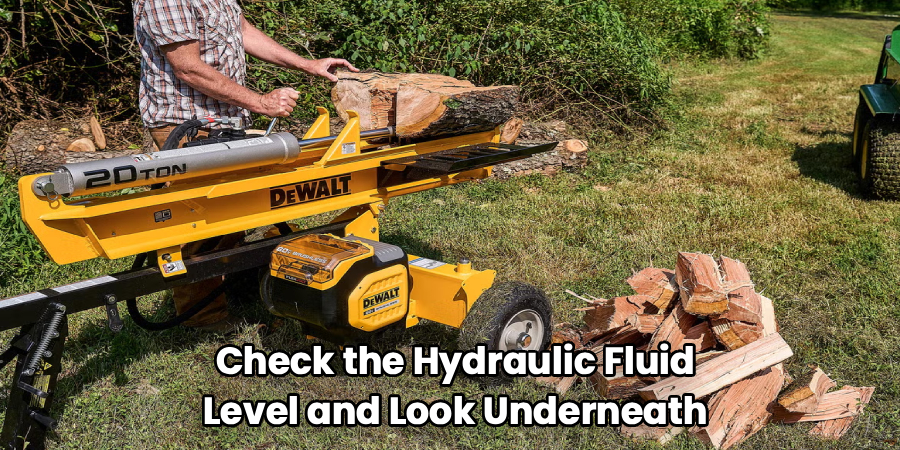
Now inspect the splitter. Check the hydraulic fluid level and look underneath for leaks. A wet, oily patch means trouble. Run your finger along the splitting wedge to confirm it’s sharp and free of nicks. A dull wedge crushes wood instead of slicing it.
Start the engine or plug in, then cycle the ram once with no log loaded. Listen for a smooth, steady hum. Knowing how to use a wood splitter safely starts with trusting that the machine itself is in good shape.
Step 3 – Choose and Read Your Round of Wood
Pick a round that fits your splitter’s length capacity. Oversized logs jam the ram and strain the engine, so trim anything too long with your chainsaw first.
Look closely at the cut face. The wood grain tells you where the log wants to break. Straight, even grain splits clean down the middle. You’ll see fine lines running the length of the round like the spine of a book.
Spot the knots and avoid centering them on the wedge. Knots are tangled, twisted grain that fight the blade and waste cycle time. Set the round so the wedge meets the straightest path. Reading the wood this way turns a stubborn log into an easy split.
Step 4 – Position the Log Squarely on the Beam
Place the round flat against the foot plate, with the end you want split facing the wedge. Center it so the wedge lines up with the heart of the log, not off to one ragged edge.
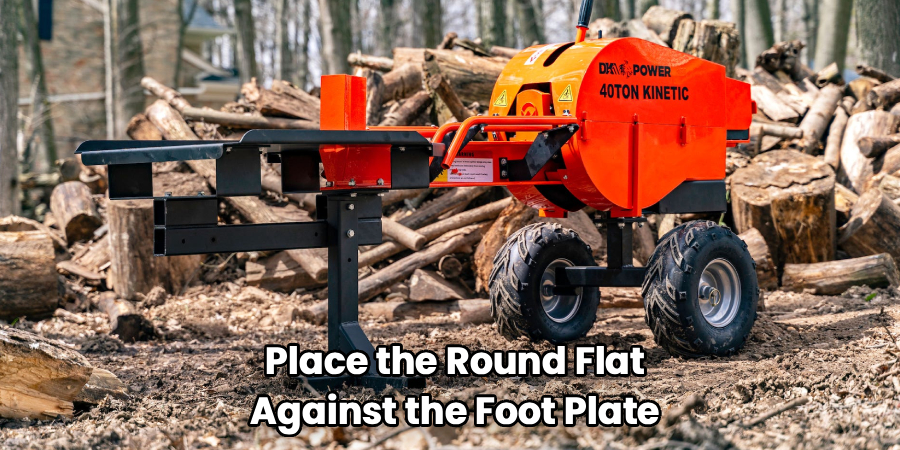
Keep the flat, sawn end down for stability. A round that rocks or leans will twist as the ram pushes, and twisting wood is how fingers get caught. Make sure it sits dead steady before you go any further.
Square the log so its length runs parallel with the beam. If it angles sideways, the split tears jagged and the piece can kick out. Take two seconds to nudge it true. That small habit pays off all day long.
Step 5 – Keep Hands Clear and Engage the Ram
Now step back slightly and place both hands on the controls. Most splitters use a two-hand operation or a clearly marked lever for exactly this reason: it keeps your fingers nowhere near the wedge while the ram moves.
Push the lever smoothly. You’ll hear the hydraulic pump deepen its tone as pressure builds. The wood creaks, then cracks with a sharp pop as the splitting wedge drives through. That clean snap is the sound of a job done right.
Never reach in to adjust a moving log. If something shifts, release the lever first and let the ram retract fully. Patience here protects you. The whole point of how to use a wood splitter well is letting the machine do the dangerous part.
Step 6 – Clear the Split Pieces and Reset
Once the ram completes its stroke, the round falls into two halves. Let the lever return so the ram retracts all the way to its start position. Wait for it to stop before you reach in.
Pull the split pieces off the beam and toss them onto your tarp or cart. Brush away loose bark and chips that pile up around the wedge. Debris buildup can wedge under a log and throw off your next cut.
If a piece is still too big, set it back on the beam and split it again. Halve, then quarter, until the pieces match your stove or fireplace. Keeping the work area clear between cycles keeps you moving and keeps your footing sure.
Step 7 – Handle Knotty or Stubborn Logs
Sooner or later you’ll meet a log that refuses to break. Knotty rounds, twisted grain, or green wood all resist the wedge. Don’t force it by jamming the lever harder.
Instead, retract the ram and reposition the log. Try splitting from the opposite end, where the grain may run cleaner. Aim the wedge at a smaller section near the edge rather than dead center. Chipping off the outer pieces first often loosens the whole round.
Listen as you push. A straining, groaning pump that stalls means you’re asking too much. Back off, reset, and pick a better line. Some logs are simply firewood for the campfire pit, not the wood stove. Knowing when to move on saves your machine and your patience.
Step 8 – Shut Down and Stack Your Firewood
When the pile is processed, power down the right way. Let a gas engine idle for a minute, then switch it off. Unplug electric models. Engage any safety lock and let the hydraulic system settle.
Wipe down the beam and wedge with a rag. A quick clean now prevents rust and keeps the wedge sharp for next time. Check the fluid one last time if you ran a long session.
Stack your fresh splits bark-side up in a single, airy row off the ground. Good airflow seasons the wood faster, drying it for better burning. Step back and look at that neat woodpile. You earned it, and your machine is ready for the next round.
Common Mistakes to Avoid
The biggest mistake beginners make is skipping safety gear because the machine “does the work.” It does the splitting, but flying bark, splinters, and pinch points still injure plenty of people. Gloves and glasses are not optional, ever.
Another common error is overloading the splitter with rounds that are too long or too thick. When you force an oversized log, the ram strains, the engine bogs down, and you risk damaging the hydraulic system. Cut your rounds to the right length first, and your machine thanks you with years of smooth cycle times.
Many folks also ignore the wood grain entirely. They drop a log on the beam without looking and then wonder why it tears jagged or jams. A few seconds of reading the grain and avoiding knots makes splitting faster and cleaner.
Reaching toward a moving ram is the most dangerous mistake of all. Logs shift, and the instinct to fix them mid-stroke gets fingers crushed. Always release the lever and wait for full retraction first.
Finally, people skip maintenance. They never check fluid, never sharpen the wedge, and never clean debris. Neglect dulls performance and shortens the tool’s life. A little upkeep keeps everything running right.
Expert Tips
Split wood when it’s slightly frozen if you can. Cold, brittle logs crack apart far easier than warm green ones, and you’ll fly through a pile that would otherwise fight you.
Keep a second, sharper wedge or spare on hand for knotty hardwoods like elm and oak. These species twist their grain and dull blades fast, so a fresh edge saves serious cycle time.
Work in an assembly line. Stage your rounds on one side, the splitter in the middle, and your collection cart on the other. Less walking means more splitting.
One trick most beginners miss: rotate stubborn logs and attack the edges before the center. Knocking off the outer slabs first weakens the knot’s grip, and the heart usually gives way after that.
Frequently Asked Questions
What Size Logs Can a Wood Splitter Handle?
Most home splitters take rounds between 16 and 24 inches long and up to about 12 inches in diameter. Always check your model’s specs before loading. Oversized logs strain the ram and slow your cycle time. If a round is too big, trim it with a chainsaw first. Matching the log to the machine keeps everything running smoothly and safely.
Is a Hydraulic Splitter Better Than Splitting by Hand?
For volume, yes. A hydraulic splitter handles knotty hardwoods and large rounds that would exhaust you with an axe. It’s safer on your joints and far faster over a full cord. Hand splitting still has its place for small batches and exercise, but if you process serious firewood every season, a powered splitter pays for itself in saved time and effort.
How Do I Stay Safe While Operating One?
Wear gloves, safety glasses, and steel-toe boots every time. Keep both hands on the controls and never reach toward a moving ram. Set the machine on level ground, clear the area of people and pets, and let the ram fully retract before clearing pieces. Inspect for leaks and a sharp wedge before each session. Steady, patient operation is the safest operation.
Why Won’t My Log Split Cleanly?
Usually it’s the grain or a hidden knot. Twisted or knotty wood resists the wedge and tears jagged. Try splitting from the opposite end or aim for the edges instead of the center. Green, wet wood also resists more than seasoned wood. If a round keeps stalling the pump, set it aside for the fire pit rather than forcing your machine.
How Often Should I Maintain My Splitter?
Check the hydraulic fluid and look for leaks before every use. Wipe down the beam and wedge after each session to prevent rust. Sharpen the wedge when it starts crushing instead of slicing, usually a few times a season with heavy use. Change the hydraulic fluid and filter according to your manual, typically once a year. Regular care keeps performance strong.
Conclusion
A full woodpile feels good, and getting there doesn’t have to wreck your back. Once you understand how to use a wood splitter properly, the whole job turns into a steady, manageable routine. You set up on solid ground, gear up, read the grain, and let the machine drive that wedge clean through each round.
The key takeaways are simple. Respect the safety gear. Match your logs to your machine. Read the wood before you cut it. Keep your hands clear of the moving ram, and give your splitter the basic maintenance it deserves.
Do those things, and you’ll split faster, stay safe, and stack neat rows of firewood ready to season and burn. Every log gets a little easier as your confidence builds. So grab your gloves, line up your rounds, and put what you’ve learned to work. Your warm winter fires start with the splits you make today.
