
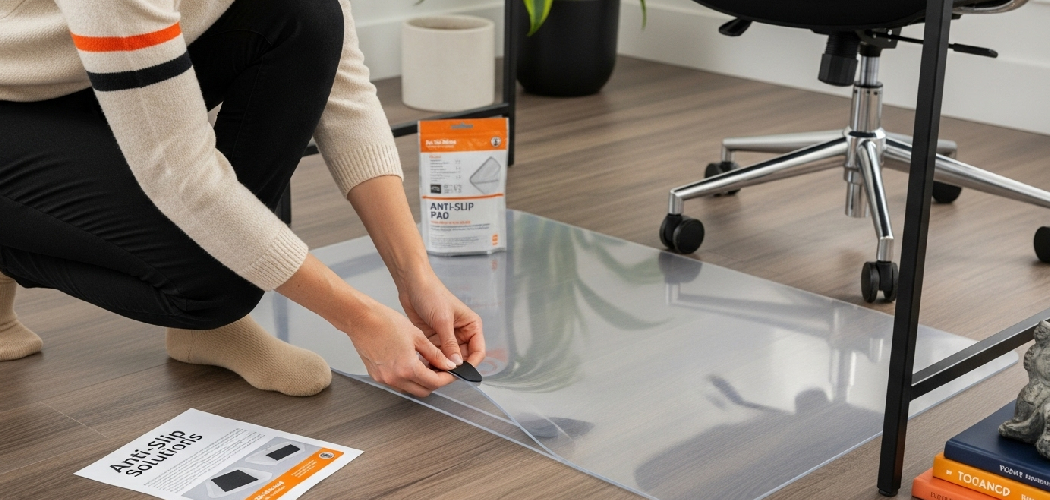
Your sofa creeps an inch every time you sit down. Your dining chairs screech across the boards. You push them back, and the next day they drift again. It is annoying. Worse, it is damaging your floor.
Sliding furniture leaves scratches. It dulls the finish. It wears grooves into wood you spent good money on. The good news? You can fix it in an afternoon with cheap supplies and a little patience.
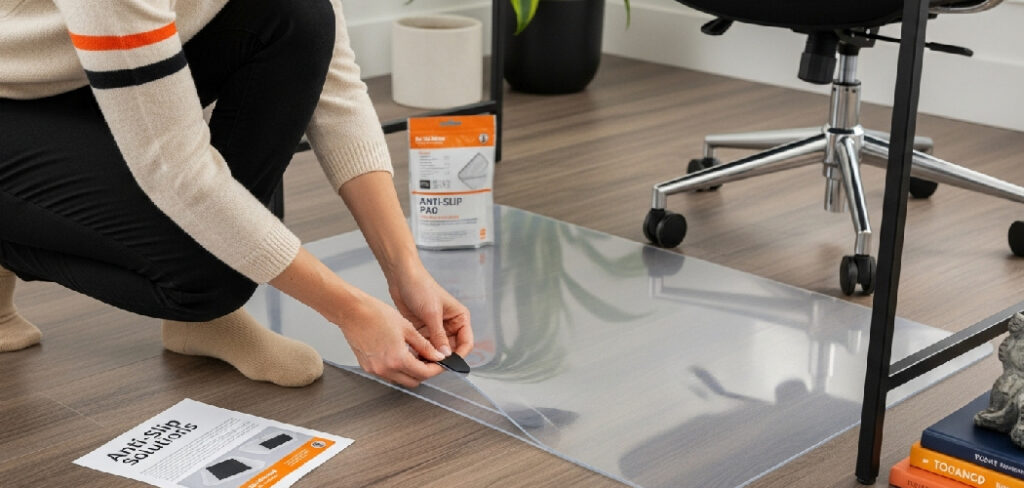
This guide shows you exactly how to stop furniture from sliding on wooden floors, step by step, using simple tools any beginner can handle. By the end, you will know which floor protectors to choose, how to install them right, and how to keep your hardwood looking sharp for years.
Why Stopping Furniture Sliding Matters
Wood floors are an investment. Sliding furniture chips away at that investment one scratch at a time.
Think about what is happening underneath. Every drag of a chair leg cuts into the finish. Over time, those tiny cuts become deep grooves. A refinish costs hundreds of dollars. A new floor costs thousands.
A pack of felt pads costs less than a coffee.
That is the math beginners miss.
Stopping the slide does three things. It protects your floor from scratches. It keeps your furniture exactly where you want it. It saves you from expensive repairs down the road. You also gain confidence. Once you learn this small skill, you start spotting other easy fixes around your home. Floor damage prevention is not glamorous. But it pays you back every single day.
Tools and Materials You’ll Need
Gather everything before you start. A quick trip to the hardware store covers most of it.
- Felt pads (self-adhesive) — for chairs, tables, and light furniture
- Rubber feet or grippers — for heavy pieces that need extra grip
- Furniture cups — for sofa and bed legs on slick surfaces
- Non-slip pads or rug anchors — to keep rugs and rug-mounted furniture in place
- Rubbing alcohol and a clean cloth — for cleaning surfaces before sticking pads
- Tape measure or ruler — to match pad size to furniture feet
- Scissors — to trim felt or non-slip material to size
- A friend or furniture slider (optional) — to lift heavy items safely without straining your back
That optional helper saves your back and your floor. Lifting beats dragging every time.
Step-by-Step Guide on How to Stop Furniture From Sliding on Wooden Floors
Follow these steps in order. Learning how to stop furniture from sliding on wooden floors is mostly about preparation and choosing the right protector for each piece.
Step 1 – Identify Which Pieces Slide the Most
Walk through your home. Push each piece of furniture gently. Watch what moves.
Chairs slide the most. Dining chairs, desk chairs, accent chairs. Then check sofas, tables, and beds.
Listen too. A clean glide means no friction. A scraping sound means the bare leg is dragging across wood. That scrape is your warning sign.
Look at the floor beneath each piece. Faint white lines or scuff marks tell you the slide has already started. Run your finger over them. If you feel a rough catch, the finish is wearing.
Make a quick mental list. Knowing which pieces cause the most movement tells you where to focus first and how many floor protectors to buy.
Step 2 – Inspect the Furniture Feet
Flip a chair over. Look closely at the bottom of each leg.
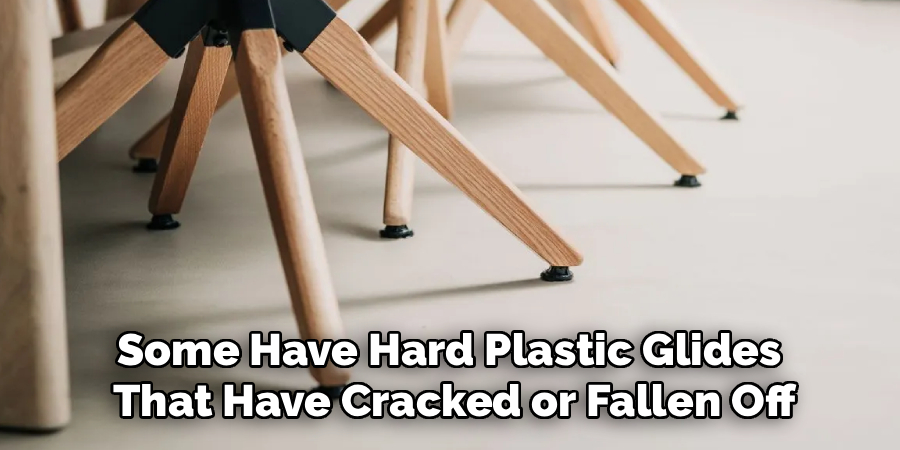
Some feet are bare wood. Some have old, peeling pads. Some have hard plastic glides that have cracked or fallen off. Each type needs a different fix.
Run your thumb across the foot. A smooth, hard surface slides easily on hardwood. A soft, textured surface grips better.
Check the shape and width too. Round legs, square legs, and thin metal legs all take different protectors. Measure each foot with your ruler so you buy the right size.
Doing this now saves you a second store trip. Beginners often guess the size and end up with pads that hang over the edge or fail to cover the foot.
Step 3 – Clean Every Surface Thoroughly
Adhesive needs a clean surface to grip. Skip this and your pads will pop off within a week.
Dampen a cloth with rubbing alcohol. Wipe the bottom of each furniture foot. Remove dust, old glue, grime, and any loose splinters.
You will feel the surface change. A gritty foot becomes smooth. The cloth picks up gray residue. That is the dirt that would have ruined your bond.
Let each foot dry fully. A wet surface weakens the stick. Give it a minute or two.
While you wait, wipe the floor where the furniture sits. A clean floor helps non-slip pads grip and keeps grit from grinding into the wood later. Clean feet plus clean floor equals protectors that actually last.
Step 4 – Choose the Right Floor Protector for Each Piece
Match the protector to the job. This is where most people go wrong.
Use felt pads on chairs, tables, and light furniture you move often. Felt glides quietly and protects against scratches without locking the piece in place.
Use rubber feet or furniture grippers on items you want to stay put. Rubber grips hard. It stops the slide cold.
Use furniture cups under heavy sofa and bed legs. The cup cradles the leg and holds it firm.
Use non-slip pads or rug anchors when furniture sits on a rug over wood.
Think about how each piece is used. A chair that moves daily needs glide. A bookshelf that should never move needs grip. The right anti-slip solution depends on the piece.
Step 5 – Apply Self-Adhesive Felt Pads
Peel the backing off one felt pad. Do not touch the sticky side with your fingers.
Center it on the furniture foot. A pad that sits off-center will peel at the edge. You want full, even coverage with no overhang.
Press down hard. Hold for ten full seconds. You should feel the pad bond and resist when you tug it lightly.
Repeat on every foot. Always do all four legs, even if only one was sliding. Uneven pads make furniture wobble and rock.
Set the piece back down gently. Slide it once. Listen. The harsh scrape should be gone, replaced by a soft, quiet glide. That smooth sound tells you the felt pads are working.
Step 6 – Install Rubber Feet or Grippers on Heavy Items
For furniture that must stay put, rubber is your friend. Knowing how to stop furniture from sliding on wooden floors often comes down to picking grip over glide.
Some rubber feet stick on with adhesive. Others screw into the leg or slip over it like a cap. Check what your set requires.
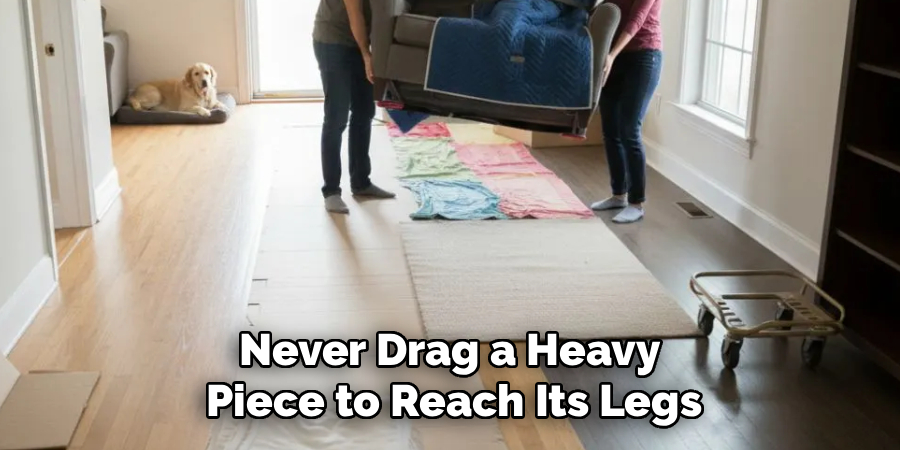
Tilt the furniture or have your helper lift one side. Never drag a heavy piece to reach its legs. Dragging is how scratches happen.
Attach the rubber foot squarely. Press or screw it in until snug.
Lower the furniture and test it. Push firmly. A good gripper holds its ground. You will feel resistance instead of a slide. The piece stays exactly where you set it.
Step 7 – Set Up Furniture Cups and Rug Anchors
Furniture cups work great under sofas and beds. Lift the leg, slide the cup underneath, and lower the leg into the recess. The cup grips the floor while cradling the foot.
You will feel the leg settle into place with a snug fit. No more creeping when you sit or lie down.
For furniture on rugs, the rug itself is the problem. It slides, and the furniture slides with it.
Place non-slip pads or rug anchors under the rug corners and edges. Press them flat against the wood. Walk across the rug. It should hold firm with no shifting underfoot. Anchoring the rug protects both the floor and anyone who might trip on a sliding edge.
Step 8 – Test, Adjust, and Inspect Regularly
You are almost done. Now test everything.
Sit in each chair. Push each table. Lean on each shelf. Watch for movement. Listen for scraping.
If a piece still slides, check the protector. A pad may be off-center. A gripper may be loose. Fix it before you call the job finished.
Get down and look at the floor. The scuff marks should stay put, with no fresh lines appearing.
Set a reminder to check every few months. Felt pads wear thin. Rubber feet collect grit. Replace worn protectors before they fail.
This last habit keeps your hardwood floor protection working for years. Five minutes of checking saves you from scratches you cannot undo.
Common Mistakes to Avoid
The biggest mistake is skipping the cleaning step. People stick pads onto dusty, greasy feet and wonder why they fall off in days. Adhesive needs a clean, dry surface. Wipe every foot with rubbing alcohol first. This one step doubles how long your pads last.
Another common error is using the wrong protector for the job. Felt pads on a bookshelf that should never move will let it drift across the room. Rubber grippers on a chair you move daily will make it stick and tip. Match grip to grip-needs and glide to glide-needs.
Many beginners only pad the legs that slide. Then the furniture wobbles because the heights no longer match. Always treat all four feet equally, even the ones that seem fine.
Dragging heavy furniture instead of lifting it causes deep scratches in seconds. Tilt the piece or grab a helper. Those gouges are nearly impossible to remove.
Finally, people forget to recheck their work. Pads wear out. Grippers loosen. Inspect every few months and replace anything thin or peeling.
Expert Tips
Here is what pros know that beginners usually miss.
Buy felt pads in bulk and keep spares in a drawer. The moment one falls off, you replace it the same day. A bare foot for even one week can scratch the floor.
Pick felt pad thickness to match the room. Thick felt glides better on uneven older boards. Thin felt sits flush on smooth new floors.
For rolling office chairs, swap hard plastic casters for rubber-coated wheels made for hardwood. The difference in sound and protection is huge.
Avoid cheap stick-on pads with weak glue. Self-adhesive felt with a strong backing holds far longer and costs only pennies more.
And never mix protector heights on the same piece. Even a one-millimeter gap creates a wobble you will feel every time you touch it.
Frequently Asked Questions
What Is the Best Way to Stop Chairs From Sliding?
Self-adhesive felt pads are your best choice for chairs. Clean the bottom of each leg with rubbing alcohol, then press a centered felt pad onto all four feet. Felt lets the chair glide quietly when you pull it out, yet it grips enough to prevent random drifting. It also protects your hardwood from the scratches bare chair legs cause.
Do Felt Pads or Rubber Feet Work Better?
It depends on the goal. Felt pads work best for furniture you move often, like chairs and tables, because they glide smoothly and prevent scratches. Rubber feet and grippers work best for heavy items you want to stay put, like sofas, beds, and bookshelves. Rubber grips the floor firmly. Match the protector to how each piece is used.
How Often Should I Replace Furniture Floor Protectors?
Check your floor protectors every three to four months. Felt pads wear thin with daily use, and rubber feet collect grit that can scratch wood. Replace any pad that looks flat, torn, or peeling right away. A bare furniture foot can scratch your floor in days, so keeping spares on hand makes quick swaps easy and protects your investment.
Will Furniture Pads Damage My Hardwood Floor Finish?
Quality felt pads and rubber protectors will not damage your finish when installed and maintained correctly. Problems start when pads wear out and trapped grit grinds against the wood. Clean both the foot and the floor before applying pads, and replace worn ones promptly. Avoid cheap adhesives that leave sticky residue. Done right, protectors guard your finish rather than harm it.
How Do I Keep Furniture on a Rug From Sliding?
The rug is usually the real culprit. Place non-slip pads or rug anchors under the rug, focusing on corners and edges, and press them firmly against the wood floor. This holds the rug steady so the furniture on top stays put too. For heavier pieces, add furniture cups under the legs for extra grip and stability.
Conclusion
Sliding furniture is a small problem with a big cost. Left alone, it scratches your floor, wears the finish, and eats into the money you spent on beautiful wood.
But you now know better.
You know how to stop furniture from sliding on wooden floors with a few cheap supplies and an afternoon of work. Identify the pieces that move. Inspect and clean every foot. Choose the right protector for each job. Felt for glide. Rubber for grip. Cups and anchors for the heavy and the rug-mounted.
Then test it. Check it every few months. Replace what wears out.
That is the whole skill.
This small habit protects your floor for years and saves you from costly refinishing. It also builds your confidence as a DIYer. Once you master one easy fix, the next one feels simple too.
So grab a pack of felt pads this week. Start with the chair that scrapes the loudest. Your floor will thank you.
