
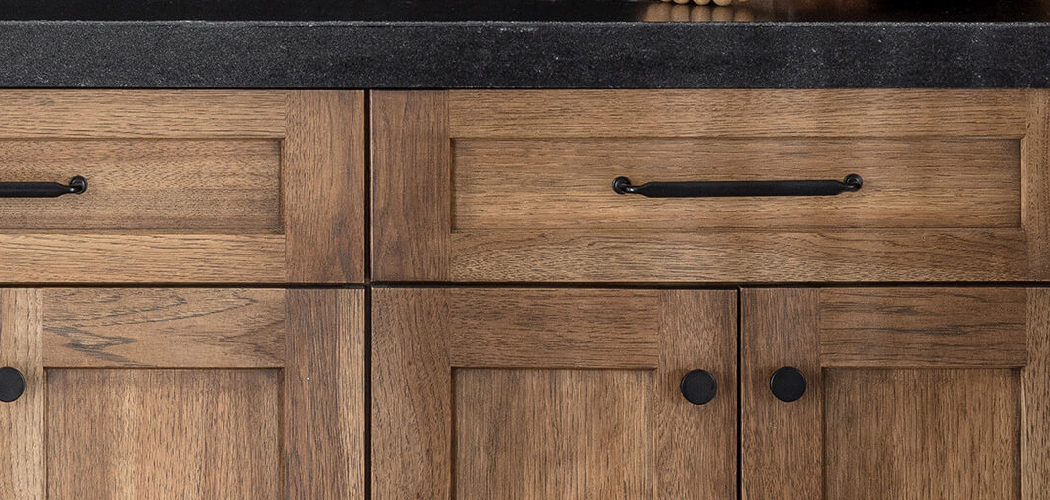
Maple looks easy to stain. It isn’t.
That sounds harsh, but it’s the truth most beginners learn the hard way. You sand a beautiful maple board. You wipe on stain. You expect rich, even color. Instead, you get blotchy patches, dark streaks, and a finish that looks like a mistake. Maple is dense. Maple is tight-grained. Maple fights back when you treat it like oak or pine.
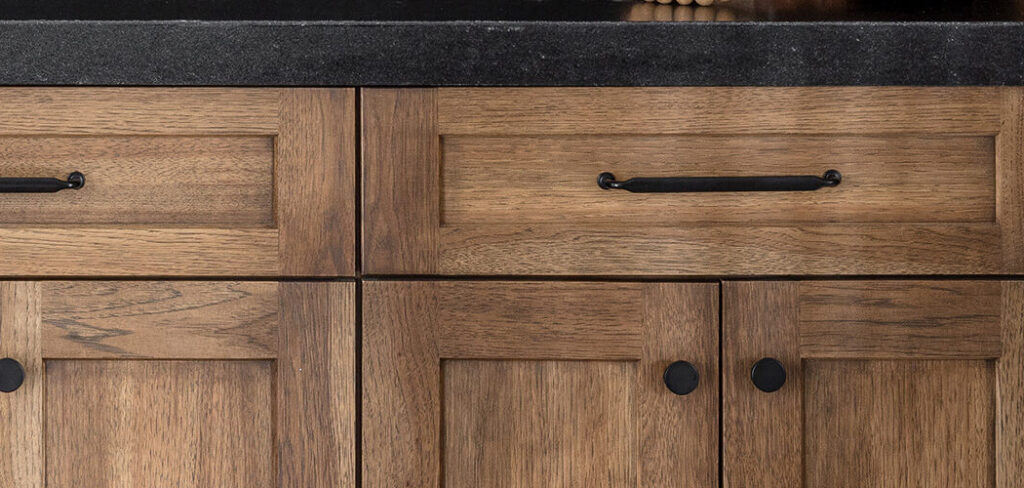
Knowing how to stain maple wood the right way changes everything. The wood stops resisting. The color goes on smooth. The grain finally shows what it can do.
This guide walks you through every step — from prep to topcoat — so your next maple project comes out looking like it belongs in a showroom.
Why Staining Maple Wood Matters
Maple is everywhere. Cabinets. Tables. Floors. Cutting boards. It’s strong, affordable, and easy to find at any lumberyard.
But maple is also unforgiving. One rushed step and you waste good wood and good money. A blotchy tabletop can’t be wiped clean. It has to be sanded down and started over.
Learning this skill saves you cash. It saves you time. It saves you the frustration of redoing a project you thought was finished.
There’s something deeper too. The first time you pull off a clean, even maple finish, your confidence shifts. You stop fearing dense hardwoods. You start trusting your hands.
That trust carries into every project after. Will you build it?
Tools and Materials You’ll Need
Gather everything before you start. Stopping mid-project to find a brush invites mistakes.
- Sandpaper in 120, 150, and 220 grit
- Tack cloth or a clean, lint-free rag
- Wood conditioner (pre-stain) — your most important tool for maple
- Gel stain or oil-based stain in your chosen color
- Foam brushes or staining pads
- Clean cotton rags for wiping
- Stir sticks for mixing stain evenly
- Polyurethane or topcoat for protection
- Painter’s tape for masking edges
- Disposable gloves to keep your hands clean
- Drop cloth to protect your workspace
- Random orbital sander (optional) — saves your arms on large surfaces
One tip: buy a little extra stain. Running out halfway can mean color that doesn’t match.
Step-by-Step Guide on How to Stain Maple Wood
Step 1 – Sand the Surface Smooth
Start with sanding. This step decides everything that follows.
Work through your grits in order. Begin with 120 to knock down rough spots. Move to 150. Finish with 220 for a smooth, even surface.
Always sand with the grain, never against it. Cross-grain scratches show up dark and ugly once stain hits them.
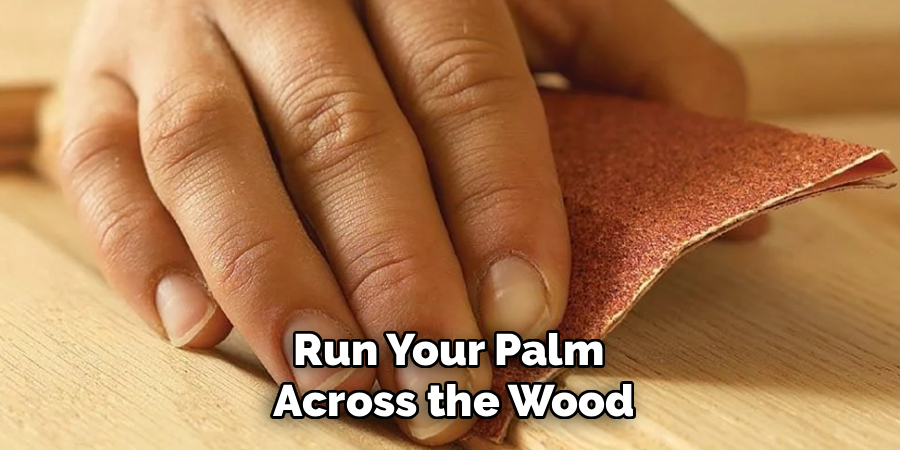
Run your palm across the wood. It should feel like cool glass — no ridges, no fuzz, no rough patches. If you hear a gritty scratch as your hand passes, sand again.
Don’t over-sand past 220 on maple. Too fine a surface seals the grain shut and blocks stain from soaking in. Smooth, not polished, is your goal.
Step 2 – Clean Off All the Dust
Sanding leaves fine dust packed into the grain. Stain over that dust and you trap grit under your color.
Wipe the whole surface with a tack cloth. Move slowly. Press lightly. Lift the dust instead of pushing it around.
For deep grain, follow with a damp rag, then let the wood dry fully. The surface should look clean and feel completely smooth.
Hold the board up to the light at an angle. You’re looking for a clear, dust-free surface with no white film sitting in the pores.
This is the quiet step most beginners skip. Don’t. Clean wood is the foundation of how to stain maple wood without surprises.
Step 3 – Apply Wood Conditioner
This is the step that makes or breaks maple. Skip it and you almost guarantee blotchy grain.
Maple absorbs stain unevenly. Some spots drink it in. Others reject it. Wood conditioner evens out that thirst so color lands uniformly.
Brush on a thin, even coat. Let it soak the recommended time on the can — usually five to fifteen minutes. Then wipe off any excess with a clean rag.
The surface should feel slightly damp, not wet or sticky. You’ll notice the wood looks a touch darker and more uniform.
Apply your stain within two hours while the conditioner is still active. Wait too long and its blotch-fighting power fades.
Step 4 – Stir and Test Your Stain
Never trust the color on the can. Maple changes everything.
Stir your stain slowly and fully. Pigment settles at the bottom, so an unstirred can gives weak, patchy color. Stir — don’t shake. Shaking creates bubbles that ruin a smooth finish.
Now test. Grab a scrap of the same maple. Apply stain exactly as you plan to on the real piece. Let it dry.
This little test saves big heartbreak. You’ll see the true color before committing. Gel stain often works beautifully on maple because it sits on the surface and resists blotching.
If the test looks too light, plan for a second coat. If too dark, thin it down.
Step 5 – Apply the First Coat of Stain
Now the fun begins. Work in sections so the stain never dries before you wipe it.
Load your foam brush or pad. Spread the stain along the grain in long, smooth strokes. Cover the surface evenly. Don’t flood one area and starve another.
You’ll hear a soft, wet drag as the brush moves. The wood darkens instantly and looks rich and uniform.
Watch for pooling. Puddles dry darker and leave splotches. Keep your strokes consistent and overlap each pass slightly.
Mastering how to stain maple wood comes down to control here — steady hands, even pressure, and patience. Rushing this coat shows up clearly once it dries.
Step 6 – Wipe Off the Excess
Wiping matters as much as applying. Stain left sitting too long gets gummy and uneven.
After a few minutes, take a clean cotton rag. Wipe along the grain, removing every bit of surface stain. The wood should look colored but not wet or shiny.
Wipe firmly and evenly. Leftover stain pools in low spots and dries blotchy. The grain should glow with even color, edge to edge.
Change rags as they load up. A saturated rag just smears old stain around instead of lifting it.
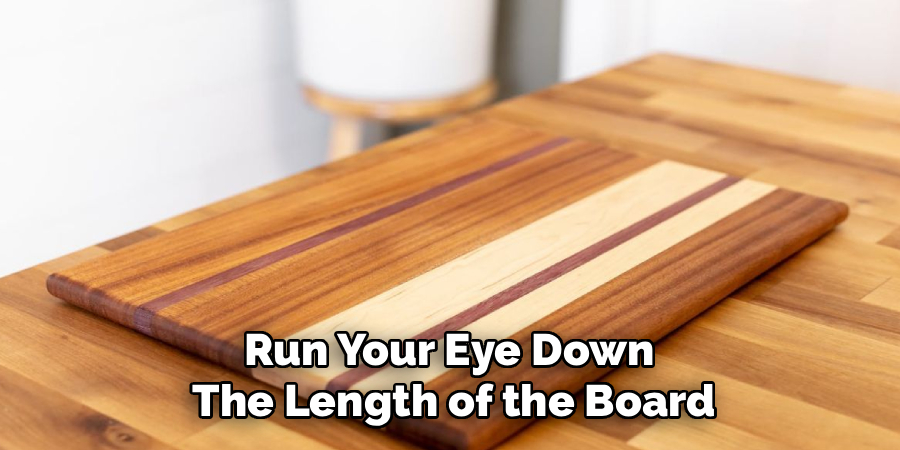
Run your eye down the length of the board. You want consistent tone with no dark islands or light streaks. If you see uneven spots, address them now.
Step 7 – Let It Dry Completely
Patience pays off here. Rushing the dry time ruins your topcoat.
Let the stain cure for the full time on the can — usually eight to twenty-four hours. Oil-based stains take longer than water-based ones.
Touch the surface lightly. It should feel dry and smooth, never tacky or cool. If your finger picks up color or leaves a print, wait longer.
Give it more time in humid weather. Damp air slows drying dramatically.
Dry stain looks slightly flat, not glossy. That dullness is normal — your topcoat brings back the shine. Apply a topcoat over stain that isn’t fully cured and you’ll trap moisture, causing a cloudy, ruined finish.
Step 8 – Apply a Protective Topcoat
Stain adds color. A topcoat adds protection. Maple furniture and floors need both.
Choose a clear polyurethane — oil-based for warmth, water-based for clarity. Stir gently to avoid bubbles.
Brush on a thin, even coat along the grain. Thin coats dry harder and look better than one thick layer. You’ll see a smooth, wet sheen settle across the surface.
Let the first coat dry. Then sand lightly with 320 grit to knock down any rough texture. Wipe clean and apply a second coat.
Two or three thin coats give the best durability. Run your hand over the cured finish — it should feel like polished stone, slick and protected.
Common Mistakes to Avoid
The biggest mistake is skipping wood conditioner. People hear maple is hard to stain, then ignore the one product designed to fix it. The result is the exact blotchy grain they feared. Always condition first. It’s not optional on maple.
Another common error is sanding too fine. Going beyond 220 grit feels right, but it burnishes the surface and seals the pores. Stain can’t soak in, so the color comes out weak and patchy. Stop at 220 and let the grain stay open enough to accept color.
Rushing the wipe-off step ruins more projects than almost anything. You apply stain, get distracted, and come back to gummy, half-dried color that won’t lift evenly. Wipe within the window on the can.
Choosing the wrong stain type also causes trouble. Thin liquid stains penetrate fast and blotch easily on maple. Gel stains sit on top and give far more control for beginners.
Finally, impatience with dry time traps moisture under the topcoat. The finish turns cloudy. Wait the full cure time, every time.
Expert Tips
Pros know maple takes color differently than the can suggests. So they always test on scrap first. Always.
Here’s a trick few beginners use: a light wash coat of thinned shellac before staining acts as a second blotch barrier. It seals the wood just enough for stunning evenness.
Pros also reach for gel stain on vertical surfaces. It clings instead of running, so cabinet doors and table legs come out clean with no drips.
Temperature matters more than people think. Stain in a warm, dry room around 70°F. Cold slows drying and ruins absorption.
One more secret: lighting. Inspect your work under bright, angled light. Flaws hide in shadow but jump out under a raking beam. Catch them before the topcoat locks them in forever.
Frequently Asked Questions
Do I Really Need Wood Conditioner on Maple?
Yes, almost always. Maple is dense and absorbs stain unevenly, which causes blotchy patches. Wood conditioner partially seals the grain so color lands uniformly. Skipping it is the number one reason beginner maple projects fail. The only exception is gel stain, which sits on the surface and blotches far less. For any penetrating stain, condition first without question.
Why Does My Maple Look Blotchy After Staining?
Blotching happens when different parts of the wood absorb stain at different rates. Maple’s tight, uneven grain makes this worse. The usual culprits are skipping wood conditioner, over-sanding the surface, or using a thin penetrating stain. To fix it, sand the piece back down, apply conditioner, and switch to a gel stain for better control and even color.
What Type of Stain Works Best on Maple?
Gel stain is your best friend on maple. It’s thick and sits on the surface instead of soaking in unevenly, so it resists blotching beautifully. Oil-based stains also work well when paired with a quality wood conditioner. Avoid thin, water-based penetrating stains unless you’re experienced — they absorb fast and blotch easily on dense maple grain.
Can I Stain Maple a Dark Color?
You can, but it takes patience. Maple resists deep color because of its tight grain. Build the shade with multiple thin coats rather than one heavy one. Use a gel stain for richer, more even darkness. For very dark tones like espresso, a dye stain followed by a pigment stain gives the deepest, most uniform result without muddy blotching.
How Long Should Stain Dry Before the Topcoat?
Wait the full time listed on your stain can, usually eight to twenty-four hours. Oil-based stains need longer than water-based ones. The surface should feel completely dry and smooth, never tacky or cool to the touch. Applying a topcoat too early traps moisture underneath, creating a cloudy, ruined finish. In humid conditions, add extra drying time to be safe.
Conclusion
Maple isn’t hard. It’s just honest. It rewards prep and punishes shortcuts.
You now know the full process. Sand smooth. Clean the dust. Condition the wood. Test your color. Stain in even strokes. Wipe clean. Dry fully. Protect with a topcoat.
Each step matters. Skip one and the wood tells on you. Follow them all and the grain comes alive with color you’ll be proud to show off.
Learning how to stain maple wood is one of those skills that pays you back forever. Every cabinet, table, and shelf you finish from here on out will look sharper and last longer.
Don’t aim for perfect on your first try. Aim for one clean board. Then another. Confidence grows one finished piece at a time.
So grab a scrap of maple this week. Sand it. Condition it. Stain it. See the difference for yourself.
Your next great project is waiting. Will you start it today?
