
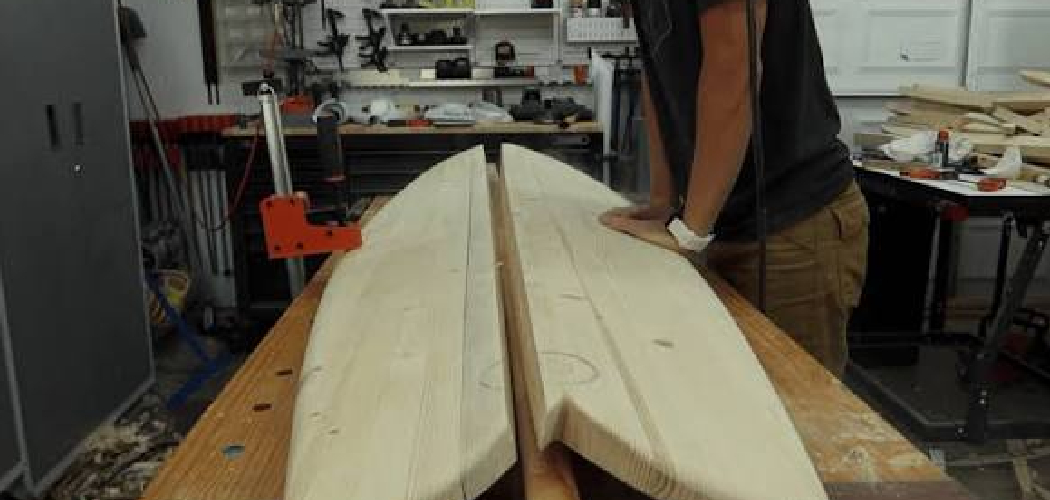
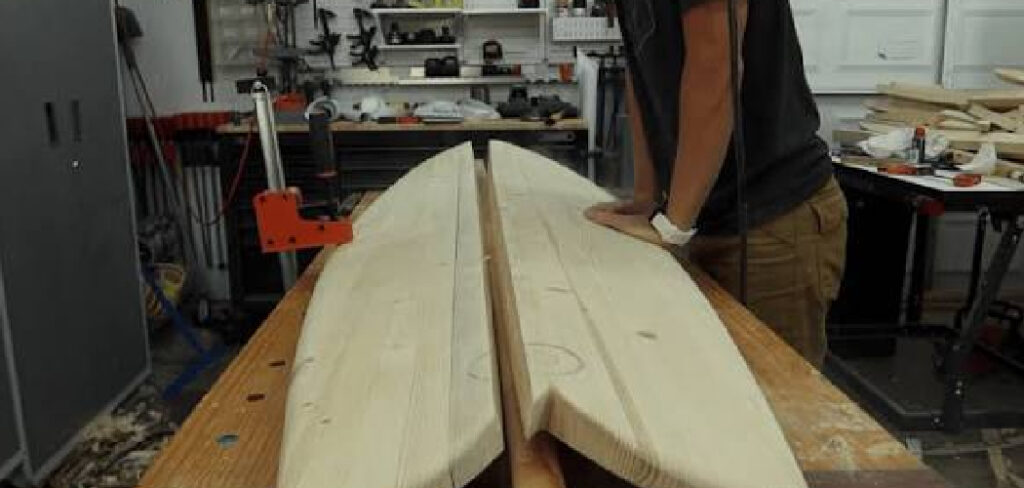
How to Make a Wooden Surfboard. A wooden board does both. It rides smooth, looks stunning, and carries a story no foam board ever will. Learning how to make wooden surfboard projects from scratch sounds intimidating, but the process breaks down into clear, manageable stages you can handle in a home workshop. You don’t need a factory or years of experience—just patience, the right tools, and a willingness to learn. This guide walks you through every step, from choosing your wood blank to sealing the final coat, so you finish with a board that’s strong, watertight, and ready to paddle out.
Why Building a Wooden Surfboard Matters
Building your own board saves real money. Custom wooden surfboards sell for $1,000 to $3,000. Build one yourself and your material cost drops to a few hundred dollars. You keep the rest.
The payoff goes beyond cash. You learn shaping, sealing, and finishing skills that transfer to dozens of other woodworking projects. You build confidence with every cut. You avoid the costly mistakes beginners make when they rush expensive store-bought repairs.
A wooden board also lasts. Treat the wood right and it outlives three or four foam boards. You ride something built by hand, tuned to your weight and style. That connection between maker and wave is the real reward—and it starts in your garage.
Tools and Materials You’ll Need
Gather everything before you start. Stopping mid-build to source a missing part kills momentum and wastes drying time.
- Marine-grade plywood or cedar strips — forms the deck, bottom, and internal frame
- Wood blank or 1×6 cedar boards — for solid-wood rails and nose blocks
- Epoxy resin and hardener — bonds joints and seals the wood
- Fiberglass cloth (4–6 oz) — adds strength over the epoxy layer
- Waterproof wood glue — secures the internal frame
- Jigsaw and hand plane — cuts the outline and shapes the rails
- Random orbital sander — smooths every surface before finishing
- Clamps (at least 8) — hold the frame and rails during glue-up
- Fin box and fins — controls steering and stability
- Sandpaper (80 to 400 grit) — moves from rough shaping to fine finish
- Vacuum bagging kit (optional) — presses the deck for a tighter bond
Step-by-Step Guide on How to Make a Wooden Surfboard
Step 1 – Choose Your Design and Wood
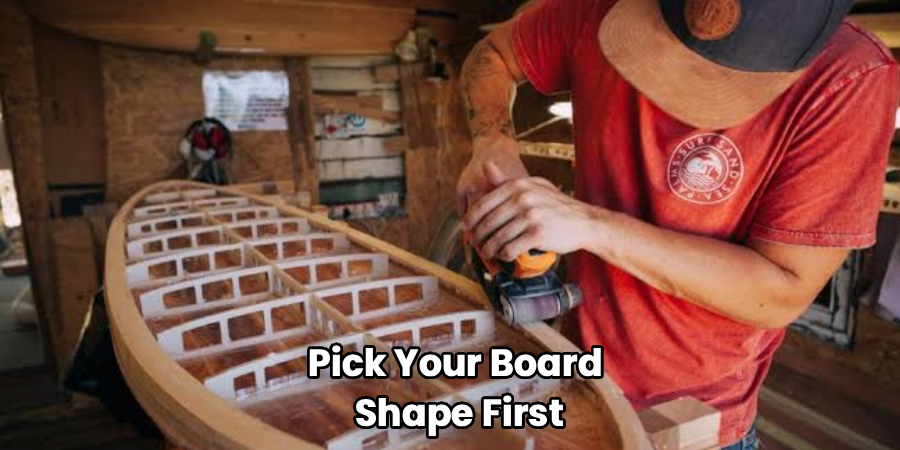
Pick your board shape first. A longboard forgives beginners. A shortboard rewards experienced riders. Print a full-size template or draw your outline on butcher paper so you see the real dimensions before cutting.
Choose lightweight, rot-resistant wood. Western red cedar, paulownia, and marine-grade plywood all work well. Run your hand across each board. You want straight grain, no knots near the rails, and a dry, even surface. Damp or warped wood ruins a build.
Decide on your rocker—the curve from nose to tail—because it controls how the board turns and floats. More rocker means tighter turns. Less rocker means faster, flatter rides. Mark your measurements clearly before you touch a saw.
Step 2 – Build the Internal Frame
Most homemade boards use a hollow wood surfboard design. This keeps the board light while staying strong. The internal frame, called the chambered skeleton, gives the deck and bottom something solid to bond to.
Cut a central stringer that runs the full length of the board. Then cut ribs that branch out at regular intervals, like a fish skeleton. Notch them so they lock together snug. Test-fit everything dry first.
When the fit feels tight with no wobble, apply waterproof wood glue to each joint. Clamp firmly. You’ll hear the faint squeeze of glue pushing out—that’s good. Wipe the excess before it cures. Let the frame dry fully overnight before moving on.
Step 3 – Attach the Bottom Skin
Lay your bottom panel face-down on a flat surface. Spread a thin, even coat of epoxy resin across the frame’s bottom edges. The resin should look glossy, not pooled.
Set the frame onto the panel and press down. Clamp along every rib and the stringer. If you own a vacuum bagging kit, now’s the time to use it—the even pressure removes air pockets and tightens the bond.
Check the edges. You want a thin bead of squeezed-out epoxy along each contact line. No bead means too little glue. A flooded mess means too much. Let it cure for the full time the label states, usually 8 to 12 hours. Rushing this step weakens the whole board.
Step 4 – Shape and Install the Rails
The rails are the curved edges that wrap from deck to bottom. They shape how the board cuts through water. Glue your cedar rail strips around the perimeter of the bottom skin, bending them gently to follow the outline.
Clamp every few inches. Thin rail strips bend easier, so soak stubborn pieces in warm water first. Once the glue cures, grab your hand plane.
Shave the rails in long, smooth strokes. Listen for a clean, papery shaving sound—that means a sharp blade and good control. Tear-out or chatter means you’re going against the grain. Round the rails evenly on both sides. Symmetry here is what makes the finished board feel balanced under your feet.
Step 5 – Attach the Deck Skin
Now seal the top. This step in how to make wooden surfboard builds defines the board’s strength, because the deck takes your full weight on every wave.
Dry-fit the deck panel over the frame and rails. Trim any overhang. Then spread epoxy across all the top edges of the frame and the rail surfaces. Set the deck down and clamp it tight, working from the center outward to push air toward the edges.
Press firmly along the stringer. You want full contact everywhere. Run your finger along the seams to feel for gaps. A smooth, continuous edge means a solid bond. Let the deck cure overnight under steady clamp pressure before you remove anything.
Step 6 – Install the Fin Box
The fin box holds your fins and controls steering. Mark its position carefully—usually a few inches up from the tail along the centerline. Get this wrong and the board tracks crooked.
Cut a clean recess into the bottom skin using a router or chisel. Test-fit the fin box until it sits flush, with no lip standing above the surface. A raised box creates drag and ruins your glide.
Bed the box in thickened epoxy. Press it down until resin squeezes out around all four sides. Wipe the excess smooth. Hold it level while it sets, checking with a small square. Once cured, the box should feel rock-solid when you wiggle it. No movement is the goal.
Step 7 – Sand the Entire Board
Sanding is slow, dusty, and absolutely worth it. Start with 80-grit on your random orbital sander to knock down high spots and level the rails. Move across the surface in overlapping passes.
Run your palm over the wood often. You’re feeling for dips, ridges, and rough patches your eyes miss. Step up through 120, then 220, then 320 grit. Each pass should feel smoother than the last.
The dust changes from coarse flakes to fine powder as you go—that’s your cue you’re nearing a glass-smooth finish. Wipe the board clean between grits so leftover grit doesn’t scratch fresh surfaces. By 400 grit, the wood should feel like silk and glow with that warm grain you worked so hard to reveal.
Step 8 – Apply Fiberglass and Epoxy
Sealing wood against saltwater is non-negotiable. Lay your fiberglass cloth over the board, smoothing out every wrinkle by hand. The cloth should drape evenly with no bunching at the rails.
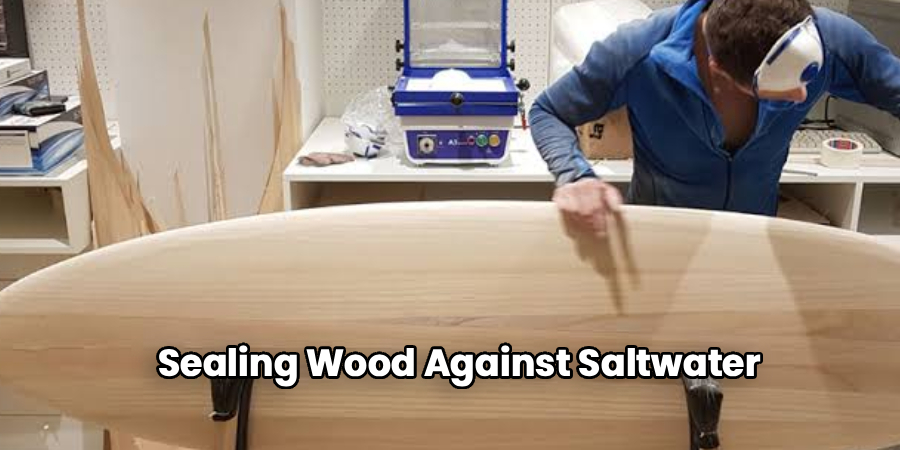
Mix your epoxy resin in small batches—it cures fast once combined. Pour a line down the center and spread it outward with a plastic squeegee. The cloth turns clear as it saturates. Cloudy white patches mean dry spots, so work resin into them quickly.
Apply two or three coats, sanding lightly between each once cured. The final coat should look wet and glassy. This sealed shell locks moisture out and gives your board years of life. Let the last coat cure a full day before you touch it.
Common Mistakes to Avoid
The biggest mistake beginners make is rushing the cure times. Epoxy needs the full window the label states. Clamp a deck for four hours instead of twelve and the bond fails the first time you drop into a wave. Patience here protects every hour you’ve already invested.
Skipping the dry-fit step causes endless headaches. Always assemble your frame, rails, and skins without glue first. If pieces don’t line up clean and tight when dry, glue won’t fix it—it only locks the misalignment in place permanently.
Many builders also use too much epoxy, thinking more resin means more strength. It doesn’t. Excess resin adds weight, pools in ugly drips, and actually weakens joints. A thin, even coat with a small squeeze-out bead is exactly right.
Uneven rails wreck performance. If you shape one side fatter than the other, the board pulls left or right in the water. Check symmetry constantly with calipers or a simple cardboard template.
Finally, never skip sealing the wood completely. One unsealed spot lets saltwater seep in, swell the wood, and rot the board from inside. Seal every surface, every edge, every fin box corner.
Expert Tips
Weigh your finished frame before skinning it. A frame that’s too heavy means your board floats poorly, so trim wood from the ribs while you still can.
Mix epoxy in a wide, shallow container instead of a deep cup. Deep cups trap heat, which speeds curing and gives you less working time before the resin turns to rubber.
Build a simple rocker table—two long boards with your curve cut into them—to hold the board’s shape during glue-up. It guarantees consistent rocker across the whole build.
Warm your workshop to around 70°F before applying epoxy. Cold rooms leave a sticky, uncured film called amine blush that ruins your finish.
Finally, sign and date the inside of the frame before you close the deck. It’s a small touch that makes the board truly yours.
Frequently Asked Questions
How Long Does It Take to Build a Wooden Surfboard?
Most first-time builders finish in 40 to 60 hours spread across two to four weeks. The hands-on work moves faster than you’d expect, but cure times stretch the timeline. Epoxy needs 8 to 24 hours between major steps. Don’t rush these waits. Plan your build around drying windows and you’ll avoid weak joints and wasted material.
Is Building a Wooden Surfboard Cheaper Than Buying One?
Yes. A custom wooden board retails for $1,000 to $3,000. Building one yourself costs $250 to $600 in materials, depending on wood choice and board size. You also reuse tools across future projects. The savings grow with every board you build, and the skills you gain carry real value beyond surfboards.
What Wood Is Best for a Wooden Surfboard?
Paulownia, western red cedar, and marine-grade plywood top the list. Paulownia is light, strong, and naturally water-resistant—the favorite for hollow wood surfboard builds. Cedar offers beautiful grain at a lower price. Marine-grade plywood works well for the internal frame. Avoid pine and untreated hardwoods, which absorb water and add unnecessary weight.
Do I Need to Fiberglass a Wooden Surfboard?
Yes, in nearly every case. Fiberglass cloth and epoxy resin create a waterproof shell that protects the wood from saltwater, dings, and UV damage. Without it, water seeps in, the wood swells, and the board rots within months. The glassing step also adds significant strength, letting you build with thinner, lighter wood underneath.
Can a Beginner Build a Wooden Surfboard?
Absolutely. Start with a longboard or a simple hollow design—they’re more forgiving than performance shortboards. Take your time with measuring, dry-fitting, and curing. Watch a few build videos for visual reference. Thousands of first-timers complete solid, rideable boards in their garages every year. Patience and careful prep matter far more than years of woodworking experience.
Conclusion
You now have the full roadmap. Knowing how to make wooden surfboard projects from start to finish means you can build a board that’s lighter than it looks, stronger than it seems, and uniquely yours. Choose your wood. Build the frame. Skin it, shape the rails, install the fin box, sand it smooth, and seal it tight with epoxy and fiberglass. Each step builds on the last.
Don’t let the process intimidate you. Every expert shaper started with a first board and plenty of questions. Work patiently, respect the cure times, and check your symmetry as you go. The skills you gain here—shaping, sealing, finishing—stay with you for life.
Soon you’ll wax up a board you built with your own hands and paddle into the lineup. That first wave on a homemade wooden surfboard feels different. It feels earned. Pick your design, gather your tools, and start building today.
