
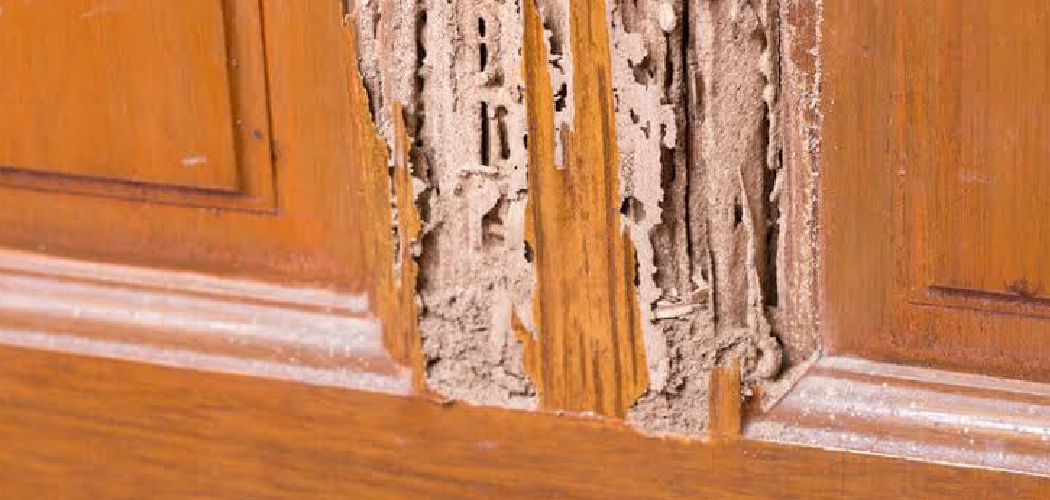
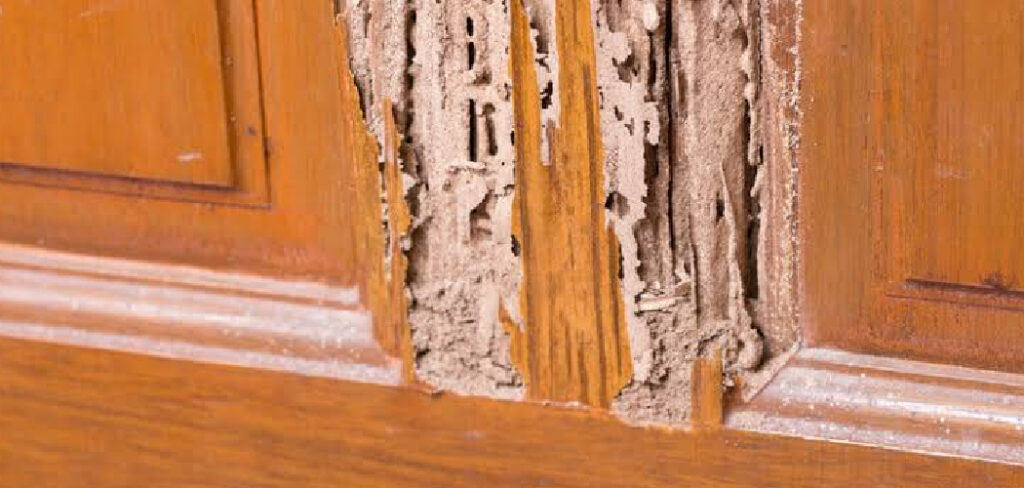
Termites work quietly. You rarely see them. You only see what they leave behind — hollowed beams, soft trim, a windowsill that crumbles under your thumb. By the time you notice, the damage is already done. That is the unsettling part. The good news is simple: you can fix it yourself. Learning how to repair termite damaged wood saves you money, restores strength, and gives you back control over your home. You don’t need a contractor for every soft board. You need the right method, the right materials, and a steady hand. This guide walks you through the full process, step by step, so you can turn weak, chewed-up wood back into something solid and lasting.
Why Repairing Termite Damaged Wood Matters
Termite damage doesn’t wait. It spreads. A small soft spot today becomes a structural problem next year.
That is why this skill matters.
Repairing the wood yourself does three things. It saves money. It builds confidence. It protects the value of your home. A pro might charge hundreds for a job you can handle in an afternoon.
Learn this once and you carry it forever. You’ll spot trouble earlier. You’ll act faster. You’ll stop small problems from becoming expensive ones.
There’s also pride in it. You touch a board you saved with your own hands and you know it. That feeling doesn’t come from writing a check. It comes from doing the work yourself, and doing it right.
Tools and Materials You’ll Need
Gather everything before you start. Stopping halfway to hunt for supplies only slows you down.
- Putty knife and a stiff wire brush
- Chisel and a hammer
- Screwdriver or awl (for probing soft spots)
- Wood hardener (consolidant) to stabilize damaged fibers
- Epoxy wood filler or two-part epoxy paste
- Sandpaper in coarse and fine grits (80 and 220)
- Clean rags and mineral spirits
- Paintbrush for applying hardener
- Primer and matching paint or wood stain
- Dust mask, safety glasses, and gloves
- Optional: an oscillating multi-tool for fast, clean removal of damaged wood
That optional multi-tool isn’t required. But it cuts your prep time in half and gives you cleaner edges. If you do this kind of work often, it earns its keep.
Step-by-Step Guide on How to Repair Termite Damaged Wood
Step 1 – Confirm the Damage Is From Termites
Before you fix anything, know what you’re fighting. Termite damage and wood rot look similar but behave differently.
Press a screwdriver into the soft wood. Termite galleries feel hollow and follow the grain in long, papery tunnels. You’ll often find dried mud or fine droppings inside. Wood rot, by contrast, feels spongy and damp, and it crumbles into a brown, blocky pattern.
Tap the surface with your knuckle. Healthy wood rings solid. Damaged wood sounds dull and empty.
Look for discarded wings near windowsills. Look for tiny pinholes. Look for blistered paint that flakes when touched.
Knowing the cause shapes the repair. It also tells you whether you need pest control first.
Step 2 – Make Sure the Termites Are Gone
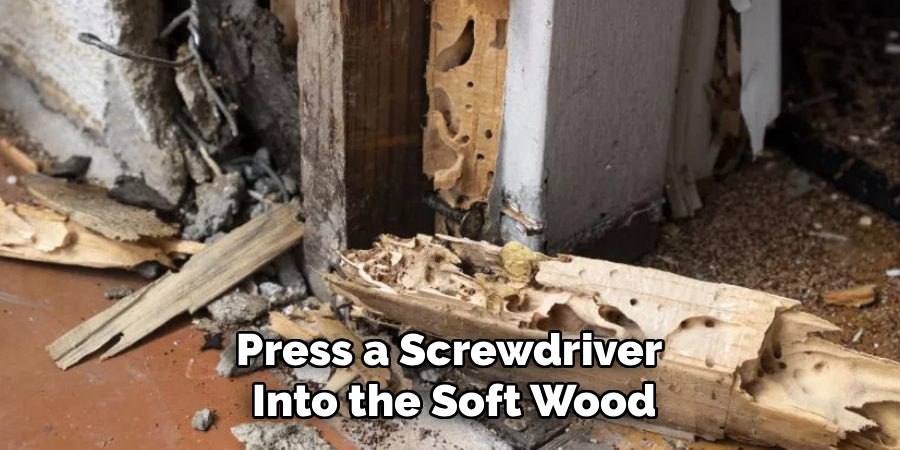
Never repair active damage. New filler over a live infestation is wasted work.
Termites will keep eating behind your fresh patch. You’ll be back in months, ripping out the same board.
Check for activity first. Tap the wood and watch for movement. Break open a small tunnel and look for pale, soft-bodied insects. If you see live termites, stop. Call a licensed pest control professional or treat the colony yourself before doing anything else.
This is the most skipped step in how to repair termite damaged wood. Don’t skip it. A clean repair on infested wood is no repair at all.
Wait until treatment is complete and the area is confirmed dead. Then you can move forward with confidence.
Step 3 – Remove the Damaged Wood
Now you clear out the weak material. This is satisfying work.
Use your chisel and a putty knife to dig out the soft, crumbling fibers. They’ll come away easily — almost like dry cork. Keep going until you hit firm, solid wood that resists the blade.
You’ll feel the difference in your hands. Damaged wood gives without a fight. Healthy wood pushes back.
Brush out the dust and debris with your wire brush. If you have the oscillating multi-tool, use it to slice clean edges around the cavity. Clean edges hold filler better.
Don’t rush this. Every bit of weak fiber you leave behind becomes a weak spot later. Vacuum the area when you’re done so nothing loose remains.
Step 4 – Apply Wood Hardener
The wood around your cavity may still be slightly soft. Wood hardener fixes that.
Pour or brush the liquid consolidant generously over the exposed area. Watch it soak in. The hardener seeps into the porous fibers and binds them together, turning fragile wood firm again.
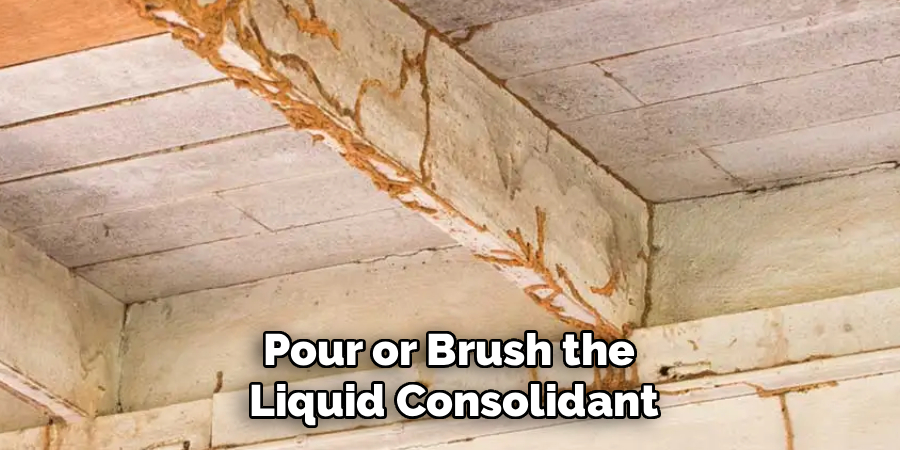
You’ll smell a sharp, solvent-like odor — work in a ventilated space and keep your mask on.
Apply a second coat if the first disappears quickly into the wood. Thirsty wood needs more.
Let it cure fully. Read the label, but most hardeners need several hours. The surface should feel dry, hard, and slightly glossy when ready. Soft spots that stay soft mean you need another coat before you continue.
Step 5 – Mix and Apply Epoxy Wood Filler
Epoxy is the heart of structural wood repair. It’s stronger than the original wood and bonds like glue.
Mix the two parts on a scrap board using your putty knife. Blend until the color is even with no streaks. Work quickly — most epoxy starts setting within minutes.
Press the filler firmly into the cavity. Pack it tight so no air pockets remain. Build it up slightly higher than the surrounding surface; you’ll sand it flush later.
The paste feels like thick clay and holds its shape well. Smooth the surface with your knife as best you can.
This is where how to repair termite damaged wood becomes real craftsmanship. A well-packed patch becomes invisible once finished.
Step 6 – Let It Cure Completely
Patience wins here. Rushing the cure ruins the repair.
Walk away. Give the epoxy the full time listed on the package — often several hours, sometimes overnight in cooler weather.
Don’t poke it. Don’t sand it early. Don’t paint it before it’s ready.
You’ll know it’s cured when the surface is rock-hard and cool to the touch. Tap it with your fingernail. A solid, sharp click means it’s set. A dull thud means wait longer.
Cold temperatures slow curing. If you’re working in a chilly garage, give it extra time or warm the space slightly. Proper curing is what gives your patch its lasting strength.
Step 7 – Sand It Smooth
Now you shape the repair to match the wood around it.
Start with coarse 80-grit sandpaper to knock down the high spots. You’ll feel the patch level out under your hand and hear the grit bite into the hardened epoxy.
Switch to fine 220-grit to blend the edges. Run your palm across the surface. It should feel seamless — no ridge where filler meets wood.
Wipe away the dust with a clean rag. Check your work in raking light, holding a flashlight at a low angle. Shadows reveal any bumps or dips you missed.
Sand a little more if needed. The smoother your surface now, the better your paint or stain will look later.
Step 8 – Prime, Paint, or Stain
The final step makes your repair disappear.
Brush on a coat of primer first. Primer seals the patch and gives paint something to grip. Let it dry fully.
If you’re matching painted trim, apply your topcoat in thin, even strokes. Two light coats beat one heavy one every time.
For stained wood, match the tone carefully. Epoxy won’t absorb stain the way raw wood does, so test on a hidden area first. Gel stains work better over filler.
Step back and look. A good repair vanishes into the surrounding wood. You shouldn’t be able to point to where the damage was. That invisible finish is the mark of a job done right.
Common Mistakes to Avoid
The biggest mistake is repairing wood while termites are still active. Fresh filler does nothing to stop a living colony. They’ll tunnel right past your patch and keep feeding. Always confirm the infestation is treated and dead before you lift a single tool. This one error costs more people their second repair than anything else.
Another common slip is leaving soft wood behind. It feels tempting to stop digging once the surface looks clean. But weak fibers under the patch become hidden voids that fail later. Dig until you reach wood that fights back against your chisel.
Skipping the wood hardener is a quiet mistake with loud consequences. People go straight to filler over crumbly wood, and the patch loses its grip within months. The consolidant is what anchors everything.
Rushing the cure ruins good work too. Sanding or painting soft epoxy smears the patch and weakens the bond. Wait the full time, every time.
Finally, many folks fix the wood but ignore the cause — moisture, entry points, or untreated soil nearby. Fix those, or the termites return.
Expert Tips
Here’s what the pros know that beginners often miss.
Treat the surrounding wood, not just the damage. Apply a borate-based wood preservative to nearby boards. It poisons future termites and rot before they start. One cheap bottle protects years of work.
Match the wood grain when it shows. Before the epoxy fully cures, drag a stiff brush or a comb across the surface to mimic the grain lines. Once stained, the patch fools the eye.
Keep your epoxy batch small. It cures fast and generates heat as it sets. A big lump can harden in the cup before you finish applying it.
And always address moisture. Termites love damp wood. Fix the leak, improve the drainage, ventilate the crawlspace. Dry wood is your best long-term defense.
Frequently Asked Questions
Can I Repair Termite Damaged Wood Myself?
Yes, you can. Most surface and moderate damage is well within reach for a confident DIYer. With wood hardener, epoxy filler, and basic tools, you can restore strength and appearance in an afternoon. The key is confirming the termites are gone first. For load-bearing beams or widespread structural damage, call a professional to assess safety before you begin.
How Do I Know If the Damage Is Termites or Rot?
Look closely at the pattern. Termite damage shows long, hollow tunnels running with the grain, often lined with dried mud or droppings. Wood rot feels damp and spongy and crumbles into brown, blocky chunks. Termites leave the surface looking intact while hollowing the inside. Rot usually appears wet and discolored on the surface itself.
Is Epoxy or Wood Filler Better for Termite Damage?
Epoxy wins for structural repairs. Two-part epoxy filler bonds incredibly strong, resists moisture, and even outlasts the original wood. Standard wood filler works fine for tiny cosmetic dents but lacks the strength for hollowed areas. For anything that bears weight or fills a real cavity, choose epoxy and pair it with a wood hardener underneath.
Will Termites Come Back After I Repair the Wood?
They can, if you don’t fix the cause. Repairing the wood restores strength, but it doesn’t remove what attracted them. Treat the colony, seal entry points, and reduce moisture around the area. Apply a borate preservative for extra protection. Address those conditions and your repair stays solid for years rather than months.
How Long Does a Termite Wood Repair Last?
A proper repair lasts decades. Epoxy filler is extremely durable and won’t shrink, crack, or rot like cheaper materials. The repair’s lifespan depends mostly on what surrounds it. Keep the wood dry, treat for pests, and maintain the finish. Do that, and the patched area often outlasts the untouched wood beside it.
Conclusion
Termite damage feels scary until you understand it. Then it becomes just another fix.
You confirm the cause. You make sure the termites are gone. You clear the weak wood, harden what remains, and rebuild with epoxy. You sand it smooth. You finish it clean. Each step is simple on its own, and together they bring tired wood back to life.
Knowing how to repair termite damaged wood gives you something lasting — not just a solid board, but the confidence to handle the next problem yourself. You stop fearing soft spots. You start fixing them.
So grab your tools and start with one small repair this week. Probe that windowsill. Test that trim. Pick the easiest damaged spot in your home and bring it back to solid. You’ll be surprised how good it feels to fix something with your own hands.
Will you make the first cut?
