
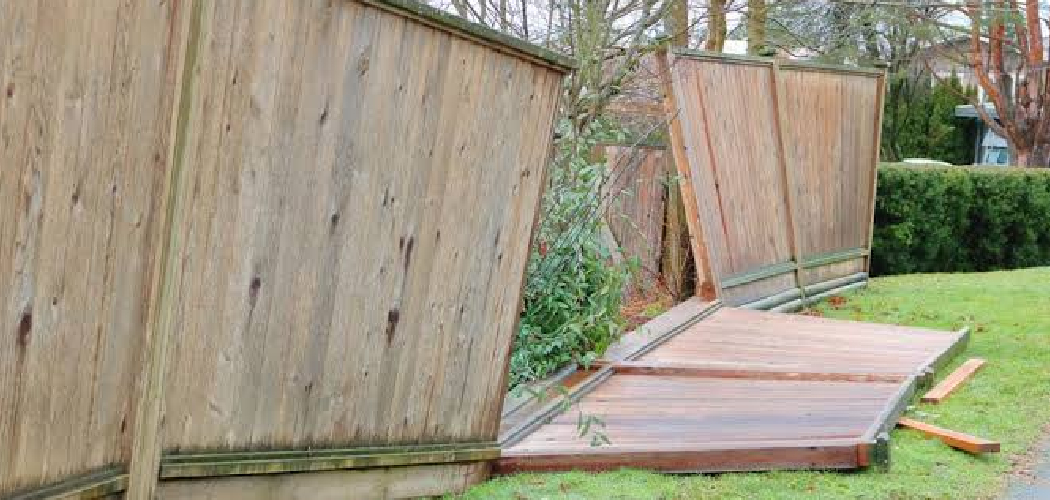
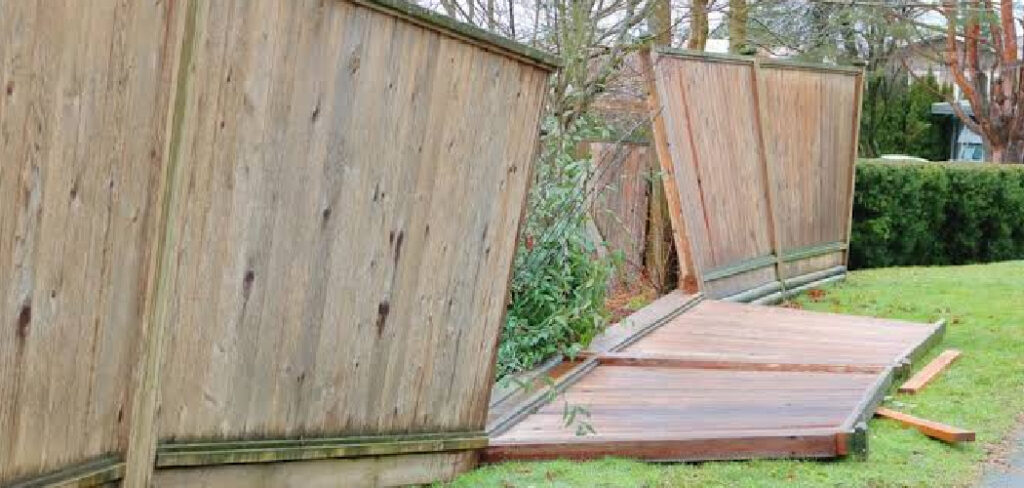
Your fence looks fine today. That can fool you. Wood rot starts where you cannot see it — at the base, inside the post, under the soil line. By the time the surface looks soft, the damage is already deep. The good news? You can stop it. Learning how to stop wood fence from rotting is not a mystery reserved for contractors. It comes down to managing moisture, choosing the right materials, and staying ahead of small problems before they spread. A fence is an investment in your home’s privacy, safety, and value. This guide walks you through every step — from inspection to sealing to long-term care — so your fence stands strong for years instead of sagging in a few seasons.
Why Protecting Your Wood Fence Matters
A new fence costs real money. Replacing one costs more. Rot does not announce itself. It quietly eats your posts, weakens your rails, and one windy night a whole section leans into your neighbor’s yard.
Protecting your fence saves you that bill. It also builds something else: confidence. Once you understand how moisture attacks wood, you stop guessing and start maintaining with purpose.
Good fence preservation extends the life of pressure-treated lumber from a decade to two or three. It keeps gates swinging true. It protects the look of your yard.
Most fence failures are not bad luck. They are missed maintenance. Learn the basics now, and you avoid the costly mistakes that catch most homeowners off guard.
Tools and Materials You’ll Need
Gather everything before you start. Stopping mid-job to run to the store invites sloppy work.
- Stiff wire brush and a putty knife for scraping loose, rotten wood
- Garden hose or pressure washer for cleaning the surface
- Wood preservative (copper-based works well for ground contact)
- Penetrating oil-based wood sealant or stain
- Paintbrush, roller, or pump sprayer for application
- Gravel and quick-set concrete for resetting posts
- Moisture meter to check wood is dry before sealing
- Screwdriver or awl for probing soft spots
- Safety gloves, goggles, and a dust mask
- Optional: A garden auger to dig clean, even post holes faster
Quality products matter here. Cheap sealant peels in one season. Buy once, apply right, and you protect your work for years.
Step-by-Step Guide
Step 1 – Inspect the Entire Fence for Early Rot
Start with your hands and a screwdriver. Walk the full line. Press the tip into the wood at the base of every post, along the bottom rail, and anywhere that touches soil.
Healthy wood resists. It feels firm and pushes back. Rotten wood gives way like wet cardboard — soft, spongy, dark. That sinking feeling tells you exactly where trouble lives.
Listen, too. Knock on each post. Solid wood rings clean. Rotten wood thuds, dull and hollow.
Mark every soft spot with chalk. Knowing how to stop wood fence from rotting begins with finding the damage before it spreads. Skip this step and you seal over decay, trapping moisture exactly where it does the most harm.
Step 2 – Clear Vegetation and Soil Away From the Base
Plants are pretty. Against your fence, they are trouble. Vines hold water. Grass traps dampness. Soil piled against the wood keeps it wet for days after rain.
Cut back every shrub, weed, and climbing vine touching the boards. Pull the soil down so it sits a few inches below the bottom of the wood. You want air to reach the base.
Run your hand along the cleared area. It should feel open and breathable, not packed and damp.
This single change does more than most sealants. Wood that dries quickly does not rot. Wood that stays wet always will. Create that breathing room and you remove rot’s favorite hiding place.
Step 3 – Scrape Away Loose and Rotted Wood
Take your putty knife and wire brush to every soft spot you marked. Dig out the punky, crumbling material. It will flake off in dark, damp chunks that smell faintly of mildew.
Keep going until you hit firm, pale wood underneath. That clean edge is your goal. If the blade still sinks easily, the rot runs deeper than the surface.
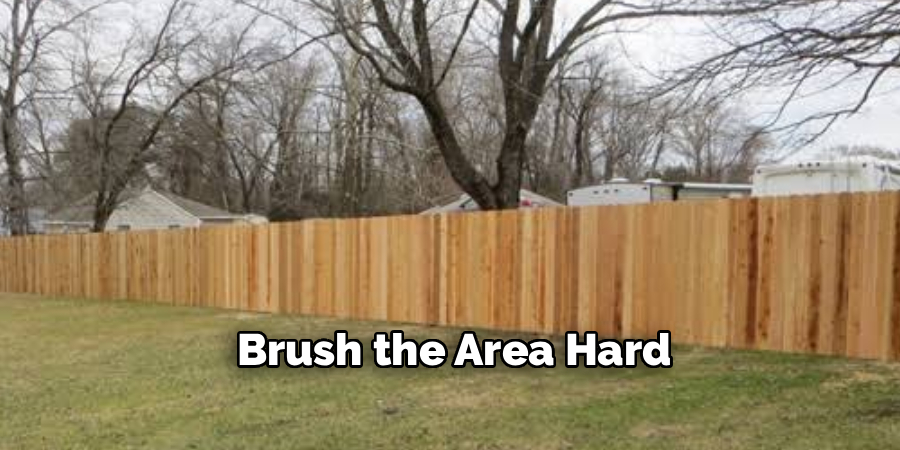
Brush the area hard. You want a rough, clean texture, free of dust and debris.
This step feels destructive. It should. You are removing the infection so the cure can work. Sealing over rotten fibers does nothing — the decay simply spreads beneath your fresh coat, hidden and patient.
Step 4 – Let the Wood Dry Completely
Patience protects your work here. Wet wood rejects sealant. The moisture trapped inside pushes the finish right back off within weeks.
Wait for two or three dry, sunny days after cleaning. Then test it. Press your moisture meter against the wood. You want a reading below 15 percent. No meter? Press a dry paper towel firmly to the surface. If it picks up dampness, wait longer.
The wood should look uniform and matte, not dark or glossy with moisture. It should feel dry to the touch, even in shaded corners near the ground.
Rushing this step is the most common reason sealant fails. Give the wood time. Dry fibers drink protection deep. Wet fibers shed it.
Step 5 – Treat Damaged Areas With Wood Preservative
Now you fortify the weak spots. Brush a copper-based wood preservative into every scraped area and across the base of each post. These zones face the most moisture, so they need the most defense.
Work the liquid into the grain. Watch it darken the wood as it soaks in. That color change tells you it is penetrating, building a moisture barrier from the inside.
Coat the end grain especially well. The cut ends of posts and rails act like straws, pulling water up into the wood.
Knowing how to stop wood fence from rotting means treating these vulnerable points first, not just the easy flat surfaces. Let the preservative cure fully before you move to sealing.
Step 6 – Apply a Penetrating Sealant or Stain
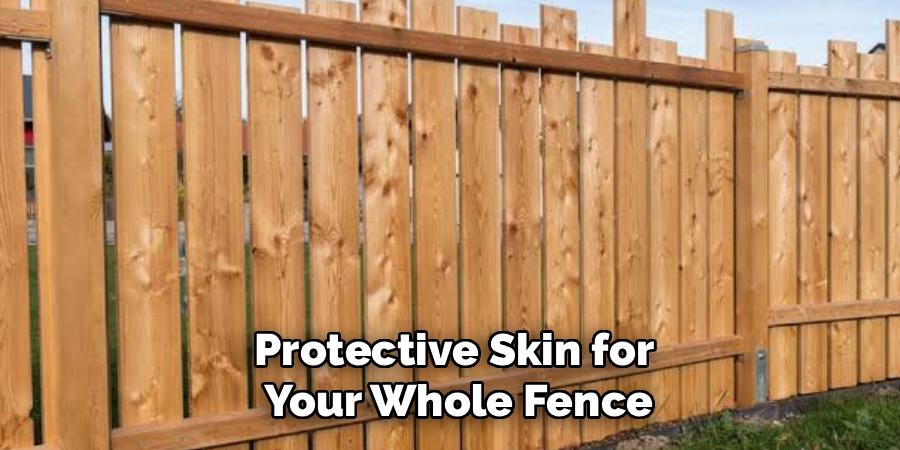
This is the protective skin for your whole fence. Choose a penetrating oil-based sealant or stain, not a film-forming coat that peels.
Load your brush or sprayer and work in long, even strokes following the grain. The wood should drink the first coat quickly. You will hear a faint hiss as dry fibers absorb it.
Cover every face, edge, and corner. Miss a spot and water finds it.
Once the first coat soaks in, apply a second. The surface should look evenly toned and slightly satin, never thick, glossy, or sticky. Sticky means too much product sitting on top.
A good seal beads water like a waxed car. That is the look you are after.
Step 7 – Reset or Reinforce Failing Posts
Some posts are too far gone to save. If a post wobbles or the base crumbles in your hand, it needs resetting.
Dig around the failing post and lift it out. At the bottom of the new hole, add four inches of gravel. This drains water away from the wood instead of cradling it.
Set the post, check it with a level, then pour quick-set concrete. Slope the top of the concrete away from the wood so rain runs off, not in.
A solid post stands rock-steady when you shove it. A failing one shifts and groans. That steadiness is what you are rebuilding — a foundation that keeps fence post rot from returning.
Step 8 – Set a Simple Maintenance Routine
Protection is not one job. It is a habit. Walk your fence twice a year — once in spring, once in fall. Look for cracked sealant, new soft spots, and soil creeping back against the base.
Splash a little water on the boards. If it soaks in instead of beading up, the seal is wearing thin. Time for a fresh coat.
Keep vegetation trimmed back year-round. Clear leaves and debris from the base after storms.
These small checks take ten minutes. They catch problems while they are cheap to fix. A fence you watch is a fence that lasts. A fence you forget is a fence you replace.
Common Mistakes to Avoid
The biggest mistake is sealing wet wood. You scrape, you clean, you grab the brush the same afternoon — and you trap moisture inside the very wood you meant to protect. The finish peels in weeks, and the rot keeps working underneath. Always let the wood dry for several days first.
The second mistake is ignoring the posts. Beginners coat the pretty boards everyone sees and forget the base, where the post meets the soil. That hidden zone is where most fences fail. Water collects there, and rot climbs upward from the ground.
A third mistake is choosing the wrong product. Film-forming paints and varnishes look great on day one, then crack and flake, letting water slip beneath the surface. Penetrating sealants soak in and protect from within. They are the right choice for fence preservation.
Many people also pile mulch or soil right against the wood for a tidy look. That mulch holds water against the grain for days. Keep the base clear and open.
Finally, skipping the gravel under posts dooms even a perfect concrete setting. Without drainage, water pools at the post bottom and rots it from inside the concrete collar.
Expert Tips
Treat the end grain like it matters most, because it does. The cut ends of posts and rails absorb water far faster than the sides. Pros soak these ends in preservative before installation, sometimes standing posts in a bucket of it overnight.
Seal the back of your fence, not just the side you see. Rot does not care which face is prettier. Untreated wood on the hidden side pulls in moisture and decays right through.
Apply sealant on a mild, dry day — not in blazing sun. Hot wood dries the product before it can penetrate, leaving a weak surface film instead of deep protection.
One more trick: add a copper post cap or a slight bevel cut to the top of each post. This sheds rain instead of letting it pool on the end grain, where decay always starts.
Frequently Asked Questions
How Often Should I Reseal My Wood Fence?
Reseal every two to three years for most climates. Wet or sunny regions may need it sooner. The simplest test is water itself — splash some on the boards. If it beads up and rolls off, your seal still works. If it soaks in and darkens the wood, the protection has worn thin and it is time for a fresh coat.
Can I Stop Rot That Has Already Started?
Yes, if you catch it early. Scrape out all the soft, decayed wood until you reach firm material, then dry the area completely and apply a wood preservative. This stops the decay from spreading. If rot has hollowed out a post or destroyed structural rails, though, replacing those pieces is safer and longer-lasting than patching.
Is Pressure-Treated Lumber Enough on Its Own?
Pressure-treated lumber resists rot far better than untreated wood, but it is not invincible. The treatment fights insects and decay, yet exposed and cut ends still absorb water. Sealing pressure-treated wood adds a moisture barrier the chemicals alone cannot provide. Think of the treatment as the foundation and your sealant as the roof — you want both.
Why Do Fence Posts Rot Faster Than the Boards?
Posts sit in or against the soil, where moisture lingers longest. Water wicks up from the ground into the end grain at the base, and concrete collars often trap that water instead of draining it. The boards above dry quickly in open air. That constant dampness at ground level is why fence post rot is so common and so destructive.
What Is the Best Sealant for Rot Prevention?
A penetrating oil-based sealant or stain works best for stopping rot. It soaks into the grain and protects from within, unlike film-forming paints that sit on top and peel. Look for a product labeled for ground contact or exterior wood with water-repellent and mildew-resistant properties. Quality matters — a good wood preservative pays for itself in years of added fence life.
Conclusion
Rot is patient. It works in the dark, at the base, where you rarely look. But now you know its tricks — and how to beat them.
You inspect. You clear the base. You scrape, dry, treat, and seal. You reset the posts that fail and watch the ones that hold. None of it is hard. All of it works.
Learning how to stop wood fence from rotting is really about one habit: managing moisture before it manages your fence. Keep water moving away from the wood, and decay has nowhere to grow.
Your fence does not need luck. It needs you. A few hours of care each year saves you the cost, the labor, and the frustration of a full replacement. Walk your fence this weekend. Probe the posts. Splash the boards. Find the weak spots while they are still small.
Protect the wood today, and it will protect your yard for decades. Will you give it the ten minutes it asks for?
