
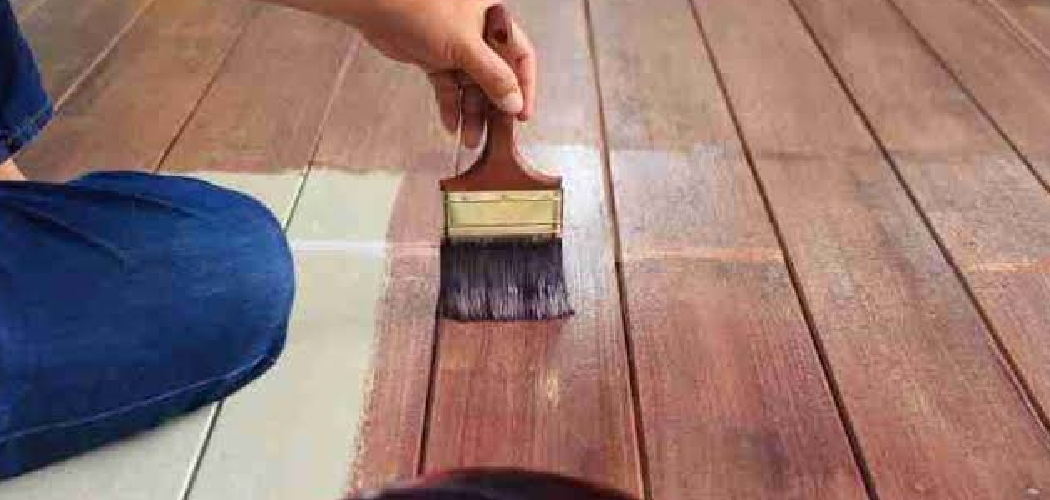
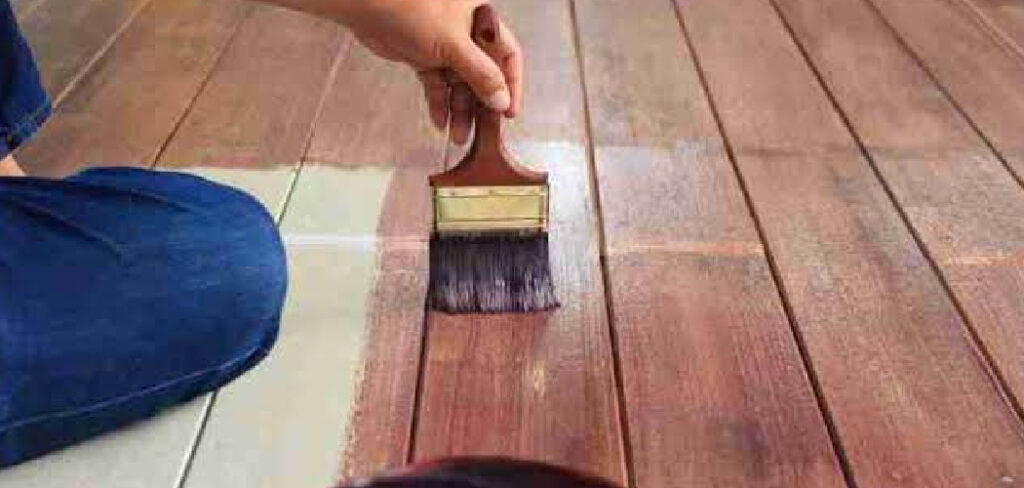
Bare wood looks honest. It also rots, stains, and warps faster than you think. That truth stings the first time a beautiful project turns gray after one rainy season.
Learning how to paint and seal wood is the skill that stops that slow decay. Paint gives you color and a shield against the sun. Sealant locks out moisture, the silent enemy of every board you own. Together they decide whether your work lasts one year or twenty.
You do not need a workshop full of gear. You need a clear order of steps and the patience to follow it. This guide walks you through every stage — from sanding raw grain to laying down a final topcoat — so your next project looks sharp and survives the weather.
Why Painting and Sealing Wood Matters
Untreated wood drinks water. Then it swells. Then it cracks. Then you buy more wood.
A proper paint and seal job breaks that cycle. It saves you money because a sealed surface lasts years longer than a bare one. It builds your confidence because you watch a dull board turn into something finished and proud. It protects you from the costly mistakes that send beginners back to the lumber yard twice in one summer.
There is a deeper payoff too. Moisture resistance keeps your furniture stable through humid months. A solid finish hides minor flaws in cheaper lumber. And a clean, even coat raises the value of everything you build.
You are not just adding color. You are extending the life of your work. That matters.
Tools and Materials You’ll Need
Gather everything before you open a single can. Stopping mid-coat to hunt for a brush leaves marks you cannot fix.
- Sandpaper in three grits: 80, 120, and 220
- Tack cloth or a damp microfiber rag for dust removal
- Wood filler for nail holes and small gaps
- Wood primer suited to your paint type
- Latex paint or oil-based paint, depending on the project
- Clear sealant or topcoat — polyurethane, polycrylic, or spar varnish
- Quality brushes (synthetic for latex, natural bristle for oil)
- Foam rollers for flat, wide surfaces
- Painter’s tape to protect edges and hardware
- Drop cloth to catch drips
- Stir sticks and a clean container for pouring
- Sanding block or orbital sander (optional, but it saves your hands and speeds the prep)
Step-by-Step Guide on How to Paint and Seal Wood
Follow these steps in order. Each one sets up the next. Skip one and the whole finish suffers.
Step 1 – Inspect and Repair the Surface
Run your hand across the wood. Feel for splinters, dents, and raised grain. Look for cracks, old finish, and nail holes that need attention.
Press wood filler into every hole and gap with a putty knife. Smooth it flush, then let it dry fully — usually an hour or two. Rushing this stage leaves bumps that show through paint like scars.
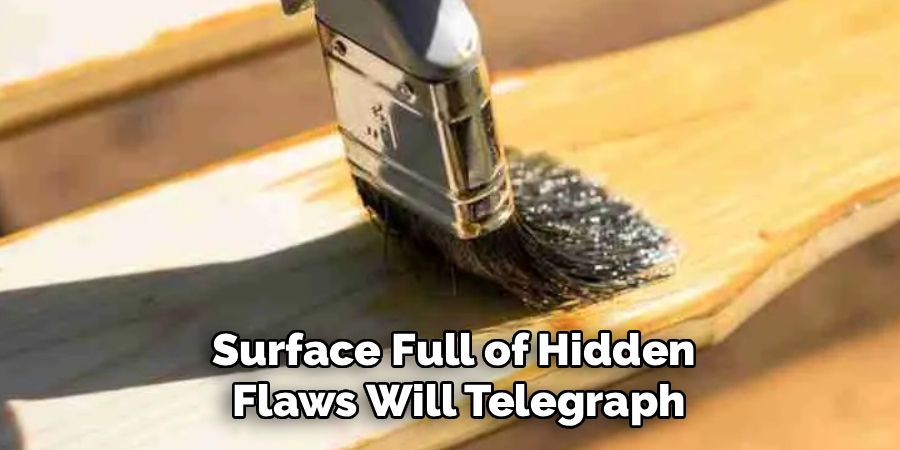
Knowing how to paint and seal wood starts long before the brush touches the board. A surface full of hidden flaws will telegraph every one of them through your finish. Check old furniture for loose joints too. Tighten or glue them now. Once paint goes on, repairs get ugly and obvious. A solid foundation makes everything after it easier.
Step 2 – Sand the Wood Smooth
Start with 80-grit sandpaper to knock down rough patches and old finish. Move with the wood grain, never against it. Sanding across the grain leaves scratches that paint refuses to hide.
Step up to 120-grit, then finish with 220 for a surface that feels like glass under your palm. Listen for the sound to change — coarse grit grinds loud, fine grit whispers. That shift tells you the surface is ready.
An orbital sander saves time on flat panels. For curves and corners, fold the paper and use your fingers. Keep checking by touch. Smooth wood accepts primer evenly. Rough wood drinks it in patches, and those patches show in the final coat every time.
Step 3 – Clean Away All Dust
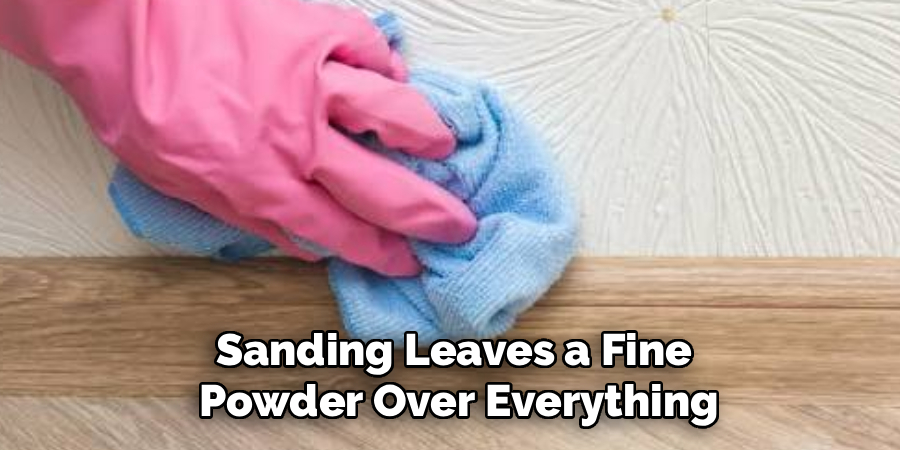
Sanding leaves a fine powder over everything. That dust is the enemy of a clean finish. Brush it off, then wipe the surface with a tack cloth or a damp microfiber rag.
Run your fingers over the wood afterward. If they come away gray, you are not done. Wipe again. Pay attention to corners and carved details where dust hides.
Let the surface dry completely if you used a damp cloth. Even slight moisture trapped under primer causes bubbling later. A truly clean board feels bare and slightly cool to the touch. Dust under your finish creates gritty bumps you will feel forever. Two minutes of wiping now saves you hours of sanding back later.
Step 4 – Apply Wood Primer
Primer is the bridge between bare wood and color. It seals the grain, blocks stains, and helps your paint grip. Choose a primer that matches your paint — water-based primer under latex, oil-based under oil paint.
Load your brush lightly and work in long, even strokes along the grain. Watch for drips pooling in corners and feather them out before they set. A good primer coat looks thin and uniform, not glossy or thick.
Let it dry fully, then sand lightly with 220-grit. The surface will feel slightly rough — that is normal and gives your paint something to hold. Wipe the dust away again. One solid primer coat beats two sloppy ones.
Step 5 – Paint the First Coat
Stir your paint slowly. Shaking it whips in air bubbles that ruin a smooth surface. Pour a small amount into a clean container so you never contaminate the can.
Brush or roll the first coat thin. Thin coats dry flat and even. Thick coats sag, drip, and leave brush marks that harden into ridges. Move with the grain and keep a wet edge to avoid lap lines.
Resist the urge to load up your brush. The first coat will look patchy and uneven, and that is fine. You are building color in layers. A streaky first coat is normal. A thick, dripping first coat is trouble you will be sanding out tomorrow.
Step 6 – Sand and Apply the Second Coat
Once the first coat dries fully, run your hand over it. You will feel tiny raised fibers and slight grit. Sand lightly with 220-grit to knock them down, then wipe clean.
This step is the secret behind that smooth, professional finish. Skip it and your paint stays slightly rough and dull.
Now apply your second coat the same way — thin, even, with the grain. The color deepens and the surface evens out. This is the heart of how to paint and seal wood properly: patience between coats, not speed. Most projects need two coats; some dark colors or raw woods need three. Let each one dry completely before judging whether you need another.
Step 7 – Let the Paint Cure
Dry and cured are not the same thing. Paint feels dry to the touch in a few hours. It fully cures — hardens all the way through — over days.
Give latex paint at least 24 hours before sealing. Oil-based paint needs longer, sometimes 48 to 72 hours. Rushing this step traps soft paint under your topcoat, and it stays tacky for weeks.
Press a fingernail gently into a hidden corner. If it dents easily, the paint needs more time. A cured surface feels firm and gives no print. Use this waiting time to clean your brushes and prep your workspace. Good finishes reward the people who wait.
Step 8 – Apply the Sealant
Now you protect everything you built. Choose your sealant by use: polyurethane and polycrylic for indoor pieces, spar varnish for anything facing weather and moisture.
Stir gently — never shake — to avoid bubbles. Apply a thin coat with a quality brush in long, smooth strokes. Watch the light at an angle to spot missed spots and pooling. A good coat looks wet and level. A bad one shows streaks and dry patches.
Let it dry, then lightly sand with 220-grit and add a second thin coat. Two or three thin sealant layers beat one thick layer that clouds and cracks. The final topcoat should feel hard, smooth, and slightly slick. That is your wood, protected.
Common Mistakes to Avoid
The biggest mistake is skipping the prep. Beginners want to see color fast, so they brush paint over dirty, glossy, or rough wood. The finish peels within months. Sanding and cleaning feel boring, but they decide everything. No paint sticks to a surface it cannot grip.
The second mistake is loading the brush too heavy. Thick coats look efficient and feel productive. They are not. They sag, drip, and trap moisture underneath. Three thin coats always beat one fat one. Train yourself to use less paint than feels right.
Another common error is sealing too soon. The paint looks dry, so you assume it is ready. Underneath, it is still soft. Your topcoat traps that softness, and the surface stays sticky for weeks. Test with your fingernail and wait it out.
Many beginners also ignore the grain direction. They brush back and forth in any direction, leaving crisscrossed marks that catch light. Always move with the grain, top to bottom or end to end.
Finally, people forget to sand between coats. That light pass is what separates a smooth, store-bought look from a rough, amateur one.
Expert Tips
A few habits separate good work from great work.
First, paint in the right weather. Aim for 50 to 85 degrees with low humidity. Cold air slows drying. Humid air clouds your topcoat. Damp conditions ruin moisture resistance before it forms.
Second, strain your sealant through a paint filter if the can is old. Tiny dried bits cause bumps you cannot sand out cleanly.
Third, dry-brush a finishing pass. After laying your last coat, drag an almost-empty brush lightly over the wet surface to smooth out bubbles and lines. The difference is striking.
Fourth, keep a wet rag in your pocket. Catch drips the moment they form, not after they harden.
And always test your finish on a scrap board first. You learn the color, the dry time, and the feel before it ever touches your real project.
Frequently Asked Questions
Do I Really Need to Seal Wood After Painting It?
Yes, in most cases. Paint adds color and some protection, but it scratches, fades, and lets moisture seep through over time. A clear sealant or topcoat adds a hard, washable barrier that resists water, sun, and daily wear. For high-traffic furniture or anything outdoors, sealing is essential. For low-use indoor decor, a durable paint may be enough on its own.
Can I Use One Product That Paints and Seals at Once?
Some paints include built-in sealers, often labeled paint-and-primer or self-sealing finishes. They work fine for low-wear indoor projects. For furniture, floors, or outdoor pieces, a separate sealant still gives far better protection. The all-in-one products save time but trade away durability. When your project faces moisture or heavy use, treat painting and sealing as two distinct steps for the longest-lasting result.
How Long Should Paint Dry Before I Seal It?
Wait at least 24 hours for latex paint and 48 to 72 hours for oil-based paint. Drying and curing differ — paint feels dry in hours but hardens fully over days. Sealing too early traps soft paint underneath, leaving a tacky surface for weeks. Press a fingernail into a hidden spot to test. If it leaves a dent, give it more time before applying your topcoat.
What Is the Best Sealant for Outdoor Wood?
Spar varnish is the top choice for outdoor wood. It flexes with temperature swings and resists water, UV rays, and salt air better than indoor finishes. Exterior polyurethane works well too. Both create a tough, weatherproof barrier that protects against the moisture and sun that destroy unsealed boards. Reapply a fresh coat every year or two on heavily exposed pieces to keep that protection strong.
Why Does My Paint Keep Peeling or Bubbling?
Peeling and bubbling almost always trace back to prep or moisture. Painting over a dirty, glossy, or unsanded surface gives the paint nothing to grip. Trapped moisture under primer or sealing before the paint cures causes bubbles. Fix it by sanding back to a sound surface, cleaning thoroughly, priming bare wood, and letting every layer dry fully before adding the next.
Conclusion
A finished board does not happen by luck. It happens by order. Prep, prime, paint, cure, seal. Follow that sequence and your work lasts.
Remember what matters most. Smooth wood holds paint. Clean surfaces stop bubbles. Thin coats dry even. Patience between layers gives you that professional look. And a proper sealant locks out the moisture that destroys everything else.
You now know how to paint and seal wood the way that lasts — not the rushed way that peels by spring. That knowledge saves you money, sharpens your skills, and protects every project you touch.
Start small. Pick one piece this week — an old stool, a shelf, a planter box. Sand it down. Prime it. Paint it thin. Seal it slow. Watch a tired board turn into something you are proud to show off.
Your wood is waiting. Will you give it the finish it deserves?
