
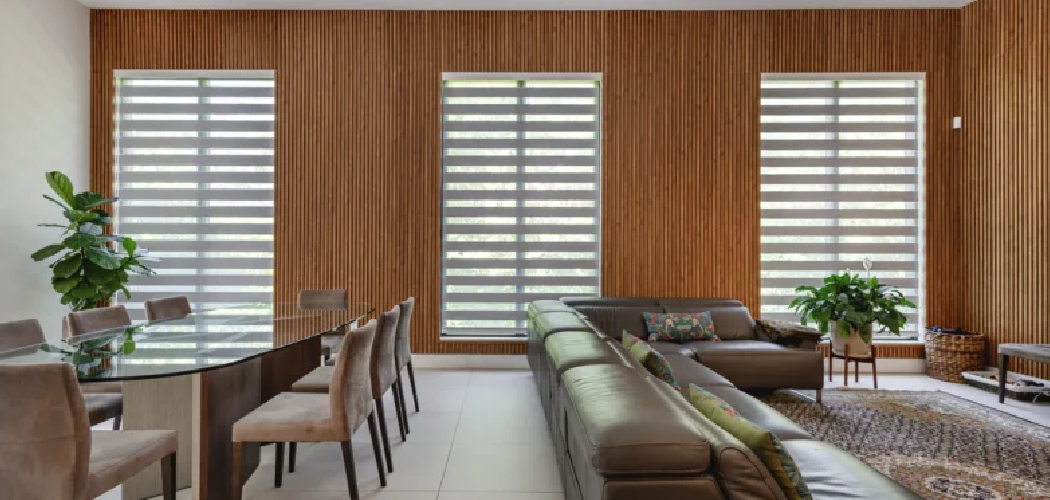
That dark, dated paneling on your wall? It can change. Fast. And you don’t need a sander to do it.
Most people think paint won’t stick to glossy paneling. They think you have to sand every groove first. That sounds like hours of dusty, miserable work. But there’s a smarter way. Learning how to paint wood paneling without sanding lets you skip the grit, the mess, and the sore arms while still getting a finish that lasts for years.
The secret lives in good prep and the right bonding primer. Get those two things right, and the paint holds tight to even the slickest surface.
This guide walks you through every step, from cleaning to the final coat, so you can transform a tired room with confidence.
Why Painting Wood Paneling Without Sanding Matters
Sanding is the part everyone dreads. It coats your whole room in fine dust. It eats up a full weekend. And on textured paneling, you can never reach inside every groove anyway.
Skipping it saves you money. No rental sander. No replacement sandpaper. No mask after mask.
It saves your time, too. What takes two days with sanding can take one without it.
But here’s the real win. You build confidence. You learn that prep matters more than muscle. You learn to trust a quality primer instead of brute force.
And you protect the wood. A clean, primed, painted surface seals out moisture and seals in the grain. That extends the life of your interior paneling far beyond its bare, aging state.
Tools and Materials You’ll Need
Before you start, gather everything in one spot. A smooth project depends on having the right supplies within reach.
- Liquid deglosser or a strong cleaner like TSP substitute
- Clean rags and a sponge
- Painter’s tape
- Drop cloths or old sheets
- A bonding primer (oil-based or quality water-based)
- Latex paint or chalk paint in your chosen color
- A 2-inch angled brush for grooves and edges
- A foam or microfiber roller for flat areas
- A paint tray and liner
- 220-grit sanding sponge for spot touch-ups only
- Caulk and a caulk gun for gaps
- A paint sprayer (optional, for faster and smoother coverage on large walls)
That sanding sponge is not for full sanding. It’s only for knocking down rough spots if you find them later.
Step-by-Step Guide on How to Paint Wood Paneling Without Sanding
Follow these steps in order. Each one builds on the last. Rushing one stage will show up three coats later, so give each part the time it deserves.
Step 1 – Clear and Protect the Room
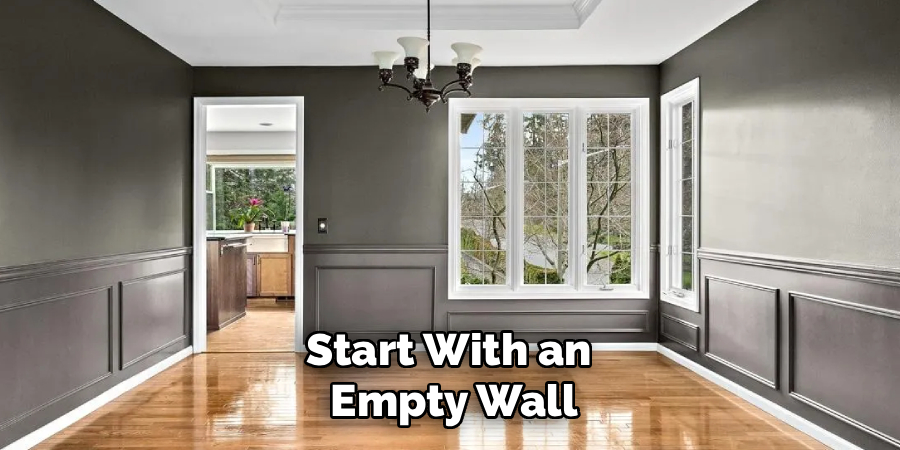
Start with an empty wall. Move furniture away. Pull off any wall hangings, switch plates, and outlet covers.
Lay drop cloths along the baseboard. Tape the edges down so they don’t slide. Cover anything you can’t move.
Run painter’s tape along the ceiling line, trim, and corners. Press it firmly with your fingertip. You want a crisp seal, not a loose lip that lets paint bleed under.
Take a slow look around the room. Good prep feels almost too careful. That’s the point.
This is the boring part. Do it well anyway. Every minute you spend here saves you cleanup time and gives you sharp, professional lines at the end.
Step 2 – Clean Every Inch of the Paneling
Paneling collects more grime than you’d guess. Cooking grease. Dust. Hand oils near light switches. Paint will not bond to any of it.
Mix a degreasing cleaner with warm water. Dip your sponge, wring it out, and wipe the whole surface. Work from top to bottom so drips fall onto unclean areas, not clean ones.
Pay close attention to the groove lines. Grime hides there. Drag a rag or an old toothbrush through each channel.
Rinse with a damp cloth and let everything dry fully. Run your hand across the wood. It should feel clean and slightly squeaky, not slick or filmy. That squeak tells you it’s ready.
Step 3 – Fill Gaps and Repair Damage
Now look for flaws. Old paneling often has nail holes, dents, and gaps where panels meet the trim.
Press a small amount of caulk into seams and along the edges. Smooth it with a damp fingertip. A clean line here makes the whole wall look built-in instead of bolted on.
Fill nail holes with wood filler. Let it dry, then lightly knock down the bump with your 220-grit sanding sponge. This is spot work only, not full sanding.
Wipe away any dust from those touch-ups. The wall should now look solid and seamless. Run your eyes along each groove and seam. Catch problems now, because paint will magnify every one you miss.
Step 4 – Apply a Liquid Deglosser
This step replaces sanding entirely. A liquid deglosser dulls the shiny factory finish so primer can grab hold. It does the chemical work that grit usually does.
Pour some onto a clean rag. Wipe it across the paneling in even strokes. You’ll smell a sharp, solvent scent, so open a window and let air move through.
Watch the surface change. The glossy sheen goes flat and matte. That dull look is your visual cue that it’s working.
Let it sit per the label, usually a few minutes. Don’t rinse it off unless the directions say so. When the shine is gone, the wood is primed to accept your bonding coat. This is the heart of how to paint wood paneling without sanding.
Step 5 – Roll On a Bonding Primer
Primer is non-negotiable here. Skip it, and your color will peel within months. A bonding primer is built to stick to slick surfaces, which is exactly what you need.
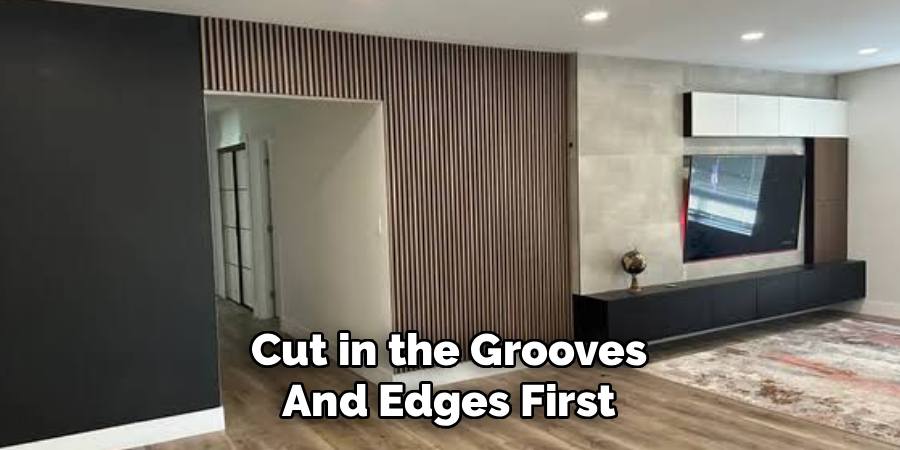
Cut in the grooves and edges first with your angled brush. Push the bristles into each channel so no bare wood peeks through. Then roll the flat sections with smooth, overlapping passes.
Listen for that soft, even sticky sound as the roller releases. That steady rhythm means good coverage.
Apply one thin coat, not a thick one. The grain may still show faintly, and that’s fine. Let it dry completely. A solid primer layer is the real backbone of how to paint wood paneling without sanding, so don’t rush it.
Step 6 – Inspect and Spot-Prime
Before you open the paint, study the primed wall in good light. Shine a lamp across it at an angle. This raking light reveals thin spots and missed grooves you’d never see straight on.
Found a shiny patch where the old finish still shows? Hit it with a quick second pass of primer. Those areas need extra grip.
Feel the surface with your palm. It should be uniformly chalky and dry, not tacky. Tackiness means it needs more time.
Don’t move forward until the entire wall looks consistent. A patchy primer base leads to a patchy final color. Patience here is what separates an amateur finish from one that looks like a pro hung new drywall.
Step 7 – Paint the First Color Coat
Now the fun part. Stir your latex paint or chalk paint slowly to avoid bubbles. Load your brush and cut into the grooves and edges, just like you did with the primer.
Then roll the broad areas. Keep a wet edge by overlapping each pass before the last one dries. This prevents lap marks, those faint streaks where dry meets wet.
The first coat will look uneven and thin. Don’t panic. That’s normal.
Resist the urge to overwork it. Lay the paint down and leave it alone. Let the wall dry fully, usually two to four hours, before judging coverage. Good light and patience will tell you whether you need that second coat.
Step 8 – Apply the Second Coat and Finish
Most paneling needs two coats for rich, even color. After the first coat dries, run your hand over it. Feel any grit? Knock it down gently with your sanding sponge and wipe clean.
Apply the second coat the same way: grooves first, then flat areas. This time the color goes on smooth and full. The transformation finally shows.
Watch for drips along the groove lines, where paint loves to pool. Catch them with a dry brush while they’re wet.
Let everything cure. Paint feels dry in hours but hardens over days. Wait at least a week before scrubbing or hanging anything. Then peel the tape slowly at a 45-degree angle for clean, sharp edges.
Common Mistakes to Avoid
The biggest mistake is skipping the deglosser and primer to save time. Paint laid straight onto glossy paneling looks fine for a week. Then it chips at every touch. You’ll redo the whole wall, which costs far more time than the prep ever would. The shortcut is the slow road.
Another common error is loading paint too thick. Beginners think one heavy coat beats two thin ones. It doesn’t. Thick paint drips, sags, and pools in the groove lines, leaving ugly ridges. Two thin coats always beat one fat one.
Many people also rush the drying time. They roll the second coat while the first is still tacky. The paint lifts, peels, and bunches under the roller. Wait the full window between coats every time.
Skipping the cleaning step is just as damaging. Grease and dust block adhesion no matter how good your primer is. A surface that feels clean to your eye may still carry an invisible film.
Finally, don’t forget the grooves. Rolling only the flat parts leaves bare, shiny channels that scream “unfinished.” Brush every groove first, every coat.
Expert Tips
Here’s what the pros know that most beginners miss. Choose your primer for the surface, not the color. An oil-based or shellac bonding primer grips glossy paneling far better than a basic latex primer, even though it smells stronger and costs a little more.
Tint your primer toward your final color. A tinted base means fewer color coats, which saves both paint and time.
Work in raking light. Position a work lamp low and to the side so it throws shadows across the wall. Every flaw, drip, and thin spot pops into view before it dries permanently.
And don’t fight the grain. Let a hint of the wood grain show through if you want character. Hide it completely if you want a clean, modern wall. Both are valid. Decide before you paint, not after.
Frequently Asked Questions
Does Paint Really Stick to Paneling Without Sanding?
Yes, when you prep correctly. The key is a liquid deglosser that dulls the shiny finish, plus a quality bonding primer made to grip slick surfaces. Together they replace the mechanical roughing that sanding provides. Skip either one and your paint will peel. But follow both steps, and the finish holds tight for many years of normal use.
What Kind of Primer Works Best on Glossy Paneling?
A bonding primer is your best choice. Oil-based and shellac-based bonding primers grip the hardest, glossiest surfaces with ease. Water-based bonding primers also work well and clean up faster with soap and water. Whatever you pick, make sure the label specifically says “bonding” or “adhesion.” A standard wall primer alone won’t hold reliably on slick interior paneling.
Can I Use Chalk Paint Instead of Latex Paint?
Absolutely. Chalk paint clings well to paneling and often needs less prep, which makes it popular for furniture and feature walls. It dries to a soft matte look. Just seal it with wax or a clear topcoat afterward, since chalk paint scuffs more easily than latex. Latex paint is more durable for high-traffic rooms, so match the paint to how the wall gets used.
How Long Should I Wait Between Coats?
Read your product label, but most primers and paints need two to four hours between coats. Touch the surface first. If it feels tacky or cool, it needs more time. Rushing causes peeling and roller marks. Full curing, where the paint reaches its hardest finish, takes a week or more. Wait that long before scrubbing the wall or hanging heavy frames.
Do I Need to Fill the Grooves in the Paneling?
Only if you want a smooth, flat wall look. Filling the groove lines with caulk or joint compound creates a seamless, drywall-like surface. But many people leave the grooves to keep a paneled, cottage-style character. Both look great when painted well. If you do fill them, let the compound dry fully and spot-treat with your sanding sponge before priming.
Conclusion
You don’t need a sander to bring that paneling back to life. You need good prep. You need the right primer. You need patience between coats.
Clean it well. Deglossing replaces the grit. Prime with a bonding coat. Then roll on two thin layers of color, brushing every groove as you go. That’s the whole method.
The dated wall you’ve been ignoring can become the best surface in the room. And it costs you a single weekend instead of two, with no clouds of dust to clean up afterward.
The real lesson behind how to paint wood paneling without sanding is simple. Smart prep beats hard labor every time. Trust the process, work in good light, and let each step dry before the next.
So pick your wall. Gather your supplies this week. Start with the cleaning step today, and watch a tired room turn fresh. Will you give it a try?
