
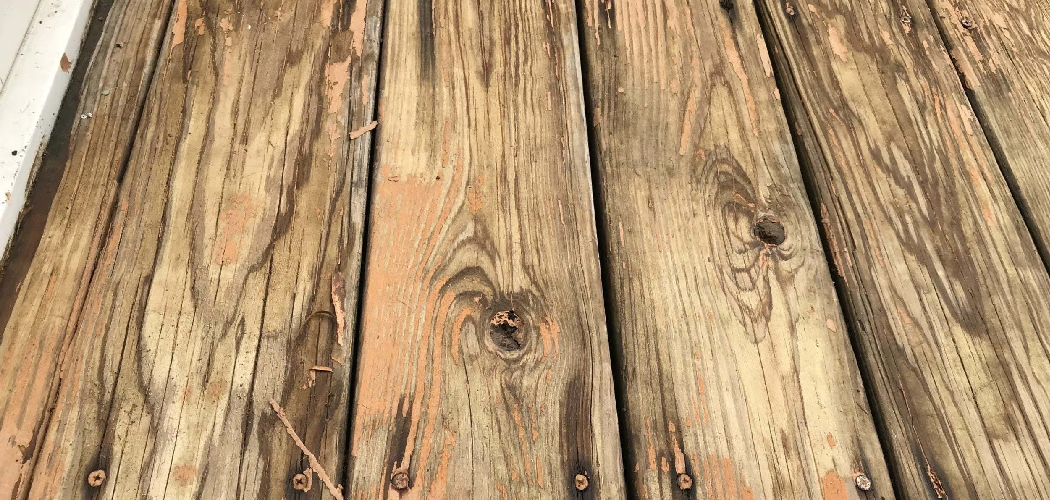
Water destroys wood faster than almost anything else. It swells fibers, breeds rot, lifts grain, and turns a beautiful project into a warped mess. The good news? You can stop it without harsh chemicals or expensive factory coatings. Learning how to make wood waterproof naturally gives you control over what touches your wood and what ends up in your home.
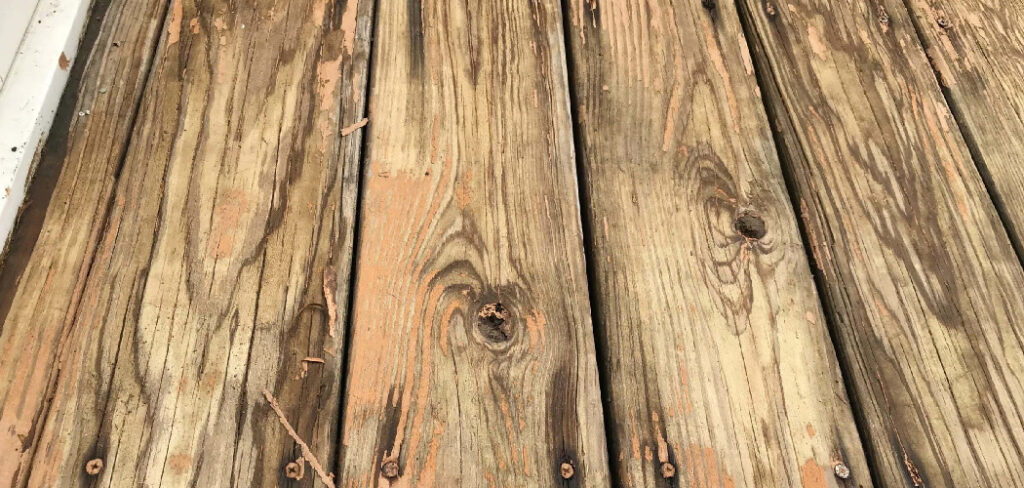
Natural finishes like tung oil, linseed oil, and beeswax have protected timber for centuries. They soak into the grain, repel moisture, and leave a finish you can actually touch and trust. No fumes. No mystery ingredients.
This guide walks you through every step, from prep to final coat, so you can protect your wood the natural way and make it last for years.
Why Natural Wood Waterproofing Matters
Untreated wood fails fast. Left exposed, it absorbs moisture, cracks, and rots within a single season. Replacing it costs money you didn’t plan to spend.
Natural waterproofing saves you that cost. A few dollars of oil and wax can extend the life of a cutting board, deck rail, or garden bench by years. You skip the price tag of commercial sealers and the solvents that come with them.
You also build real skill. Each project teaches you how wood drinks oil, how grain reacts, and how to read a surface by touch. That confidence carries into every build you tackle next.
Most important, you avoid costly mistakes. Done right, natural protection means no peeling, no toxic runoff, and no regret.
Tools and Materials You’ll Need
Gather everything before you start. Stopping mid-project to hunt for supplies ruins your rhythm and your finish.
- Sand smoother: 120, 180, and 220-grit sandpaper for a clean surface
- Protect the grain: pure tung oil or boiled linseed oil as your base sealer
- Seal the surface: natural beeswax or a beeswax-and-oil blend for the top layer
- Apply evenly: lint-free cotton rags or a foam brush
- Clean as you go: mineral spirits or warm soapy water for cleanup
- Stay safe: nitrile gloves and a well-ventilated space
- Smooth between coats: fine #0000 steel wool or a gray scuff pad
- Optional: a heat gun or hair dryer to warm wax for faster, deeper penetration
Choose food-safe products if you plan to seal cutting boards, utensils, or anything that touches food.
Step-by-Step Guide on How to Make Wood Waterproof Naturally
Step 1 – Inspect and Choose the Right Wood
Start with dry, clean wood. Moisture trapped inside the grain ruins any finish you put over it.
Run your hand across the surface. Feel for rough patches, splinters, or sticky resin spots. Look closely at the end grain, where wood drinks water fastest. Dense hardwoods like oak and maple accept oil slowly but hold protection longer. Softwoods like pine soak it up quickly and need extra coats.
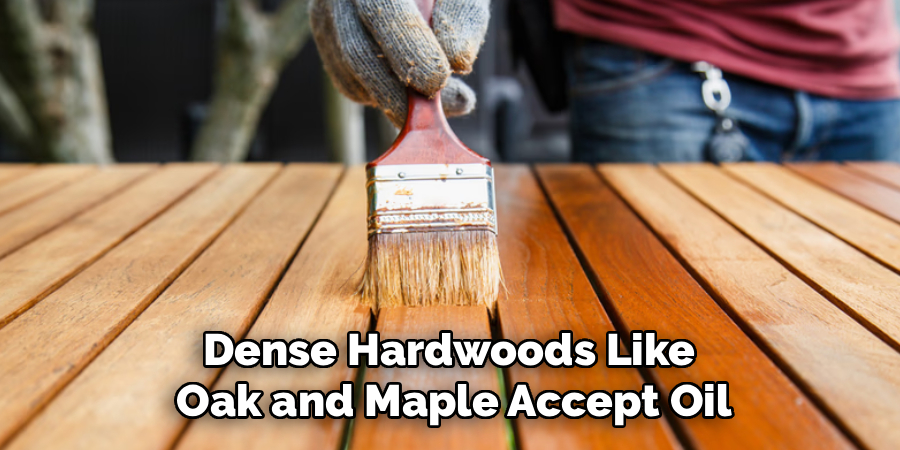
Check the moisture level. If the wood feels cool and damp, let it dry for several days before you begin. A reliable approach to learning how to make wood waterproof naturally starts here, with wood that’s ready to absorb your finish.
Reject any board showing soft, spongy rot. No oil saves wood that’s already failing.
Step 2 – Sand the Surface Smooth
Smooth wood absorbs oil evenly. Rough wood blotches.
Begin with 120-grit sandpaper to knock down high spots and old finish. Work with the grain, never against it. You’ll hear a steady, even scratch as the paper bites. Move up to 180-grit, then finish with 220-grit until the surface feels like glass under your fingertips.
Wipe away dust between each grit with a clean cloth. Dust left behind clumps under your finish and ruins the feel.
Pay attention to the texture. When sanding is done right, light reflects evenly across the board with no scratches or swirls. Run your palm across it one last time. If it snags, keep going.
Step 3 – Clean Away All Dust and Residue
A clean surface bonds with oil. A dusty one repels it.
Wipe the wood with a slightly damp cloth to lift fine particles from the grain. For oily or resinous woods, use a rag dampened with mineral spirits to cut through buildup. You’ll see the cloth pick up a faint film, that’s the residue that would have blocked your finish.
Let the wood dry completely before moving on. Any leftover moisture traps under the oil and clouds the result.
Run your hand over the surface one final time. It should feel dry, smooth, and slightly cool. No grit. No tack. This clean foundation decides how well your natural sealant performs.
Step 4 – Apply the First Coat of Natural Oil
Now you seal the grain. Pour a small amount of tung oil or boiled linseed oil onto a lint-free rag.
Work it into the wood in long, even strokes following the grain. Watch the surface change color, dry timber darkens and richens as it drinks the oil. Keep the coat thin. Thick layers stay sticky and never cure properly.
Cover every inch, including end grain and edges where water attacks first. You’ll feel the rag glide easily as the wood absorbs the oil.
This is the heart of how to make wood waterproof naturally, building moisture resistance from inside the fibers out. Let the first coat soak for 15 to 20 minutes, then wipe off any oil that hasn’t absorbed.
Step 5 – Let It Cure and Reapply
Patience makes the finish. Rushing ruins it.
Let the first coat cure for 24 hours in a warm, dry, well-ventilated space. The surface should feel dry to the touch, not tacky. If it still feels sticky, you applied too much, wipe it down and wait longer.
Apply a second thin coat the same way you did the first. Then a third. Each layer deepens the color and builds stronger moisture protection. Softwoods may need four or five coats to fully saturate.
Between coats, the wood develops a soft, low sheen. You’ll notice water beading slightly when you test a drop on the surface. That bead is your proof the oil is working.
Step 6 – Smooth Between Coats
Each cured coat leaves tiny raised fibers. Knock them down for a flawless finish.
Rub the surface gently with #0000 steel wool or a gray scuff pad. Use light pressure and move with the grain. You’ll hear a soft whisper as the wool glides, not a harsh scrape. The goal is to smooth, not strip.
Wipe away the fine dust with a clean, dry cloth. Run your fingers across the wood. It should feel silky, with no rough nibs catching your skin.
This step is what separates a beginner’s finish from a pro’s. Skip it and your final coat feels gritty. Do it and the surface turns smooth and uniform, ready for its protective top layer.
Step 7 – Seal With a Beeswax Top Layer
Oil protects from within. Wax protects from above.
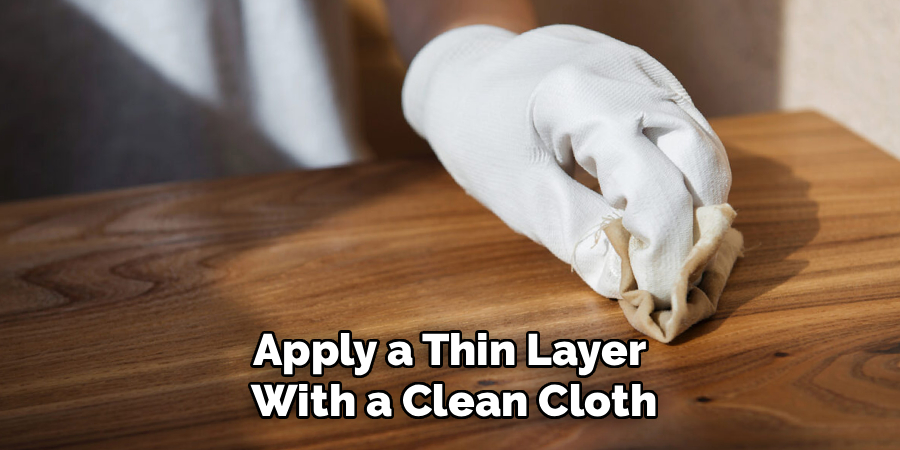
Warm a beeswax-and-oil blend slightly so it spreads easily, a heat gun on low works well. Apply a thin layer with a clean cloth, rubbing in tight circles to push wax into the grain. You’ll feel the surface turn slick under your hand.
Let it sit for 10 to 15 minutes until it hazes over. Then buff hard with a dry cloth. The wood transforms, dull haze becomes a warm, soft glow.
This beeswax finish adds a water-repelling barrier that beads moisture on contact. It also gives the surface a smooth, tactile feel you’ll want to run your hands across again and again.
Step 8 – Test and Maintain Your Finish
Prove your work holds water. Drop a few beads onto the cured surface.
Watch closely. Properly sealed wood makes water bead up and roll off. If the drops soak in and darken the wood, you missed a spot or need another coat. Add one where needed.
Maintenance keeps the protection alive. For high-use items like cutting boards or outdoor furniture, reapply oil every few months. Indoor pieces need a refresh once or twice a year.
Watch for the warning signs. When water stops beading and the surface looks dry or dull, it’s time to recoat. A quick wipe of oil and a fresh wax buff restores full moisture resistance and keeps your wood strong for years.
Common Mistakes to Avoid
The biggest mistake is applying oil too thick. Beginners load on a heavy coat thinking more protection means better results. The opposite happens. Thick oil sits on the surface, stays gummy, and never cures. Always wipe off the excess and build protection through thin, repeated layers instead.
Skipping the drying time ruins finishes just as often. When you stack a fresh coat over one that hasn’t cured, you trap uncured oil underneath. The result is a sticky, soft surface that attracts dust and stays tacky for weeks. Give each coat a full day to cure.
Many people also ignore the end grain. Those exposed fibers act like straws, pulling water deep into the wood. Always saturate the ends with extra oil.
Using the wrong oil causes trouble too. Raw linseed oil takes weeks to dry and can stay sticky indefinitely. Choose boiled linseed oil or pure tung oil for reliable curing.
Finally, never toss oily rags in a pile. They generate heat and can spontaneously combust. Lay them flat to dry or soak them in water before disposal.
Expert Tips
Warm your oil before applying it. Heated oil thins out and penetrates deeper, reaching fibers a cold coat never touches. Set the container in warm water for a few minutes first.
Sand your final coat lightly with 320-grit paper for furniture you’ll touch often. It creates a glass-smooth feel that buyers and guests notice instantly.
Test your finish on a hidden spot or scrap piece first. Different wood species react differently, and you’ll dial in your technique without risking the whole project.
For outdoor wood protection, mix a little extra beeswax into your blend. The higher wax content builds a tougher moisture barrier against rain and dew.
Apply finishes in the morning. You get full daylight hours of warmth, which speeds curing and prevents the dust that settles overnight.
Frequently Asked Questions
What Is the Best Natural Oil for Waterproofing Wood?
Pure tung oil is the best natural choice for waterproofing. It cures into a hard, water-resistant finish and works on indoor and outdoor wood alike. Boiled linseed oil is a close, more affordable second. Both penetrate deep into the grain and resist moisture far better than raw oils, which can stay sticky for weeks.
How Long Does Natural Waterproofing Last?
Indoor pieces hold their finish for one to two years before they need a refresh. High-use and outdoor items need reapplication every few months because water, sun, and handling wear the protection down faster. The easy fix is a quick recoat. Watch for water that stops beading, that’s your signal to reapply oil and rebuff.
Is Natural Waterproofing Food-Safe?
Yes, when you use the right products. Pure tung oil, food-grade mineral oil, and natural beeswax are all food-safe once cured. They’re ideal for cutting boards, wooden spoons, and bowls. Avoid boiled linseed oil for food items, since it contains metallic drying agents. Always confirm the label reads food-safe before sealing anything that touches food.
Can I Waterproof Wood That’s Already Stained?
You can, but the oil won’t penetrate as deeply through a stain. If the stain is oil-based, a natural oil top layer bonds well. Over water-based or sealed stains, a beeswax finish works better since it sits on the surface. For full penetration and lasting protection, apply natural oils to bare, unsealed wood whenever possible.
Why Does My Finish Still Feel Sticky?
A sticky finish means too much oil or not enough curing time. You applied a coat too thick, or stacked a new layer before the last one dried. Fix it by wiping the surface with a mineral-spirits rag to remove excess oil, then let it cure a full 24 to 48 hours in a warm, ventilated space.
Conclusion
Water no longer has to win. With a few natural materials and a little patience, you can protect any wood project from moisture, rot, and warping, no harsh chemicals required.
Remember the formula. Start with dry, sanded wood. Build thin coats of tung or linseed oil. Cure each layer fully. Seal with beeswax, then test with water and maintain as needed. Each step builds protection that lasts.
The skill of how to make wood waterproof naturally pays off every time you reach for a project. You save money on replacements, skip the fumes of commercial sealers, and end up with a finish you can touch and trust.
Grab a scrap board and practice today. Once you feel water bead and roll off wood you sealed with your own hands, you’ll never go back. Your decks, boards, furniture, and tools will last for years, and you’ll have the confidence to protect them all.
