
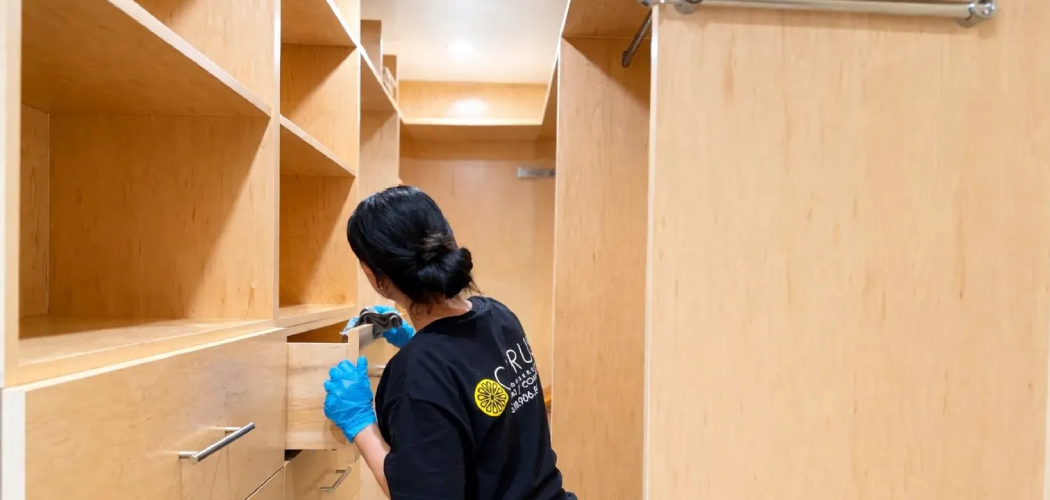
Dust settles. Grime builds. And your once-beautiful wooden shelves start looking dull and neglected. The good news? You can fix that in under an hour with supplies you probably already own. Learning how to clean wooden shelves protects your investment, keeps your space looking sharp, and prevents the kind of damage that turns a quick wipe-down into a costly refinishing job.
Whether your shelves are solid oak, pine, or a finished veneer, the right method matters more than the effort. The wrong cleaner can strip a finish in seconds. This guide walks you through every step — the tools, the technique, and the mistakes to skip — so you can clean your shelves safely and bring back their natural shine without guesswork.
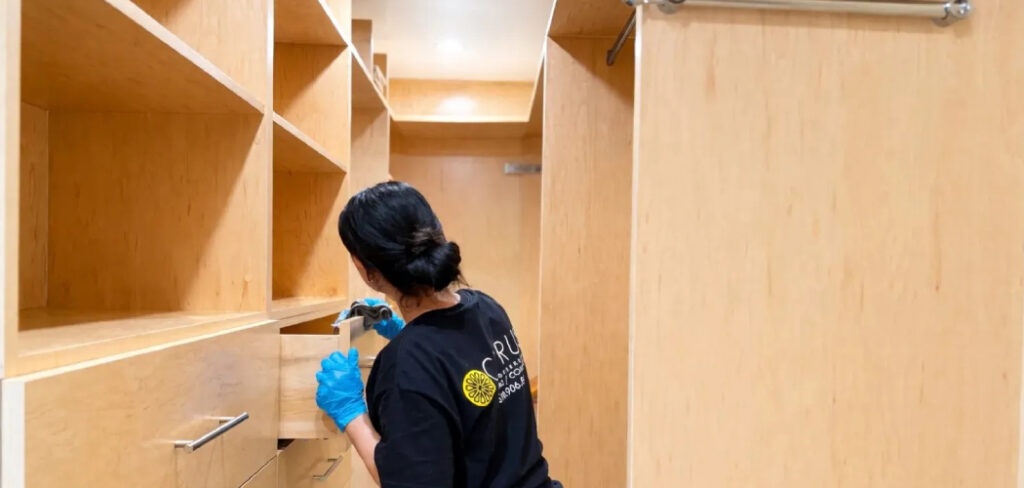
Why Cleaning Wooden Shelves Matters
Neglected wood doesn’t just look bad. It deteriorates. Dust buildup traps moisture against the surface, and over time that moisture breaks down the wood finish and invites warping, staining, or cracking. A clean shelf lasts longer. A grimy one fails early.
For DIY beginners, regular shelf maintenance saves real money. You avoid sanding, refinishing, and replacing — projects that eat weekends and budgets. You also build confidence. Clean wood the right way once, and you’ll handle every wooden surface in your home with the same skill.
Routine cleaning also reveals problems early. You spot loose joints, water rings, or finish wear before they spread. Think of it as protection, not just polish. Five minutes of care today prevents hours of repair later.
Tools and Materials You’ll Need
Gather everything before you start. The right setup makes the job fast and prevents damage.
- Microfiber cloths — trap dust without scratching the finish.
- Soft-bristle brush — clears debris from corners and carved details.
- Mild dish soap — cuts grease without stripping wood.
- Warm water — dilutes soap and lifts surface grime.
- Wood-safe oil soap — cleans and conditions finished wood in one step.
- Two buckets — one for cleaning solution, one for clean rinse water.
- Dry towels — remove moisture fast before it soaks in.
- Wood polish or conditioner — restores shine and protects the surface.
- Vacuum with brush attachment (optional) — speeds up dust removal on large or open shelving units.
Skip the harsh chemicals. Stick to gentle, wood-friendly products and you’ll protect the finish every time.
Step-by-Step Guide on How to Clean Wooden Shelves
Follow these steps in order. Each one builds on the last to give you a clean, protected surface without risk to the finish.
Step 1 – Empty the Shelves Completely
Start with a clear surface. Remove every book, frame, and trinket so you can reach the entire shelf. Working around objects leaves grime in the corners and slows you down.
Set items on a nearby table or floor, grouped by shelf so reassembly is easy later. Wipe down anything dusty before it goes back — you don’t want to return dirt to a clean shelf.
This is also your chance to inspect. Run your hand across the wood. You’ll feel gritty buildup, sticky spots, or rough patches where the finish has worn. Note water rings or discoloration. These cues tell you which areas need extra attention before you start the real work.
Step 2 – Dust the Surface Thoroughly
Always dust before you introduce any moisture. Wet dust turns into mud, and mud smears into the grain.
Grab a dry microfiber cloth and wipe in long, straight strokes following the wood grain. You’ll hear a soft, dry glide when you’re picking up dust correctly. For carved edges, grooves, or corners, switch to a soft-bristle brush or a vacuum with a brush attachment.
Look for the visual cue: a clean shelf reflects light evenly, while a dusty one looks cloudy and flat. Keep wiping until the cloth comes away clean. Knowing how to clean wooden shelves starts here — remove the loose layer first so your cleaning solution can reach the actual surface, not just push dirt around.
Step 3 – Mix a Gentle Cleaning Solution
Wood hates harsh chemicals. Skip ammonia, bleach, and all-purpose sprays — they strip finishes and dull the wood.
Fill a bucket with warm water and add a few drops of mild dish soap. Stir until it’s barely sudsy. You want a light, slippery solution, not a foamy one. For finished wood, a capful of wood-safe oil soap works even better because it cleans and conditions at the same time.
Test the mix on a hidden spot first — the underside of a shelf or a back corner. Wait a minute and check for any cloudiness or softening of the finish. If the wood looks unchanged, you’re cleared to clean the full surface with confidence.
Step 4 – Wipe Down with a Damp Cloth
Dip a microfiber cloth into your solution, then wring it out hard. The cloth should feel damp, never dripping. Standing water is the enemy of wood — it seeps into seams and lifts the finish.
Wipe along the grain in smooth, overlapping strokes. You’ll feel resistance fade as grime lifts away. Sticky kitchen shelves may need a second pass. Watch for the change: dull, dirty wood transforms into a surface with visible depth and color.
Rinse your cloth often in clean water so you’re not redepositing dirt. Work one shelf at a time. This controlled, damp method is the core of how to clean wooden shelves without water damage — light moisture, fast movement, and immediate follow-up.

Step 5 – Tackle Stubborn Stains and Buildup
Some marks won’t budge with a basic wipe. Grease rings, dried spills, and old residue need targeted effort.
For greasy buildup, apply a slightly stronger oil soap solution directly to the spot and let it sit for thirty seconds. Then rub gently along the grain with a soft cloth. You’ll feel the residue loosen and roll off.
For sticky patches, never scrape with metal — it gouges the wood. Use your fingernail wrapped in a damp cloth instead. Work slowly and check your progress often.
White water rings often respond to a touch of mild oil soap and patience. If a stain sits beneath the finish rather than on top, stop. That’s a refinishing issue, not a cleaning one.
Step 6 – Rinse and Remove Soap Residue
Leftover soap dulls wood and attracts dust faster than ever. Always rinse.
Dampen a fresh microfiber cloth in your clean rinse water, wring it out well, and wipe the entire surface again. This lifts away soap film and any loosened grime. You’ll notice the wood looks clearer and feels smooth instead of slightly tacky.
Change your rinse water if it turns cloudy. Clean water in, clean wood out. One pass is usually enough, but kitchen and bathroom shelves may need two.
Keep your touch light and your cloth barely damp. The goal here isn’t to add moisture — it’s to remove everything you don’t want left behind, leaving only bare, clean wood ready to dry.
Step 7 – Dry the Wood Immediately
Moisture is wood’s slow killer. The second you finish rinsing, dry the surface.
Take a clean, dry towel and wipe firmly along the grain. Don’t let water sit in seams, joints, or corners — those spots warp and swell first. Press the towel into grooves and carved details to pull out trapped moisture.
You’ll know it’s dry when the wood feels room-temperature and shows no streaks or damp sheen. Run your palm across it. A properly dried shelf feels smooth and completely dry, never cool or slick.
Give it a few extra minutes of air before moving on. Rushing this step traps moisture under polish in the next stage, and that’s how finishes cloud and lift.
Step 8 – Apply Polish or Conditioner
Clean wood needs protection. Polish restores shine and seals out future dust and moisture.
Apply a small amount of wood polish or conditioner to a fresh microfiber cloth — never directly to the shelf. Spread it in thin, even strokes along the grain. Less is more here. Too much polish leaves a greasy film that grabs dust within days.
Buff the surface with a clean, dry cloth until it feels smooth and looks evenly satisfied with light. You’ll see the color deepen and the grain come alive. The shelf should glow softly, not look wet or sticky.
Let the polish cure for the time listed on the product before returning your items. Then reload your shelves and enjoy the result.
Common Mistakes to Avoid
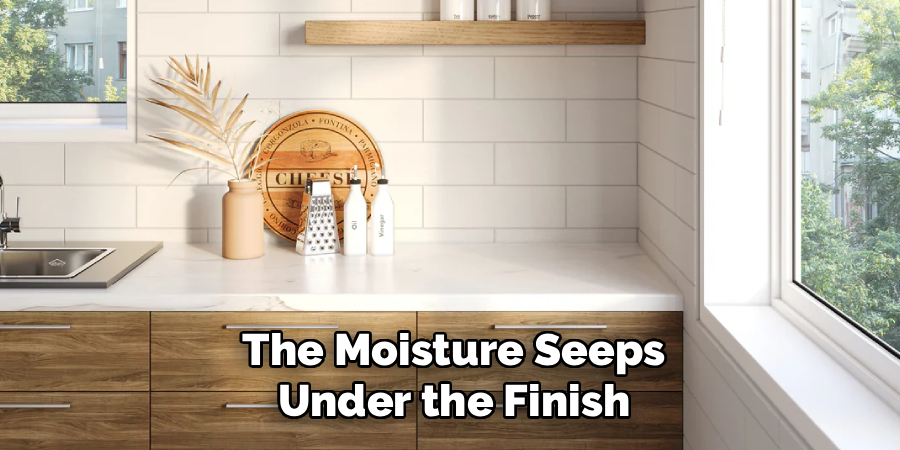
The fastest way to ruin a shelf is using too much water. Beginners often soak the wood or leave puddles in corners, and the moisture seeps under the finish. The result is swelling, warping, and cloudy white marks that no polish can fix. Always wring your cloth until it’s barely damp, and dry every surface immediately.
The second mistake is reaching for harsh chemicals. Bleach, ammonia, and all-purpose sprays strip protective finishes and dull the natural grain. Stick to mild dish soap or a wood-safe oil soap, and your finish stays intact.
A third error is ignoring the grain direction. Wiping in circles or against the grain pushes grime into the pores and leaves visible streaks. Always move with the grain in long, smooth strokes.
Many people also over-apply polish, thinking more shine means more protection. Excess polish builds up, turns sticky, and attracts dust faster than bare wood. Use a thin layer and buff it well.
Finally, skipping the test spot is risky. A hidden patch tells you in seconds whether your solution is safe — far better than discovering a stripped finish across the whole shelf.
Expert Tips
Pros know the small moves that make a big difference. First, control humidity around your shelves. Wood expands and contracts with moisture in the air, so a stable room — ideally 40 to 50 percent humidity — keeps finishes from cracking between cleanings.
Second, clean in the direction of natural light. Angle a lamp or face a window and you’ll spot streaks, missed grime, and uneven polish that hide in flat lighting.
Third, match your product to the finish. Oiled and waxed woods need conditioning treatments, while polyurethane-sealed shelves just need a clean, dry wipe. Using the wrong product on the wrong finish causes more damage than dirt ever will.
Finally, dust weekly but deep-clean only every few months. Over-cleaning wears finishes down. Light, regular maintenance beats aggressive scrubbing every time.
Frequently Asked Questions
How often should I clean my wooden shelves?
Dust your shelves weekly with a dry microfiber cloth to prevent buildup. Do a deeper clean with a damp cloth and mild soap every two to three months, or sooner in kitchens and bathrooms where grease and moisture collect faster. Over-cleaning wears down the finish, so light, regular dusting paired with occasional deep cleaning gives you the best long-term results.
Can I use vinegar to clean wooden shelves?
Use vinegar with caution. Diluted vinegar can clean some sealed wood, but its acidity dulls and damages many finishes, especially waxed or oiled surfaces. If you choose to use it, mix one part vinegar with ten parts water and always test a hidden spot first. For safer results, stick to mild dish soap or a wood-safe oil soap instead.
What’s the best way to remove water rings from wood?
For fresh water rings sitting on top of the finish, rub a small amount of oil soap or wood conditioner gently along the grain. Many surface rings lift with patience. If the mark sits beneath the finish or has darkened the wood itself, cleaning won’t fix it — that requires refinishing. Always dry shelves immediately to prevent rings from forming in the first place.
Should I oil my wooden shelves after cleaning?
It depends on the finish. Oiled or waxed shelves benefit from conditioning oil after cleaning to restore moisture and shine. Sealed shelves with polyurethane or lacquer don’t need oil — a clean, dry wipe and light polish is enough. Applying oil to a sealed finish leaves a sticky film that traps dust, so match your treatment to your shelf’s specific finish.
How do I clean unfinished wooden shelves?
Unfinished wood absorbs liquid fast, so use even less moisture. Dust thoroughly, then wipe with a barely damp cloth and minimal mild soap. Dry the surface immediately and completely. Avoid soaking the wood, since unsealed grain swells and stains easily. Once clean and dry, consider sealing the shelves with a finish or wood oil to make future cleaning easier and protect the surface.
Conclusion
Clean shelves protect your wood, your time, and your money. You’ve now got a complete, beginner-friendly process for how to clean wooden shelves — from clearing the surface and dusting it down to mixing a gentle solution, wiping with the grain, drying fast, and sealing in shine with polish.
The rules are simple. Use light moisture. Skip harsh chemicals. Work with the grain. Dry immediately. Follow those four principles and you’ll keep any wooden shelf looking sharp for years, while spotting small problems before they turn into expensive repairs.
The best part? This skill carries over. Once you’ve mastered shelves, you can confidently clean tables, cabinets, and every other wood surface in your home using the same approach. Grab your microfiber cloth, set aside an hour this weekend, and bring your shelves back to life. Your wood will reward the effort with lasting beauty and a finish that holds up for the long run.
