
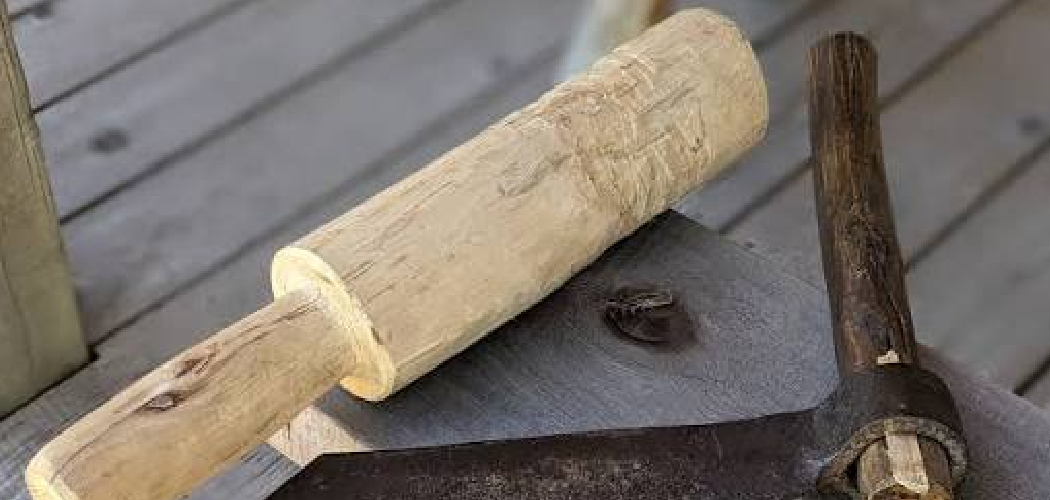
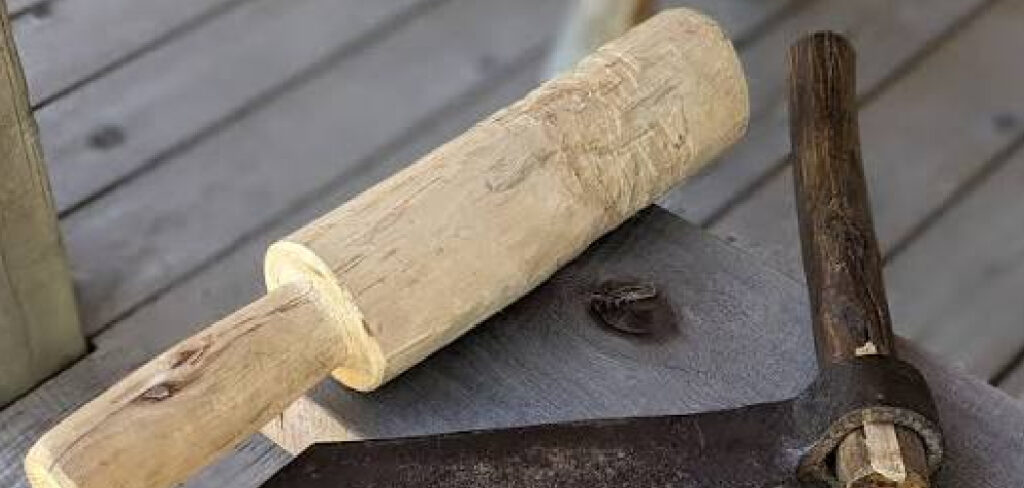
Stop fighting with crooked, wasteful cuts when you split firewood, shingles, or chair parts. A froe gives you control a saw never will. This simple L-shaped tool—a blade with a handle set at a right angle—lets you split wood along its natural grain, producing strong, straight stock with almost no waste. Learning how to use a froe for splitting wood is one of the most rewarding skills a beginner woodworker can pick up.
It costs little, sharpens your hand-tool instincts, and connects you to a craft that’s centuries old. Whether you’re riving green oak for a fence or making cedar shakes for a roof, the froe earns its place on your bench. This guide walks you through every step, from setup to finish, so you split clean stock on your first try.
Why Learning to Use a Froe Matters
Saws cut across the grain and tear through fibers. A froe follows the grain instead, which keeps every fiber intact along its full length. That difference matters more than you might expect.
Riven wood is stronger than sawn wood. The grain runs continuously from end to end, so the piece resists splitting and warping in service. Chairmakers, basket weavers, and timber framers rely on this strength.
You also save money. A froe and a wooden mallet cost less than a single power tool, and they turn free logs into usable stock. No blades to replace. No electricity.
Best of all, you build confidence fast. Cleaving wood by hand teaches you to read grain, judge moisture, and trust your tools—skills that carry into every project you tackle next.
Tools and Materials You’ll Need
Gather these before you start. Each item does a specific job, and skipping one slows you down.
- Froe — the L-shaped riving blade that does the splitting.
- Wooden mallet or club (maul) — drives the froe into the log without damaging the blade.
- Chopping block or low stump — gives you a stable, knee-height work surface.
- Green wood logs — fresh, straight-grained sections of oak, ash, cedar, or chestnut split easiest.
- Bow saw or chainsaw — bucks logs to length before you split them.
- Safety glasses — flying chips and bark happen.
- Work gloves — protect your hands during repeated mallet strikes.
- Froe horse or shaving brake (optional) — a forked stand that grips the wood, freeing both hands to steer the split and speed up production.
Choose straight-grained, knot-free logs whenever you can. Knots fight you at every strike.
Step-by-Step Guide on How to Use a Froe for Splitting Wood
Step 1 – Select and Prepare Your Log
Start with the right wood. Fresh, green logs split far easier than dry ones because the fibers are still moist and flexible. Look for straight grain and avoid knots, twists, or signs of decay.
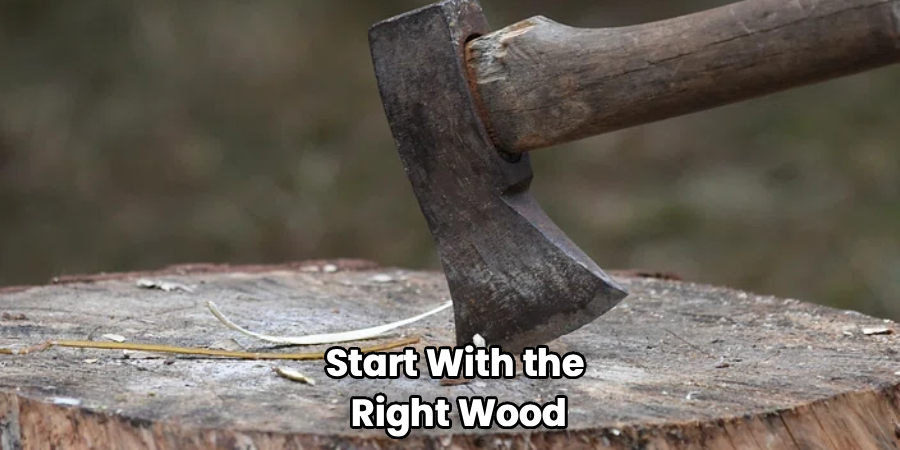
Buck your log to length with a bow saw or chainsaw. For shingles or shakes, 18 to 24 inches works well. For chair stock, match the length to your project.
Stand the section on end and inspect the end grain. You want growth rings that run reasonably straight across the face. Wood that splits cleanly will show fibers pulling apart in long, even strands rather than short, fuzzy breaks. This is the foundation of how to use a froe for splitting wood successfully—good stock makes everything that follows easier.
Step 2 – Set Up Your Splitting Station
Place your log section upright on a sturdy chopping block or low stump. The block should sit around knee height so you can swing your mallet down with control and force.
Stand with your feet shoulder-width apart and your weight balanced. You’ll generate power from your shoulders, not your wrists, so give yourself room to move.
Check that the block won’t rock. A wobbling surface steals energy from every strike and throws off your aim. Wedge it level if needed.
If you’re using a froe horse, position it within easy reach. A solid, quiet setup tells you you’re ready—no rattling, no shifting. When everything sits firm, the satisfying thunk of a clean strike replaces the dull rattle of a loose station.
Step 3 – Position the Froe Blade
Set the froe’s blade across the top end of the log, lining it up with the center for an even split. Hold the handle upright in one hand so the blade rests flat against the end grain.
Aim to split the log into halves first, then halves again. This radial approach—splitting from the center outward—follows the wood’s natural rays and gives you the strongest, most stable pieces.
Press the blade lightly into the surface to seat it. You’ll feel it bite into the fibers. Keep the cutting edge perpendicular to the growth rings for shingles and shakes, since that orientation resists cupping later.
A blade sitting square and centered looks balanced from above. If it leans, reset it before you swing.
Step 4 – Drive the Froe Into the Wood
Grip your wooden mallet and strike the back of the froe’s blade—never the handle. Use firm, controlled blows, letting the weight of the mallet do the work rather than muscling each hit.
Listen for the sound. A clean strike produces a sharp, hollow crack as the fibers begin to separate. A dull thud means the blade hit a knot or dense grain, so reposition if you feel resistance.
Drive the blade in until it’s seated an inch or two deep. You’ll see a hairline split open along the end grain and start to travel down the side of the log. That opening crack is your green light to move to the next step and start steering the split.
Step 5 – Lever the Handle to Open the Split
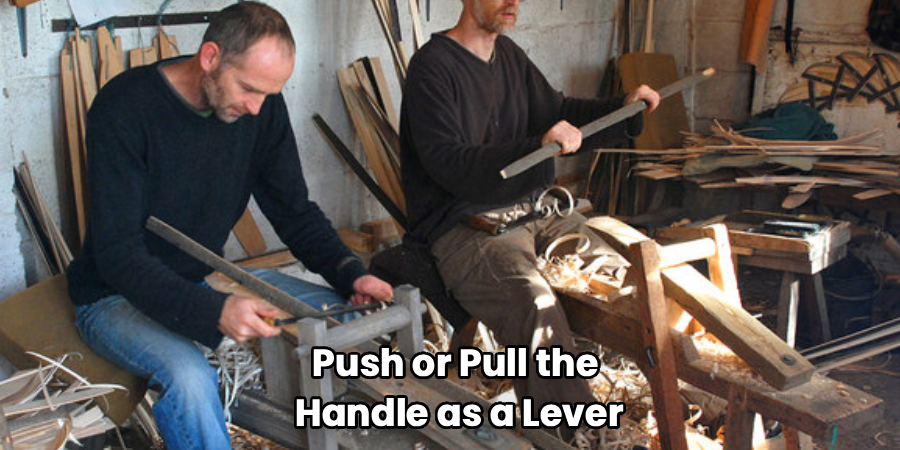
Now the froe shows its real advantage. Once the blade is buried in the wood, push or pull the handle as a lever. This twisting action pries the fibers apart ahead of the blade.
Work the handle back and forth in smooth motions. You’ll watch the split race down the grain, opening like a zipper. The wood gives off a fibrous tearing sound—long and steady when the split runs true.
If the crack starts wandering toward one side, you can correct it, which is the heart of the next step. For now, keep steady pressure and let the lever do the prying. This control is exactly why riving with a froe beats brute-force splitting with a wedge and sledge.
Step 6 – Steer the Split to Follow the Grain
Wood doesn’t always split where you want. When the crack drifts off-center, the thicker side has more leverage and pulls the split toward the thinner side. Counter this by bending the thicker piece.
Grab the heavier half and flex it away from the split. This adds tension to the fibers on that side and steers the crack back toward center. Chairmakers call this controlling the run-out.
Watch the open split as you work. You want both halves staying roughly equal in thickness. If one side starts feeling thin and flexible while the other stays stiff, bend the stiff side to even things out.
Mastering this correction is the skill that separates clean riving from wasted stock when you learn how to use a froe for splitting wood.
Step 7 – Work the Froe Down the Length
As the split opens, walk the froe deeper into the gap. Reseat the blade lower in the crack, then strike and lever again. Repeat this rhythm down the full length of the log.
You’ll feel the wood release in stages. Each cycle of striking and prying advances the split a few more inches. Keep your levering smooth and your strikes light once the crack is established—momentum carries the split now.
The surface left behind should look smooth and follow the grain in long, unbroken lines. Rough, stepped breaks signal you struck too hard or the grain twisted. Slow down and let the lever guide the wood apart for a clean, riven face.
Step 8 – Split Into Final Pieces and Clean Up
Once you’ve halved the log, keep dividing each piece using the same method. Split halves into quarters, quarters into eighths, until you reach the thickness your project needs—thin for shingles and shakes, thicker for chair legs or rails.
Aim for consistent thickness across each piece. A drawknife smooths and shapes the riven blanks afterward, removing high spots and refining the surface.
Stack your finished stock out of direct sun to dry slowly and evenly. Fast drying causes cracks. Wipe down your froe, dry it, and store it where the edge won’t get nicked. A clean, sharp blade rewards you with easier splits the next time you work.
Common Mistakes to Avoid
The biggest mistake beginners make is striking the froe’s handle instead of the blade. The handle isn’t built for impact, and hitting it splits the wood or loosens the joint within a few sessions. Always land your mallet on the back of the blade.
Using dry wood is another common trap. Seasoned logs resist splitting, send cracks wandering, and tire you out fast. Green wood splits cleanly because the fibers still hold moisture, so source fresh logs whenever possible.
Many newcomers also ignore run-out. When the split drifts and you don’t bend the thicker side to correct it, you lose half your stock to a tapered, useless piece. Watch the crack constantly and steer early, before the split runs too far off course.
Swinging too hard causes its own problems. Heavy, uncontrolled blows bury the blade past the point of control and produce rough, stepped surfaces. Let the mallet’s weight do the work and rely on the lever.
Finally, skipping knot inspection wastes effort. Knots redirect grain and stop a split dead. Choose clear, straight sections and your froe will glide through.
Expert Tips
Keep your froe blade sharp, but not razor-sharp. A froe doesn’t slice—it wedges fibers apart. A slightly blunt edge around 30 to 40 degrees splits better and survives mallet strikes longer than a fine edge that chips.
Split radially, from the center toward the bark, following the wood’s natural rays. Radial pieces resist cupping and stay flat, which is why quartersawn-style riven shingles outlast flat-split ones.
Work your stock while it’s green and finish shaping before it dries. Dry wood fights the drawknife and dulls your edge fast.
Invest in or build a froe horse early. Gripping the wood for you, it frees both hands to steer splits and roughly doubles your output. Once you use one, you won’t go back to wrestling logs by hand.
Frequently Asked Questions
What Kind of Wood Splits Best With a Froe?
Straight-grained green hardwoods split best—oak, ash, chestnut, and hickory top the list. Softwoods like cedar work beautifully for shingles and shakes. Always choose fresh, knot-free logs, since moisture keeps the fibers flexible and helps the split run straight. Dry or knotty wood fights you, wanders off course, and wastes stock, so reach for clear, green sections every time.
Do I Need a Special Mallet to Use a Froe?
You need a wooden mallet, club, or maul—not a metal hammer. A metal head damages the froe’s steel blade and shortens its life with every strike. A heavy wooden club delivers plenty of force while protecting the edge. Many woodworkers carve their own from a dense hardwood branch, which costs nothing and works as well as any store-bought version.
Can I Use a Froe on Dry or Seasoned Wood?
Yes, but expect more effort and less control. Seasoned wood resists splitting, sends cracks wandering, and tires you quickly. Green wood splits far cleaner because moisture keeps the fibers pliable. If you only have dry stock, soak it or accept a tougher job. For shingles, shakes, and chair parts, fresh-cut green logs always give the best results.
How Do I Stop the Split From Running Off-Center?
Bend the thicker side. When a split drifts, the heavier half holds more leverage and pulls the crack toward the thinner side. Grab the thick piece and flex it away from the split. This adds tension and steers the crack back to center. Watch the opening constantly and correct early—small adjustments work better than waiting until the split runs badly off course.
Is a Froe Better Than an Axe for Splitting Shingles?
For shingles and shakes, yes. A froe gives you precise control over thickness and direction, while an axe relies on brute force and produces uneven pieces. The froe’s lever action lets you steer each split and follow the grain exactly, yielding thin, consistent, flat stock. An axe works for rough firewood, but it can’t match the froe’s accuracy for fine riven work.
Conclusion
Riving wood by hand connects you to a craft that’s both practical and deeply satisfying. With a froe, a wooden mallet, and a few green logs, you turn raw timber into strong, straight stock that no saw can match. The grain stays intact, the pieces resist warping, and your costs stay low.
Remember the essentials: start with fresh, straight-grained wood, strike the blade and never the handle, and use the handle as a lever to steer every split. When a crack wanders, bend the thicker side to bring it back. Let the mallet’s weight do the work and slow down for clean, riven faces.
Knowing how to use a froe for splitting wood opens the door to shingles, shakes, chair parts, fence rails, and dozens of other projects. The skill builds with every log you split. Grab a froe, find a good log, and start cleaving—your first clean split will hook you for good.
