
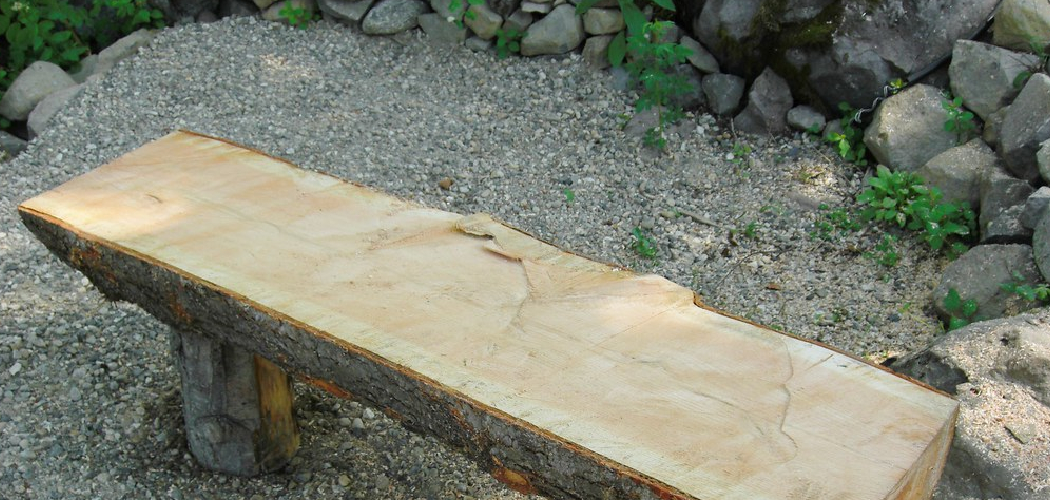
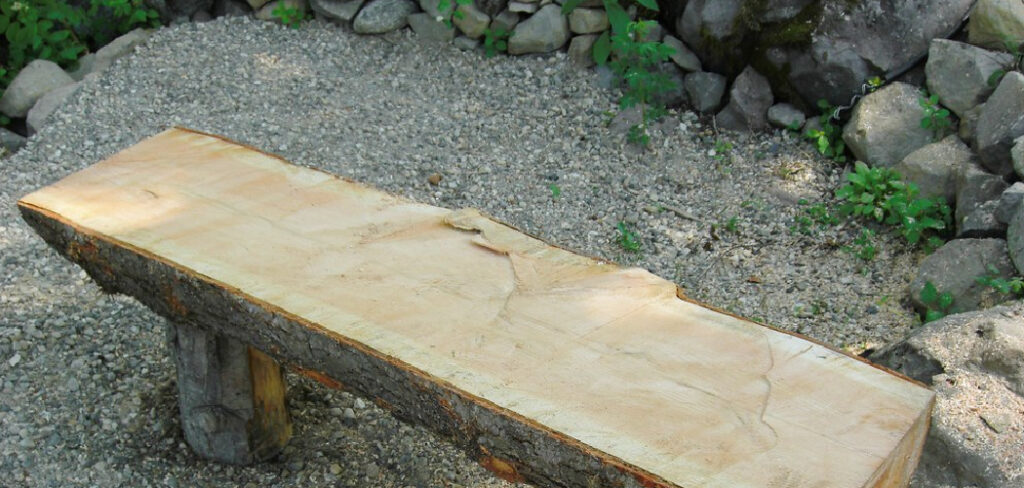
You want a bench with character. Something solid, handmade, and worth showing off. Store-bought furniture rarely delivers that. Most of it looks thin, feels flimsy, and costs more than the materials inside it. Building your own fixes all three problems at once.
Learning how to make a rustic wood bench gives you a piece that lasts decades and tells a story. The rough grain, the warm tones, the satisfying weight of real lumber — none of it comes flat-packed in a box. You build it yourself, and it shows.
This guide walks you through every step, from choosing your boards to applying the final coat of finish, so you can build a bench you’ll be proud to sit on.
Why Making a Rustic Wood Bench Matters
A handmade bench saves you money. A quality bench at a furniture store runs $200 to $600. You can build a sturdier one for a fraction of that, often using reclaimed or affordable lumber.
The skill matters more than the savings. Each cut, joint, and sanded edge builds confidence you carry into your next project. You learn how wood behaves, how tools cut, and how finishes protect.
You also avoid the weak spots of mass-produced furniture. Cheap benches use staples, particleboard, and thin veneers. Yours uses real wood and solid joinery. That means a piece of DIY furniture that holds up to daily use, outlasts the trends, and earns a permanent spot in your home or yard.
Tools and Materials You’ll Need
Gather everything before you start. Stopping mid-build to find a tool kills your momentum.
- Cut your boards fast — circular saw or miter saw
- Drill pilot holes and drive screws — power drill with bits
- Smooth every surface — sandpaper in 80, 120, and 220 grits
- Keep cuts square — speed square and tape measure
- Hold joints tight — wood glue and 2.5-inch wood screws
- Build the frame — two 2×10 boards for the seat, four 4×4 posts for bench legs
- Brace the structure — two 2×4 boards for aprons and stretchers
- Protect and color the wood — exterior wood stain and a clear sealer
- Clamp parts while glue dries — bar clamps (optional, but they make assembly far easier)
Choose dry, straight lumber. Warped boards fight you the entire build.
Step-by-Step Guide on How to Make a Rustic Wood Bench
Step 1 – Select and Inspect Your Lumber
Start with good wood. Pine, cedar, and Douglas fir all work well for a rustic look. Cedar resists rot, which makes it the right pick for an outdoor bench.
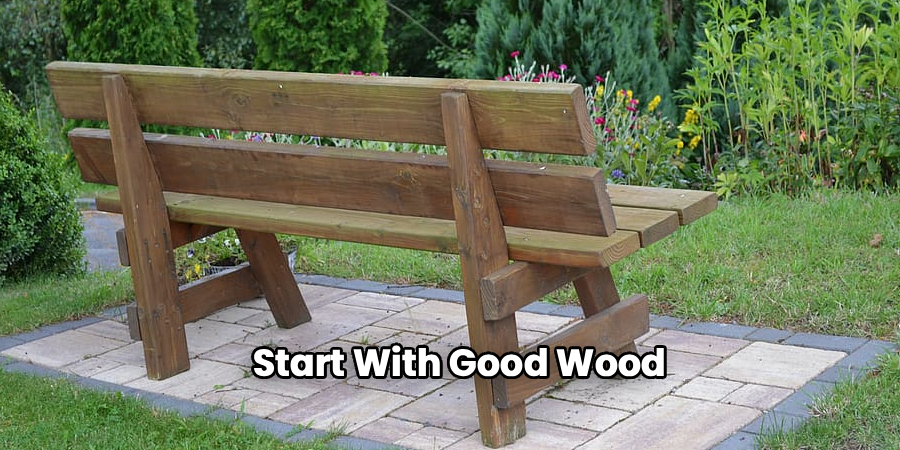
Sight down each board before you buy it. Look for a straight line from end to end. Twisted or cupped boards ruin your joints later, no matter how careful you are.
Press your thumb into the surface. Quality lumber feels firm, not soft or spongy. Knock on it — solid wood gives a clean, sharp sound. A dull thud signals moisture or rot inside.
Knowing how to make a rustic wood bench starts here. Pick honest, dry lumber, and every step after this one gets easier.
Step 2 – Measure and Mark Your Cuts
Decide your dimensions first. A standard bench sits 18 inches high and 48 inches long. Adjust to fit your space.
Measure twice, then mark with a sharp pencil. A speed square keeps your lines dead straight. Crooked marks lead to crooked cuts, and crooked cuts leave gaps you’ll see forever.
Mark all four bench legs at the same length. Even a quarter-inch difference makes the bench rock on the floor. Stack the posts side by side and check that your marks line up across all of them.
Label each piece as you mark it — seat, leg, apron, stretcher. The labels prevent mix-ups once the pile of cut wood grows on your bench top.
Step 3 – Cut the Boards to Size
Set your blade and make clean cuts. Let the saw reach full speed before the blade touches wood. Forcing it produces a rough, splintered edge and a strained, whining motor.
A good cut sounds smooth and steady. The blade glides through and leaves a crisp face with minimal tear-out. Keep your hands clear and the board clamped or braced.
Cut your two seat boards, four posts for the legs, and your aprons and stretchers. Double-check each piece against your measurements before moving on.
Run your finger along each fresh cut. You’ll feel sharp burrs and splinters. That roughness is normal — sanding handles it later. For now, focus on accurate, square edges that fit together tight.
Step 4 – Build the Leg Assemblies
Join your legs to the aprons to form two end frames. A simple mortise and tenon joint adds strength and a traditional look, but pocket screws work just as well for beginners.

Spread wood glue on the contact surfaces. A thin, even layer is enough — too much squeezes out and creates a sticky mess. You should see a small bead form at the seam when you clamp the joint.
Drive your screws while the glue is wet. Pilot holes prevent the wood from splitting, especially near the ends. Listen for the screw to seat firmly without stripping.
Square each frame before the glue sets. Press a speed square into the corner. A true 90-degree angle now means a stable bench later.
Step 5 – Attach the Stretchers
Connect the two leg assemblies with stretchers. These horizontal braces lock the base together and stop the bench from wobbling side to side.
Position one stretcher low between the legs and another higher under the seat line. Apply glue, clamp the parts, and check that both end frames stay parallel.
Drill pilot holes and drive your screws. The frame should feel rigid once you tighten everything. Give it a firm push — a well-built base barely moves. Any rocking means a joint needs another screw or better seating.
Wipe away glue squeeze-out with a damp rag right away. Dried glue blocks stain from soaking in, leaving pale blotches across your finished bench legs and braces.
Step 6 – Mount the Seat Boards
Lay your two seat boards across the base. Leave a small gap of about a quarter inch between them. The gap lets water drain and gives the bench its rustic, planked look.
Center the boards so they overhang each end evenly. Mark your screw positions over the aprons below.
Drill pilot holes through the seat and into the frame. Countersink each hole slightly so the screw heads sit flush or just below the surface. Proud screw heads catch clothing and snag skin.
Drive the screws and test the seat with your full weight. It should feel rock solid, with no flex or creak. A springy seat means you need more fasteners or thicker boards underneath.
Step 7 – Sand Every Surface Smooth
Sanding turns rough lumber into something you want to touch. Start with 80-grit to knock down splinters and saw marks. Move to 120-grit, then finish with 220-grit for a smooth, even feel.
Always sand with the grain. Cross-grain scratches show up clearly once stain hits the wood. Run your palm over each surface — it should feel like satin, with no rough patches or sharp edges.
Pay special attention to the seat and any spot your hands will touch. Round over the front edge slightly for comfort.
Wipe the bench down with a tack cloth or damp rag. Removing every speck of dust now gives you a clean surface that drinks up stain evenly in the next step.
Step 8 – Apply Stain and Sealer
Finish protects your work and brings out the grain. Brush wood stain on in long strokes, following the grain. Work one section at a time so the edges don’t dry before you blend them.
Wait a few minutes, then wipe off the excess with a clean rag. The longer you leave it, the darker the color. Watch the wood shift from pale to rich and warm.
Let the first coat dry fully — usually two to four hours. Add a second coat for deeper color if you want it.
Finish with a clear sealer to lock everything in. For an outdoor bench, use an exterior-grade sealer that blocks moisture and UV damage. Two thin coats outlast one thick one every time.
Common Mistakes to Avoid
Skipping the moisture check on your lumber causes the most damage. Wet wood shrinks and twists as it dries, pulling your joints apart months after you finish. Buy kiln-dried boards or let fresh lumber acclimate indoors for a week before you build.
Rushing the sanding ruins the finish. Beginners often jump straight to stain over rough wood, then wonder why the surface feels gritty and looks uneven. Each grit removes the scratches left by the one before it. Skip a grade, and the marks stay visible under the color.
Forgetting pilot holes splits your wood, especially near board ends. Driving a screw straight into solid lumber forces the fibers apart. A quick pilot hole prevents the crack and keeps your joints tight.
Applying stain too thick is another frequent error. Stain colors wood by soaking in, not by sitting on top. Leaving excess on the surface creates a sticky, blotchy film that never fully dries. Wipe it back, always.
Finally, ignoring squareness during assembly produces a bench that rocks. Check every corner with a square before the glue sets.
Expert Tips
Pre-finish your boards before final assembly when you can. Staining the seat planks separately lets you coat the edges and gaps that disappear once the boards sit close together. The seams stay protected, and water never reaches bare wood.
Raise the grain before your final sand. Wipe the wood with a damp rag, let it dry, then sand with 220-grit. The water lifts tiny fibers that would otherwise stand up when stain hits them, giving you a glass-smooth result.
Drill drainage angles into outdoor seat gaps. A slight bevel on the board edges sheds water faster and prevents pooling.
For true rustic character, distress the wood on purpose. A few hits with a chain or the corner of a hammer add age and depth that store-bought furniture can’t fake.
Frequently Asked Questions
What Type of Wood Is Best for a Rustic Bench?
Cedar and pine top the list. Cedar resists rot and insects, which makes it ideal for outdoor use. Pine costs less and stains beautifully for indoor benches. Douglas fir offers strength at a moderate price. For a true reclaimed look, salvaged barn wood or old oak adds authentic age and character to your rustic bench design.
How Long Does It Take to Build a Wood Bench?
Plan for one full day. A beginner needs four to six hours for cutting, assembly, and sanding. Staining and sealing add another day, since each coat must dry before the next. Working with help and sharp tools speeds things up. Don’t rush the finish — drying time protects the quality of your final result.
Do I Need Advanced Tools to Build a Bench?
No. A circular saw, a power drill, sandpaper, and a square cover the essentials. You don’t need a workshop full of machines. Mortise and tenon joints look impressive, but pocket screws and wood glue build a bench just as sturdy. Start with basic tools, master the fundamentals, and add equipment as your skills grow.
How Do I Keep My Outdoor Bench From Rotting?
Seal it well and reseal it yearly. Use rot-resistant wood like cedar, apply an exterior-grade sealer, and coat every surface, including the bottom of the legs. Keep the bench off bare ground where moisture collects. Leave drainage gaps between seat boards so water runs off instead of pooling. Maintenance is the difference between five years and twenty-five.
Can I Build a Bench Without Screws?
Yes, traditional joinery uses no screws at all. Mortise and tenon joints, secured with wood glue and dowels, create a connection stronger than the wood around it. These joints take more skill and patience to cut. For your first build, screws plus glue deliver excellent strength with far less effort and frustration.
Conclusion
You now have everything you need to build a bench that lasts. Pick straight, dry lumber. Measure twice and cut clean. Square your joints, sand through every grit, and finish with stain and a quality sealer. Each step builds on the last, and each one rewards your patience.
The real value goes beyond the finished piece. You’ve learned to read wood, cut accurately, and protect your work — skills that carry into every project ahead. A handmade bench proves what you can do with basic tools and a little focus.
Now that you know how to make a rustic wood bench, put it to use. Build one for your entryway, your garden, or your front porch. Choose your boards, set up your space, and start cutting. The bench you build today will hold up for decades — and you’ll have the satisfaction of knowing you made it yourself.
