
Pulling staples out of wood looks simple until you split the grain and double your repair time. Old furniture, reclaimed pallets, deck boards, and upholstered frames all hide stubborn staples that fight back when you tug. Rush the job and you gouge the surface, snap the staple in half, or leave rusty bits buried in the fibers. The good news: learning how to get staples out of wood takes the right tools and a steady hand, not brute force. With a few cheap tools and the correct angle, you can lift any staple clean and leave the wood ready to refinish. This guide walks you through the full process step by step, from prep to surface repair, so you protect the wood and finish the job once.
Why Removing Staples Cleanly Matters
Sloppy staple removal costs you money and material. Split a board on a reclaimed piece and you lose the part that gave it character. Gouge a furniture frame and you add hours of sanding and filling. Leave a snapped staple buried in the grain and your next saw blade or sander pays the price.
Clean removal protects three things: the wood surface, your tools, and your time. A pallet stripped without splitting becomes usable lumber. A vintage chair frame freed of upholstery staples accepts new fabric without lumps. A salvaged plank with no hidden metal feeds safely through a planer.
Master this skill and you extend the life of every piece you touch. You save the wood. You save the project. You build the confidence to take on bigger repairs.
Tools and Materials You’ll Need
Gather everything before you start. The right tools prevent half the damage beginners cause.
- Lift staples fast: a dedicated staple remover tool or upholstery staple puller
- Grip broken or flush staples: needle-nose pliers and end-cutting pliers
- Pry stubborn staples: a flathead screwdriver or small pry bar
- Protect the surface: a thin scrap of wood or a plastic putty knife as a fulcrum
- Shield your hands and eyes: work gloves and safety glasses
- Catch loose metal: a magnet or small tray for collected staples
- Repair the wood after: wood filler, fine-grit sandpaper, and a tack cloth
- Optional convenience: a pair of locking pliers (Vise-Grips) for staples that refuse to budge
Most of these cost under $20 total. Buy a real staple remover if you strip furniture often — it pays for itself on the first project.
Step-by-Step Guide on How to Get Staples Out of Wood
Step 1 – Inspect and Map the Staples
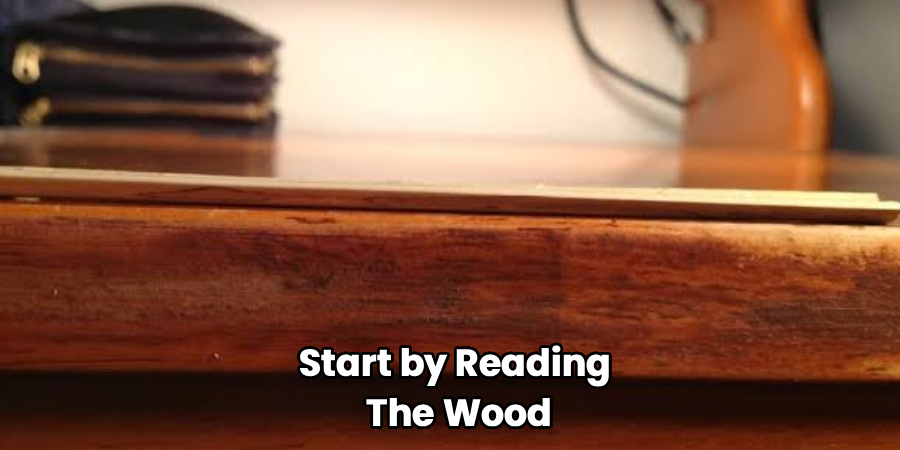
Start by reading the wood. Run your fingers across the surface and feel for raised crowns, snapped legs, and flush-set staples hiding under paint or fabric. Good light matters here — angle a lamp low across the surface and the shadows reveal every piece of metal.
Note which staples sit proud and which sit flush. Proud staples come out easy. Flush ones need coaxing. Mark the tricky spots with a pencil so you work in order instead of jumping around.
Tap each staple lightly with your screwdriver. A solid tap means the metal is intact. A crumbly, flaking sound means rust, and rusted staples snap fast. Knowing this before you pull saves you from surprises mid-job.
Step 2 – Choose the Right Tool for Each Staple
Match the tool to the staple, not the other way around. A wide upholstery staple with a visible crown lifts cleanly with a dedicated staple remover. A thin, deep-set staple responds better to needle-nose pliers worked under one leg.
Pick up the staple remover and feel its forked tip. That fork slides under the crown and rocks the staple up with leverage instead of force. For broken staples with no crown left, switch to end-cutting pliers — their jaws bite the leg flush to the wood.
Keep a flathead screwdriver close for prying and a magnet nearby for cleanup. Learning how to get staples out of wood comes down to this matching step. The right tool turns a fight into a clean lift.
Step 3 – Position Your Fulcrum to Protect the Surface
Leverage damages wood when you pry against bare grain. Stop that before it starts. Slide a thin scrap of wood or a plastic putty knife under your tool so the pressure lands on the scrap, not the surface you want to save.
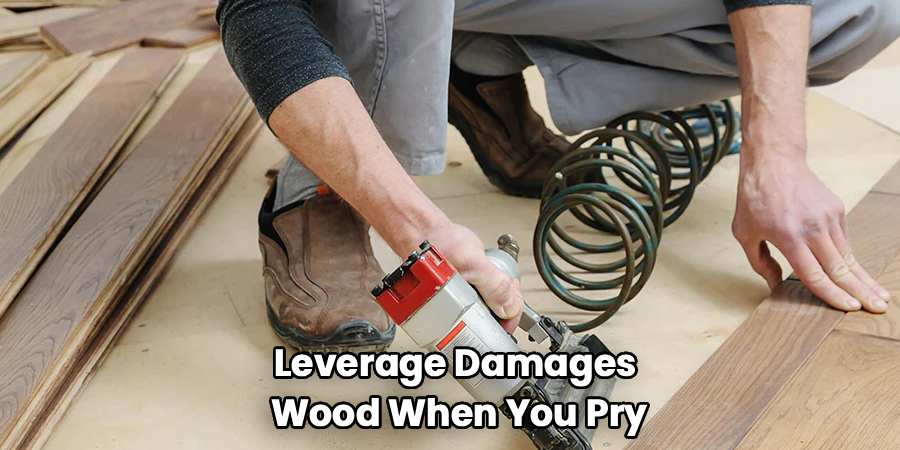
Set the fulcrum right beside the staple. As you rock the tool back, the scrap absorbs the downward force and spreads it wide. You hear a soft creak as the staple releases instead of the sharp crack of splitting fibers.
This single move separates clean work from gouged work. Skip it and your screwdriver leaves a crescent dent every time. Use it and the surface stays flat. Take the extra five seconds — your finish sanding shrinks to almost nothing.
Step 4 – Work the Tool Under the Staple Crown
Slide the forked tip or plier nose under the crown at a low angle. Push gently until you feel the metal catch. Force it and you’ll bend the staple flat against the wood, making the rest of the job harder.
Once seated, rock the tool back slowly. Listen for a faint metallic squeak as the legs pull free of the grain. That sound means the staple is lifting evenly on both sides — exactly what you want.
If only one leg lifts, stop. Reset the tool on the stuck side and work that leg up to match. Even pressure keeps the legs straight and stops them from snapping below the surface. Patience here prevents the buried-metal problem that ruins blades later.
Step 5 – Lift the Staple Straight Out
With both legs loosened, pull the staple straight up in line with how it went in. Angle the pull and you risk widening the holes or breaking a weakened leg. Straight and steady wins.
You’ll feel resistance ease as the legs clear the fibers, then a clean release. The staple should come out whole, both legs intact, leaving two small puncture holes behind. Drop it straight into your magnet tray so it never ends up underfoot or back in the wood.
Run your thumb over the spot. Smooth means success. A raised splinter means the grain lifted with the staple — press it back down now while the fibers are still flexible, before they dry and break off.
Step 6 – Handle Broken and Flush Staples
Some staples snap and leave a leg buried with no crown to grab. Don’t dig at it with a screwdriver — you’ll only crater the wood. Reach for needle-nose or end-cutting pliers instead.
Pinch the exposed stub as low as you can, right against the surface. Roll the pliers slowly to one side, wrapping the metal around the jaw like winding a spring. The leg backs out of the hole as you roll.
If nothing shows above the surface, press the pliers’ edge into the fibers around the metal to expose a few millimeters, then grip and roll. Knowing how to get staples out of wood when they break is what separates a finished job from one with hidden metal waiting to wreck your next cut.
Step 7 – Clean Out the Holes and Check for Debris
Every removed staple leaves two holes that may hold rust flakes, splinters, or snapped metal tips. Clear them before you move on. Blow out the dust, then run a magnet over the surface to catch any fragments you missed.
Look closely at each hole under your low light. A dark glint deep inside means a broken tip is still lodged there. Pick it free with the tip of your needle-nose pliers or a thin awl.
Press loose splinters back into place with a dab of wood glue while the wood is open. This is the moment to catch problems — once filler goes in, hidden metal stays hidden. A clean, debris-free hole sets up a flat, strong repair.
Step 8 – Fill, Sand, and Repair the Wood Surface
Fill the holes to finish the wood surface repair. Press wood filler firmly into each puncture with a putty knife, slightly overfilling so it sits proud of the surface. Match the filler tone to your wood if you plan to stain rather than paint.
Let it cure fully — usually 30 minutes to a few hours, depending on the product. Rushing the sand step drags soft filler and leaves smears.
Once hard, sand with fine-grit sandpaper, moving with the grain in long, even strokes. You’ll feel the surface flatten under your hand and watch the patch disappear into the surrounding wood. Wipe clean with a tack cloth. Run your palm across the area — smooth, level, and ready for stain or paint means you nailed it.
Common Mistakes to Avoid
The biggest mistake is prying against bare wood with no fulcrum. Every pry against the surface leaves a crescent dent, and those dents stack up fast across a furniture frame or pallet. Slip a scrap under your tool every single time. It costs five seconds and saves an hour of sanding.
The second mistake is pulling at an angle. When you yank a staple sideways, you widen the holes, bend the legs, and snap weakened metal below the surface. Pull straight up, in line with how the staple was driven, and let the legs slide out clean.
A third trap is ignoring rusted staples. Rust makes metal brittle, so a hard tug snaps the leg and buries it. Test each staple first — if it flakes or crumbles, work slowly with pliers and expect breakage.
Fourth, people forget to collect the metal. Loose staples on a workbench end up in fingers, shoes, or back in the wood. Keep a magnet tray within reach and drop each one in as you go.
Finally, many skip the hole check before filling. Filler hides broken tips, and hidden metal destroys saw blades and sanders later. Clear every hole first.
Expert Tips
Heat loosens stubborn staples that fight every other method. Hold a heat gun a few inches from a rusted staple for ten seconds — the slight expansion breaks the bond between metal and grain, and the staple lifts with half the effort.
Work in rows, not at random. Strip an upholstered frame edge by edge so you never miss a hidden staple under folded fabric. A missed staple under new upholstery shows as a lump and forces a redo.
Sharpen the tip of an old flathead screwdriver on a grinder to make a custom staple lifter for thin, deep-set staples. The thinner edge slides under crowns that a stock screwdriver can’t reach.
For valuable antiques, photograph the staple pattern before you pull. It tells you exactly how to reattach period-correct upholstery later.
Frequently Asked Questions
What Is the Best Tool to Remove Staples From Wood?
A dedicated staple remover or upholstery staple puller is the best tool for most jobs. Its forked tip slides under the crown and lifts with leverage instead of force. For broken or flush staples, switch to needle-nose pliers or end-cutting pliers, which grip metal close to the surface. Keep a flathead screwdriver handy for prying with a fulcrum underneath.
How Do I Remove a Staple That Broke Off in the Wood?
Grip the exposed stub with needle-nose or end-cutting pliers as low to the surface as possible, then roll the pliers to one side to wind the leg out. If no metal shows, press the plier edge into the fibers around the staple to expose a few millimeters first. Avoid digging with a screwdriver, which craters the wood and leaves the metal buried deeper.
Can I Remove Staples Without Damaging the Wood Surface?
Yes. Slide a thin scrap of wood or a plastic putty knife under your tool as a fulcrum so prying pressure lands on the scrap, not the grain. Pull each staple straight up rather than at an angle. Work rusted staples slowly to prevent snapping. These three habits remove staples cleanly and leave the surface flat and ready to refinish.
How Do I Fix the Holes Left After Removing Staples?
Press wood filler firmly into each hole with a putty knife, overfilling slightly so it sits proud. Let it cure fully, then sand with fine-grit sandpaper along the grain until the patch sits flush. Wipe with a tack cloth. Match the filler tone to your wood if you plan to stain. The repaired area should feel smooth and disappear into the surrounding surface.
Why Do Staples Split the Wood When I Pull Them?
Staples split wood when you pull at an angle, skip a fulcrum, or yank rusted metal too hard. Sideways pulls widen the holes and lift the grain. Prying against bare wood concentrates force on one spot. Rusted legs snap and tear fibers. Pull straight up, use a fulcrum every time, and work slowly on corroded staples to keep the grain intact.
Conclusion
Clean staple removal protects your wood, your tools, and your time. The whole process comes down to a few clear habits: inspect first, match the tool to the staple, set a fulcrum, pull straight up, and check every hole before you fill. Follow that order and you lift staples whole, keep the grain intact, and leave a surface ready for stain or paint.
The skill pays off on every project — reclaimed pallets become usable lumber, vintage frames take new upholstery without lumps, and salvaged boards feed safely through your tools. No more split grain. No more buried metal. No more redoing work you already finished once.
Now you know how to get staples out of wood the right way, from the first inspection to the final sanding. Grab your staple remover, set your fulcrum, and work the next piece slow and steady. The wood will reward your patience, and your next project starts on solid, clean material.
