
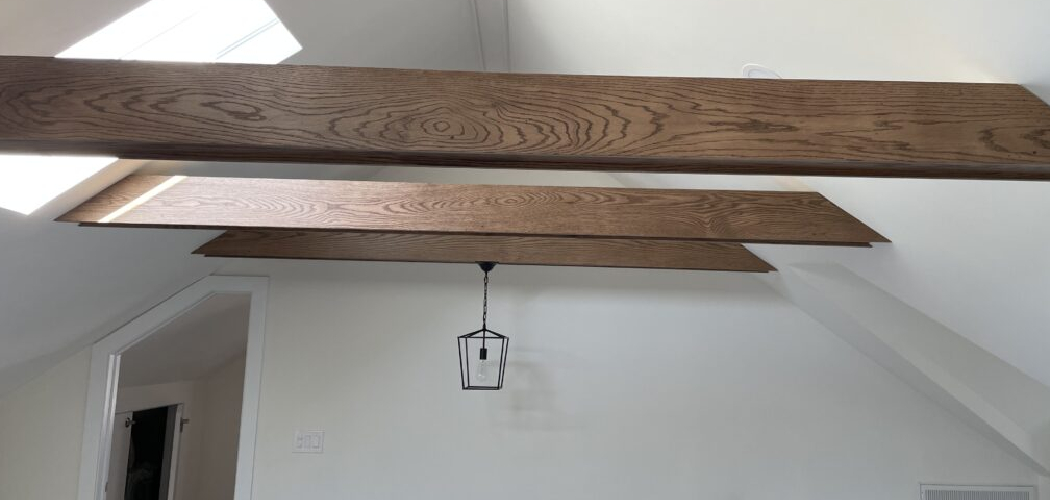
Those rustic ceiling beams you admire in farmhouse kitchens and cozy cabins? Most of them are fake. And that’s good news for your wallet and your back. Real timber is heavy, expensive, and a nightmare to lift overhead. Faux beams give you the same warm, hand-hewn character at a fraction of the cost and effort.
Learning how to make faux wood beams is one of the most rewarding weekend projects a beginner can tackle. You build a lightweight, hollow beam from simple boards, add convincing wood grain texture, then mount it to your ceiling or wall. The result looks solid enough to fool a carpenter.
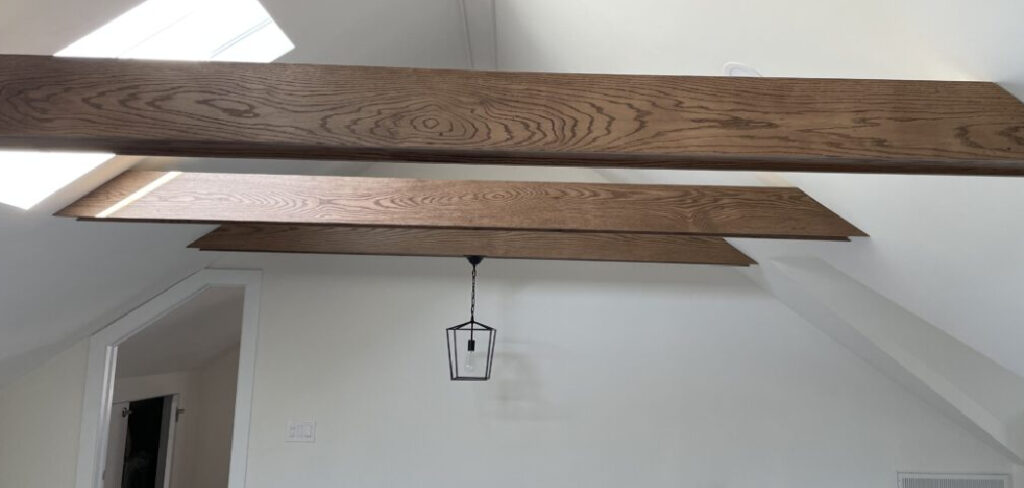
This guide walks you through every step, from measuring your space to applying the final stain, so you can transform a plain room with confidence.
Why Faux Wood Beams Matter
Real structural beams can cost hundreds of dollars each, and that’s before you factor in the labor to hoist them into place. Faux beams flip that math. You can build a beautiful decorative beam for a fraction of the price using basic lumber from your local store.
The skill also builds real confidence. Once you measure, cut, and assemble your first beam, you’ll trust yourself with bigger projects. You learn how wood behaves, how stain soaks into grain, and how to hide a seam like a pro.
There’s a practical safety win too. A hollow beam weighs a few pounds instead of a hundred. That means easier handling, simpler mounting, and far less risk of a dangerous overhead failure. You get the charm of timber without the hazard or the budget hit.
Tools and Materials You’ll Need
Gather everything before you start. A smooth project depends on having the right gear within reach.
- Three boards per beam (pine, cedar, or MDF) to form a U-shaped hollow channel
- Tape measure and pencil for accurate marking
- Circular saw or miter saw for clean, straight cuts
- Wood glue and finish nails to join the boards
- Nail gun or hammer for assembly
- Wire brush to carve realistic wood grain texture
- Wood stain or paint finish in your chosen color
- Foam brushes and clean rags for applying finish
- Mounting blocks (cleats) and screws for installation
- Stud finder to locate solid anchor points
- Sandpaper (120 and 220 grit) to smooth rough edges
- Optional: orbital sander to speed up smoothing and save your hands on larger jobs
Step-by-Step Guide on How to Make Faux Wood Beams
Step 1 – Measure Your Space and Plan the Beam
Start by measuring the length of your ceiling or wall where the beam will sit. Write down the exact span, then decide how wide and tall you want the finished beam to look. A common size is 6 inches wide by 4 inches tall.
Run your tape measure twice. Ceilings are rarely perfectly square, so check both ends. Note any slope or dip, since these affect how your beam meets the surface.
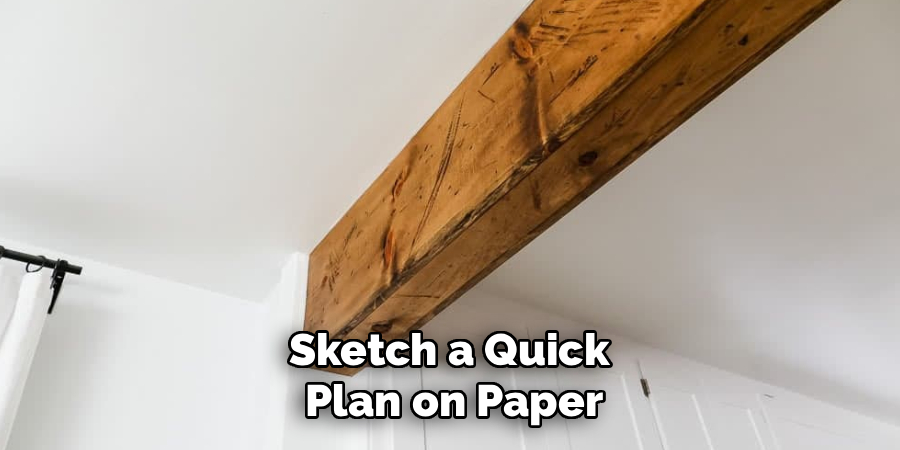
Sketch a quick plan on paper. Mark where each beam goes if you’re installing several. Spacing them evenly matters for that authentic timber-frame look. Learning how to make faux wood beams begins here, with patient measuring. Rushed numbers lead to gaps you’ll see every time you look up.
Step 2 – Cut the Boards to Size
Set up your saw on a stable surface. Cut three boards for each beam: one wide face board for the bottom and two narrower side boards. Together they form a hollow U-shaped channel, like an upside-down trough.
Measure twice, cut once. Mark your line with a pencil, then guide the saw slowly. You’ll hear a clean, steady whir when the blade tracks straight. A wobbly, screeching cut usually means you’re forcing it or the blade is dull.
Wear safety glasses and keep your fingers clear. Sawdust will pile up fast, so work in a ventilated spot. Once cut, line up the pieces to confirm they fit snugly. The two side boards should sit flush against the edges of the bottom face board.
Step 3 – Carve Realistic Wood Grain Texture
This step turns plain lumber into convincing timber. Drag a stiff wire brush along the grain of each board, pressing firmly. You’ll feel the soft fibers tear away while the harder grain stays raised. That contrast creates the weathered ridges real beams have.
Brush in long, confident strokes that follow the grain direction. Short, random scratches look fake. You want the texture to feel rough under your palm, with subtle valleys and peaks.
For deeper character, gouge a few shallow dents with a chisel or screwdriver. Add the occasional fake nail hole. Step back often to check your work. Done right, the surface catches light unevenly, just like aged wood. Done wrong, it looks scrubbed and uniform.
Step 4 – Sand and Smooth the Edges
Texture is good, but splinters are not. Run 120-grit sandpaper lightly over the carved surface to knock down the sharpest fibers without erasing your grain. The wood should feel rough yet safe to touch.
Pay extra attention to the cut edges and corners. These get handled during mounting, so smooth them with 220-grit until your finger glides across without catching.
If you have an orbital sander, use it on the flat areas to save time. For the textured face, stick with hand sanding so you keep control. Wipe away all dust with a dry rag when finished. A clean surface helps stain and paint finish absorb evenly. Skip this and you’ll see blotchy patches later that no amount of staining can fully hide.
Step 5 – Assemble the Hollow Beam
Now join your three boards into one hollow beam. Run a bead of wood glue along the edges where the side boards meet the bottom face board. Press them together to form that U-shaped channel.
Secure each joint with finish nails every 8 to 12 inches. A nail gun makes this fast, but a hammer works fine with patience. Listen for a solid thunk as each nail seats. A hollow, tinny sound means you missed the wood beneath.
Wipe off any glue that squeezes out before it dries. Dried glue blocks stain and leaves shiny spots. Check that the corners line up cleanly. The open side of the U faces up, since that’s the part you’ll mount against the ceiling, hidden from view.
Step 6 – Apply Stain or Paint Finish
Choose your color and test it on a scrap piece first. Stains soak differently into textured wood, so a sample saves surprises. Dip a foam brush and work the finish into every grain valley you carved.
Wipe back excess with a clean rag after a few minutes. This pulls color from the high spots and leaves it dark in the recesses, mimicking natural aging. The contrast brings your wood grain texture to life.
For a painted look, brush on primer first, then two thin coats of your paint finish. Let each coat dry fully. You’ll smell the finish as it cures, so keep windows open. A glossy, even sheen signals good coverage. Streaks or bare patches mean you need another pass.
Step 7 – Install Mounting Blocks
The secret to a strong faux beam is hidden support. Use a stud finder to locate the ceiling joists or wall studs along your beam’s path. Mark each solid anchor point with a pencil.
Cut mounting blocks (also called cleats) from scrap lumber. These must fit snugly inside the hollow channel of your beam. Screw them directly into the studs or joists, spacing them every 16 to 24 inches.
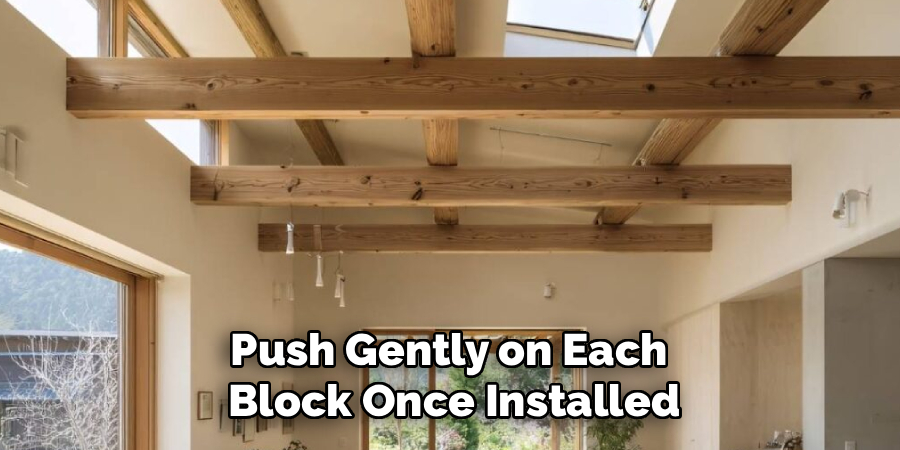
Push gently on each block once installed. It should not budge. A loose cleat means a sagging beam later, so drive your screws deep into solid framing. This is where the difference between structural vs. decorative work shows. Your beam is decorative, but the cleats holding it must be rock solid and properly anchored.
Step 8 – Mount the Beam and Finish Up
Lift your hollow beam and slide it over the mounted cleats. The blocks should fit inside the open channel like a glove. Have a helper steady the other end if the beam is long.
Drive finish nails or screws up through the sides of the beam into the cleats. Angle them slightly so they grip well. You’ll feel the beam pull tight against the ceiling or wall as you fasten.
Fill any visible nail holes with matching wood filler, then dab on a touch of stain to blend. Check the seams where the beam meets the surface. Knowing how to make faux wood beams that look seamless comes down to this final cleanup. Caulk small gaps with a color-matched filler for a flawless, built-in appearance.
Common Mistakes to Avoid
The biggest mistake beginners make is rushing their measurements. Ceilings dip, walls bow, and what looks straight rarely is. If you cut your boards based on a single measurement, you’ll end up with gaps at one end that ruin the illusion. Always measure both ends and the middle, then cut to the longest point and trim down.
Another frequent error is overdoing the wood grain texture. Aggressive brushing or carving deep, uniform grooves makes the beam look manufactured rather than weathered. Real timber wears unevenly, so vary your pressure and leave some areas smoother than others.
Skipping the stud finder is a dangerous shortcut. Mounting your cleats into drywall alone guarantees a sagging or falling beam. Always anchor into joists or studs, no exceptions. Your beam may be lightweight, but loose hardware still fails.
Finally, many people apply stain without wiping it back. Leaving the finish heavy and uniform erases the depth that makes faux beams convincing. Wipe the high spots so color settles into the carved valleys. That contrast is what sells the look as genuine aged wood.
Expert Tips
A pro always builds the beam slightly oversized, then scribes it to fit the ceiling’s exact contour. Hold the beam up, trace the ceiling line onto the wood, and sand to match. This kills gaps that beginners caulk over.
Mix two stain colors for richer depth. A base coat of medium brown with a darker glaze wiped into the grain reads as decades-old timber rather than a single flat tone.
Pre-finish your boards before assembly when possible. Staining flat pieces is faster and reaches every corner. You’ll only need light touch-ups on the joints afterward.
Lastly, use polyurethane foam filler sparingly inside large hollow beams to deaden the empty drum sound. Tap a finished beam and it should sound solid, not hollow. That small detail fools even sharp-eyed visitors.
Frequently Asked Questions
Are Faux Wood Beams Strong Enough to Hold Weight?
Faux beams are decorative, not structural, so they shouldn’t carry heavy loads. They’re built hollow from lightweight boards and mounted to cleats anchored in your ceiling joists. You can hang a light pendant or small decoration if you screw directly into a cleat, but never rely on a faux beam for real structural support. For anything heavy, anchor into the framing itself.
What Wood Is Best for Building Faux Beams?
Pine is the most popular choice because it’s affordable, easy to cut, and takes stain beautifully. Cedar resists moisture and works well in humid rooms. MDF offers a smooth surface for a painted finish but won’t show natural grain. For a rustic, stained look with visible wood grain texture, pine or cedar gives you the most authentic, budget-friendly results.
How Long Does It Take to Make a Faux Beam?
A single beam takes most beginners a weekend, spread across two days. Cutting and assembly fill the first afternoon. Texturing, sanding, and staining come next, with drying time between coats. Installation usually takes an hour or two per beam once your cleats are mounted. Building several beams at once saves time, since you repeat each step in batches rather than starting over.
Can I Install Faux Beams on a Wall Instead of a Ceiling?
Yes, a wall beam works beautifully and follows the same process. Mount your cleats into the wall studs, then slide the hollow beam over them and fasten. Wall beams add a rustic accent above a fireplace or along a feature wall. The lighter weight makes wall installation even easier than ceiling work, since you’re not fighting gravity overhead the entire time.
Do I Need Special Mounting Hardware for Faux Beams?
You need basic mounting hardware: wood cleats, sturdy screws, and a stud finder to locate solid anchor points. The cleats fit inside the hollow channel and screw into joists or studs. Finish nails or screws then secure the beam to the cleats. No specialized brackets are required for a standard lightweight beam, which keeps your costs low and the installation simple.
Conclusion
Building your own beams is far easier than it looks, and the payoff is huge. You take a few simple boards, carve in character, add a rich stain or paint finish, and transform a flat room into something with warmth and history. Best of all, you do it without the crushing weight or steep price of real timber.
Remember the essentials: measure carefully, texture with a light hand, anchor your cleats into solid framing, and wipe back your stain to build depth. Each step compounds into a finished beam that looks like it’s been there for generations.
Now that you understand how to make faux wood beams, you have the confidence to start your first project this weekend. Begin with a single beam in one room, learn the rhythm of the process, then expand to a full ceiling once you’ve nailed the technique. Grab your tape measure, pick your boards, and give that plain space the rustic charm it deserves. You’ve got this.
