
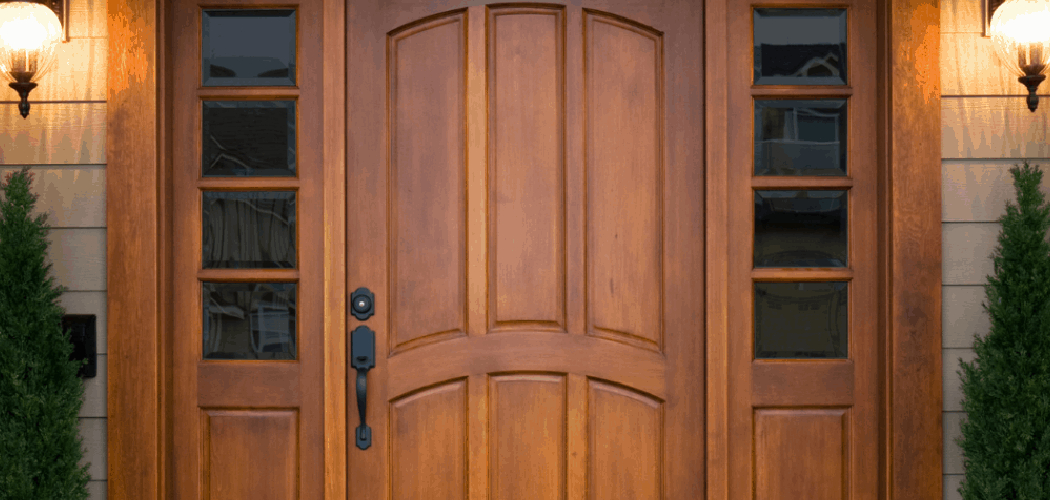
A real wood door costs a small fortune, and the weather eats it alive in a few short years. But that warm, grainy timber look? You can fake it beautifully with paint. With the right technique, a plain metal or fiberglass door turns into something that stops neighbors mid-stroll.
Learning how to paint a front door to look like wood is one of the most satisfying weekend upgrades you can make. You start with a flat base coat, drag a graining tool through a tinted glaze, then seal it tight against the sun and rain. The result reads like genuine oak or mahogany from the curb.
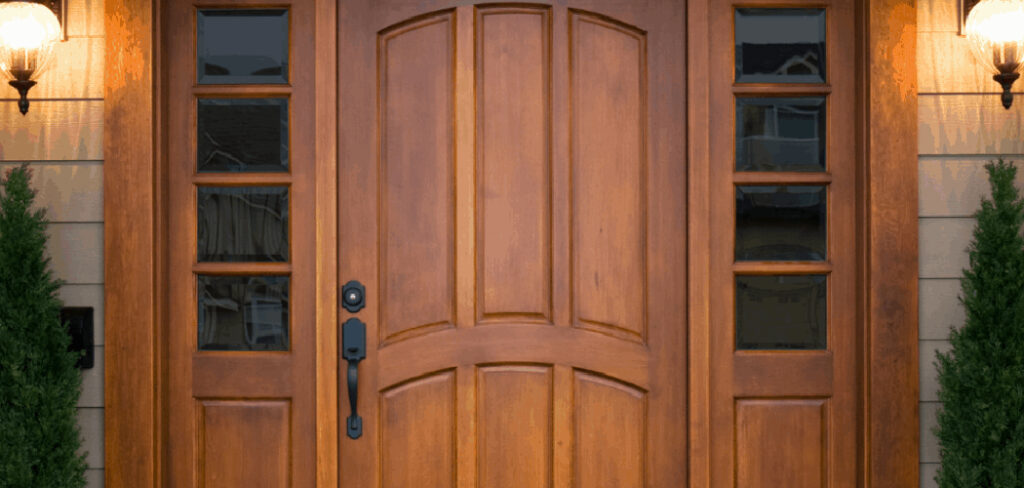
This guide walks you through every step, from prepping the surface to locking in that faux wood finish, so you can boost your home’s curb appeal without the timber price tag.
Why This Matters
A solid wood front door can run well over a thousand dollars, and that’s before installation. Painting a wood grain effect onto your existing door delivers the same rich look for the cost of a few cans and brushes. Your wallet will thank you.
The skill also builds real confidence. Once you master the rhythm of the graining tool, you understand how glaze moves, how color layers, and how light plays across texture. Those lessons carry over to furniture, cabinets, and trim.
There’s a longevity payoff too. A properly sealed faux finish holds up against sun, rain, and slamming better than raw timber, which warps and cracks outdoors. You get the charm of wood without the constant sanding and resealing. That’s a smart trade for any beginner.
Tools and Materials You’ll Need
Gather everything before you lift a brush. A smooth project depends on having your supplies within arm’s reach.
- Screwdriver to remove the door from its hinges and take off hardware
- Painter’s tape and drop cloth to protect glass, hinges, and the floor
- Degreaser and sandpaper (220 grit) to clean and scuff the surface
- Tack cloth to wipe away dust before painting
- Bonding primer suited for metal or fiberglass
- Base coat paint in a light tan or honey tone
- Gel stain or tinted glaze in your chosen wood color
- Wood graining tool (graining rocker) for the grain pattern
- Foam brushes and a wide flat brush for applying coats
- Clear exterior topcoat (polyurethane or polycrylic) to seal
- Optional: a small badger brush to soften and blend the grain for a finer faux wood finish
Step-by-Step Guide on How to Paint a Front Door to Look Like Wood
Step 1 – Remove and Clean the Door
Start by lifting the door off its hinges and laying it flat on two sawhorses. Working horizontally stops drips and gives you full control over the glaze. Unscrew the handle, deadbolt, and any kick plate, then set the hardware in a labeled bag.
Now scrub the surface with a degreaser. Years of fingerprints, grime, and pollen cling to a front door, and paint won’t stick over that film. Wipe in firm circles until your rag comes away clean.
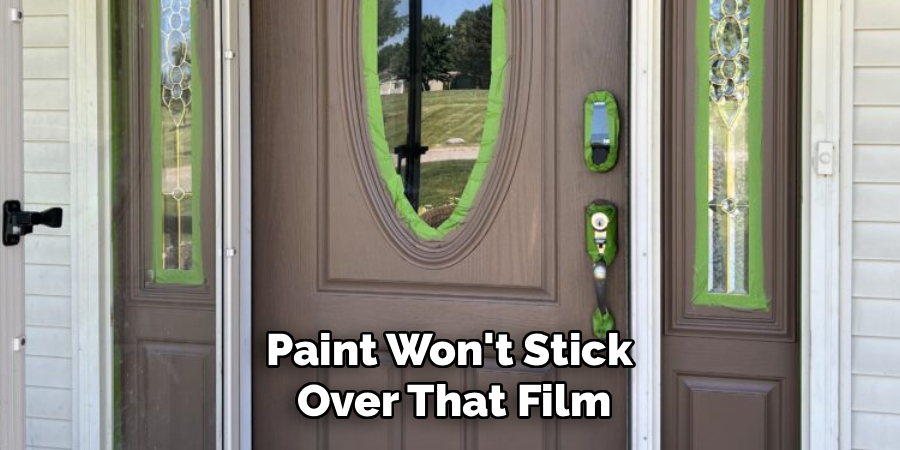
Run your hand across the door once it dries. It should feel slick and free of any greasy patches. If you still feel residue, scrub again. A clean start is the foundation of every convincing wood grain effect.
Step 2 – Sand and Prime the Surface
Scuff the entire door with 220-grit sandpaper. You’re not stripping it bare, just dulling the shine so primer can grip. You’ll hear a soft, even scratching sound as you work. A squeak usually means the surface is still too glossy in that spot.
Wipe off every speck of dust with a tack cloth. Drag it slowly and you’ll feel it grab the fine powder. Skip this and your primer traps grit, leaving bumps that ruin the smooth base you need.
Roll or brush on a bonding primer made for your door’s material. Spread it thin and even. A patchy, streaky coat signals you’re rushing. Let it cure fully, usually a few hours, before moving on.
Step 3 – Apply the Base Coat
The base coat sets the lightest tone of your faux wood, so choose a warm tan or honey shade. This is the color that peeks through the grain later, mimicking the pale streaks in real timber.
Brush it on in long, smooth strokes that run the full length of the door, top to bottom. Work in the direction the wood grain would naturally flow. Keep your strokes overlapping slightly so you avoid hard lines.
Watch for a flat, even sheen as it dries. That tells you coverage is solid. Thin spots that show primer underneath mean you need a second coat. Knowing how to paint a front door to look like wood starts with a flawless base, so let it dry completely before the fun part.
Step 4 – Mix and Test Your Glaze
Now for the magic ingredient. Mix your gel stain or tinted glaze to the wood tone you want, whether that’s golden oak, walnut, or deep mahogany. Stir slowly to avoid bubbles, which leave tiny craters in your finish.
Test it first on a scrap board or the door’s hidden edge. Brush a patch, then drag your graining tool through it. This dry run shows how the color reads and how thick to spread it.
The glaze should feel slightly tacky, not runny. Too thin and the grain washes out; too thick and it drags into clumps. Adjust with a splash of glaze medium until it pulls clean ridges. A good test patch saves you from costly mistakes on the real surface.
Step 5 – Brush On the Glaze Coat
Work one section at a time, since glaze starts setting fast. Brush a generous, even layer of your tinted glaze over a single panel or a two-foot stretch of the door. Move quickly but stay calm.
Spread it top to bottom in the grain direction, covering the base coat fully. You want a wet, workable film, not a dry skim. The surface should look glossy and a touch translucent, with the lighter base just visible beneath.
Don’t glaze the whole door at once. If it dries before you drag the grain, you lose the effect and have to wipe it off. Move panel by panel and you keep every section wet and ready for the graining rocker.
Step 6 – Create the Wood Grain Effect
Here’s where your door transforms. Press the wood graining tool against the wet glaze at the top, then slowly drag it straight down while gently rocking it back and forth. That rocking motion carves the cathedral-shaped grain pattern real oak shows.
You’ll hear a soft suction sound as the tool pulls through the glaze. Vary the rocking speed for natural-looking knots and arcs. Repeat in slightly overlapping rows across the panel.
Wipe the tool clean between passes so it doesn’t smear old glaze back on. The grain should look crisp with clear light-and-dark contrast. Muddy, blurred lines mean your glaze is too thick or your tool is loaded with gunk. This step is the heart of how to paint a front door to look like wood.
Step 7 – Soften and Blend the Grain
Fresh grain lines can look a little too sharp and mechanical. A quick blending pass fixes that. Take a dry, soft brush, a badger brush works best, and lightly drag it down through the grain in the same direction.
Use a feather-light touch. You’re softening the edges, not erasing them. The harsh lines melt into subtle gradations, just like the soft transitions in genuine wood grain texture.
Step back and check from a few feet away, the distance people actually view your door from. The grain should look believable and flowing, not like obvious tool marks. If a section looks too busy, a gentle brush pass calms it down. Let this glaze coat dry fully, ideally overnight, before you add any depth or seal it.
Step 8 – Add Depth With a Second Glaze (Optional)
For a richer, more realistic faux wood finish, add a second thin glaze in a slightly darker tone. This builds the layered depth that makes high-end doors look so convincing. One flat color can read fake; two layers read like timber.
Brush the darker glaze sparingly over the dried first coat, concentrating it along panel edges and grooves where shadows naturally gather. Wipe back the excess with a clean rag, leaving color tucked in the recesses.
The contrast should feel subtle and gradual. If the second coat looks heavy or muddy, you’ve used too much, so wipe more away. Done right, the door gains a warm, aged glow. Let this layer cure completely before the final sealing step.
Step 9 – Seal and Reinstall
Protect all your work with a clear exterior topcoat. Choose a polyurethane or polycrylic rated for outdoor use, since your door faces sun, rain, and temperature swings every day. Skipping this step lets the finish fade and peel within months.
Brush on thin, even coats in the grain direction. You’ll see the surface deepen and glow as the sealer goes on. Let each coat dry, then add a second for durability. Two to three coats give the best protection.
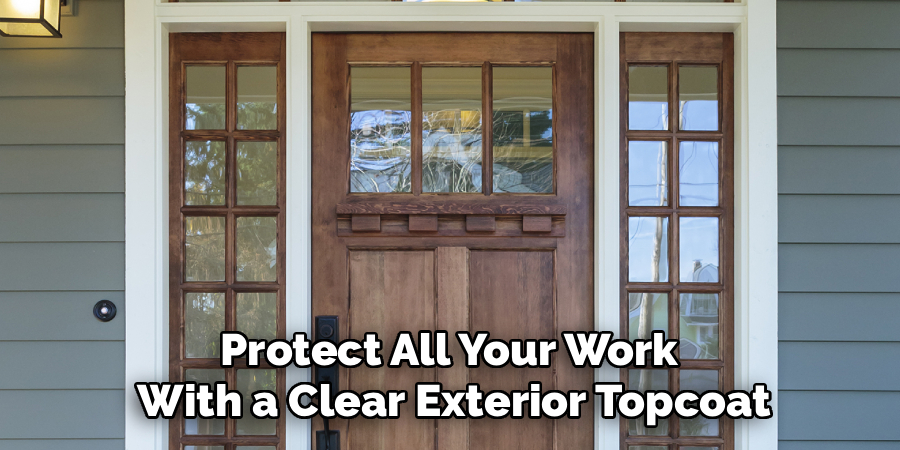
Once fully cured, reattach your hardware and hang the door back on its hinges. Open and close it gently to confirm everything aligns. Stand back on the sidewalk and admire that fresh curb appeal. Your faux wood door now looks like the real thing.
Common Mistakes to Avoid
The biggest mistake is rushing the prep work. Painting over a greasy, glossy surface guarantees peeling, no matter how beautiful your grain looks. Always degrease, sand, and prime first. Those unglamorous steps decide whether your finish lasts five years or five weeks.
Another frequent error is glazing the entire door at once. Glaze sets faster than beginners expect, and once it skins over, the graining tool drags muddy streaks instead of crisp grain. Work one panel or small section at a time so every patch stays wet and workable.
Many people also press too hard with the graining rocker. Heavy pressure gouges through the glaze down to the base coat, leaving bald patches that scream “fake.” Use a light, steady hand and let the tool do the work as it glides through the wet film.
Finally, plenty of folks skip the exterior topcoat to save time. That’s a costly shortcut outdoors. Sun and rain attack unsealed glaze quickly, fading your color and lifting the paint. Always seal a front door with a UV-resistant clear coat, then reapply it every couple of years to keep the look fresh.
Expert Tips
A pro always studies a photo of real wood before starting. Keep an oak or mahogany reference image nearby and match your grain spacing, color, and knot placement to it. Your eye will copy nature far better than guesswork.
Practice the rocking motion on cardboard until it feels automatic. The graining tool rewards rhythm, and ten minutes of practice saves you from a shaky first panel.
Work in the shade on a mild, dry day. Direct sun dries glaze too fast and ruins your working time, while high humidity slows curing to a crawl.
Lastly, vary your grain pattern between panels. Real timber never repeats itself perfectly. Slight differences in arc and spacing from one section to the next sell the illusion completely.
Frequently Asked Questions
Can You Paint a Metal or Fiberglass Door to Look Like Wood?
Yes, both work beautifully with this technique. The key is using a bonding primer made for your door’s specific material, since metal and fiberglass need that extra grip. Once primed, the base coat, glaze, and graining process are identical to painting any surface. Many of the most convincing faux wood doors you’ve admired are actually painted metal or fiberglass underneath.
How Long Does It Take to Paint a Faux Wood Finish?
Plan for a full weekend, spread across two days. Cleaning, sanding, priming, and the base coat fill the first day, with drying time between each stage. Glazing, graining, and blending happen on day two, followed by the sealing coats. Drying and curing eat up most of the clock, so don’t rush. Patience between layers is what gives you a crisp, professional result.
What Kind of Paint Works Best for a Wood Grain Effect?
Use a quality exterior base coat in a light wood tone, paired with a gel stain or tinted glaze for the grain. Gel stains stay workable longer, which gives you time to drag the graining tool cleanly. Always finish with an exterior-rated clear topcoat. This combination handles weather well and holds the rich color that makes the wood grain effect convincing.
Do I Really Need to Remove the Door First?
You don’t have to, but laying the door flat makes a huge difference. Working horizontally stops the glaze from running and gives you better control over the graining tool. If removing it isn’t practical, you can paint it in place, just work in small sections and watch carefully for drips. Removing the hardware first is non-negotiable either way for clean edges.
How Long Will a Painted Wood Grain Finish Last?
With a proper exterior topcoat, expect five to seven years before you need a refresh. Doors facing direct afternoon sun may fade a bit sooner. The good news is touch-ups are simple, since you can spot-repair worn areas and reseal without redoing the whole door. Reapplying a fresh clear coat every two to three years dramatically extends the life of your finish.
Conclusion
Turning a plain door into a rich timber showpiece is far easier than it looks, and the payoff is huge. You clean and prime the surface, lay down a warm base coat, drag a graining tool through tinted glaze, then seal it tight against the weather. Each layer builds toward a faux wood finish that fools the eye from the curb.
Remember the essentials: never skip the prep, work one section at a time, keep a light hand on the graining rocker, and always seal your finished door. Those habits separate a believable grain from an obvious paint job.
Now that you understand how to paint a front door to look like wood, you have everything you need to start this weekend. Pick your wood tone, practice the rocking motion on scrap, and give your entrance the warm, welcoming character it deserves. Your home’s curb appeal is about to get a major upgrade, and you’ll have built it with your own two hands. You’ve got this.
