
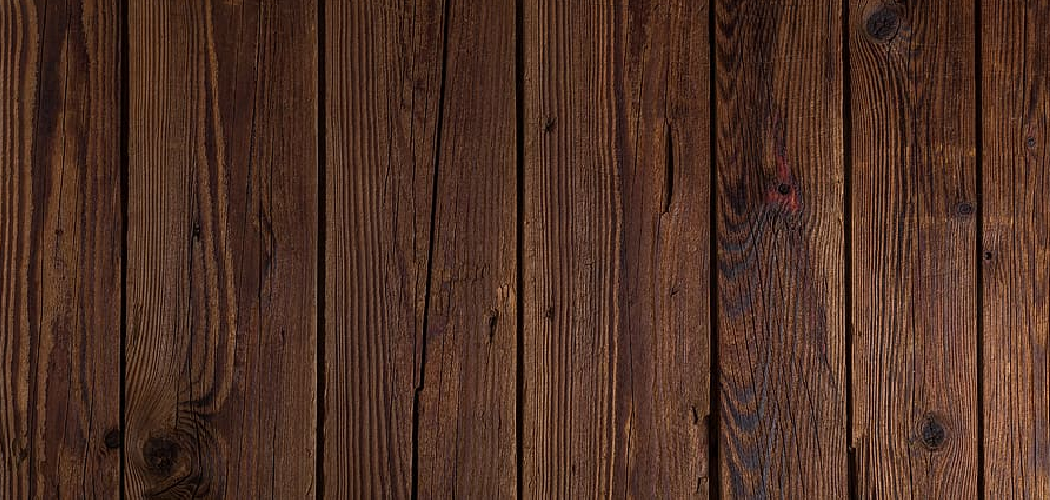
That dark, orange-toned paneling on your walls screams another decade, and tearing it out is messy, expensive work. Good news: a coat of paint transforms it completely. With a little patience, those dated grooves and fake grain turn into bright, modern walls that feel brand new.
Learning how to paint fake wood paneling is one of the cheapest, fastest ways to refresh a tired room. You clean the surface, scuff it lightly, lay down a bonding primer, then roll on color that actually sticks. The faux wood vanishes under crisp, even paint.
The trick is prep. Skip it and your paint peels within weeks. Nail it and the finish lasts for years. This guide walks you through every step, so you can cover that paneling with confidence and skip the costly demolition entirely.
Why This Matters
Ripping out wood paneling and replacing it with drywall can cost thousands once you factor in materials and labor. A few cans of primer and paint cost a tiny fraction of that. You get the same fresh look for the price of a nice dinner out.
The skill also builds real confidence. Once you understand how primer grips a glossy surface and how to fill grooves cleanly, you can tackle cabinets, trim, and laminate furniture with the same know-how. Each project gets easier.
There’s a payoff in avoiding mistakes too. Many beginners paint straight over slick paneling, watch it peel, and start over. Knowing the right prep saves you that frustration and wasted money. You finish once, and it stays looking good for years.
Tools and Materials You’ll Need
Gather everything before you start so you’re not running to the store mid-project. Having your supplies ready keeps the work smooth and fast.
- Degreaser or TSP cleaner to strip grime and oils off the surface
- Sandpaper or sanding sponge (150–220 grit) to dull the shine
- Tack cloth to wipe away every speck of dust
- Painter’s tape and drop cloths to protect floors, ceilings, and trim
- Spackle or wood filler to fill grooves if you want a smooth wall
- Putty knife for applying filler cleanly
- Bonding primer (oil-based or shellac-based) made for slick surfaces
- Quality interior paint in your chosen color and finish
- Angled brush and a foam or microfiber roller for grooves and flat areas
- Paint tray and liners for easy cleanup
- Optional: a paint sprayer for a fast, ultra-smooth finish on large walls
Step-by-Step Guide on How to Paint Fake Wood Paneling
Step 1 – Clean the Paneling Thoroughly
Start by scrubbing every inch of the paneling with a degreaser or TSP cleaner. Faux wood walls collect years of dust, cooking grease, and hand oils, and paint refuses to bond over that invisible film. Work top to bottom in firm, overlapping strokes.
Pay close attention to the grooves, where grime loves to hide. Use an old toothbrush to dig into those narrow channels. You’ll be surprised how dirty your rag gets, even on walls that look clean.
Rinse with clean water and let everything dry completely. Run your palm across the surface afterward. It should feel squeaky and bare, not slick or waxy. That clean, dry base is the single most important part of how to paint fake wood paneling well.

Step 2 – Sand the Glossy Surface
Most fake paneling has a shiny, sealed coating designed to repel moisture, which also repels paint. Your job is to dull that sheen. Scuff the entire surface with 150 to 220-grit sandpaper or a sanding sponge.
You don’t need to sand it bare. A light, even scuffing is enough to give primer something to grab. Listen for a steady, soft scratching sound as you work. A high-pitched squeak means that spot is still too glossy, so go over it again.
Once finished, the paneling should look hazy and matte rather than reflective. Wipe the whole wall with a tack cloth to lift every trace of fine dust. Sanding dust left behind ruins primer adhesion, leaving rough, gritty patches you’ll feel later.
Step 3 – Tape and Protect the Room
Take a few minutes now to save hours of cleanup later. Run painter’s tape along the ceiling line, baseboards, window frames, and any trim that touches the paneling. Press the edges down firmly so paint can’t bleed underneath.
Lay drop cloths across the entire floor, especially below where you’ll be working. Primer and paint splatter more than you expect, and dried drips on hardwood are a pain to remove.
Cover outlets and switch plates too, or remove them entirely with a screwdriver. Tuck the tape right up to the edges for crisp, professional lines. When you peel everything off at the end and see those clean borders, you’ll be glad you didn’t rush this step.
Step 4 – Fill the Grooves (Optional)
Decide now whether you want to keep the paneling’s grooves or create a smooth, drywall-like wall. Both look great, so it comes down to your style. Smooth walls feel more modern, while kept grooves read as a subtle board-and-batten effect.
To smooth them, load a putty knife with spackle or wood filler and press it firmly into each groove. Drag the knife along the channel, then scrape away the excess so it sits flush with the surface.
Let the filler dry, then sand it level until you can’t feel the seam. You may need a second pass, since filler shrinks as it dries. Run your fingers along each line to check for dips before moving on.
Step 5 – Apply a Bonding Primer
This is the step that makes or breaks the whole job. Regular paint slides right off slick paneling, but a quality bonding primer grips tight and gives your color a surface to hold. Choose an oil-based or shellac-based primer for the strongest bond.
Cut in around the edges and grooves with an angled brush first. Then roll the flat areas with a foam or microfiber roller, working in smooth, even passes. The primer goes on thin and may look streaky at first, which is normal.
Watch for full, uniform coverage that hides the old grain and color. Any spots where the faux wood peeks through need a touch-up. Let the primer cure fully, following the can’s dry time, before you add paint.
Step 6 – Sand Lightly and Wipe Down
Once the primer is fully dry, give it a quick, light sanding with fine 220-grit paper. Primer often dries with a slightly rough or pebbly texture, and this pass knocks it smooth. Your paint will glide on far better over it.
Use a gentle touch here. You’re smoothing the surface, not stripping the primer away. Run your hand across the wall as you go and feel for any gritty bumps or raised drips, then sand those flat.
Wipe the entire surface with a tack cloth again to clear away the new dust. The wall should feel smooth and clean, ready for color. Skipping this small step leaves a faintly rough finish that shows under good lighting once the paint dries.
Step 7 – Roll on Your First Coat of Paint
Now for the fun part. Stir your paint well, then cut in around the edges, corners, and grooves with your angled brush. Get into those channels first, since a roller can’t reach all the way down into them.
Switch to your roller for the broad, flat sections. Work in overlapping vertical strokes, keeping a wet edge so the coats blend without visible lines. Don’t overload the roller, or you’ll get drips and uneven texture.
The first coat will look thin and patchy, with primer showing through in places. That’s completely normal, so resist the urge to pile it on. A thin, even coat dries far smoother than a thick one. Let it dry fully before judging the coverage.
Step 8 – Apply a Second Coat for Even Coverage
One coat almost never covers fake paneling completely, especially over dark original colors. A second coat is where your walls finally look rich and uniform. Knowing how to paint fake wood paneling properly means planning for at least two coats from the start.
Apply it exactly like the first: cut in the edges and grooves, then roll the flat areas in smooth, overlapping passes. The surface should now look deep and consistent, with no streaks or thin spots.
Check your work in different lighting before calling it done. Walk around with a lamp or open the blinds, since natural and artificial light reveal missed patches differently. Touch up any thin areas while the paint is still fresh, and you’ll get a flawless, lasting finish.
Step 9 – Remove Tape and Reinstall Fixtures
Timing matters when you pull the tape. Peel it off while the final coat is still slightly tacky, not fully cured. Waiting too long lets the dried paint bond to the tape and tear in jagged lines along your clean edges.
Pull each strip back slowly at a sharp angle, watching the crisp line appear underneath. If any paint starts to lift, slice along the edge with a utility knife to free it cleanly.
Once the tape is off, let everything cure fully before you reattach outlet covers, switch plates, and any hardware. Gently put the room back together and step back. Those once-dated walls now look bright, smooth, and completely transformed. The faux wood is gone for good.
Common Mistakes to Avoid
The biggest mistake is skipping the cleaning and sanding. Paneling’s glossy, sealed coating is built to repel moisture, which means it repels paint just as well. Roll color straight onto that slick surface and it peels off in sheets within weeks. Always degrease and scuff first, no exceptions.
Another common error is using regular wall primer instead of a bonding primer. Standard primer can’t grip a slick faux finish, so your whole project fails at the foundation. Spend a little more on an oil-based or shellac-based bonding primer made specifically for hard, glossy surfaces. It’s the difference between a finish that lasts and one that flakes.
Many beginners also pile paint on too thick, hoping to cover in one heavy coat. Thick paint sags, drips, and dries with an uneven, rubbery texture. Two thin coats always beat one fat one. Be patient between layers.
Finally, plenty of people rush the dry times. Primer and paint need to cure properly to bond and harden. Recoat too soon and you pull up the layer beneath, creating gummy, peeling patches. Read the can, respect the clock, and let each coat do its job before adding the next.
Expert Tips
A pro always tints the primer toward the final color when covering dark paneling. A gray-tinted primer under a deep shade means fewer coats and richer coverage. Ask the paint counter to tint it for you.
Work in good light from the side. Set up a lamp at an angle to the wall, and every drip, holiday, and thin spot jumps out before the paint dries. You’ll catch flaws while they’re still easy to fix.
Choose a satin or eggshell finish over flat. These sheens wipe clean easily and hold up to scuffs, which matters on walls that see daily traffic.
Lastly, keep the room well ventilated. Oil and shellac primers carry strong fumes, so open windows and run a fan to stay comfortable while you work.
Frequently Asked Questions
Do I Have to Sand Fake Wood Paneling Before Painting?
Yes, sanding is essential for a lasting finish. Fake paneling has a glossy, sealed coating that paint can’t grip on its own. A light scuff with 150 to 220-grit sandpaper dulls that shine and gives primer something to hold onto. You don’t need to sand it bare, just enough to remove the sheen. Skip this step and your paint will peel within weeks.
What Kind of Primer Works Best on Faux Wood Walls?
Use an oil-based or shellac-based bonding primer made for slick surfaces. These grip glossy paneling far better than standard water-based wall primer, which struggles to adhere. A quality bonding primer seals the old color, blocks stains from bleeding through, and creates a strong base for your paint. Tinting it toward your final color also reduces how many topcoats you’ll need.
Can I Paint Paneling Without Filling the Grooves?
Absolutely. Painting over the grooves keeps a subtle board-and-batten look that many people love, and it’s far less work. Just clean and prime inside each channel along with the flat areas. If you prefer a smooth, drywall-like wall instead, fill the grooves with spackle, sand them flush, then prime. Both approaches look great, so it comes down to your personal style.
How Many Coats of Paint Does Paneling Need?
Plan for at least two coats of paint over your primer. One coat almost never covers faux paneling fully, especially over dark original finishes. Two thin, even coats give you rich, uniform color without drips or streaks. Let each coat dry completely before adding the next. Dark or heavily grained paneling may occasionally need a third light coat for flawless coverage.
How Long Will Painted Paneling Last?
With proper prep, painted paneling lasts for many years, just like any well-painted wall. The key is the foundation: thorough cleaning, light sanding, and a quality bonding primer. When those steps are done right, the paint bonds tightly and resists peeling or chipping. A durable satin or eggshell finish also wipes clean easily, helping your walls stay fresh through everyday use.
Conclusion
Covering dated paneling is far easier and cheaper than ripping it out, and the transformation is dramatic. You clean the surface, scuff away the shine, lay down a bonding primer, then roll on two thin coats of color. Each step builds toward bright, smooth walls that look nothing like the faux wood you started with.
Remember the essentials: prep decides everything. Never skip the cleaning and sanding, always use a bonding primer, keep your coats thin, and respect the dry times. Those habits separate a finish that lasts for years from one that peels in weeks.
Now that you know how to paint fake wood paneling, you have everything you need to start this weekend. Pick a color you love, gather your supplies, and give that tired room the fresh, modern look it deserves. The work is simple, the cost is low, and the payoff is a space that feels brand new, built with your own two hands. You’ve got this.
