
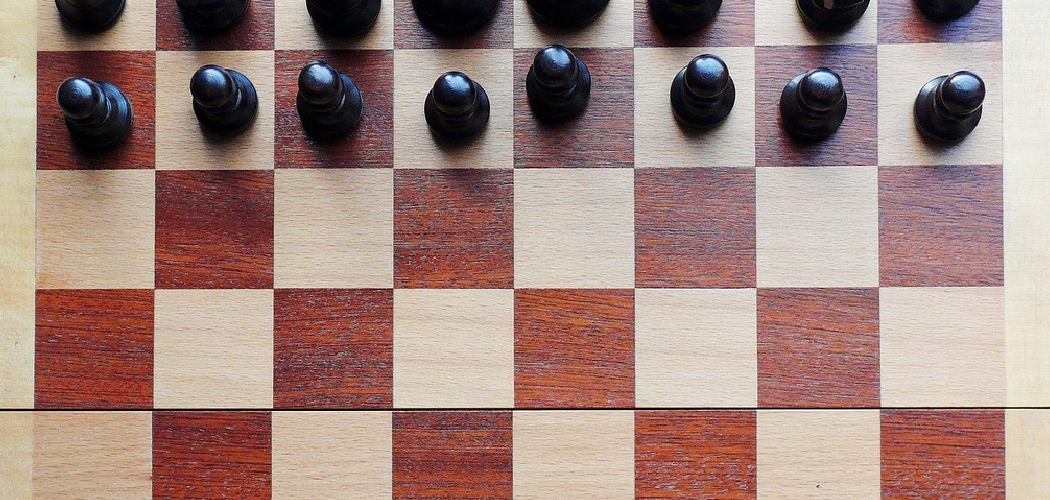
A handmade chess board carries something a store-bought one never will: your time, your craft, and your fingerprints. The alternating light and dark squares, the smooth feel of finished wood under your palm, the satisfying click of a piece landing on a square you cut yourself, it all adds up to a project worth doing.
If you’ve ever wondered how to make wooden chess board pieces fit together with clean, professional-looking squares, you’re in the right place. This project blends precision and patience, and it teaches skills you’ll use again and again.
Don’t worry if you’re new to woodworking. We’ll break everything down into clear, manageable steps. This guide walks you through the entire process, from choosing contrasting wood species to applying the final coat of finish, so you can build a board you’ll be proud to play on.
Why Making a Wooden Chess Board Matters
Building your own chess board does more than fill a weekend. It sharpens core woodworking skills you’ll carry into bigger projects down the road.
You’ll practice accurate measuring, clean crosscutting, tight glue-ups, and patient sanding, all on a project small enough to manage but detailed enough to teach real lessons. Each square demands precision, so you learn to slow down and respect your measurements.
There’s a money-saving angle too. Quality hardwood chess boards sell for a lot, and making one yourself costs a fraction of that price. You control the wood, the size, and the finish.
Most of all, you build confidence. When you see those crisp, alternating squares come together from raw strips of wood, you’ll trust yourself to tackle the next challenge with steadier hands.
Tools and Materials You’ll Need
Gather everything before you start cutting. A smooth workflow depends on having the right gear within reach.
- Two contrasting hardwoods, such as maple and walnut, for light and dark squares
- A table saw for accurate, repeatable rip cuts and crosscuts
- A miter gauge or crosscut sled for square, splinter-free cuts
- Wood glue (a quality PVA glue works well)
- Bar clamps or pipe clamps to hold strips tight during glue-ups
- A measuring tape and a reliable combination square
- A sharp pencil and a marking knife for crisp lines
- Sandpaper in several grits, from 80 up to 220
- A random orbital sander to speed up smoothing
- Wood finish, such as wipe-on polyurethane or Danish oil
- Optional: A drum sander or planer to level your panel quickly and evenly
Keep your work surface clean and your blades sharp for the best results.
Step-by-Step Guide on How to Make Wooden Chess Board
Step 1 – Choose and Prepare Your Wood
Start by picking two woods with strong color contrast. Maple and walnut are a classic pairing, the pale cream against the deep chocolate brown looks stunning once finished.
Run your hand across each board to check for flatness and feel the grain. Look for straight, even grain and avoid knots or warping that can throw off your cuts later.
Mill both boards to the same thickness, around three-quarters of an inch, so your strips line up perfectly. If you have a planer, run each piece through until the surface feels smooth and uniform.
When you knock on well-prepared hardwood, it gives a solid, ringing tap rather than a dull thud. That clean sound tells you the wood is dense and ready for the next stage.
Step 2 – Rip the Wood Into Strips
Now comes the wood strip cutting that forms the heart of your board. Set your table saw fence to cut strips exactly the width you want each square, commonly between one-and-a-half and two inches.
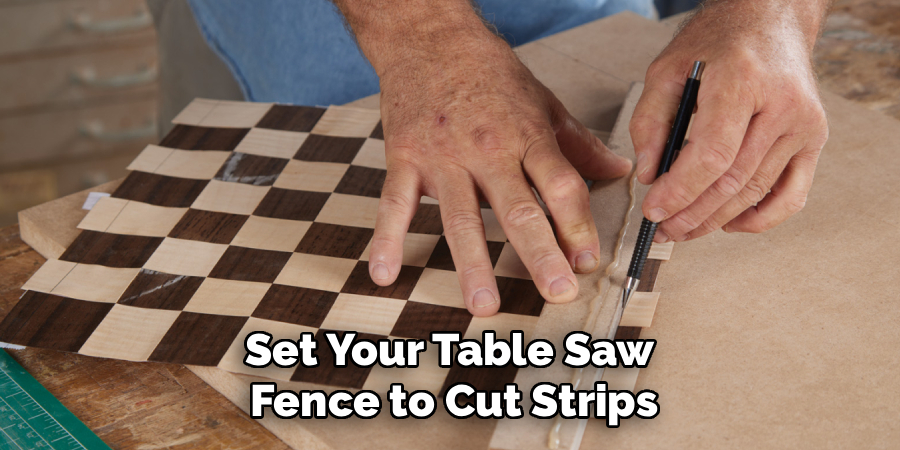
Feed each board through slowly and steadily, keeping firm pressure against the fence. You’ll hear the blade bite cleanly, and the strips should fall away with smooth, splinter-free edges.
Cut an equal number of light and dark strips, plus a couple of spares in case of mistakes. Knowing how to make wooden chess board squares that match perfectly starts right here, with consistent strip widths.
Stack your finished strips and eyeball the edges. If they sit flush with no gaps, your saw setup is dialed in and you’re ready to glue.
Step 3 – Glue the Strips Into a Panel
Lay your strips on edge, alternating light and dark across the width. This first glue-up creates the striped panel you’ll later crosscut into rows.
Spread an even bead of wood glue along each mating edge, then rub the pieces together slightly to spread it. You want a thin, complete film, not a flood that squeezes out everywhere.
Clamp the strips together with bar clamps, alternating clamps above and below to keep the panel flat. Tighten until you see small, even beads of glue squeeze out along the seams.
Wipe away the excess glue with a damp rag before it dries. That sticky film hardens into a stubborn ridge if you leave it, so clean as you go.
Step 4 – Crosscut the Panel Into Rows
Once the glue cures overnight, unclamp your striped panel and scrape off any dried glue. Joint one edge straight so you have a clean reference.
Set your table saw or crosscut sled to slice the panel into rows the same width as your strips. This crosscutting step turns your stripes into individual chessboard squares.
Feed the panel through with steady, square pressure. Each cut should produce a clean row of alternating light and dark blocks, the edges crisp and free of tear-out.
Lay the freshly cut rows side by side. You’ll start to see the checkerboard take shape, and the visual payoff here is genuinely satisfying. Keep all your rows the same width for a flawless 64-square layout.
Step 5 – Offset and Reassemble the Squares
Here’s where the magic happens. Take every other row and shift it over by one square so the colors alternate properly in both directions.
Flip alternating rows end for end, and the light squares will line up against dark ones, forming that familiar checkerboard pattern. Dry-fit the whole thing first, with no glue, to confirm the eight-by-eight grid looks correct.
Step back and scan across the board. Every square should sit diagonally beside its same color, with no two matching colors touching side by side. If something looks off, adjust now before glue enters the picture.
Number the backs of your rows with a pencil so you can reassemble them in the right order during the final glue-up.
Step 6 – Glue the Rows Together
With your layout confirmed, it’s time for the second glue-up. Apply an even bead of glue along the edges where the rows meet, working quickly but carefully.
Press the rows together in order, nudging each square so the seams align tightly. The corners where four squares meet are the spots people notice most, so take extra care to keep those crossing lines crisp.
Clamp the panel gently but firmly, checking that the surface stays flat and the squares don’t slide out of alignment. Watch for those small glue beads telling you the joints are tight.
Let it cure fully overnight. Rushing this stage risks shifted squares and gaps, and patience now means a board you’ll admire for years.
Step 7 – Flatten and Sand the Board
Unclamp your panel and run your fingers across the surface. You’ll likely feel slight ridges where rows meet, and your goal is a perfectly smooth, level board.
If you have a drum sander or planer, use it to flatten the panel fast. Otherwise, start with 80-grit on a random orbital sander, working through 120, 150, and finally 220 grit.
Sand with the grain where you can, moving steadily and letting the tool do the work. The surface should grow smoother and the dust finer with each pass.
When you wipe the board clean and the squares feel glassy under your palm, with sharp color contrast and no scratches catching the light, you’ve sanded enough and you’re ready to finish.
Step 8 – Add a Border and Final Finish
A frame border around the squares lifts your board from good to professional. Miter four strips of contrasting wood to fit the edges, glue them on, then sand the border flush.
Now apply your finish. Wipe-on polyurethane or Danish oil both deepen the wood grain beautifully, making the walnut glow and the maple warm up. Brush or wipe on thin coats, letting each dry before lightly sanding and adding the next.
Watch the colors come alive as the finish soaks in. That rich, even sheen is your reward for careful work.
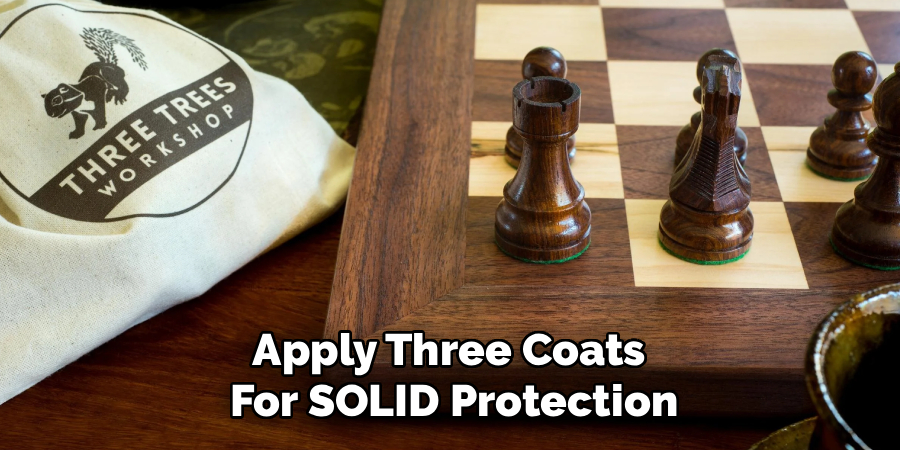
Apply three coats for solid protection against spills and wear. Once the final coat cures, run your hand across a board you built from scratch and enjoy the moment.
Common Mistakes to Avoid
The biggest mistake beginners make is inconsistent strip widths. If your rip cuts vary even slightly, your squares won’t line up, and the misalignment compounds across the board until the whole grid looks crooked. Set your saw fence carefully and test on scrap before committing to your good wood.
Another frequent error is rushing the glue-ups. Wood glue needs time to cure, and unclamping too early leads to weak joints and shifting squares. Give each glue stage a full night, even when you’re eager to see the finished board.
Many people also skip the dry-fit before the final glue-up. Without it, you risk discovering an alignment problem only after the glue has set, when it’s far too late to fix. Always lay everything out dry and confirm the pattern first.
Skimping on sanding is a quiet mistake that shows up later. Leftover ridges and scratches become glaringly obvious once the finish goes on, since the sheen highlights every flaw. Work patiently through each grit.
Finally, ignoring grain direction during sanding leaves cross-grain scratches that no finish can hide. Sand with the grain whenever possible for a clean, professional surface.
Expert Tips
Choose woods with similar hardness and movement. Pairing a stable hardwood with one that expands and contracts very differently can stress your glue joints over the seasons, leading to cracks. Maple and walnut work so well partly because they behave similarly.
Always cut a few extra strips. Mistakes happen, and having spares saves you from re-milling a fresh board halfway through. A pro never starts with the bare minimum.
Mind the end grain. Squares cut from crosscutting expose end grain that drinks up finish faster than face grain. Apply a thin sealer coat first so the end-grain squares don’t turn darker than the rest.
For dead-flat results without a planer, sand on a known-flat surface using a sanding block. Patience and a reference surface beat brute force every time, and your board will sit perfectly level on the table.
Frequently Asked Questions
What Are the Best Wood Species for a Chess Board?
Maple and walnut top most lists thanks to their strong color contrast and similar workability. Other great pairings include cherry with hard maple, or padauk with ash for a bolder look. Choose two hardwoods with clear light-and-dark contrast and comparable hardness, so they sand evenly and hold their glue joints through seasonal humidity changes without cracking or separating.
What Size Should a Wooden Chess Board Be?
Standard tournament boards use squares between two and two-and-a-half inches, giving an overall playing area of roughly sixteen to twenty inches across the 64-square layout. Match your square size to your chess pieces; the king’s base should fit comfortably within one square. Add a border, and your finished board dimensions typically land around eighteen to twenty-two inches square.
Do I Need a Table Saw to Make One?
A table saw makes accurate, repeatable strip cuts far easier, but it isn’t strictly required. You can use a quality miter saw or even a circular saw with a straightedge guide, though consistency gets harder. Precision matters most here, so whatever tool you use, take time to set up clean, square cuts and test on scrap wood first.
How Long Does It Take to Build a Chess Board?
Plan for a weekend or two, spread across several sessions. The actual cutting and sanding take only a few hours, but glue-ups and finish coats demand drying time you can’t rush. Expect roughly two overnight glue cures and a day for finish coats. Working in stages over a few days produces far better results than trying to finish everything at once.
What Finish Works Best on a Chess Board?
Wipe-on polyurethane offers durable protection against spills and handling, making it a reliable choice for a board you’ll use often. Danish oil gives a softer, more natural feel and deepens the wood grain beautifully, though it offers less surface protection. For the best of both, apply an oil finish first, then add a couple of protective topcoats.
Conclusion
Building your own chess board rewards you with far more than a place to play. You walk away with sharper woodworking skills, a deeper feel for grain and glue, and a handcrafted piece that carries real meaning.
Remember the rhythm of the project: choose contrasting woods, rip clean strips, glue your striped panel, then crosscut, offset, and reassemble into that crisp 64-square grid. Flatten, sand through the grits, add a border, and finish with patient coats that make the wood glow.
The real secret to how to make wooden chess board squares that line up perfectly is precision at every stage, paired with the patience to let each glue-up and finish coat cure fully. Rush nothing, and the results will speak for themselves.
Now you have everything you need to start. Gather your wood, set up your saw, and take that first cut with confidence. The board you build today could host games for generations to come.
