
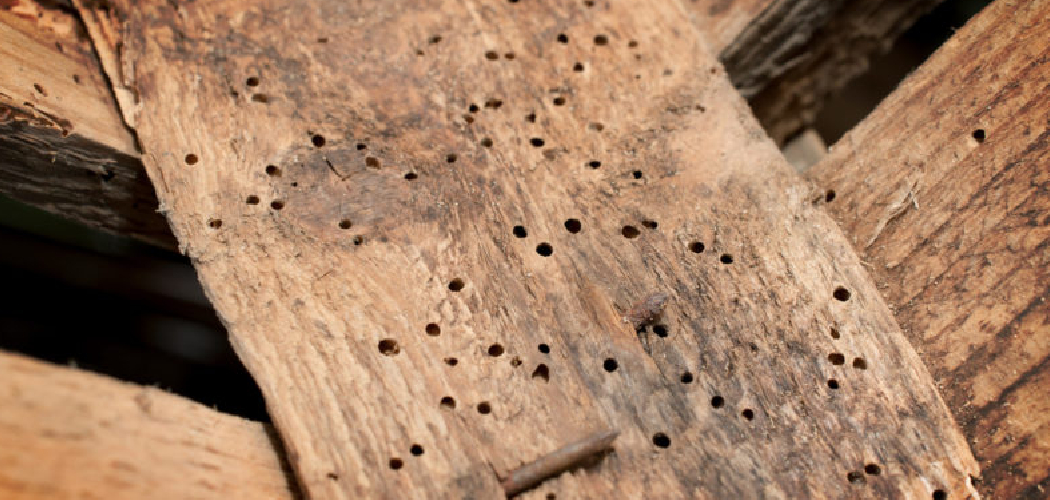
That faint tapping inside your wall studs. The tiny holes peppering your favorite oak table. The small piles of fine powder collecting on the floor beneath a beam. These quiet signs often mean one thing: something is eating your wood from the inside out.
Wood-eating insects work in silence, and by the time you spot them, real damage may already be underway. The good news is that you can fight back. Learning how to get rid of wood-eating insects saves you money, protects your home’s structure, and gives you the confidence to handle problems before they spread.
This guide walks you through every step, from spotting the first signs of infestation to treating the wood and preventing future attacks, so you can protect your projects and property for good.
Why Treating Wood-Eating Insects Matters
Ignoring an infestation is one of the costliest mistakes a homeowner can make. Wood-boring beetles, termites, and carpenter ants don’t take breaks. They tunnel through joists, furniture, and framing, weakening the wood that holds everything together.
Catch the problem early and you might spend a few dollars on a borate solution and an afternoon of work. Wait too long and you could face thousands in structural repairs, replaced beams, or even professional fumigation.
Beyond the money, there’s peace of mind. When you know how to read the signs and treat the wood yourself, you stop fearing every creak and hole. You build real skill that protects every wood project you own.
This knowledge extends the life of your furniture, floors, and home. That’s a return worth the effort.
Tools and Materials You’ll Need
Gather your supplies before you start. Having everything ready makes the job faster and safer.
- A bright flashlight and a small mirror for inspecting tight, dark spaces
- A flathead screwdriver or awl to probe suspect wood for soft, hollow spots
- Borate-based wood treatment (such as disodium octaborate) for killing larvae and adults
- A pump sprayer or paintbrush to apply liquid treatment evenly
- A drill with fine bits for injecting treatment into beetle galleries
- Syringes or injector tips for forcing solution deep into exit holes
- Protective gloves, safety goggles, and a respirator mask
- Plastic sheeting and painter’s tape to seal off work areas
- A vacuum to clear frass and debris before treatment
- Optional: A moisture meter to find the damp wood that attracts most wood-eating insects
Keep your workspace ventilated and your protective gear on at all times.
Step-by-Step Guide on How to Get Rid of Wood-Eating Insects
Step 1 – Identify the Signs of Infestation
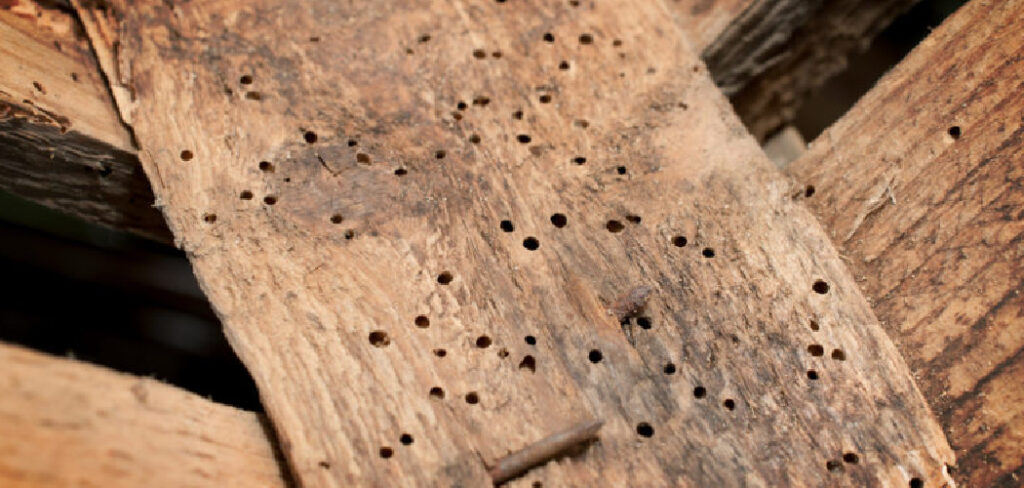
Start by playing detective. Grab your flashlight and look closely at any wood you suspect, scanning for small round or oval holes across the surface.
Look for frass too, the fine, sawdust-like powder that insects push out as they tunnel. You’ll often find it in small piles below exit holes or along baseboards. It can feel gritty or powdery between your fingers.
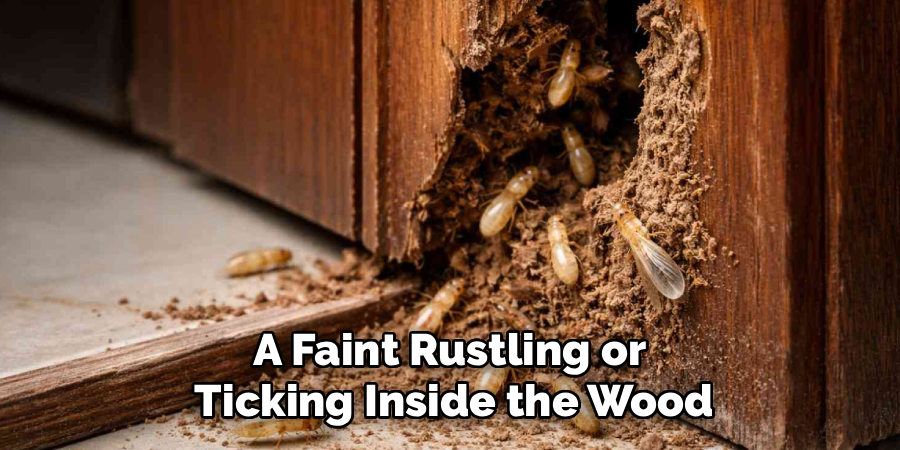
Listen carefully in a quiet room. A faint rustling or ticking inside the wood often means active larvae are chewing away right now.
Knowing how to get rid of wood-eating insects begins with correct identification, because powderpost beetles, termites, and carpenter ants each call for slightly different treatment. Note the hole size, frass texture, and location before moving on.
Step 2 – Determine the Type of Insect
Now match the clues to the culprit. Each pest leaves a signature you can learn to read with a little practice.
Powderpost beetles make tiny holes, around the size of a pinhead, and produce flour-fine frass that feels soft and silky. Larger holes with coarse, gritty powder point to other wood-boring beetles.
Termites rarely leave surface holes. Instead, look for mud tubes climbing walls and foundations, plus hollow-sounding wood that crumbles easily when you probe it.
Carpenter ants don’t eat wood, they excavate it. You’ll find clean, smooth galleries and small piles of shredded wood shavings, often near damp areas.
Tap the wood and listen. A hollow, papery sound usually signals serious structural wood damage beneath the surface.
Step 3 – Assess the Extent of the Damage
Before you treat anything, find out how deep the problem runs. Take your screwdriver or awl and press it firmly into the affected wood.
Healthy wood resists the point and feels solid. Infested wood gives way easily, crumbling or sinking with a soft, spongy resistance that tells you the inside is hollowed out.
Probe along the full length of beams, joists, and furniture legs. Map every weak spot you find so you know exactly where to focus your treatment.
Pay special attention to structural members. If a joist flexes or a beam crumbles under light pressure, you may be dealing with damage that needs reinforcement or replacement, not just treatment. Knowing the true extent now saves you from nasty surprises later.
Step 4 – Isolate and Prepare the Area
Time to set the stage. Move furniture away from walls, clear clutter, and lay down plastic sheeting to catch drips and debris.
Vacuum away all the frass and loose powder first. This clears your view and removes material that could block your treatment from reaching the wood. You’ll hear the gritty powder rattle up the hose.
Seal off the room with plastic and painter’s tape if you’re treating a large infestation, keeping fumes and dust contained.
Put on your gloves, goggles, and respirator before you open any chemicals. Borate solutions are far safer than older pesticides, but you still want to protect your skin, eyes, and lungs. A well-prepared space makes the actual treatment quick and clean.
Step 5 – Apply Borate Wood Treatment
Borate is your workhorse here. Mix your borate solution according to the label, then load it into your pump sprayer or grab your paintbrush.
Coat all exposed, untreated wood surfaces thoroughly. The liquid soaks into the grain, leaving a barrier that kills larvae and adults as they feed. Bare, unfinished wood drinks it up best, so sand off any old finish first.
Watch the wood darken slightly as it absorbs the treatment. That even, damp sheen tells you the borate is penetrating properly.
Learning how to get rid of wood-eating insects effectively means giving the borate time to work, so apply two or three coats, letting each soak in. Reach into corners, joints, and end grain where insects love to hide and breed.
Step 6 – Inject Treatment Into Galleries
Surface coating handles the outside, but active tunnels need direct attention. Fill a syringe or injector with your borate solution and target the exit holes you mapped earlier.
Press the tip into each hole and inject slowly until liquid backs up or seeps from nearby holes. This tells you the solution is traveling through the connected galleries inside.
For dense infestations, drill small, angled holes every few inches along the beam to reach deeper tunnels, then inject there too.
You’ll sometimes hear a faint gurgle as the liquid pushes through the channels. That sound means you’re reaching the hidden larvae that surface sprays miss. Work methodically across every infested section so no pocket of insects escapes the treatment.
Step 7 – Seal and Finish the Wood
Once the treatment dries completely, lock it in. Fill the exit holes and small galleries with wood filler, pressing it firmly into each opening with a putty knife.
Smooth the surface flush, let the filler cure, then sand it level until it feels seamless under your hand. This step does double duty: it strengthens the wood and helps you spot any fresh holes later.
Apply a quality sealant, paint, or varnish over the cured wood. A solid finish blocks moisture and creates a surface that future insects find far harder to penetrate.
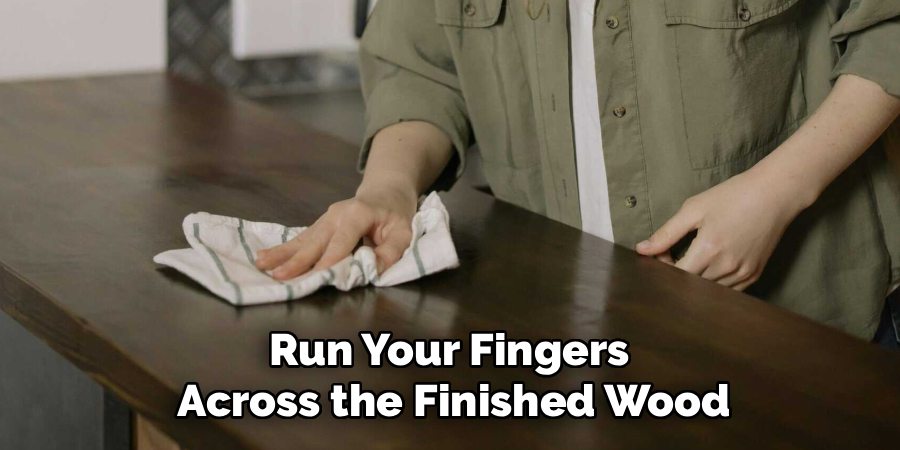
Run your fingers across the finished wood. A smooth, sealed surface with no open holes means you’ve closed the door on easy re-entry and protected your repair for years.
Step 8 – Monitor and Prevent Reinfestation
Your job isn’t done when the treatment dries. Mark a date on your calendar and check the treated wood every few weeks for a season.
Watch for fresh frash, new holes, or returning powder piles. New activity means some insects survived and you’ll need a second round of treatment.
Control moisture, since damp wood draws termites, carpenter ants, and beetles like a magnet. Fix leaks, improve ventilation, and use your moisture meter to catch wet spots early.
Keep firewood and lumber off the ground and away from your home’s foundation. Store it dry and inspect it before bringing it indoors. Consistent monitoring turns a one-time fix into lasting protection that keeps your wood safe and sound.
Common Mistakes to Avoid
The most common blunder is treating the wood without identifying the pest first. Powderpost beetles, termites, and carpenter ants respond to different approaches, and spraying borate on a hidden termite colony behind drywall won’t solve the deeper problem. Take time to read the signs before you reach for any chemical.
Another frequent error is treating only the surface. Insects live and breed deep inside the galleries, so a quick spray on the outside leaves the larvae untouched. You have to inject the tunnels and apply multiple coats to reach the ones doing the real damage.
Many people also ignore the moisture that caused the infestation in the first place. If you treat the wood but leave a leaky pipe or damp crawlspace, fresh insects will move right back in. Fix the water problem or your work won’t last.
Skipping protective gear is a careless gamble. Even safer borate solutions deserve gloves, goggles, and a mask, especially when you’re drilling and creating dust.
Finally, don’t assume one treatment ends the battle. Without follow-up inspections, a small surviving population can rebuild quietly and undo all your hard work over a few months.
Expert Tips
Treat bare wood whenever you can. Borate penetrates raw, unfinished grain far better than sealed or painted surfaces, so a light sanding before application dramatically improves your results.
Inspect during late spring and early summer. That’s when most adult beetles emerge to mate and bore fresh exit holes, making active infestations much easier to spot and confirm.
Keep a small sample of the frash you find. The color and texture help you identify the exact species, and a pro can tell a lot from that tiny pile alone.
For valuable antiques or heavy structural infestations, know when to call in professional fumigation. Whole-house tenting reaches every hidden pocket that DIY methods can miss, and it’s worth the cost when your home’s structure is on the line. Smart timing and the right limits make all the difference.
Frequently Asked Questions
How Do I Know if Wood Damage Is Active or Old?
Active infestations leave fresh, light-colored frass that keeps reappearing after you clean it up. Old holes look dark and weathered inside, with no new powder. Tape paper over suspect holes and check in a week. New frass on the paper or fresh exit holes mean live insects are still feeding and you need to treat the wood promptly.
Is Borate Treatment Safe to Use at Home?
Borate solutions are among the safest wood treatments for home use, far gentler than older pesticides while still deadly to wood-eating insects. They carry low toxicity for people and pets once dry. Still, wear gloves, goggles, and a mask during application, and keep children and animals out of the treated area until everything has fully dried and any dust has settled.
Can I Get Rid of Termites Myself?
You can handle small, localized termite problems with borate treatment and moisture control. However, large colonies or subterranean termites tunneling from the soil usually need professional help. These pests hide deep in foundations and walls where DIY methods struggle to reach. If you find extensive mud tubes or crumbling structural wood, call a pro before the damage spreads further.
How Long Does Treatment Take to Work?
Borate starts killing insects as soon as they feed on the treated wood, but full results take a few weeks. Larvae deep in galleries die more slowly as the solution spreads. You may still see a few beetles emerge for several weeks after application. Keep monitoring for fresh frass, and apply a second treatment if new activity continues past a month.
What Attracts Wood-Eating Insects in the First Place?
Moisture is the biggest draw. Damp, untreated, or decaying wood attracts termites, carpenter ants, and wood-boring beetles looking for soft, easy material to tunnel and breed in. Unsealed bare wood, woodpiles against your house, and poor ventilation all increase your risk. Keep wood dry, sealed, and elevated off the ground to make your home far less inviting to these pests.
Conclusion
Wood-eating insects may work quietly, but you don’t have to let them win. With careful inspection, the right identification, and a solid borate treatment, you can stop an infestation before it threatens your home or your favorite pieces.
Remember the rhythm of the job: spot the signs, name the pest, measure the damage, treat both the surface and the hidden galleries, then seal and monitor your work. Each step builds on the last, and skipping any one of them leaves the door open for trouble.
The real secret to how to get rid of wood-eating insects is consistency. Control moisture, inspect often, and act fast at the first sign of frass or fresh holes. Do that, and you’ll catch problems while they’re small and cheap to fix.
You now have the knowledge to protect every beam, board, and beloved project you own. Trust your eyes, trust the process, and take pride in wood that stays strong and pest-free for years to come.
