
A chess set you buy feels like everyone else’s. A chess set you make feels like yours. That difference is small, but it changes how the game feels in your hands. You don’t need a factory to get there. You need a few sharp tools, the right wood, and the patience to shape one piece at a time. Woodworkers have turned pawns and carved knights by hand for generations, and you can do the same in your own garage.
If you’ve ever wanted to learn how to make wooden chess pieces that look clean and feel solid, you’re in the right place. This guide walks you through every stage, from choosing your wood to the final coat of finish, so you can build a full chess set you’re proud to play on.
Why Making Wooden Chess Pieces Matters
A bought set teaches you nothing. A made set teaches you a craft.
That’s the real reward. The pawns are nice. The skill is better.
You learn to turn wood on a lathe. You learn to read grain. You learn to sand, stain, and finish so the result feels smooth and looks rich. Each of those skills carries straight into bigger projects later, from bowls to table legs.
There’s confidence in that too. Your first pawn will wobble. Your sixth will stand proud. By the time you finish a full set, your hands move with quiet certainty.
The cost stays low. A few small blanks of maple and walnut produce thirty-two pieces. You spend little, and you walk away with a chess set and a skill that lasts for life.
Tools and Materials You’ll Need
Gather everything before your first cut. A calm start depends on having each item within reach.
- Wood lathe – the core tool for turning chess pieces
- Lathe chisels – a roughing gouge, spindle gouge, skew chisel, and parting tool
- Wood blanks – maple for the light side, walnut for the dark side
- Basswood block – soft and ideal for carving the knights
- Carving knife – for shaping the knight’s head and mane
- Calipers – to match the height and width of matching pieces
- Sandpaper – 120-grit, 180-grit, 220-grit, and 320-grit
- Wood stain or finish – oil, wax, or lacquer to seal and protect
- Pencil and ruler – to mark heights and reference lines
Optional but handy: a duplicator attachment for your lathe helps you copy identical pawns quickly and keeps every piece consistent.
Step-by-Step Guide on How to Make Wooden Chess Pieces
Step 1 – Plan Your Chess Set Design
Start on paper, not the lathe. A clear plan saves wood and time.
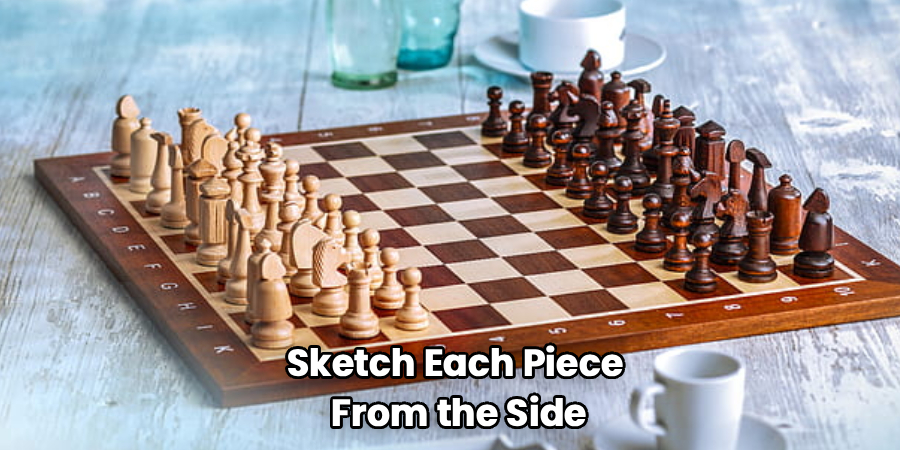
Sketch each piece from the side: the king, queen, bishop, knight, rook, and pawn. Mark the height of each one. A standard king stands around 3.75 inches tall, and the rest scale down from there.
Decide your two wood colors now. Maple gives a clean, pale light side. Walnut gives a deep, dark side. The contrast makes the board easy to read during play.
Picture the profile of each piece before you cut. A clear mental image guides every chisel stroke. Learning how to make wooden chess pieces begins with this quiet planning, long before any tool touches wood. Spend the extra ten minutes here. It pays off.
Step 2 – Choose and Prepare the Wood
Run your thumb across each blank before you mount it. Good turning wood feels smooth and dry, with no cracks or soft spots.
Maple and walnut both turn beautifully. They’re hard enough to hold crisp detail, yet even-grained enough to cut clean. Avoid pine for the main pieces, since its soft, uneven grain tears under the chisel.
Sight down the grain like you’re aiming a dart. Straight grain turns smooth. Wild or twisting grain fights your tool at every pass.
Cut each blank slightly longer than your final piece. The extra length gives you waste wood to grip in the lathe. Sound, square blanks now mean clean turning later. Set aside anything knotted, cracked, or warped.
Step 3 – Mount and Rough Out the Blank
Now the lathe wakes up. Mount your blank tight between the centers and spin it by hand first to check it turns true.
Set your tool rest close to the wood, about an eighth of an inch away. Start the lathe slow, then bring it up to speed.
Take your roughing gouge and ride it gently against the spinning blank. The square corners knock off first, turning the block into a smooth cylinder. Each pass should peel a thin, curling ribbon, not a rough chunk.
Listen as you work. A clean cut makes a steady, low hum. A catch makes a sharp bang and jolts your hands. If that happens, stop, reset your angle, and ease back in. Patience here keeps you safe.
Step 4 – Turn the Pawns First
Pawns are your training ground. Start with them because you need eight matching pieces, and repetition builds your skill fast.
Mark the height with a pencil while the blank spins. Use your parting tool to cut shallow grooves at the top and base. These lines act as your map.
Shape the round head with a spindle gouge, then narrow the neck below it. Smooth, flowing curves mean you’re turning well. Sharp ridges or flat spots tell you where to keep cutting.
Use calipers often. Measure each pawn against the first one so they match. This is where most people truly learn how to make wooden chess pieces with consistency, since eight near-identical pawns demand steady hands and constant checking. Take it slow.
Step 5 – Turn the Larger Pieces
Now scale up. The king, queen, bishop, and rook all use the same turning skills, just taller and more detailed.
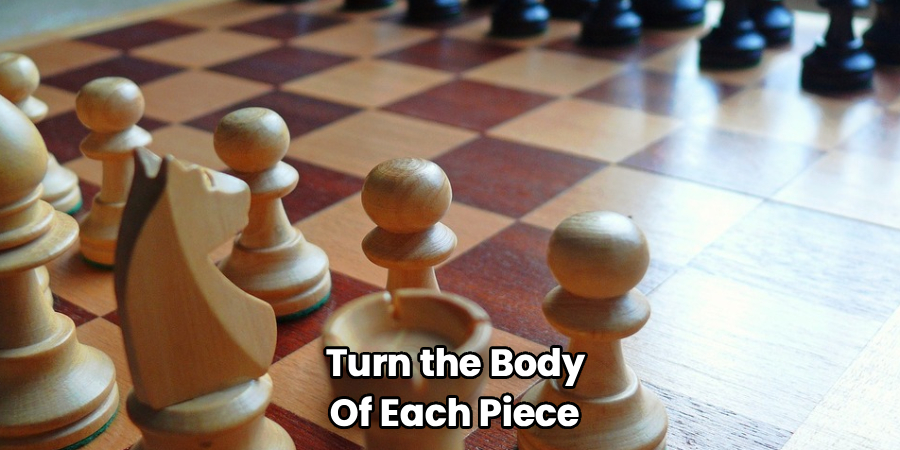
Turn the body of each piece the same way you turned the pawns, working from a cylinder down to your marked profile. The king and queen stand tallest, so give them a slim, elegant stem and a wider base for stability.
Add the small details with a skew chisel. A clean skew cut leaves a glassy surface that barely needs sanding. A dull or tilted skew leaves a fuzzy, torn ring instead.
For the rook, turn a simple round tower. You’ll carve its notched top later. Keep your calipers handy so each matching pair stays the same height.
Step 6 – Carve the Knight by Hand
The knight breaks the pattern. You can’t turn a horse’s head on a lathe, so this piece you carve.
Start with a small basswood or walnut blank, already shaped into a base and rough block on top. Sketch the horse’s profile onto both sides of the block with a pencil.
Switch to your carving knife. Make small, controlled cuts away from your body. The mane, the curve of the neck, and the gentle dip of the face all take patience.
Carve shallow at first. You can always remove more wood, but you can’t put it back. The knight should feel proud and alert when you hold it at arm’s length, not slumped or flat. This piece tests you most.
Step 7 – Notch the Rook Tops
Give the rooks their castle crowns. The notched top is what makes a rook a rook.
Mark four even sections around the top of each tower with a pencil. Spacing matters, so measure twice before you cut once.
Use a small saw or carving knife to cut down into each notch, then clear the waste between cuts. Work slowly and keep the depth even on all four. A crisp, square notch reads clean from across the room. A ragged or uneven one catches the eye for the wrong reason.
Test both rooks side by side. They should mirror each other closely. Smooth the cut edges lightly with sandpaper so no splinters remain. The detail is small, but it brings the whole set together.
Step 8 – Sand Every Piece Smooth
Trade cutting for smoothing. Start with 120-grit sandpaper to remove tool marks, always working with the grain.
Move up through 180-grit, then 220-grit, and finish with 320-grit for a silky surface. Each finer grit erases the scratches the last one left behind.
For the turned pieces, you can sand right on the lathe. Hold the paper gently against the spinning wood and watch the surface grow smooth and even. Keep the paper moving so you don’t burn a ring into the wood.
Run your fingertips over each piece between grits. Smooth wood glides under your hand with no catch. Rough patches snag and tell you exactly where to keep working. Blow away the fine dust often so you can see the true surface.
Step 9 – Apply Stain and Finish
Now bring out the beauty. Wipe each piece clean of dust first, since any grit left behind will show through the finish.
If your two woods already contrast well, you may skip stain entirely. If not, a light stain on one side deepens the difference. Apply it with a soft cloth in slow, even strokes, then wipe away the excess.
Seal every piece with your chosen finish. Oil soaks in and glows. Wax adds a soft sheen. Lacquer gives a harder, glossier shell.
Rub the finish on, let it sit, then buff it smooth. Watch the grain deepen and come alive under the cloth. Let each piece dry fully before you set it on the board. A proper finish guards your set for years of play.
Common Mistakes to Avoid
The most common error is rushing the lathe before you understand it. New turners crank the speed too high and dig the chisel in deep. The result is a catch, a loud bang, and sometimes a ruined blank. Start slow, take light passes, and let the tool do the work. Speed comes with confidence, not before it.
Another frequent slip is ignoring your calipers. You turn one pawn, then turn the next by eye, and soon your eight pawns are eight different heights. A chess set lives or dies on consistency. Measure every matching piece against the first one, every single time.
Many beginners also fight the grain when carving the knight. They push the blade against the wood fibers, tearing the surface instead of slicing it. When a cut catches or splinters, stop and flip your direction. The wood tells you which way it wants to be cut.
Choosing the wrong wood trips up plenty of first-timers too. Soft, knotty lumber tears on the lathe and won’t hold fine detail. Stick to hard, clear maple and walnut.
Finally, don’t skip the sanding grits. Jumping straight to fine paper leaves deep scratches that the finish only highlights. Work through each grade in order, and your pieces will shine.
Expert Tips
A few habits separate a clean set from a clumsy one. Keep your chisels razor sharp. A dull edge tears the grain and forces you to sand twice as long, while a sharp one leaves a surface that barely needs work. Touch up your edge often, even mid-piece.
Turn all your pawns in one session. Your hands stay in rhythm, and the pieces come out far more consistent than if you spread the work across days.
Save your scrap blanks. Use them to test stains and finishes before touching the real pieces. A test piece costs nothing and saves your best work from a bad color.
Work in good side lighting. Shadows reveal every bump and uneven curve, so you catch flaws before the finish does. Tired hands make sloppy cuts, so rest when your focus drifts.
Frequently Asked Questions
What Is the Best Wood for Making Chess Pieces?
Maple and walnut are the classic pairing. Maple gives a pale, clean light side, and walnut gives a deep, dark side, so the contrast reads well on the board. Both are hard enough to hold crisp detail and even-grained enough to turn smoothly. Boxwood and rosewood work too, but they cost more. For your first set, maple and walnut offer the best balance of beauty, price, and ease.
Do I Need a Lathe to Make Wooden Chess Pieces?
A lathe makes turning pawns, rooks, and royalty far easier and more consistent, so it’s the recommended tool. That said, you can carve a full set entirely by hand with a sharp knife and patience, the way folk carvers have for centuries. Hand-carving takes longer and demands more skill, but it costs less to start. If you plan to make more sets, a small lathe is a worthy investment.
How Long Does It Take to Make a Full Chess Set?
A complete set of thirty-two pieces takes most beginners a full weekend, roughly ten to fifteen hours spread across several sessions. The pawns go quickly once you find your rhythm. The knights take the longest because each one is hand-carved. Don’t rush. Working in short, focused sessions produces cleaner, more consistent pieces than one long, tiring marathon at the lathe.
How Do I Make the Light and Dark Sides Look Different?
The easiest way is to use two naturally different woods, like pale maple and dark walnut. The contrast comes built in, with no stain required. If you only have one wood, turn all the pieces from it, then stain half with a dark wood stain to create the dark side. Seal both sides with the same finish so they feel identical in the hand during play.
What Finish Is Best for Wooden Chess Pieces?
A wipe-on oil or paste wax works beautifully for chess pieces. Both soak in, deepen the grain, and leave a smooth surface that feels good to handle. They’re also easy to reapply later if the pieces wear. Lacquer gives a harder, glossier shell if you prefer shine. Avoid thick, sticky finishes that leave a tacky surface, since pieces handled often need to feel dry and smooth.
Conclusion
Building a chess set by hand is one of the most rewarding ways to grow as a woodworker. You start with plain blanks and end with thirty-two pieces that carry your patience in every curve. Along the way, you build real skills: turning on the lathe, reading grain, carving by hand, and finishing wood so it glows. Those skills follow you into every project that comes next.
Remember the keys. Plan each piece on paper first. Choose hard, clear maple and walnut. Turn the pawns together for consistency, carve the knights with patience, and sand through every grit in order before you seal the wood.
Your first set won’t be perfect, and that’s exactly how it should be. Each piece teaches your hands a little more. Now that you understand how to make wooden chess pieces from sketch to final coat, nothing stands between you and your first set. Mount a blank. Start the lathe. Turn your first pawn this weekend, and watch a full chess set take shape under your hands.
