
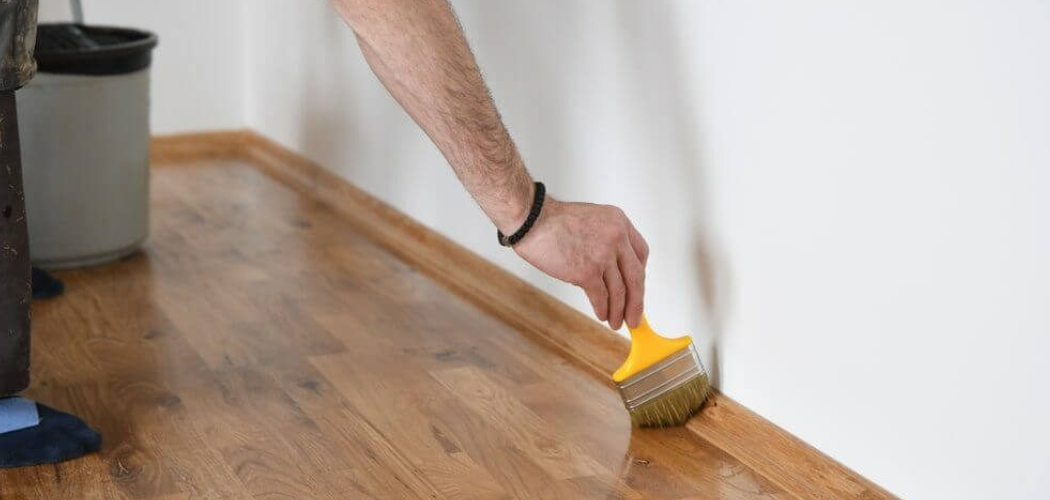
Gaps between floorboards make a solid floor look tired. Dust collects in the cracks, drafts sneak through, and the surface feels uneven underfoot. Most gaps come from one thing: wood losing moisture and shrinking. The fix is simpler than you expect.
Learning how to repair wood floor gaps saves you the cost of new flooring and keeps small cracks from spreading into bigger problems. Whether you have one wide gap or a row of thin lines between every plank, the repair follows the same logic — clean the gap, fill it with the right material, and blend it into the surrounding wood.
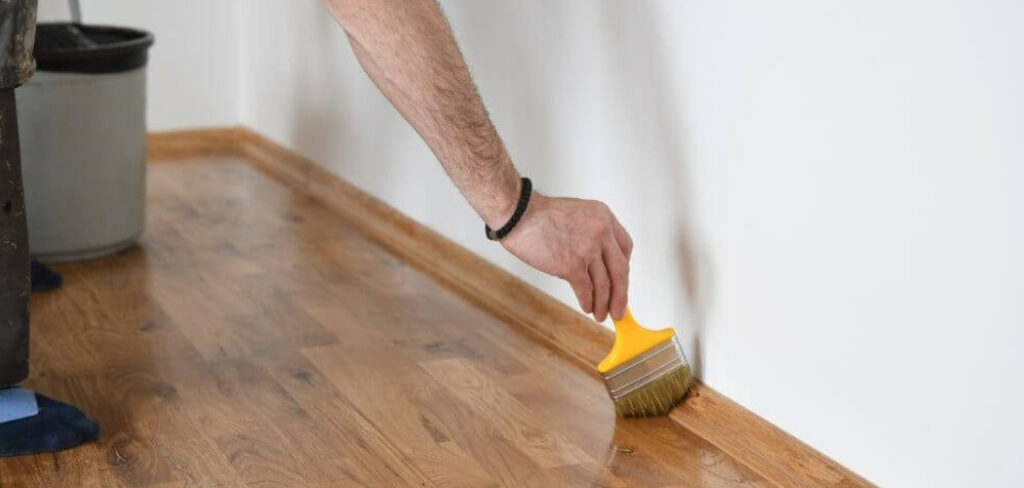
You don’t need a contractor. You need accurate measurements, the correct filler for the gap size, and a little patience. This guide walks you through every step, from sizing the gaps to finishing a smooth, even floor.
Why This Matters
New hardwood costs thousands. Filling gaps costs a fraction of that and stops the problems gaps create. That math makes the skill worth learning.
The savings run deeper than the dollars. Open gaps trap dirt, harbor moisture, and let cold air leak into the room. Seal them, and you cut drafts, lower heating bills, and protect the board edges from wear. Every repair you handle yourself sharpens your eye for wood movement. You learn to read seasonal shrinkage, spot which gaps are stable, and choose filler that flexes instead of cracking.
That knowledge carries into every wood project you own. A tight, even floor also protects resale value. Buyers notice dark lines between boards instantly. Master this repair, and you extend the life of your hardwood while avoiding the costly mistakes that come from guessing.
Tools and Materials You’ll Need
Gather everything before you start. A complete setup keeps the work moving and gives you a clean result the first time.
- Measure the gaps — feeler gauge or thin ruler to size each crack
- Clear the cracks — vacuum with a crevice tool and a stiff utility brush
- Fill thin gaps — flexible wood filler or wood putty matched to your floor
- Fill wide gaps — jute or cotton rope filler pressed in before sealing
- Cut filler strips — utility knife for trimming wood slivers on large gaps
- Smooth the surface — putty knife and sandpaper in 120 and 220 grit
- Blend the repair — wood stain and finish coat matched to your floor’s sheen
- Wipe clean — tack cloth and a damp rag for fast cleanup
- Track humidity (optional) — hygrometer to confirm the room is stable before you fill
Step-by-Step Guide on How to Repair Wood Floor Gaps
Step 1 – Measure Each Gap First
Size the gaps before you choose a filler. The width decides the method, and guessing wastes both time and material.
Slide a feeler gauge or thin ruler into each gap and read the width. Thin gaps under one-eighth inch take flexible filler or putty. Wider gaps need rope filler or a wood sliver to back them. Mark the widest gaps with painter’s tape so you can plan your approach.
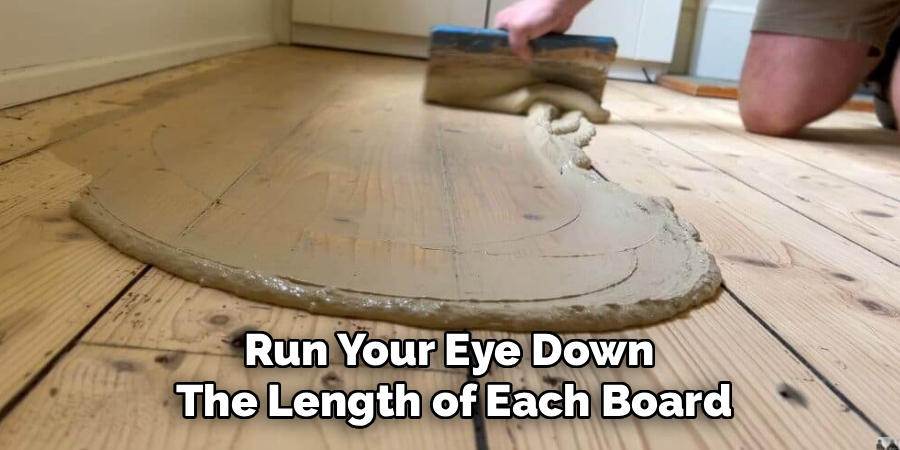
Run your eye down the length of each board. Gaps often vary along a single plank, wide at one end and tight at the other. You’ll feel the difference when the gauge drags in some spots and slides freely in others. Knowing how to repair wood floor gaps starts with this measurement — match the fix to the size, and the repair holds.
Step 2 – Check the Room’s Humidity
Wood swells and shrinks with the seasons. Fill gaps at the wrong time, and your work cracks or buckles within months.
Hang a hygrometer in the room for a day or two. Indoor humidity should sit between 35 and 55 percent. In dry winter air, gaps open to their widest. In humid summer air, the boards swell and gaps shrink or close.
Fill during a dry stretch, and the filler may pop out when the wood expands. Fill during humid weather, and the gaps reappear once the air dries. Aim for a stable, mid-range reading. The boards should feel firm and dry, not damp or cool. Stable humidity gives you a true gap size and a repair that lasts through the seasons.
Step 3 – Clean Out the Cracks
A clean gap holds filler. A dirty one rejects it. Skip this step, and your repair lifts out within weeks.
Run a vacuum with a crevice tool down each gap to pull out loose dust and grit. Then drag a stiff utility brush along the crack to loosen anything packed in. You’ll see years of trapped dirt come free, often darker than you expect.
Wipe the area with a barely damp rag and let it dry fully. The gap walls should look like clean, bare wood, not gray with dust. Press your fingertip in — it should come out clean. Filler bonds to wood, not to debris. A spotless crack is the foundation of a repair that grips and stays put.
Step 4 – Fill Thin Gaps With Flexible Filler
Thin gaps take filler directly. Choose a flexible wood filler or putty that bends with seasonal movement instead of cracking.
Scoop a small amount onto your putty knife and press it into the gap at an angle. Work across the crack, not along it, so the filler packs down to the bottom. Overfill slightly — the material shrinks a touch as it cures.
Scrape the excess flush with the knife held flat. You’ll feel the blade glide once the surface sits level. Wipe stray filler off the board faces right away with a damp rag, before it dries. Let it cure fully per the label. A good fill looks solid and seamless, with no air pockets or sunken centers when you check it in good light.
Step 5 – Pack Wide Gaps With Rope Filler
Wide gaps need a backer. Filler alone sags into a deep crack and never sets right. Rope filler solves it.
Press jute or cotton rope into the gap with a putty knife until it sits just below the surface. The rope fills the depth and gives the top layer something to grip. For very wide gaps, glue a thin wood sliver cut to match instead — it blends better and moves with the floor.
Once the backer sits firm, cap it with flexible filler and scrape flush. You’ll feel the filler catch and hold rather than disappear into the void. Run your finger across the top — it should feel level with the boards. A backed gap stays full season after season instead of opening again.
Step 6 – Sand the Repair Smooth
Level the filler with the floor. Even the best fill leaves a slight ridge or a film of filler on the board faces.
Once the filler cures hard, sand the repaired spots with 120-grit paper, working in the direction of the grain. Move to 220 grit to polish the surface smooth. Stay light over the filled line so you don’t dish the wood around it.
Run your palm across the repair — it should feel seamless, with no bump where filler meets board. Hold a light at a low angle to catch high spots or leftover filler haze. Sand those flat. Vacuum and wipe with a tack cloth so no dust ruins the finish coat. A smooth, dust-free surface takes stain evenly.
Step 7 – Stain and Finish the Repair
Blend the filled lines into the rest of the floor. Test your stain on a hidden spot first, since filler often takes color differently than wood.
Brush or wipe stain over the repaired gaps, following the grain. Build the tone in thin coats — one heavy coat blotches, while two light coats blend. The filled line should fade into the surrounding boards as the color sets.
Seal with a finish coat matched to your floor’s sheen, whether gloss, satin, or matte. Brush polyurethane in long, even strokes with the grain. You’ll see the surface gain a wet shine that dries to match the rest. A sheen mismatch catches the eye under direct light, so match it exactly and let each coat cure fully.
Common Mistakes to Avoid
The biggest mistake is filling gaps during the wrong season. Wood expands in humid summer air and shrinks in dry winter air. Fill in winter when gaps are widest, and the filler gets squeezed out when the boards swell back. Fill in peak summer, and fresh gaps open the moment the air dries. Aim for a stable mid-range humidity, around 35 to 55 percent, so you fill at a true average gap size.
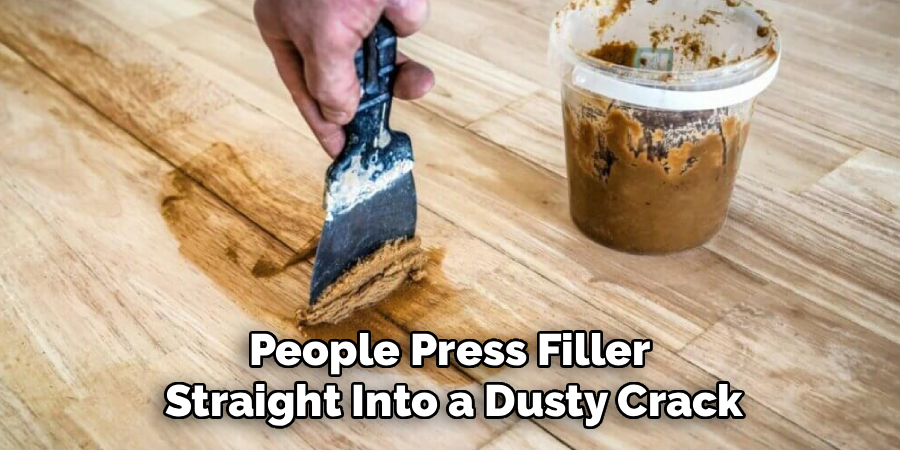
Skipping the cleanout ranks just as high. People press filler straight into a dusty crack, and it bonds to dirt instead of wood. The fill looks fine for a week, then lifts out underfoot. Vacuum and brush every gap until the walls show clean, bare wood.
Choosing rigid filler for a moving floor causes cracking. Hard, non-flexible products can’t bend with seasonal movement, so they split down the middle and crumble. Use a flexible filler that flexes with the wood.
Filling deep gaps without a backer wastes material. The filler sags to the bottom and never sets level. Pack rope or a wood sliver first. Finally, ignoring the cause — like very low humidity drying the boards out — means the gaps keep widening no matter how well you fill them.
Expert Tips
Save wood dust from sanding your own floor and mix it with clear filler for a near-perfect color match. The dust carries your floor’s exact tone, so the repair blends better than any pre-tinted product off the shelf.
Fill gaps in late spring or early fall, when indoor humidity sits at a natural middle point. You capture the average gap size, so the filler stays put through both seasonal extremes instead of cracking or popping.
Run a hygrometer year-round and keep the room between 35 and 55 percent humidity. A humidifier in winter and a dehumidifier in summer steady the air, and stable humidity is the single best defense against new gaps forming.
Finally, label a jar of your stain and finish. The next repair goes faster with a proven match already on the shelf.
Frequently Asked Questions
What Causes Gaps Between Hardwood Floor Boards?
Moisture loss causes most gaps. Wood absorbs humidity and swells in summer, then releases it and shrinks in winter, pulling the boards apart. Dry indoor air from heating widens this seasonal shrinkage. Some gaps come from poor installation or boards that weren’t acclimated before laying. Stable humidity between 35 and 55 percent keeps the movement small and predictable.
Should I Fill Floor Gaps in Summer or Winter?
Fill during late spring or early fall, when humidity sits at a natural middle. Winter gaps are at their widest because the dry air shrinks the boards, so filler gets squeezed out when summer swells them again. Summer gaps are at their narrowest, so they reopen in winter. A mid-range season gives you the truest average gap size and a lasting repair.
What’s the Best Filler for Wide Floor Gaps?
Back wide gaps with jute or cotton rope filler, then cap it with flexible wood filler. The rope fills the depth so the top layer sits level instead of sagging. For very wide gaps, glue in a thin wood sliver cut to match your boards — it blends seamlessly and moves with the floor through seasonal changes.
Will the Filler Crack and Fall Out Over Time?
Not if you use the right product and timing. Flexible wood filler bends with seasonal wood movement instead of splitting like rigid filler. Fill at mid-range humidity so you capture the average gap size. Clean the crack first so the filler bonds to bare wood, not dust. Done right, the repair holds for years.
Can I Repair Floor Gaps Without Sanding the Whole Floor?
Yes. You only need to sand the filled spots, not the entire floor. Use 120-grit then 220-grit paper over each repair, working with the grain, then blend with matched stain and finish. Spot repairs work well for scattered gaps. A full sanding only makes sense if you’re refinishing the whole floor anyway.
Conclusion
Fixing floor gaps comes down to five clear moves: measure each gap, check the humidity, clean the cracks, fill with the right material, and blend the repair smooth. Master that sequence, and you can handle anything from hairline cracks to wide gaps that swallow a coin.
Knowing how to repair wood floor gaps saves you thousands, cuts drafts and trapped dirt, and builds skills you’ll carry into every future project. The work isn’t hard — it rewards good timing. Fill at mid-range humidity, match your filler to the gap size, and test your stain before you commit. Those habits separate a repair that lasts from one that cracks open next season.
Grab your feeler gauge, measure the gap that’s been bothering you, and start there. Once you see the floor sit tight and even again, you’ll trust your own hands with the next repair. Save your stain and a jar of dust filler — the next fix will go even faster.
