
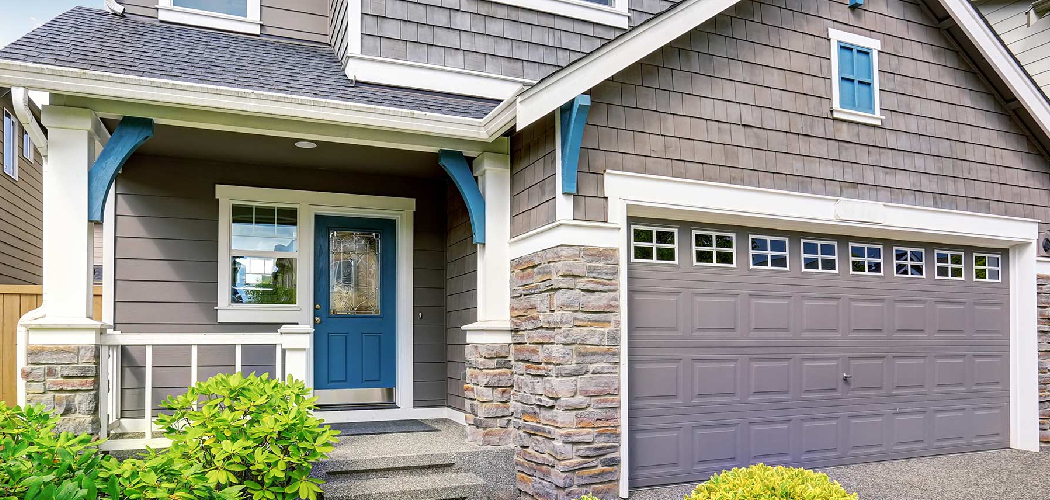
Your front door takes a beating. Sun fades it. Rain swells it. Years of weather leave the finish cracked, gray, and peeling. The wood underneath is still good — it just needs attention. Learning how to refinish an exterior wood door brings that tired entry back to life and protects it for years to come.
The process is straightforward: strip the old finish, repair the surface, sand it smooth, and seal it against the elements. No special trade skills required. What you need is patience, the right products, and a free weekend. This guide walks you through every step, from removing the door to applying the final coat, so you finish with a door that looks new and stands up to whatever the seasons throw at it.
Why Refinishing Your Exterior Door Matters
A new exterior wood door costs $500 to $2,000 installed. Refinishing the one you have costs $50 in supplies and a weekend of work. The savings are obvious.
A peeling finish does more than look bad. It exposes raw wood to moisture, and moisture leads to rot. Once rot sets in, refinishing won’t save the door — replacement will. Refinish on schedule and you stop that damage before it starts.
The work pays off at the curb, too. Your front door is the first thing visitors and buyers notice. A clean, well-sealed door signals a well-kept home.
You also build a skill you reuse. The same steps — strip, sand, seal — apply to window trim, railings, and outdoor furniture. Learn it once and protect every piece of exterior wood you own.
Tools and Materials You’ll Need
Gather everything before you start. A door stripped to bare wood needs sealing the same day, so you don’t want to stop mid-job for a supply run.
- Remove the door — screwdriver and a hammer for the hinge pins
- Support the work — two sawhorses
- Strip old finish — chemical stripper and a plastic putty knife
- Smooth the surface — orbital sander with 80, 120, and 220 grit
- Repair damage — exterior wood filler
- Clean before sealing — tack cloth and mineral spirits
- Protect the wood — exterior stain or sealer, plus marine-grade spar varnish
- Apply the finish — quality natural-bristle brush and foam brushes
- Mask the hardware — painter’s tape
- Protect yourself — chemical-resistant gloves and eye protection
- Speed the work (optional) — a paint sprayer for even topcoats
Step-by-Step Guide on How to Refinish an Exterior Wood Door
Step 1 – Remove the Door and Hardware
Take the door off its hinges before you do anything else. Working flat beats working vertical every time — drips run, coverage evens out, and your back thanks you.
Tap the hinge pins up from the bottom with a screwdriver and hammer. You’ll hear a sharp tick as each pin breaks loose. Lift the door free and set it across two sawhorses.
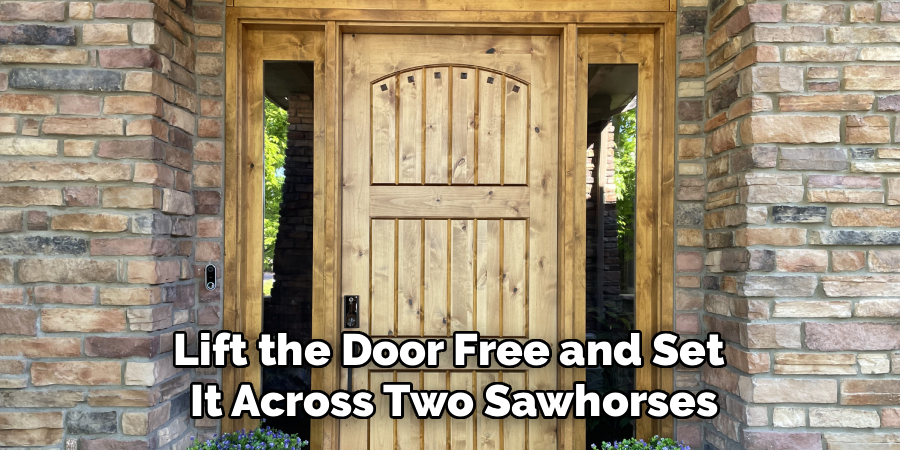
Unscrew the handle, lock, knocker, and any other hardware. Drop the screws into a labeled bag so reassembly goes fast.
Bare wood and empty screw holes are what you want now. Skip this step and you’ll fight tape lines, drips, and finish caked on your hinges. Ten minutes here saves an hour later.
Step 2 – Strip the Old Finish
Clear the cracked, peeling finish down to bare wood. Stripper does the heavy lifting so your sander doesn’t have to.
Brush a thick, even coat of chemical stripper over the surface. Let it dwell as the label directs. You’ll watch the old finish bubble and wrinkle as it lifts — that’s the cue it’s ready.
Scrape with a plastic putty knife held at a low angle. The softened finish rolls off in gummy ribbons. Push with the grain, never across it.
Knowing how to refinish an exterior wood door starts with full removal. Leave patches of old finish behind and your new coat won’t bond evenly. Reapply stripper to stubborn spots and scrape again until the wood reads clean.
Step 3 – Repair Damaged Wood
Fix dents, gouges, and cracks before you sand. Filler blends flaws into the surrounding wood so they disappear under finish.
Press exterior wood filler into each defect with a putty knife. Overfill slightly — filler shrinks as it cures, and a slight mound sands down flush. Wipe away the excess before it sets.
Use exterior-grade filler only. Interior products break down outdoors and pop loose in the first hard freeze.
Let the filler cure fully. You’ll know it’s ready when it turns from dark and damp to a lighter, uniform tone and sands to fine powder instead of gumming the paper. Rushed filler stays soft underneath and ruins your final coat from below.
Step 4 – Sand the Surface Smooth
Smooth the wood and open the grain for finish. Sanding erases stripper marks, levels your filler, and gives the sealer something to grip.
Start with 80-grit on an orbital sander. Move with the grain only — cross-grain swirls hide on bare wood, then flare up the instant finish hits them. You’ll see old residue turn to powder as fresh wood brightens.
Step up to 120-grit, then finish with 220 for a glass-smooth surface. Hand-sand the panels and grooves an orbital can’t reach.
Run your palm across the door. It should feel uniformly smooth, with no ridges at the filler spots and no rough patches. Even color and even texture mean you’re ready to clean and seal.
Step 5 – Clean and Prep for Finish
Remove every speck of dust before the first coat. Finish traps whatever it touches, and trapped grit shows as bumps you can’t fix later.
Vacuum the door, then wipe it down with a tack cloth. The cloth’s sticky surface grabs the fine powder a vacuum leaves behind. Follow with a rag dampened in mineral spirits to lift any oils from your hands.
Let the surface dry completely. You’ll feel it change from slightly cool and damp to dry and smooth under your fingertips.
Mask any hardware you left on with painter’s tape. A clean, dust-free, dry door is the only surface that takes finish evenly — anything less shows through every coat.
Step 6 – Apply Stain or Sealer
Color and protect the wood in one step. Stain deepens the grain; sealer locks out moisture. Many exterior products do both.
Load a natural-bristle brush and work with the grain in long, even strokes. You’ll see the wood drink in the first coat and the grain jump to life. Keep a wet edge so laps don’t dry into visible lines.
Wipe back excess with a clean rag if you want a lighter, even tone. Knowing how to refinish an exterior wood door means matching coverage to the look you’re after — heavier for rich color, wiped for subtle.
Let it dry per the label. Rushing the next coat traps solvent underneath, leaving a cloudy, soft finish that never fully hardens.
Step 7 – Apply the Protective Topcoat
Seal everything under a tough, weatherproof shell. Spar varnish flexes with the wood as it expands and contracts, and it blocks the UV that fades and grays an exterior door.
Brush on thin, even coats with a clean natural-bristle or foam brush. Thin beats thick — heavy coats sag, drip, and dry with a wrinkled skin. You’ll watch each pass level out to a smooth, wet sheen.
Let each coat dry, then scuff-sand lightly with 220-grit before the next. This knocks down dust nibs and gives the next coat a grip.
Apply three coats minimum for an exterior door. The final surface should glow with an even, glassy shine and feel hard and slick to the touch.
Step 8 – Rehang the Door
Put the door back once the finish has fully cured. Cured beats dry — finish feels dry in hours but stays soft for days, and soft finish dents the moment hinges press into it.
Lift the door onto its hinges and drop the pins back in. Tap them home until they seat flush. Reattach the handle, lock, and any hardware you removed, using the screws from your labeled bag.
Test the swing. The door should open and close cleanly without sticking. If it drags, the finish may have added thickness — a light sand on the binding edge fixes it.
Step back and look. A clean, even, glossy door means the job’s done right.
Common Mistakes to Avoid
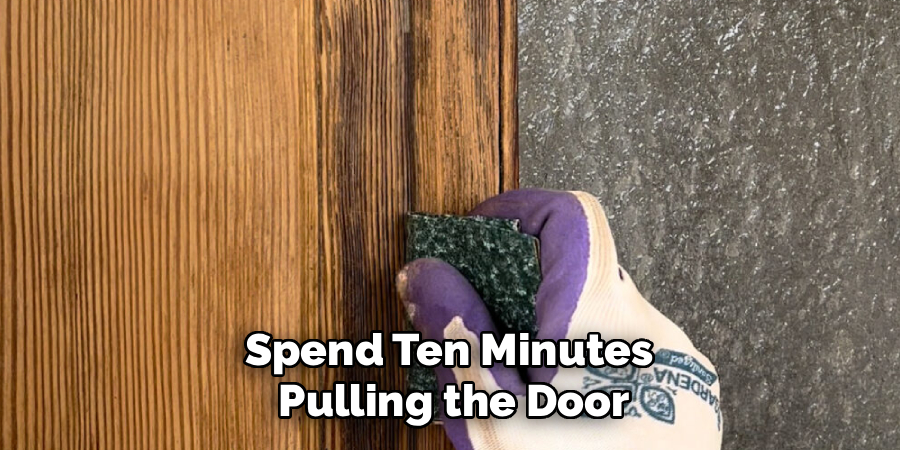
Skipping door removal is the most common shortcut, and it shows. Finishing a vertical door means fighting drips, runs, and uneven coverage the whole way. Worse, your finish cakes onto hinges and hardware. Spend ten minutes pulling the door and lay it flat across sawhorses — every later step gets easier.
Rushing the dry times ruins more refinishing jobs than any other error. Stain, sealer, and varnish feel dry on the surface long before they cure underneath. Recoat too soon and you trap solvent, leaving a cloudy, soft finish that stays tacky for weeks. Read the label and wait the full time, even when the surface feels ready.
Using interior products outdoors guarantees failure. Interior filler, stain, and varnish aren’t built for sun, rain, and temperature swings. They crack, peel, and pop loose within a season. Buy exterior-grade everything, and choose spar varnish for the topcoat — it flexes with the wood and blocks UV.
Sanding across the grain leaves swirl marks invisible on bare wood that flare up the second finish hits them. Always sand with the grain. And never skip the final inspection — one missed patch of old finish keeps your new coat from bonding right there.
Expert Tips
Refinish on a dry, mild day. Aim for 50 to 80 degrees and low humidity. Heat makes finish dry too fast and lap; cold and damp stop it from curing at all.
Sand between every topcoat with 220-grit. The light scuff knocks down dust nibs and gives each coat something to grab — the difference between a rough finish and a glassy one.
Strain your varnish before the final coat. Pouring through a paint strainer catches dried bits and brush hairs that would otherwise dry into the surface.
Don’t shake varnish — stir it. Shaking whips in air bubbles that dry as tiny craters across your topcoat.
For the smoothest finish, back the door with a fan and a clean drop cloth to keep airborne dust off the wet surface while it dries.
Frequently Asked Questions
How Often Should You Refinish an Exterior Wood Door?
Refinish every two to three years, or sooner if you see cracking, fading, or peeling. South- and west-facing doors take the most sun and need attention more often. Catch the finish before it fails completely and you can scuff-sand and recoat instead of stripping to bare wood — far less work that keeps moisture out and rot away.
Can You Refinish a Door Without Removing It?
Yes, but results suffer. A vertical door invites drips, runs, and uneven coverage, and finish builds up on hinges and hardware. If you must leave it hung, mask everything carefully, apply thin coats, and brush downward with the grain. For the cleanest finish, though, pull the door and work flat on sawhorses.
What’s the Best Finish for an Exterior Wood Door?
Marine-grade spar varnish is the top choice for exterior doors. It flexes as the wood expands and contracts through temperature swings, and it blocks the UV rays that fade and gray the surface. Pair it with an exterior stain or sealer underneath for color and moisture protection. Apply three thin coats minimum for durable, weatherproof coverage.
How Long Does It Take to Refinish an Exterior Door?
Plan for a full weekend. Stripping, repairing, and sanding fill the first day. Staining and three topcoats spread across the second, since each coat needs dry time between applications. The finish then cures for several days before the door tolerates normal use. Rushing any stage traps solvent and leaves a soft, cloudy finish.
Do You Need to Strip the Old Finish First?
Strip it whenever the old finish is cracked, peeling, or flaking. A failing finish won’t bond with new coats, so anything you apply over it peels too. If the existing finish is sound and just dull, you can scuff-sand and recoat without full stripping. When in doubt, strip to bare wood for the longest-lasting result.
Conclusion
A weathered front door isn’t a replacement job. It’s a weekend project. Work in order and the door comes back to life: remove it, strip the old finish, repair the damage, sand it smooth, seal the wood, topcoat it, and rehang it. That sequence is the whole method behind how to refinish an exterior wood door — and it works on any solid wood entry, from oak to mahogany.
Each step sets up the next. Skip the stripping and your finish won’t bond. Rush the dry time and it stays soft. Grab interior products and the whole job peels within a season. Follow the process fully and you finish with a door that looks new and shrugs off sun and rain for years.
The payoff is real. You save hundreds over replacement, protect the wood from rot, and lift your home’s curb appeal in a single weekend.
Gather your supplies, pull the door off its hinges, and start stripping. You have every step you need to bring a tired door back to clean, sealed, weatherproof wood.
