
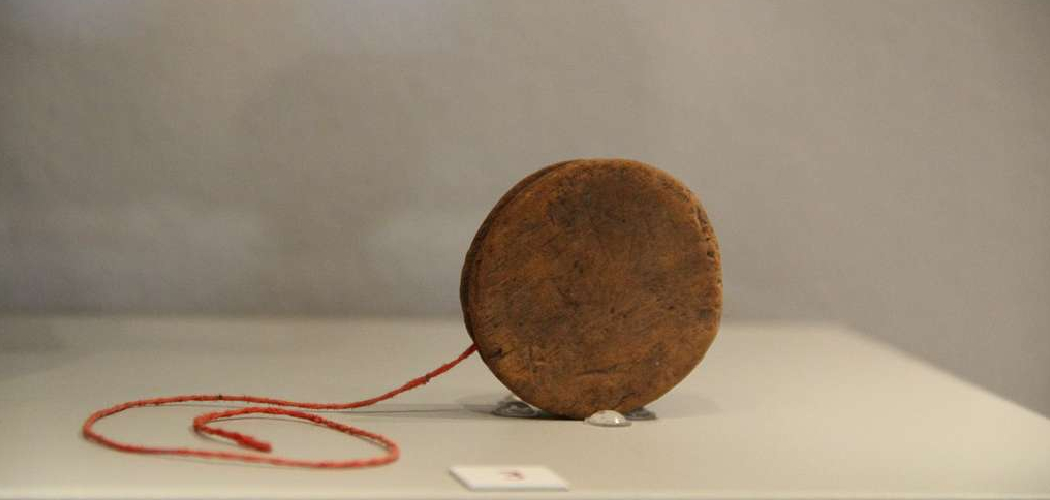
Few toys feel as satisfying as a wooden yoyo spinning smoothly at the end of a string, the gentle hum of the wood as it sleeps, then snaps back to your hand. Making one yourself turns a simple childhood toy into a rewarding woodworking project you can finish in an afternoon.
If you’ve ever wondered how to make wooden yoyo halves that spin true and balanced, you’re in for a treat. This project teaches turning, sanding, and finishing on a small, forgiving scale, perfect for beginners and seasoned hobbyists alike.
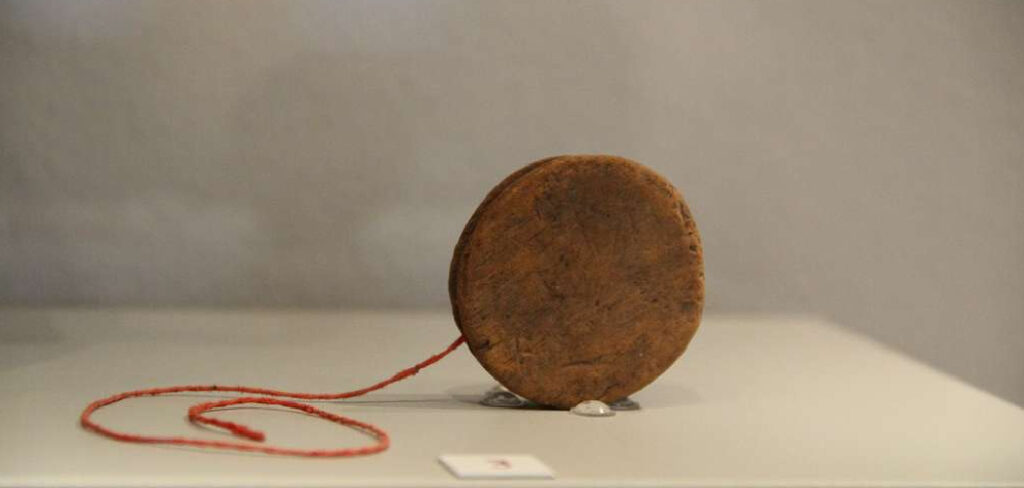
Don’t worry if you’ve never touched a lathe before. We’ll walk through each stage clearly, from picking the right wood to dialing in that perfect spin. This guide gives you everything you need to craft a balanced, great-spinning wooden yoyo from scratch.
Why Making a Wooden Yoyo Matters
Turning your own yoyo packs a surprising amount of skill into a tiny package. You learn to read grain, balance a spinning blank, and finish wood to a smooth, glassy feel, all on a project that fits in your palm.
Because the yoyo is small, mistakes cost you very little wood. That makes it an ideal way to practice lathe techniques without the pressure of ruining an expensive blank. Every cut teaches you something.
There’s a money-saving angle too. Quality wooden yoyos can be pricey, yet you can make several from a single offcut. Better still, you control the weight, shape, and feel.
Most of all, you build confidence. When that first yoyo sleeps at the end of the string, you’ll trust your hands to tackle bigger turning projects with ease.
Tools and Materials You’ll Need
Gather everything before you start. A smooth session depends on having your gear within arm’s reach.
- A wood lathe with a chuck or faceplate for holding small blanks
- A hardwood blank, such as maple, cherry, or walnut, roughly 2.5 inches square
- Turning gouges and a parting tool for shaping the halves
- A set of calipers to measure diameter and keep both halves matched
- A drill and a small bit sized for your axle (often around a quarter inch)
- A wooden dowel or pin for the fixed axle
- Wood glue to bond the axle securely
- Sandpaper in grits from 120 up to 400
- Finish such as wipe-on polyurethane, Danish oil, or wax
- Yoyo string, cotton or polyester, cut to length
- Optional: A small ball bearing for a longer, smoother sleep time
Keep your tools sharp and your workspace tidy for the best results.
Step-by-Step Guide on How to Make Wooden Yoyo
Step 1 – Choose and Prepare Your Wood Blank
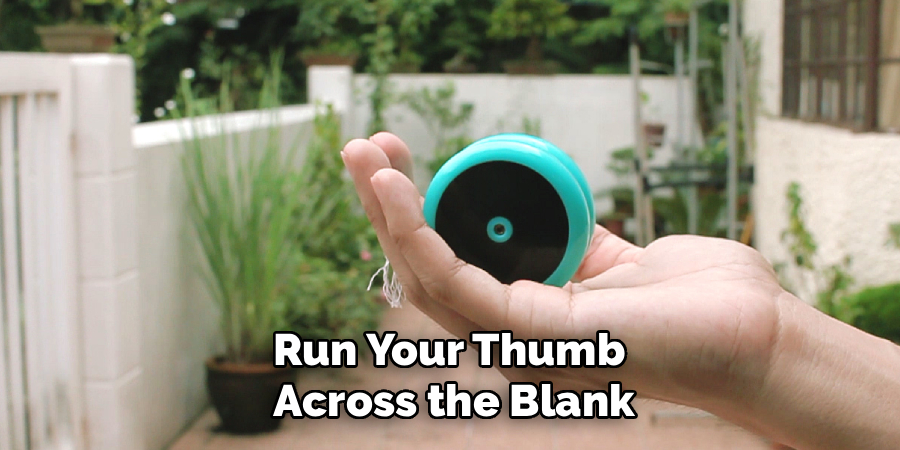
Start by picking a dense hardwood with tight, even grain. Maple turns crisp and clean, cherry adds warm color, and walnut brings rich depth. Run your thumb across the blank and feel for smooth grain with no cracks or knots.
Cut your blank into two squares, each about 2.5 inches across and an inch thick. These become your two yoyo halves, so keep them close in size for easy balancing later.
Mark the center of each square by drawing diagonals corner to corner. Where the lines cross is your true center, and accuracy here pays off through every step that follows.
When you tap a good, dry blank, it gives a clean, ringing note rather than a dull thud. That bright sound tells you the wood is ready to turn.
Step 2 – Mount the Blank on the Lathe
Secure your first blank firmly in the chuck or against the faceplate, centering it on the mark you drew. A well-centered blank spins with barely a wobble, while an off-center one shudders and rattles loudly.
Spin the lathe by hand first to check your setup. The blank should rotate smoothly with no heavy wobble or knocking against the tool rest.
Position the tool rest close to the wood, about an eighth of an inch away, and just below center height. This gives you steady control and clean cuts.
Put on your face shield, then start the lathe at a moderate speed. Listen for a smooth, even whir. If you hear thumping or feel strong vibration, stop and re-center the blank before going further.
Step 3 – Turn the First Yoyo Half
Bring your gouge gently to the spinning blank and take light, sweeping cuts. You’ll hear a soft shearing sound and watch fine ribbons of wood peel away cleanly, a sure sign your tool is sharp and your angle is right.
Shape the outer face into a gentle dome or your preferred profile. Keep the rim slightly heavier than the center, since weight near the edge improves spin and sleep time.
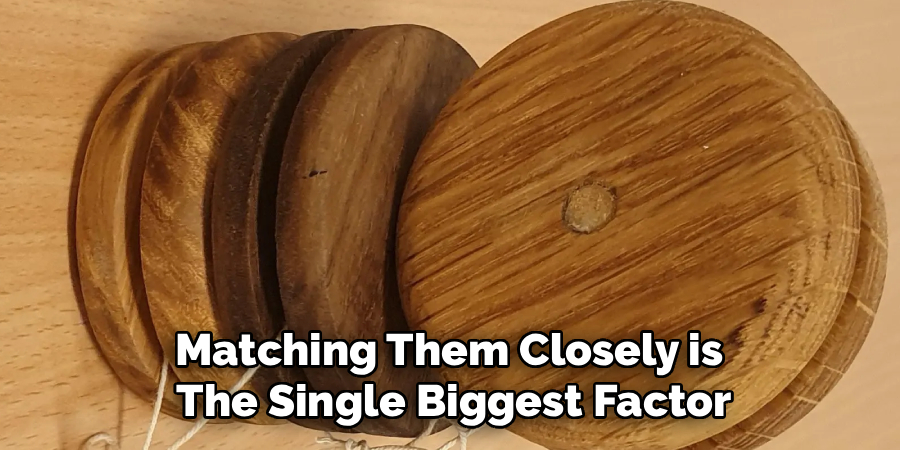
Use your calipers often to track the diameter. Matching both halves closely is the heart of how to make wooden yoyo bodies that spin true without wobbling.
Smooth the face while it still turns, starting with 120-grit and working up. When the surface feels silky under a light fingertip, your first half is ready.
Step 4 – Turn the Second Half to Match
Mount your second blank and repeat the turning process, this time aiming to mirror the first half exactly. Keep your calipers handy and check the diameter against the finished piece every minute or so.
Match the profile, the thickness, and especially the weight. Two evenly matched halves spin balanced and quiet, while mismatched ones wobble and drift off true. You’ll feel the difference instantly when you give the finished yoyo a test spin.
Take your time shaping the inner faces, since the gap between them affects how the string sits. Aim for flat, parallel inner surfaces with a slight taper toward the rim.
Sand this half to the same smooth finish as the first. When both pieces feel identical in your hands, you’re ready to join them.
Step 5 – Drill the Axle Holes
Mark the exact center of each inner face, using the same diagonal method as before. The axle must sit dead center, or the yoyo will spin lopsided and refuse to sleep.
Clamp each half securely and drill straight down with a bit matched to your dowel. Keep the drill perfectly square to the face, since even a slight angle throws off the balance.
Drill slowly and steadily. You’ll feel the bit bite cleanly and see crisp shavings curl out of the hole. A clean, round hole grips the axle snugly, while a wobbly one leaves the yoyo loose and rattly.
Test-fit your dowel before gluing. It should slide in with gentle resistance, snug but not forced.
Step 6 – Set the Axle and String Gap
Cut your dowel axle to the right length so the two halves leave a small gap between them, usually about a sixteenth of an inch. This string gap lets the string catch and release cleanly during play.
Dry-fit both halves on the axle first. Spin them by hand and watch the gap stay even all the way around. An uneven gap means one half sits crooked, so adjust before any glue touches the wood.
Apply a thin film of wood glue inside each axle hole, then press the halves onto the dowel. Keep the gap consistent and the faces parallel as you push them together.
Wipe away any squeeze-out right away, then let the assembly cure fully overnight.
Step 7 – Sand and Refine the Assembly
Once the glue cures, remount the whole yoyo on the lathe between centers if you can. Spinning the assembled body lets you true up both halves at once for perfect balance.
Take very light passes with fine sandpaper, moving from 220 up to 400 grit. The surface should grow smoother with each pass, and the spinning wood will feel cool and glassy under your fingertips.
Pay attention to the rim and the edges. Round over any sharp corners slightly so the yoyo feels comfortable in your hand and won’t catch the string awkwardly.
Wipe the body clean and inspect it under good light. When you spot no scratches catching the light and the whole thing spins without a flicker, you’re ready to finish.
Step 8 – Apply the Finish and String It Up
Choose a finish that suits your play style. Wipe-on polyurethane gives durable protection, Danish oil deepens the grain beautifully, and a simple wax buffs to a fast, slick feel.
Apply thin coats while the yoyo turns slowly on the lathe, letting each coat dry before adding the next. Watch the grain come alive as the finish soaks in, the colors warming and the surface glowing.
Once the final coat cures, loop your string around the axle. Slip the doubled string over the dowel rather than tying it tight, so the yoyo can spin freely.
Give it a test throw. A balanced yoyo drops smooth and quiet, then sleeps with a soft hum. That moment makes the whole project worth it.
Common Mistakes to Avoid
The most common mistake beginners make is letting the two halves drift out of match. If one half ends up heavier or larger than the other, the finished yoyo wobbles badly and won’t sleep. Check both diameters with calipers constantly, and weigh the halves on a small scale if you can. Matching them closely is the single biggest factor in a great-spinning toy.
Another frequent error is drilling the axle hole off-center or at an angle. Even a tiny misalignment sends the yoyo spinning lopsided. Mark your center carefully, clamp the half securely, and keep your drill perfectly square to the face.
Many people also rush the glue-up and end up with an uneven string gap. Always dry-fit the halves on the axle first and confirm the gap stays even all the way around before any glue goes on.
Skimping on sanding shows up the moment you apply finish, since the sheen highlights every scratch. Work patiently through each grit for a smooth, professional surface.
Finally, tying the string too tightly around the axle stops the yoyo from sleeping. Loop it loosely so it spins free.
Expert Tips
Weight the rim, not the center. Concentrating mass near the outer edge dramatically improves spin time, the same principle that makes a flywheel keep turning. A slightly thinner center with a heavier rim gives you noticeably longer sleeps.
Mind your grain direction when sanding the assembled body. Sanding against the grain leaves faint cross-grain scratches that finish only makes worse, so work with the grain whenever you can.
For a smoother, longer-spinning yoyo, fit a small ball bearing around the axle. It transforms an okay yoyo into one that sleeps for ages, opening the door to tricks.
Seal the axle holes with a drop of thin finish before final assembly. This keeps the wood from swelling with humidity and locks your string gap in place for consistent play.
Frequently Asked Questions
What Is the Best Wood for a Wooden Yoyo?
Dense hardwoods work best because they hold a clean edge and carry weight well. Hard maple is a top choice for its tight grain and crisp turning. Cherry and walnut add gorgeous color and turn smoothly too. Avoid soft woods like pine, which dent easily and feel light, giving you shorter spin times and a less satisfying throw overall.
Do I Need a Lathe to Make a Wooden Yoyo?
A lathe makes the job far easier and produces rounder, more balanced halves. That said, you can shape a yoyo with a hole saw, sandpaper, and patience if you don’t own one. The results take more hand-sanding to balance, but it’s absolutely doable. For consistent, great-spinning yoyos, though, a lathe is well worth learning.
How Do I Get My Yoyo to Sleep Longer?
Longer sleep comes from balance and rim weight. Keep both halves perfectly matched and concentrate the mass near the outer edge. A dead-center, square axle hole matters enormously, since any wobble drains spin fast. For dramatically longer sleeps, add a small ball bearing around the axle and keep your string slightly loose so it spins freely.
What String Gap Should a Wooden Yoyo Have?
Aim for a gap of roughly a sixteenth of an inch between the two halves. Too narrow, and the string binds, snapping the yoyo straight back. Too wide, and the string slips without catching. Test by spinning the yoyo and watching the string respond. Adjust your axle length slightly during dry-fitting until the throw feels smooth and responsive.
How Long Does It Take to Make a Wooden Yoyo?
Most of the active work, turning, drilling, and sanding, takes only a couple of hours once you’re comfortable on the lathe. The main wait is the glue cure and finish drying, which usually means leaving the project overnight. Spreading the work across two short sessions gives the best results and lets each stage set properly before the next.
Conclusion
Crafting your own yoyo rewards you with far more than a fun toy. You sharpen your turning skills, learn to balance a spinning blank, and finish wood to a smooth, professional feel, all on a project small enough to master quickly.
Remember the rhythm of the build: choose a dense hardwood, turn two matched halves, drill a dead-center axle hole, set an even string gap, then sand and finish for that glassy glow. Balance and patience are your two best friends throughout.
The real secret to how to make wooden yoyo bodies that spin long and true is matching your halves closely and keeping that axle perfectly centered. Get those right, and the rest falls into place.
Now you have everything you need to begin. Mount your blank, fire up the lathe, and take that first light cut with confidence. Before long, you’ll be watching a yoyo you built yourself sleep at the end of the string, and that feeling never gets old.
