
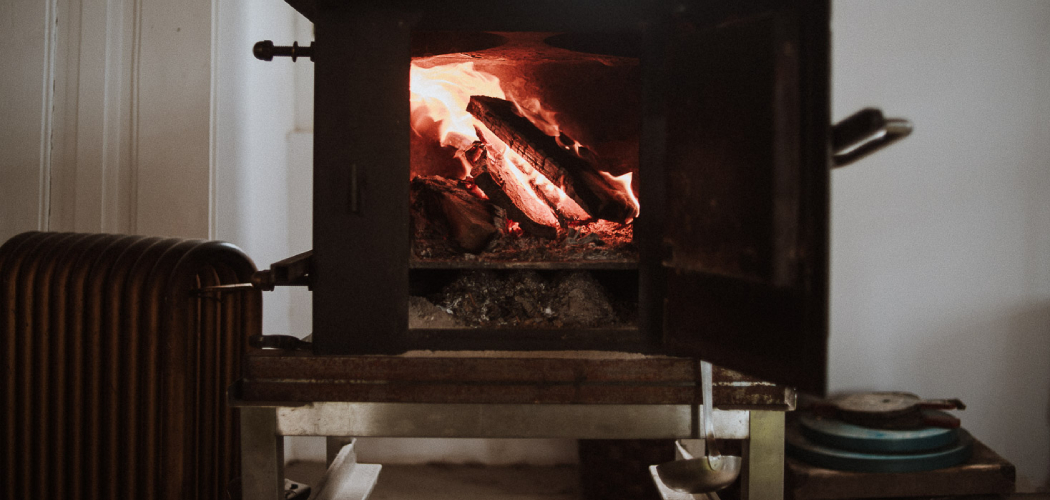
A wood stove warms your home, cuts your heating bills, and sets a cozy mood on cold nights. It can also leak an invisible, odorless gas that kills. Carbon monoxide forms when wood burns without enough air, and a poorly maintained stove pushes that gas straight into your living room. The good news? Most leaks are preventable with simple, hands-on care.
Learning how to prevent carbon monoxide from wood stove use protects your family and keeps your stove running clean for decades. You don’t need a contractor for most of this work. You need the right steps, a sharp eye, and a willingness to inspect what others ignore. This guide walks you through every step to burn safely, spot warning signs early, and keep deadly flue gases where they belong.
Why Wood Stove Safety Matters
Carbon monoxide poisoning sends thousands to the emergency room every year. Many cases trace back to a stove that looked fine but vented poorly. You can’t see CO. You can’t smell it. By the time you feel dizzy or nauseous, you’re already in danger.
Mastering wood stove safety saves you more than money. A clean, well-vented stove burns less wood, produces more heat, and lasts longer. Skip the maintenance and you’ll pay for it twice — once in wasted fuel, again in repairs or hospital bills.
Doing this work yourself builds real confidence. You’ll understand how draft works, why creosote builds up, and what a healthy fire looks like. That knowledge turns a risky appliance into a reliable one you trust every single night.
Tools and Materials You’ll Need
Gather your gear before you start. Most items cost little and last for years.
- Battery or hardwired CO detector — your first line of defense against invisible leaks
- Chimney brush sized to your flue — clears creosote and blockages
- Flexible rods or extension poles — reach the full length of the chimney
- Flashlight or headlamp — inspect dark joints and the firebox interior
- Stiff wire brush and putty knife — scrape buildup from baffles and door edges
- High-temp stove gasket and cement — seal worn door and joint gaps
- Inspection mirror — check inside the flue collar and tight corners
- Heat-resistant gloves and safety goggles — protect against ash, soot, and sharp edges
- Shop vacuum with ash filter — clean firebox and hearth without spreading dust
- Optional: infrared thermometer — confirm flue temperature and catch cold-burning problems fast
Step-by-Step Guide on How to Prevent Carbon Monoxide From Wood Stove
Step 1 – Install a CO Detector Near the Stove
Mount a carbon monoxide detector within 15 feet of your wood stove and one in each sleeping area. Place it at eye level or slightly higher, since CO mixes evenly with air rather than rising like smoke.
Press the test button. You should hear a sharp, steady beep. A weak or stuttering tone means the battery is dying — replace it now.
Knowing how to prevent carbon monoxide from wood stove leaks starts here, because a detector buys you time when something goes wrong. Check the manufacture date stamped on the back. Sensors wear out after five to seven years. Write the replacement date on the unit with a marker so you never guess.
Step 2 – Inspect the Chimney Flue for Blockages
Look up the flue with your flashlight before the heating season. You’re hunting for bird nests, leaves, soot clumps, or fallen masonry. Any blockage traps flue gases and forces them back inside.
Run your gloved hand along accessible joints. Loose mortar feels gritty and crumbles. Solid joints stay firm and smooth.
Listen, too. A clear chimney lets you hear a faint whoosh of air movement when the stove is cold. Dead silence can mean a blockage is choking the draft.
If you spot a heavy obstruction you can’t reach, stop and schedule a professional chimney inspection. A clogged flue is the single fastest path to dangerous carbon monoxide buildup.
Step 3 – Clean Out Creosote Buildup
Creosote is the dark, tar-like residue that coats your flue as wood burns. Thick deposits restrict draft and fuel chimney fires. Sweep your chimney when buildup reaches one-eighth of an inch — about the thickness of a nickel.
Push your chimney brush up or down the flue in firm, steady strokes. You’ll feel resistance loosen as the brush bites into the crust. The sound shifts from a dry scrape to a smoother glide once the wall is clean.
Shine your light up afterward. Clean flue tiles look dull orange or gray, not glossy black. Vacuum the fallen debris from the firebox. Regular cleaning keeps draft strong and flue gases flowing the right direction — straight up and out.
Step 4 – Check Door Gaskets and Seals
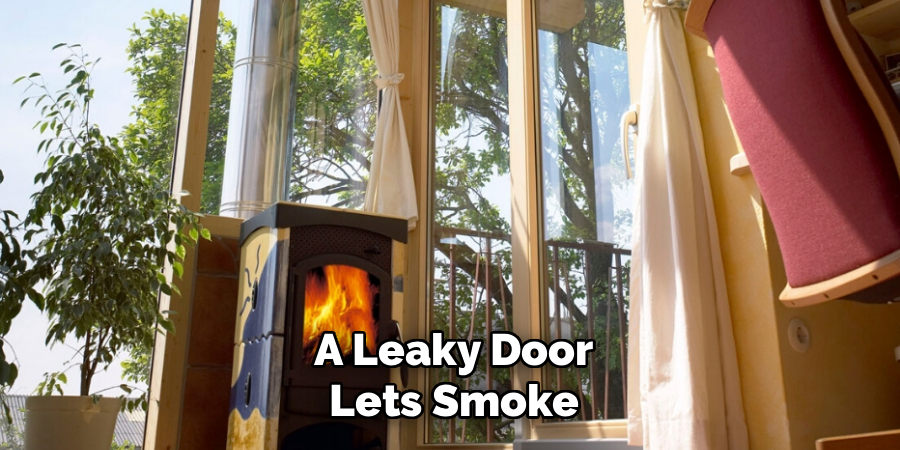
A leaky door lets smoke and CO seep into the room and starves the fire of controlled airflow. Run a dollar bill test: close the door on the bill and tug. If it slides out easily, your gasket is worn.
Look at the gasket rope around the door. Flat, frayed, or hardened sections no longer seal. Healthy gasket feels springy and compresses evenly.
Peel off the old rope, scrape the channel clean, and lay a bead of high-temp cement. Press fresh gasket into place and close the door to set it. Let it cure per the label before your first fire. A tight seal keeps combustion controlled and pushes exhaust up the flue instead of into your home.
Step 5 – Ensure Proper Combustion Air Supply
Fire needs oxygen to burn clean. Starve it and incomplete combustion produces more carbon monoxide. Modern, airtight homes often choke a stove without the owner realizing it.
Crack a nearby window an inch and watch the flames. If they brighten and steady, your stove was short on air. Sluggish, lazy yellow flames signal poor combustion. A healthy fire burns with active orange-yellow tongues and minimal smoke.
If you have a fresh-air intake kit, confirm the vent is open and unobstructed by leaves or snow outside. Reliable combustion air is central to how to prevent carbon monoxide from wood stove operation, because clean burning depends entirely on steady oxygen reaching the firebox.
Step 6 – Verify the Chimney Draft
Draft is the upward pull that carries smoke and gases out. Weak draft lets them spill back inside. Test it by lighting a small, fast-burning kindling fire with the door cracked.
Watch the smoke. It should rise briskly and disappear up the flue. Smoke curling out the door means your draft is failing — stop and find the cause.
Cold flues often stall draft. Warm the chimney first by burning a tightly rolled newspaper near the flue collar. You’ll feel the air reverse and start pulling upward.
Strong draft makes a soft, steady rushing sound as the fire builds. That sound tells you exhaust is leaving the way it should, not backing up into your space.
Step 7 – Burn Only Seasoned, Dry Firewood
Wet wood is the enemy of clean combustion. It smolders, smokes heavily, and dumps far more carbon monoxide and creosote into your flue. Seasoned wood burns hot and clean.
Properly dried firewood shows checking cracks on the cut ends and feels light for its size. Knock two pieces together — dry wood gives a sharp, hollow crack. Wet wood produces a dull thud.
Aim for a moisture content under 20 percent. A cheap moisture meter confirms it in seconds. Store your wood off the ground, stacked loosely, and covered on top while the sides stay open to airflow.
Dry wood ignites fast, settles into bright coals, and leaves little smoke trailing from your chimney cap outside.
Step 8 – Schedule a Professional Inspection
Even a careful DIYer misses things hidden inside walls and rooflines. Book a certified chimney sweep once a year, ideally before winter. They’ll scope the full flue with a camera and catch cracks, gaps, or liner damage you can’t see.
A pro spots subtle hazards fast — a separated flue tile, a deteriorating liner, a faulty damper. These problems leak CO silently while everything looks normal from inside.
Keep the inspection report on file. It documents your stove’s condition, supports insurance claims, and flags small issues before they grow expensive. Pair this yearly check with your own monthly habits, and you build a complete safety routine that catches problems from every angle.
Common Mistakes to Avoid
The biggest mistake is treating a CO detector as optional. People assume they’ll smell trouble, but carbon monoxide gives no warning at all. Skipping the detector — or letting its battery die — removes the only alarm that works while you sleep. Test yours monthly and replace the whole unit every five to seven years.
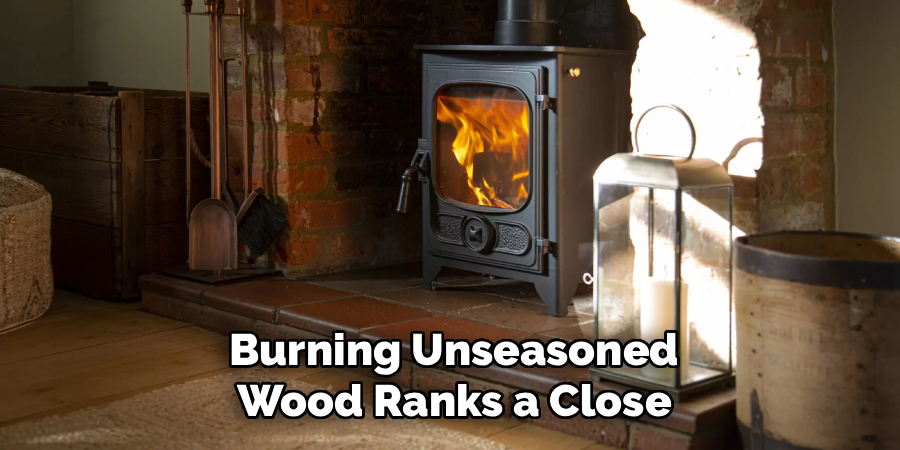
Burning unseasoned wood ranks a close second. Fresh-cut or rain-soaked logs smolder, coat your flue with creosote, and produce far more CO than dry wood ever will. Many beginners burn wood that’s only been split for a few weeks and wonder why their chimney clogs so fast.
Another frequent error is ignoring the chimney until something smells off. By then, creosote has built dangerously thick or a blockage already restricts your draft. Inspect before every heating season, not after problems appear.
People also overload the firebox, packing it full and damping the air down for a long, slow burn. That choked fire smolders, starves for oxygen, and pumps out carbon monoxide. Burn smaller, hotter loads with healthy airflow instead. Finally, sealing your home too tightly without a fresh-air intake quietly suffocates the stove and reverses your draft.
Expert Tips
Watch your chimney cap from outside while the stove burns. Thin, nearly invisible heat shimmer means clean combustion. Thick gray or blue smoke signals a cold, dirty burn that’s making excess CO — adjust your air or check your wood.
Keep a stovepipe thermometer on the connector pipe. The sweet spot sits between 250 and 475 degrees. Burn below that and creosote forms fast. Burn above it and you risk overfiring.
Never close the air control all the way overnight. A starved fire smolders and produces the most carbon monoxide of any burn stage. Bank your coals with the air slightly open instead.
Stack wood for a full year before burning. Most species need 12 months of drying, and oak needs closer to two.
Frequently Asked Questions
Can a Wood Stove Really Cause Carbon Monoxide Poisoning?
Yes. Any appliance that burns fuel produces carbon monoxide, and a wood stove is no exception. The danger comes when CO can’t escape up the flue — from a blocked chimney, leaky door, weak draft, or smoldering fire. A properly installed, well-maintained stove vents these gases safely outdoors. Regular cleaning, dry wood, and a working CO detector keep the risk extremely low.
Where Should I Place a CO Detector Near My Wood Stove?
Install one within 15 feet of the stove and one in or near every sleeping area. Mount it at eye level, since carbon monoxide blends evenly with the air rather than rising like smoke. Keep it a few feet away from the stove itself to avoid false alarms from normal startup smoke. Test it monthly and replace the unit every five to seven years.
How Often Should I Clean My Chimney Flue?
Inspect your flue before every heating season and clean it whenever creosote reaches about one-eighth of an inch thick. Heavy burners may need cleaning twice a year, while occasional users might manage with one. Burning wet wood or running cool, smoldering fires speeds buildup dramatically. When in doubt, sweep more often — a clean flue maintains strong draft and prevents dangerous flue gas backups.
What Does Carbon Monoxide Poisoning Feel Like?
Early symptoms mimic the flu: headache, dizziness, nausea, fatigue, and confusion. The difference is that everyone in the home feels it at once, and symptoms ease when you go outside. Higher exposure causes vomiting, loss of coordination, and unconsciousness. If your detector sounds or you feel these signs, get everyone into fresh air immediately and call emergency services.
Does Dry Firewood Actually Reduce Carbon Monoxide?
Absolutely. Dry, seasoned wood burns hot and complete, converting fuel into heat and pushing minimal CO up the flue. Wet wood smolders, burns incomplete, and produces far more carbon monoxide plus heavy creosote. Aim for moisture under 20 percent, confirmed with a cheap meter. Dry logs crack sharply when knocked together and show splitting on the cut ends.
Conclusion
A wood stove rewards you with warmth and lower heating bills, but only when you respect what it produces. Carbon monoxide is invisible, odorless, and deadly — yet completely manageable with the right habits. You now have a clear, repeatable routine: install and test detectors, clear your flue, seal the door, feed the fire steady air, and burn only dry wood. Back it all with a yearly professional inspection.
None of this requires advanced skill. It requires attention and consistency. Learning how to prevent carbon monoxide from wood stove use is one of the most valuable safety skills any homeowner can master, and you’ve just covered every step that matters.
Make these checks part of your seasonal rhythm. Inspect before the first cold snap, clean when buildup appears, and never let a detector battery die. Do that, and your stove stays exactly what it should be — a safe, efficient source of heat your family can trust through every winter to come.
