
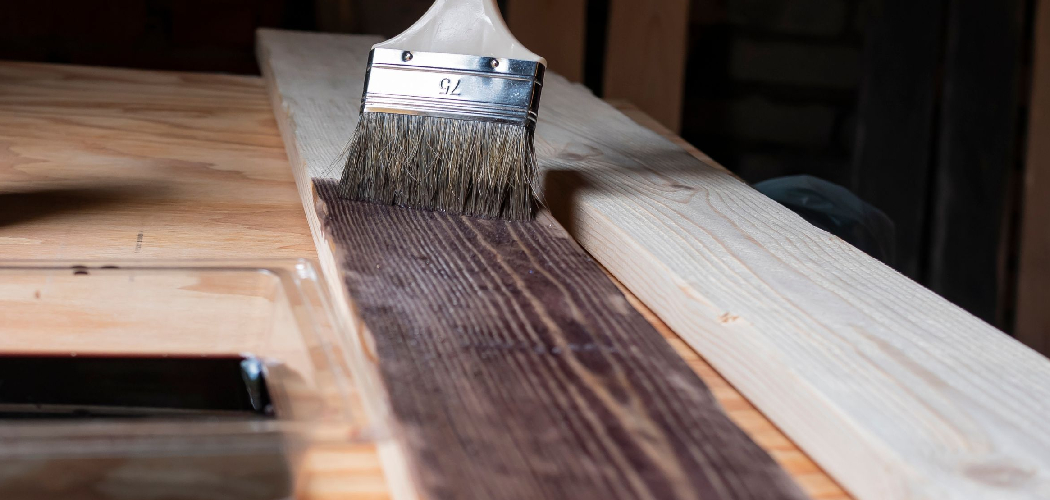
Pine has a warm, honey-colored charm, but sometimes you want something softer and brighter. That’s where whitewashing comes in. It’s a simple finishing technique that lets the wood grain peek through a thin, milky veil of color, giving furniture, walls, and shelves that fresh, coastal, farmhouse look.
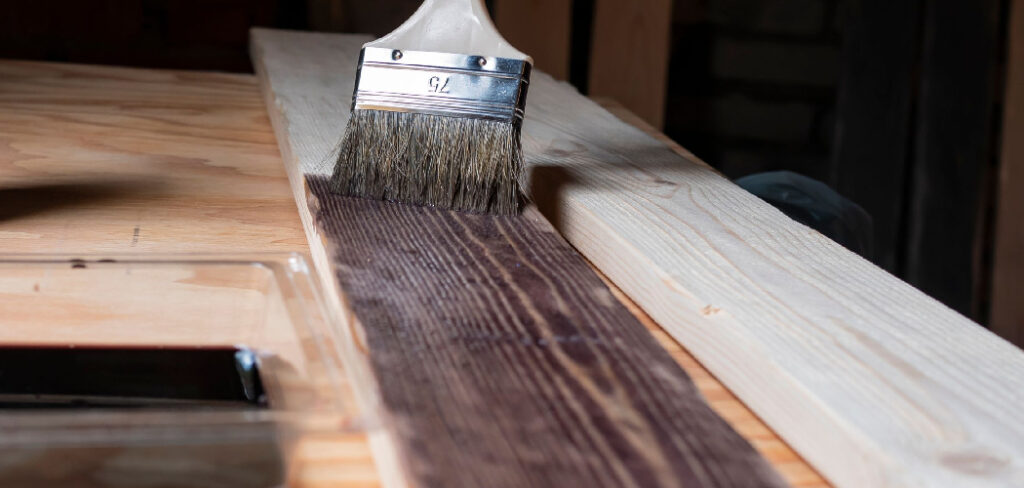
Learning how to whitewash pine wood is one of the easiest ways to transform a plain piece into something that feels light and modern. You don’t need fancy gear or years of practice. With a little paint, some water, and a steady hand, you can pull off a finish that looks like it came from a high-end shop. This guide walks you through every step, from prepping the surface to sealing your work, so you can whitewash pine confidently and get beautiful, lasting results.
Why Learning This Skill Matters
Hiring someone to refinish furniture gets expensive fast. When you whitewash pine yourself, you save real money and keep full control over the final look. Want it barely tinted or thick and chalky? That’s your call.
There’s confidence in it too. Once you understand how the wash soaks into the grain, you stop fearing mistakes. You learn to read the wood, adjust your mix, and fix problems before they set.
Whitewashing also breathes new life into tired pieces. That scratched-up dresser or yellowed pine paneling can look brand new without the cost of replacing it. You extend the life of what you already own. Master this one technique, and you’ll never look at a thrift-store find the same way again.
Tools and Materials You’ll Need
Gather everything before you start. Stopping mid-project to find a brush only leads to dried-out edges and uneven patches.
- White latex or chalk paint as your base color
- Clean water for thinning the paint into a wash
- A mixing container and a stir stick
- Synthetic bristle brush for applying the wash
- Clean, lint-free rags for wiping and blending
- Sandpaper in 120 and 220 grit for prepping the surface
- Tack cloth to remove fine dust before painting
- Drop cloth or newspaper to protect your work area
- Clear sealer like polyurethane or wax to finish and protect
- Painter’s tape for masking edges you want to keep clean
- Optional: a spray bottle of water to keep the surface workable and blend the finish smoothly
Wear gloves and work in a well-ventilated space.
Step-by-Step Guide on How To Whitewash Pine Wood
Step 1 – Prepare and Clean the Surface
Start with a clean, bare surface. If your pine has an old finish, sand it off so the wash can soak into the grain. Dirt, wax, or grease will block the paint and leave blotchy spots.
Wipe the wood down with a damp cloth and let it dry fully. You want the surface free of grime and ready to drink in the color.
Run your hand across the wood. It should feel cool and slightly porous, not slick or sticky. If your fingers catch on old varnish, keep sanding. A properly prepped surface looks dull and matte, never shiny. This first step shapes everything that follows, so don’t rush it. Clean, raw pine gives you the most even, predictable results.
Step 2 – Sand the Wood Smooth
Now smooth the surface with your sandpaper. Begin with 120 grit to knock down rough patches, then switch to 220 grit for a soft, even finish. Always sand with the grain, never across it, or you’ll leave scratches that show through the wash.
Listen as you work. Coarse grit makes a gritty, scrubbing sound, while fine grit whispers softly across the wood. That quieter sound tells you the surface is getting smooth.
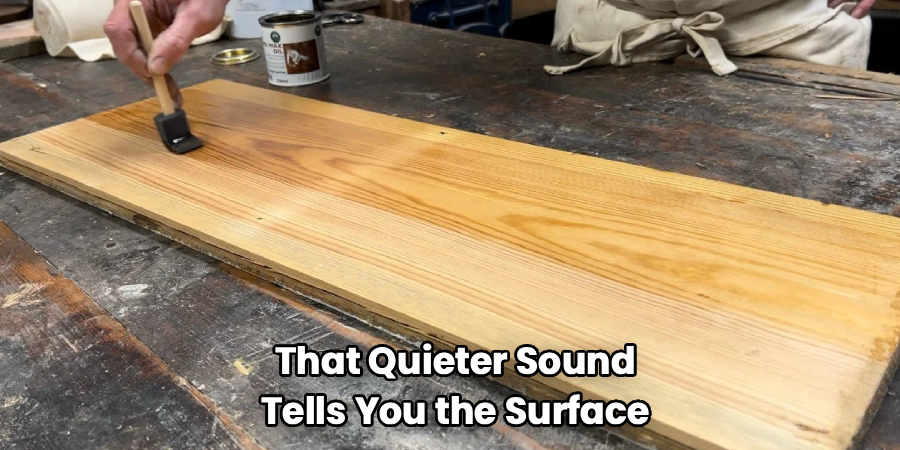
Run your palm over the pine when you finish. It should feel like soft suede, with no splinters or ridges. Pay extra attention to edges and corners, where rough spots love to hide. Smooth wood absorbs the wash evenly, which is the secret to that clean, professional look.
Step 3 – Remove All the Dust
Sanding leaves a fine layer of dust that ruins a smooth finish if you skip this step. First, brush or vacuum away the loose powder.
Then wipe the surface with a tack cloth. This sticky cloth grabs the finest particles your hand can’t feel. Drag it slowly across the wood, following the grain, until the surface comes up clean.
Hold the piece up to the light and look across it at an angle. You shouldn’t see any specks or streaks of dust catching the glow. If you do, wipe again. Even a little leftover grit will create bumps under your wash. A truly clean surface feels velvety and looks uniform, ready to take color beautifully and evenly.
Step 4 – Mix Your Whitewash
Here’s where learning how to whitewash pine wood gets fun. In your container, mix white paint with water. A good starting ratio is two parts paint to one part water for a solid look, or one part paint to one part water for a sheerer, washed-out effect.
Stir well until the mixture turns smooth and milky, with no clumps. It should look like thin cream and drip easily off your stir stick.
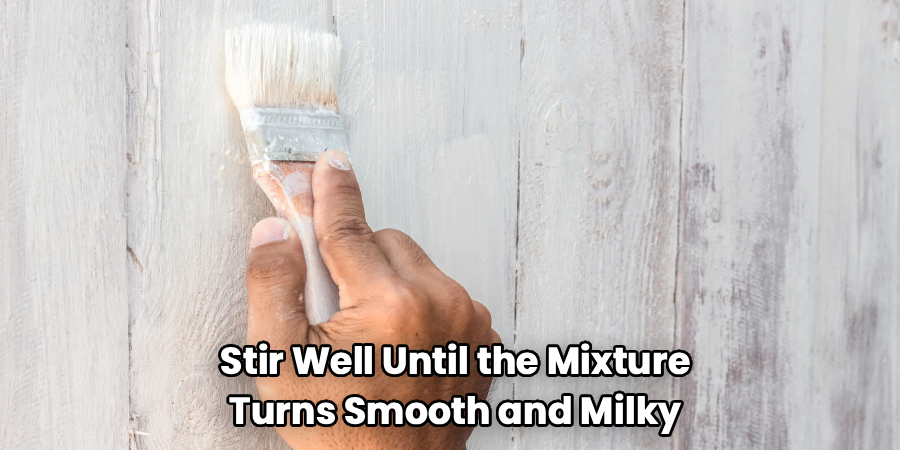
Test it on a hidden spot or a scrap piece of pine first. Brush it on, wipe it back, and see how much grain shows through. Too thick? Add water. Too faint? Add paint. Adjusting now saves you from surprises later. The right mix gives you control over the entire finish.
Step 5 – Apply the First Coat
Dip your brush and load it lightly, then spread the wash along the grain in long, even strokes. Work in small sections so the paint stays wet and easy to blend. You’ll hear a soft, swishing sound as the bristles glide over the smooth wood.
Don’t glob it on. A thin, even layer beats a heavy one every time. The surface should look milky and slightly streaky at this stage, with the grain still visible underneath.
Keep your strokes moving in one direction. Crisscrossing leaves lap marks that dry darker and uneven. If a section starts to dry before you blend it, mist it lightly with your spray bottle. Steady, patient strokes give you that smooth, brushed-cotton look across the whole piece.
Step 6 – Wipe Back to Reveal the Grain
This step is the heart of how to whitewash pine wood. While the coat is still wet, grab a clean rag and wipe along the grain. Wiping removes excess paint and lets the natural wood character show through the milky film.
Press firmly for more grain, lightly for more color. You control the look entirely with this motion. The wood will feel slightly damp and cool, and you’ll see those warm pine lines emerge through the white.
Keep flipping to a clean part of the rag as it loads up with paint. A paint-soaked rag just smears color around instead of lifting it. Work section by section, blending as you go, until the whole piece glows with that soft, weathered, sun-bleached charm you’re after.
Step 7 – Let It Dry and Add a Second Coat
Step back and let the first coat dry completely, usually two to four hours depending on humidity. Touch a corner to check. Fully dry pine feels cool and dry, never tacky or cool-damp.
Look at the surface in good light. If the color feels too thin or patchy in spots, you’re ready for a second coat. Repeat your brushing and wiping just like before, building the look slowly.
Two thin coats always beat one thick coat. They give you richer, more even coverage without hiding the grain you worked so hard to reveal. Resist the urge to rush it. Each light layer adds depth and softness. Once you’re happy with the color, let everything cure before moving to the final step.
Step 8 – Seal and Protect Your Finish
Whitewash needs protection, especially on tabletops, shelves, and high-traffic pieces. Choose a clear sealer that fits your project. Water-based polyurethane keeps the white bright and dries clear, while wax gives a soft, matte, hand-rubbed feel.
Apply the sealer in thin coats with a clean brush or cloth, following the grain. You’ll see the surface deepen slightly and even out as it goes on. Let each coat dry fully before adding the next.
Two to three light coats give the best durability. Run your hand over the finished piece. It should feel smooth, sealed, and slightly satiny, not sticky or rough. This final layer locks in your work, guards against scratches and moisture, and keeps that fresh whitewashed look beautiful for years.
Common Mistakes to Avoid
The most common slip-up is skipping the prep work. People get excited and slap wash onto a dirty or glossy surface, then wonder why it beads up or dries blotchy. Old finishes block the paint from soaking in, so the wash sits on top and looks uneven. Always clean and sand first.
Another frequent error is mixing the wash too thick. When you skimp on water, the paint hides the grain entirely and looks more like a sloppy paint job than a whitewash. Start thin and build up. You can always add more, but you can’t easily take it back.
Many beginners also let sections dry before wiping them back. Once whitewash dries, you can’t lift it cleanly, and you’re stuck with hard lap marks. Work in small areas and keep your edges wet.
Wiping across the grain instead of with it causes problems too. Cross-wiping smears the color and erases that natural wood character you want to show off.
Finally, skipping the sealer leaves your finish vulnerable. Bare whitewash chips, stains, and rubs off fast. A clear topcoat protects all your hard work and keeps it looking crisp.
Expert Tips
Always test your wash on a hidden spot or scrap of the same pine before committing. Wood from different boards drinks color differently, and a quick test saves you from nasty surprises on the finished piece.
Keep a spray bottle of water close by. A light mist re-wets the surface, buying you precious extra seconds to blend out lap marks before they set.
For a softer, more aged look, sand lightly between coats with 220 grit. This knocks down any raised grain and gives the finish a smooth, vintage feel that pros love.
Work in natural daylight whenever you can. It shows the true color and reveals streaks that hide under harsh artificial bulbs. One last trick: warm your wash slightly in a warm room. Cool paint drags, while room-temperature wash flows smoothly off the brush.
Frequently Asked Questions
What’s the Best Paint for Whitewashing Pine?
Latex paint and chalk paint both work beautifully. Latex thins easily with water and dries durable, making it great for furniture. Chalk paint gives a softer, more matte, vintage finish that’s popular for farmhouse looks. Either way, choose a clean white or off-white as your base, thin it with water, and test your mix on scrap wood before you start the real project.
Do I Need to Sand Pine Before Whitewashing?
Yes, sanding matters a lot. It removes old finishes, smooths rough patches, and opens the grain so the wash can soak in evenly. Start with 120 grit, then finish with 220 grit, always sanding with the grain. Skipping this step usually leads to blotchy, uneven color. Clean, smooth, bare pine always takes whitewash better than a glossy or dirty surface.
How Many Coats of Whitewash Do I Need?
Most projects look best with one or two thin coats. A single coat gives a light, sheer effect with lots of grain showing. A second coat builds richer, more even coverage while still letting the wood character peek through. Always let each coat dry fully before adding the next, and build the color slowly. Two thin coats beat one thick, heavy layer every time.
Will Whitewash Hide the Wood Grain?
No, that’s the whole charm of it. A properly thinned whitewash lets the natural pine grain show through a soft, milky veil of color. The key is wiping the wash back while it’s wet to reveal those warm wood lines. If your grain disappears, your mix is too thick. Just add more water and test again on scrap until the grain shows.
How Do I Protect Whitewashed Pine?
Seal it with a clear topcoat. Water-based polyurethane keeps the white bright and resists scratches and moisture, making it ideal for tables and shelves. Clear wax offers a softer, matte finish that feels smooth to the touch. Apply two to three thin coats, following the grain, and let each dry fully. Sealing locks in your finish and keeps it looking fresh for years.
Conclusion
Whitewashing turns plain pine into something light, fresh, and full of character, and you don’t need a workshop full of tools to do it. Once you understand how to whitewash pine wood properly, the whole process becomes a relaxing, rewarding routine. You prep the surface, mix your wash, brush it on, and wipe it back to reveal that beautiful grain.
The main takeaways are simple. Always clean and sand first. Mix your wash thin and build the color slowly. Wipe with the grain while the paint is wet, and never skip the protective sealer at the end.
Do those things, and you’ll get a soft, even finish that looks like it came from a high-end shop. Each piece gets easier as your confidence grows and you learn to read the wood. So grab your brush, mix up a batch, and try it on that tired old pine you’ve been meaning to refresh. Your next beautiful project is just a few coats away.
