
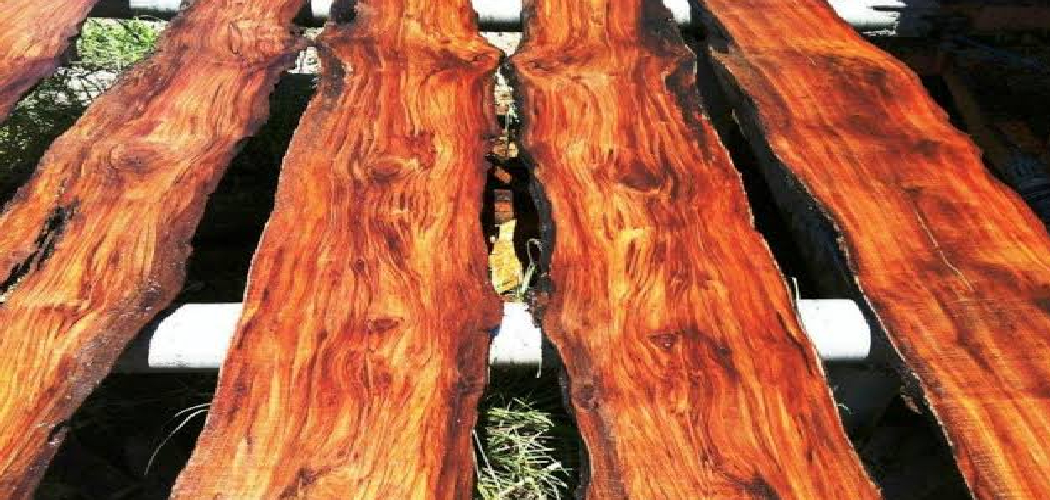
Mahogany has a deep, reddish-brown glow that makes furniture look expensive even when it isn’t new. But that beauty fades fast when dust, grease, and grime build up on the surface. If your once-gleaming dining table or antique dresser looks dull and tired, the wood isn’t ruined; it just needs the right care. Learning how to clean mahogany wood the proper way protects the finish, brings back the rich color, and keeps the grain looking sharp for decades.
The good news? You don’t need fancy products or special training. With a few household items and a gentle touch, you can refresh your mahogany furniture in an afternoon. This guide walks you through every step, from dusting to polishing, so you can clean your mahogany safely and confidently.
Why Cleaning Mahogany Wood Matters
Mahogany isn’t cheap, and replacing a worn piece costs far more than maintaining one. Regular cleaning extends the life of your furniture by years, sometimes generations. Dust may look harmless, but it’s mildly abrasive. Left alone, it grinds into the finish every time you wipe the surface, scratching the protective layer that keeps moisture out.
That’s where the real damage starts. Once moisture reaches bare wood, you get swelling, warping, and ugly white rings. Cleaning the right way prevents all of it.
There’s a confidence payoff too. When you know which products are safe and which ones strip a finish, you stop fearing your own furniture. You’ll avoid the costly mistakes that send people running to refinishers, and you’ll keep your mahogany furniture looking like the centerpiece it was meant to be.
Tools and Materials You’ll Need
Gather everything before you start so you’re not scrambling mid-job. Most of these items are probably already in your home.
- Two soft microfiber cloths – one for cleaning, one for drying
- A clean feather duster or dry dusting cloth – for daily dust removal
- Mild dish soap – just a few drops, nothing harsh
- Warm water – in a small bowl
- White vinegar – for cutting through grease and grime
- A second bowl of clean water – for rinsing your cloth
- Quality wood polish or natural oil – to restore shine and protect the finish
- Cotton swabs or a soft toothbrush – for carved details and crevices
- (Optional) A foam paintbrush – makes applying oil into grooves quick and even
Step-by-Step Guide on How to Clean Mahogany Wood
Step 1 – Dust the Entire Surface First
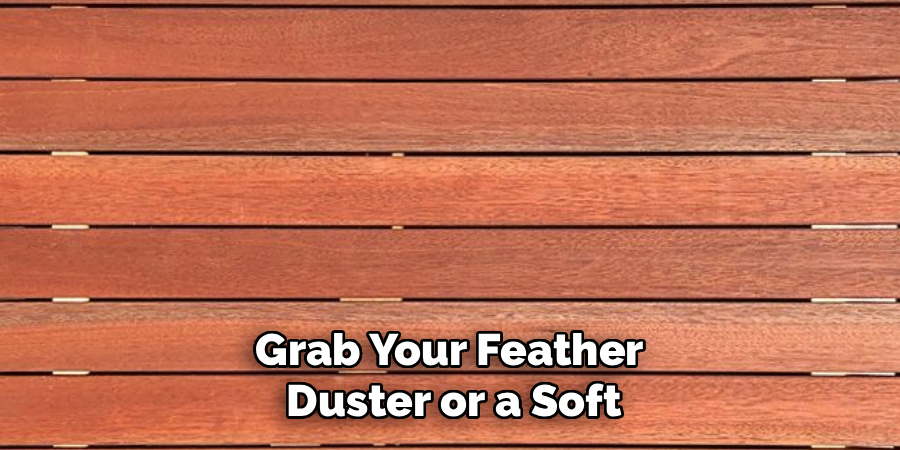
Always start dry. Grab your feather duster or a soft, lint-free cloth and sweep away every speck of loose dust before any moisture touches the wood. This matters more than people think. Wiping a wet cloth over a dusty surface drags those tiny grit particles across the finish, leaving fine scratches you’ll notice later in raked light.
Work from top to bottom so falling dust lands on areas you haven’t cleaned yet. Pay attention to carved edges, table legs, and corners where dust loves to hide. Run your fingers lightly over the surface afterward. It should feel smooth and clean, not gritty. Knowing how to clean mahogany wood well begins with this simple, patient step.
Step 2 – Test a Hidden Spot Before You Begin
Never trust any cleaner on the visible surface first. Find a hidden area, like the underside of a tabletop or the back of a leg, and dab a little of your soapy solution there. Wait a minute, then wipe it off and check closely.
You’re looking for trouble signs: cloudiness, a sticky feel, color lifting onto the cloth, or any dullness in the finish. If the test spot still looks rich and even, you’re clear to continue. If something seems off, stop and switch to a gentler approach.
This thirty-second habit saves you from disaster. Older mahogany furniture often carries shellac or lacquer finishes that react badly to water or vinegar, and you’d much rather discover that on a hidden spot.
Step 3 – Mix a Gentle Cleaning Solution
Skip the harsh chemicals. Mahogany responds best to mild cleaners, so fill a small bowl with warm water and add just two or three drops of dish soap. Swirl it gently until you see a light layer of suds form. You want barely soapy water, not a bubble bath.
For grimy, grease-touched areas, like a kitchen sideboard or armrests, mix one part white vinegar with four parts water in a separate bowl. The vinegar cuts through built-up oils without stripping the finish when properly diluted.
Keep your second bowl of clean water nearby for rinsing the cloth. The goal is control. Strong solutions soak into wood and lift finishes, while a gentle mix lets you clean grime away without harming the surface underneath.
Step 4 – Wipe Down with a Damp Cloth
Dip a microfiber cloth into your soapy water, then wring it out hard. The cloth should feel barely damp, never dripping. Water is mahogany’s enemy, so the less moisture sitting on the surface, the better.
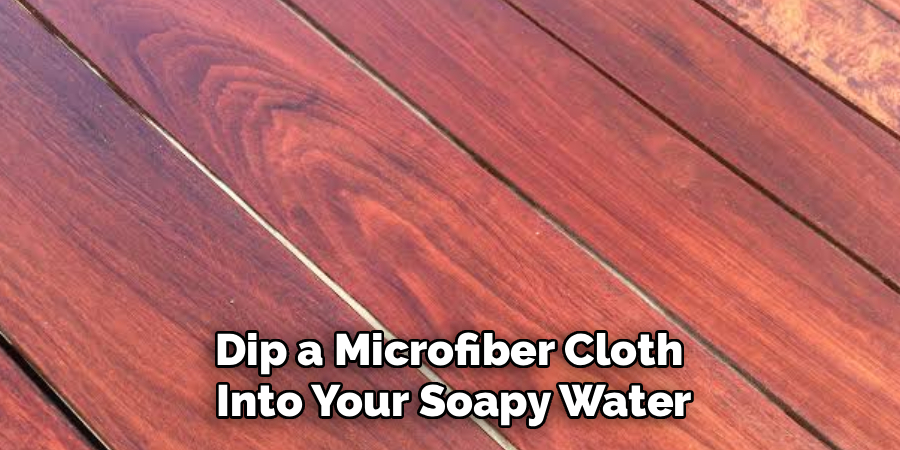
Wipe in the direction of the wood grain, using long, smooth strokes. You’ll feel the cloth glide more easily as grime lifts away. Rinse the cloth often in your clean-water bowl, wringing it out each time, so you’re not just smearing dirt around.
For sticky or greasy patches, switch to the diluted vinegar mix and gently work the spot. Watch the surface as you go. A clean section looks evenly rich and slightly damp, while a streaky, cloudy patch means too much water.
Step 5 – Clean Carved Details and Crevices
Flat surfaces are easy. The tricky parts are the carved legs, decorative grooves, and tight corners where grime collects and hides. This is where your cotton swabs or soft toothbrush earn their keep.
Dip a swab lightly in your soapy solution and gently work it into the detailed areas. Use slow, careful movements so you don’t soak the wood or scratch delicate carving. A soft toothbrush handles wider grooves nicely, loosening trapped dust with a quiet, gentle scrubbing sound.
Take your time here. Rushing leaves dark lines of grime in the recesses that make the whole piece look neglected, no matter how clean the flat surfaces are. When you finish, those details should look as crisp and defined as the day they were carved.
Step 6 – Dry the Wood Thoroughly
The second you finish wiping, reach for your dry microfiber cloth. Don’t let water sit on mahogany, not even for a minute. Lingering moisture seeps into the finish and the wood beneath, causing cloudy spots, white rings, and over time, warping or splitting.
Buff the entire surface with smooth strokes along the grain until it feels completely dry to the touch. The wood should look matte and even, with no damp sheen anywhere. Run your hand across it. Any cool, slightly tacky feeling means moisture is still present, so keep drying.
Don’t forget the crevices you just cleaned. Use a corner of the dry cloth or a fresh swab to soak up water trapped in carvings. Thorough drying is what separates safe cleaning from slow damage.
Step 7 – Apply Polish or Natural Oil
Once the wood is bone dry, it’s time to feed the finish. A quality wood polish or natural oil restores that deep shine and adds a protective layer against future dust and moisture. Pour a small amount onto a clean, dry cloth, never directly onto the wood.
Rub it in using circular motions first to work the oil into the grain, then finish with long strokes following the grain direction. You’ll watch the color deepen and the surface come alive with warmth. For carved sections, a foam brush or cotton swab spreads oil evenly into the grooves.
Apply thin and even. Too much product leaves a greasy, streaky film that attracts more dust than it repels, defeating the whole point of mahogany furniture care.
Step 8 – Buff to a Rich Shine
The final step turns good into stunning. Wait the time your polish or oil recommends, usually a few minutes, so it can settle into the wood. Then grab a fresh, dry microfiber cloth and start buffing.
Work in firm, steady strokes along the grain. You’ll feel the surface go from slightly slick to smooth and glassy as you remove the excess and bring up the shine. Listen for the soft squeak of clean cloth on a well-buffed surface; that’s the sound of a job done right.
Keep buffing until no oily residue transfers to your cloth and the wood reflects light evenly. Step back and check from different angles. Properly cleaning and finishing your mahogany this way leaves a glow that flat, neglected wood can never match.
Common Mistakes to Avoid
The most common mistake is using too much water. People assume more moisture means a deeper clean, but mahogany hates standing water. It seeps into the finish and the wood, causing cloudy patches, white rings, and eventual warping. Always wring your cloth until it’s barely damp, and dry the surface immediately afterward.
Another frequent error is reaching for harsh, all-purpose cleaners or ammonia-based sprays. These strip protective finishes and dull the natural color over time. Stick to a few drops of mild dish soap or properly diluted vinegar, which clean effectively without damaging the surface.
Many beginners also skip the hidden-spot test. Older mahogany often wears delicate finishes like shellac that react badly to water or acidic cleaners. Testing first takes thirty seconds and prevents permanent, visible damage.
Wiping against the grain is another quiet mistake. It pushes grime into the wood and can leave faint scratches. Always follow the grain direction with smooth, even strokes.
Finally, people overload furniture with polish, thinking more shine comes from more product. Instead, you get a sticky film that traps dust. Apply thin coats and buff well for a lasting, even glow.
Expert Tips
Pros know that consistency beats deep cleaning. A quick weekly dusting prevents grime from ever building up, which means you rarely need wet cleaning at all. The less moisture mahogany sees, the longer it lasts.
Keep your furniture out of direct sunlight. UV rays fade that rich reddish-brown color and can dry the wood until it cracks. If a piece sits by a window, rotate it occasionally so it ages evenly.
Watch your home’s humidity too. Mahogany expands and contracts with moisture in the air, so aim for steady indoor humidity around 40 to 50 percent to prevent splitting.
When choosing a wood polish, avoid silicone-based sprays. They give instant shine but build up over time and complicate future refinishing. A natural oil or quality paste wax protects better and ages beautifully.
Frequently Asked Questions
Can I Use Vinegar to Clean Mahogany Wood?
Yes, but only when diluted. Mix one part white vinegar with four parts water and use it sparingly on greasy or grimy spots. Undiluted vinegar is acidic enough to dull or damage the finish over time. Always wring your cloth nearly dry, wipe along the grain, and follow up immediately with a dry cloth to remove any lingering moisture.
How Often Should I Clean Mahogany Furniture?
Dust your mahogany furniture weekly with a soft, dry cloth to stop grit from building up. A deeper clean with mild soapy water is usually only needed every few months, or when you notice grime, fingerprints, or grease. Apply polish or natural oil two to four times a year. Over-cleaning with water does more harm than good, so let the wood guide you.
What’s the Best Polish for Mahogany Wood?
A natural oil or quality paste wax works best for mahogany. These options nourish the wood, deepen the color, and add lasting protection without harmful buildup. Avoid silicone-based spray polishes, since they create a film that traps dust and makes future refinishing difficult. Apply any product thinly with a soft cloth, then buff well along the grain for an even, rich shine.
Will Water Damage My Mahogany Table?
Standing water will damage mahogany, but a barely damp cloth won’t. The danger comes from moisture sitting on or soaking into the finish, which causes white rings, cloudiness, and warping. Always wring your cloth until it’s nearly dry, wipe quickly, and dry the surface right away. Wipe up spills immediately, and use coasters and mats to protect the wood from daily moisture.
How Do I Remove White Rings from Mahogany?
White rings come from moisture trapped under the finish. For light rings, gently rub the spot with a soft cloth and a little non-gel toothpaste or a mix of baking soda and oil, following the grain. Buff afterward and apply polish. Deep, dark rings mean moisture reached the wood itself and may need professional refinishing. Prevention with coasters always beats the cure.
Conclusion
Bringing mahogany back to life is simpler than it looks. When you understand how to clean mahogany wood properly, you protect both its beauty and its value for years to come. Start by dusting dry, test any cleaner on a hidden spot, and always use mild solutions with a barely damp cloth. Wipe along the grain, dry the surface right away, then feed the finish with a thin coat of polish or natural oil and buff it to a warm, even shine.
The secret isn’t hard work; it’s gentle, consistent care. Skip the harsh chemicals, go easy on the water, and dust regularly so grime never gets a chance to settle. Do that, and your mahogany furniture will reward you with a deep, glowing finish that looks better with age.
So grab your microfiber cloths, mix up that gentle solution, and give your mahogany the care it deserves. One afternoon of effort now keeps your favorite pieces stunning for decades.
