
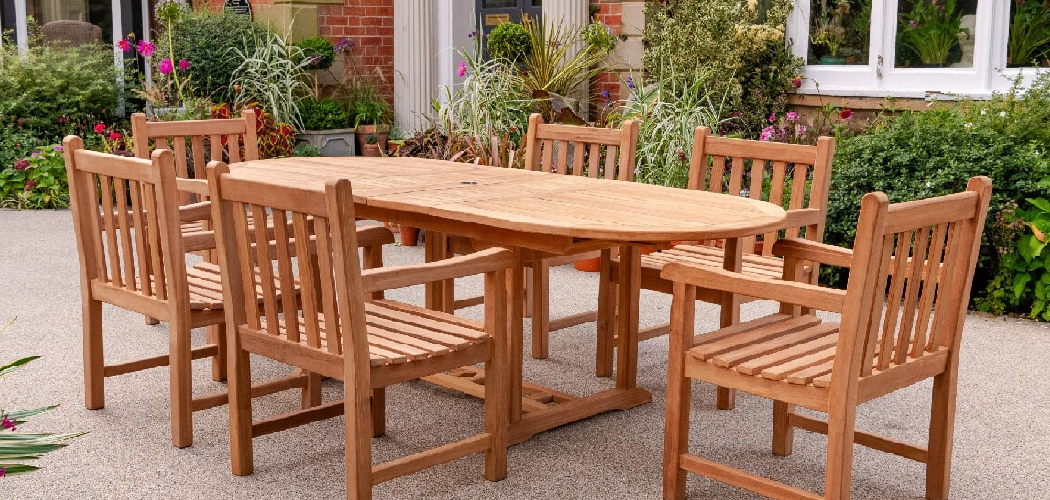
Your beautiful teak bench turns gray. Your cedar chairs look chalky and tired. Sunlight, rain, and time strip the color right out of unprotected wood. The good news: you can stop it. Learning how to keep outdoor wood furniture from fading takes basic tools, a free afternoon, and a few smart habits. You don’t need a workshop or years of finishing experience. You just need the right steps in the right order.
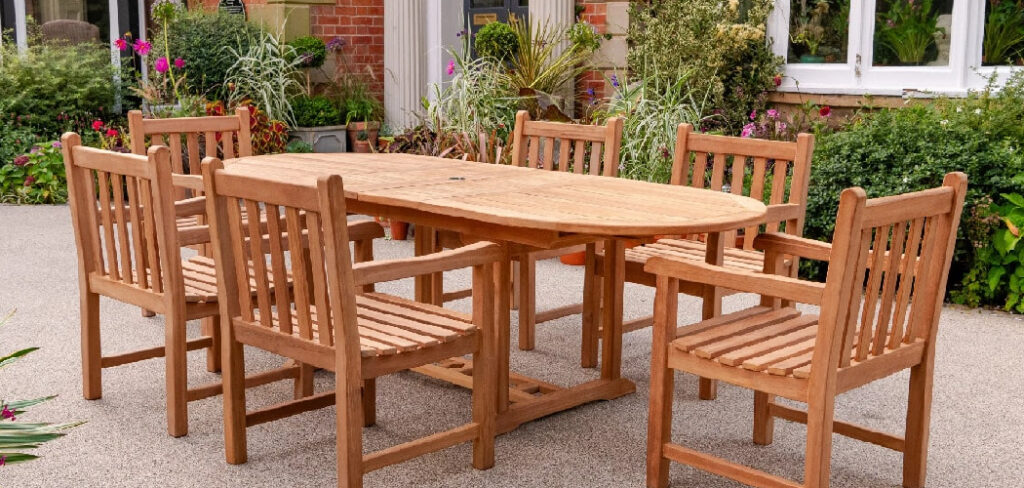
Faded furniture isn’t a sign of cheap material. It’s a sign of missing protection. UV rays break down the wood’s surface, and moisture finishes the job. This guide walks you through every step to protect color, block sun damage, and extend the life of your patio furniture for years.
Why Protecting Your Outdoor Wood Furniture Matters
Replacing patio furniture is expensive. A quality teak set runs hundreds to thousands of dollars. A weekend of maintenance costs a fraction of that and adds years to what you already own. The math is simple. Protect it now, or replace it later.
Color loss is only the first warning. Once UV breaks down the surface, water gets in. Then comes cracking, splitting, and rot. By the time gray turns to gray-and-flaking, the damage runs deep.
Learning this skill builds real confidence. You stop fearing the weather. You learn to read your wood and act before problems start. Every project after this one gets easier. Master furniture protection, and decks, fences, and railings follow the same playbook.
Tools and Materials You’ll Need
Gather everything before you start. A complete setup means no interruptions mid-project.
- Clean efficiently: Soft-bristle scrub brush and bucket
- Strip old finish: 120- and 220-grit sandpaper or a sanding block
- Remove dust: Tack cloth or lint-free rags
- Cut grime and mildew: Wood cleaner or mild dish soap
- Block UV damage: Exterior wood finish with UV inhibitors (penetrating oil, sealant, or deck stain)
- Apply evenly: Natural-bristle brush or foam applicator
- Protect yourself: Nitrile gloves and safety glasses
- Shield surfaces: Drop cloth or painter’s tarp
- Optional for speed: Random orbital sander to cut sanding time on large pieces
Match your finish to your wood. Teak takes oil. Pine and cedar take stain or sealant. Read the label and confirm it’s rated for exterior use.
Step-by-Step Guide on How to Keep Outdoor Wood Furniture from Fading
Step 1 – Inspect the Wood and Plan Your Work
Start by reading the furniture. Run your hand across the surface. Smooth and even means a worn finish. Rough, fuzzy, or splintery means UV has already broken down the fibers.
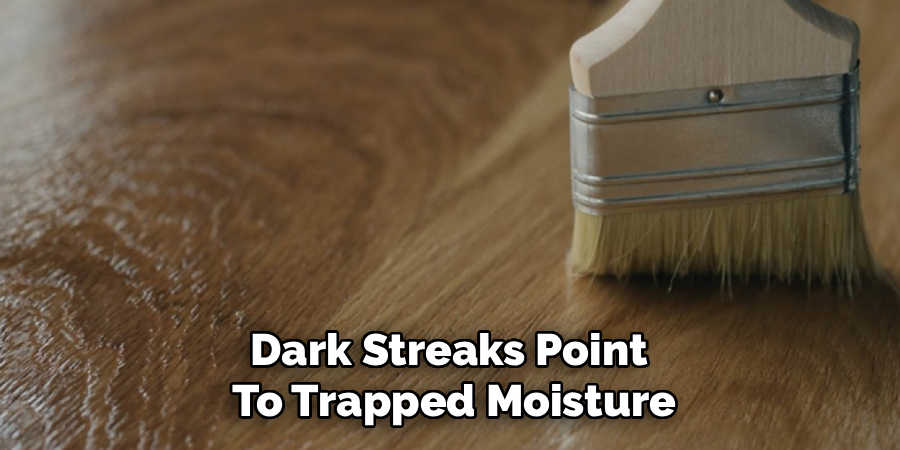
Look for color clues. Silver-gray patches signal sun damage. Black spots mean mildew. Dark streaks point to trapped moisture. Each tells you how much work lies ahead.
Press a damp finger to the wood. If water soaks in fast and darkens the surface, the old finish is gone and the wood is thirsty. If water beads, some protection remains.
Plan around the weather. You want two to three dry days with mild temperatures. Knowing how to keep outdoor wood furniture from fading starts with honest assessment, not guesswork. Note every problem area before you lift a brush.
Step 2 – Clean the Surface Thoroughly
Dirt blocks finish from bonding. Clean first, always.
Mix wood cleaner or a few drops of mild dish soap into a bucket of warm water. Dip your soft-bristle brush and scrub along the grain, never against it. You’ll hear a gentle swish as the bristles lift grime from the pores.
Work in sections so the cleaner doesn’t dry on the surface. Pay attention to joints, corners, and slats where dust collects. Mildew spots need a dedicated wood cleaner or an oxygen-bleach solution.
Rinse with clean water until no suds remain. The wood should look uniform and damp, not soapy. Slippery patches mean leftover cleaner that will sabotage your finish.
Let it dry completely. Twenty-four hours minimum. Damp wood traps moisture under any coating you apply.
Step 3 – Sand to Open the Grain
Sanding does two jobs. It removes the dead, weathered layer and opens the grain so finish soaks in deep.
Start with 120-grit. Move in long, steady strokes along the grain. You’ll feel the gray fuzz give way to fresh, pale wood underneath. The surface turns smoother with each pass, and fine dust builds up fast.
Switch to 220-grit for the final pass. This smooths the surface without closing the pores. Run your palm across it. It should feel like a soft, even sheet with no rough ridges or splinters.
Don’t skip badly faded spots. They need the most attention. An orbital sander speeds this up on large tabletops, but keep it moving to avoid gouging.
Step 4 – Remove All Dust
Finish won’t bond to a dusty surface. Every speck you leave shows up as a bump or a weak spot.
Wipe the entire piece with a tack cloth. It grabs fine particles that a dry rag misses. Work top to bottom so falling dust lands on areas you haven’t cleaned yet.
For carved details and tight joints, use a soft brush or a quick blast of compressed air. Dust hides in corners and ruins an otherwise perfect coat.
Run your hand over the wood one last time. It should feel clean and slightly cool, with zero grit. If your fingers pick up powder, wipe again.
A spotless surface is the foundation of a finish that lasts and resists fading.
Step 5 – Apply UV-Blocking Wood Finish
This is the step that fights the sun. Your finish must contain UV inhibitors. Plain oil without them slows fading but won’t stop it.
Stir the finish gently. Never shake it. Shaking adds bubbles that dry into a rough surface.
Load your brush lightly and apply a thin, even coat along the grain. Thin coats soak in and bond. Thick coats sit on top, stay tacky, and peel later. You’ll see the wood drink up the first coat and the color deepen instantly.
Watch for drips on legs and vertical surfaces. Catch them while wet with a quick brush stroke.
Applying a quality exterior wood finish correctly is the core of how to keep outdoor wood furniture from fading. Cover every inch, including the undersides.
Step 6 – Let It Cure and Recoat
One coat rarely lasts. Two or three build real protection.
Check the label for dry time. Penetrating oils often need a few hours between coats. Sealants and deck stains may need overnight. Patience here pays off for years.
Touch a hidden spot before recoating. Dry to the touch with no tackiness means you’re ready. Sticky means wait longer.
Lightly buff between coats with 220-grit if the surface feels rough. Wipe away the dust, then apply your next thin coat the same way.
Each layer deepens the color and thickens the UV barrier. You’ll watch a flat, dull surface turn rich and slightly sheened. Two coats suit most pieces. High-exposure furniture in full sun earns a third.
Step 7 – Wipe Off Excess and Final Cure
Oil finishes leave excess on the surface. Leave it, and you get a sticky, blotchy mess.
About 15 to 20 minutes after your final coat of penetrating oil, wipe the whole piece with a clean, lint-free rag. Move with the grain. You’re removing what the wood couldn’t absorb. The surface should feel smooth and dry, not slick or wet.
Sealants and film finishes don’t need this. They’re built to stay on the surface.
Now let it cure fully. Touch-dry isn’t cured. Most finishes need 24 to 72 hours before the furniture goes back into heavy use or weather. Keep it dry and out of direct sun during this window.
Rushing the cure undoes your work. Give it time.
Step 8 – Protect and Maintain Going Forward
Finish isn’t forever. Sun and rain wear it down. A maintenance routine keeps the color locked in.
Cover your furniture or move it under shelter during storms and the off-season. A breathable cover blocks UV while letting moisture escape. Plastic that traps humidity invites mildew.
Reapply finish on a schedule. Penetrating oils need a fresh coat every 6 to 12 months. Sealants and stains stretch to 2 to 3 years. Watch for the warning signs: dulling color, water that no longer beads, a chalky feel.
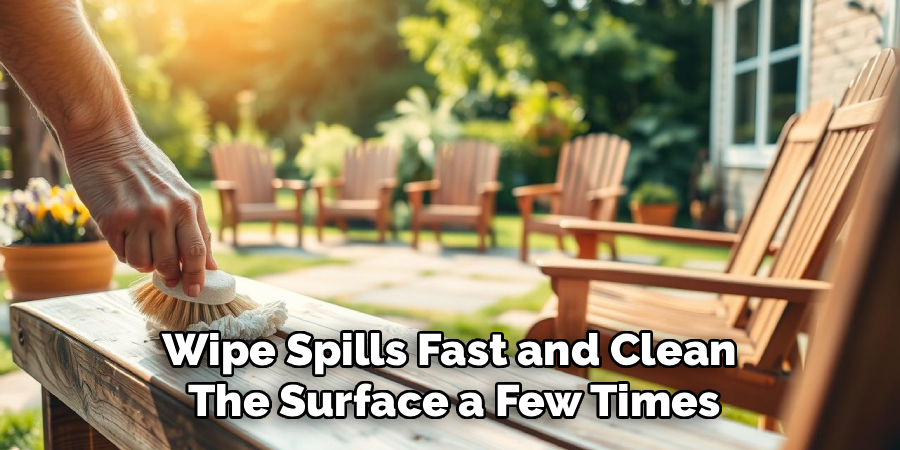
Wipe spills fast and clean the surface a few times a year. Catching wear early means a quick recoat instead of a full strip-and-sand.
Consistent weatherproofing turns a one-time project into decades of color.
Common Mistakes to Avoid
The biggest mistake is skipping the finish entirely. Bare wood looks fine for a season, then turns gray fast. Some species like teak resist rot, but no untreated wood resists UV. If you want to hold color, you protect the surface. Period.
Applying finish over a dirty or damp surface is mistake number two. Finish bonds to clean, dry wood. Trap dust or moisture underneath, and the coat peels, bubbles, or grows mildew within weeks. The prep work isn’t optional. It’s the whole game.
Slapping on thick coats ranks third. Beginners think more finish means more protection. It doesn’t. Thick layers stay tacky, trap solvent, and peel as they dry. Thin coats soak in and build a durable barrier. Patience beats volume every time.
Fourth, people use interior products outdoors. Indoor finishes lack UV inhibitors and weather resistance. They fail fast in sun and rain. Always confirm your finish is rated for exterior use.
Finally, many forget to reapply. Protection wears down. A finish you applied two years ago has likely thinned out. Skip maintenance, and you’re back to sanding bare gray wood.
Expert Tips
Test your finish on a hidden spot first. The same product looks different on teak, cedar, and pine. Check the color and sheen before you commit to the whole piece.
Finish on a cloudy, mild day. Direct sun dries the surface too fast, leaving lap marks and weak spots. Aim for 50 to 80°F.
Store oily rags safely. Spread them flat outdoors to dry, then dispose of them in water. Crumpled oil-soaked rags can self-ignite. This catches many beginners off guard.
Sand end grain a little finer. The exposed pores at cut ends drink finish fast and fade first. Extra attention there pays off.
Keep a small batch of your finish on hand. Spot-treating early wear takes minutes and delays a full refinish by months.
Frequently Asked Questions
How Often Should I Reapply Finish to Outdoor Wood Furniture?
It depends on your finish and sun exposure. Penetrating oils like teak oil need recoating every 6 to 12 months. Sealants and deck stains last 2 to 3 years. Furniture in full, direct sun fades faster and needs more frequent attention. Watch for dulling color and water that stops beading. Those signs tell you it’s time to recoat before damage sets in.
Does Teak Furniture Really Need Protection?
Yes, if you want to keep its color. Teak’s natural oils resist rot and insects, so it won’t fall apart untreated. But UV rays still bleach the surface to silver-gray within months. If you love that warm golden tone, apply a teak oil or UV-blocking sealant. If you prefer the weathered gray look, you can leave it bare without risking structural damage.
Can I Use Regular Paint Instead of a Wood Finish?
You can, but it changes everything. Exterior paint blocks UV well and hides grain completely. Once you paint, you commit to repainting, since you can’t easily return to natural wood. Penetrating finishes preserve the grain and color while letting the wood breathe. For a natural look, choose oil, sealant, or stain. For a solid color and maximum coverage, exterior paint works.
Why Is My New Finish Peeling Already?
Peeling almost always traces back to prep or application. You likely applied finish over a dirty, damp, or glossy surface, or you laid the coats on too thick. Finish needs clean, dry, lightly sanded wood to bond. Thick coats trap solvent and peel as they cure. Strip the failed finish, sand to fresh wood, and reapply thin coats on a fully dry surface.
What’s the Best Finish for Beginners?
Penetrating oil-based sealants are the most forgiving choice. They soak into the wood, hide application mistakes, and resist the lap marks that film finishes show. Mistakes blend in instead of standing out. Look for a product with UV inhibitors rated for exterior use. Apply thin coats, wipe off the excess, and you’ll get reliable, even results without specialized skill or tools.
Conclusion
Faded furniture isn’t inevitable. It’s preventable. You now have every step: inspect, clean, sand, dust, finish, cure, and maintain. Follow them in order, and your patio set holds its color for years instead of fading in a single summer.
The work is simple. Clean wood. Thin coats. A UV-blocking finish rated for the outdoors. Regular maintenance. None of it requires special skill, just attention and a free afternoon.
Knowing how to keep outdoor wood furniture from fading saves you money and the headache of replacing furniture you already love. You protect your investment. You build skills that carry over to decks, fences, and every wood project you tackle next.
Start with one piece this weekend. Clean it, sand it, and lay down that first coat. Watch the color come alive under the brush. Then commit to the maintenance schedule that keeps it that way. Your furniture will reward you with years of rich, weather-ready color. Grab your brush and get started.
