
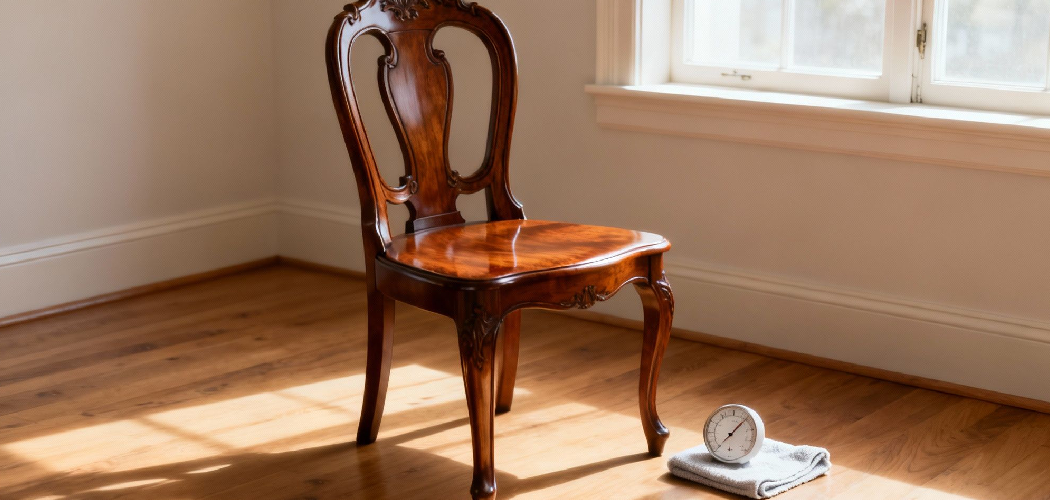
That old wooden chair in your garage isn’t junk. It’s a project waiting to happen. Scratched legs, a faded seat, and a tired finish don’t mean the chair is done — they mean it needs attention. Learning how to refinish a wood chair turns a forgotten piece into something you’ll be proud to sit on for years.
You don’t need a workshop full of expensive gear. You need patience, a few basic supplies, and the right steps in the right order. A good refinish job protects the wood, brings back its natural grain, and saves you the cost of buying new furniture.
This guide walks you through every stage of chair refinishing, from stripping the old coat to applying a smooth, durable finish.
Why Refinishing a Wood Chair Matters
A new solid-wood chair costs anywhere from $150 to $600. Refinishing one you already own costs a fraction of that — often under $40 in materials. The math is simple, and the result is a chair built to last.
Refinishing also teaches you skills that carry across every wood project. You learn how grain reacts to sanding. You learn how stain soaks into different woods. You learn how a clear coat protects against daily wear. These are the foundations of furniture restoration.
There’s confidence in it, too. The first chair feels intimidating. The second feels routine. By the third, you’ll spot salvageable furniture at every yard sale. You extend the life of solid wood, reduce waste, and end up with pieces that match your style — not a showroom’s.
Tools and Materials You’ll Need
Gather everything before you start. Stopping mid-project to find a missing item slows you down and ruins your rhythm.
- Strip the old finish — chemical paint and varnish stripper
- Smooth the surface — sandpaper in 80, 120, and 220 grit
- Reach tight spots — sanding sponge or detail sander
- Protect your hands and lungs — chemical-resistant gloves and a respirator mask
- Clean between coats — tack cloth and lint-free rags
- Add color — wood stain in your chosen shade
- Seal and protect — polyurethane or clear coat finish
- Apply evenly — quality natural-bristle brushes or foam applicators
- Scrape softened finish — a plastic or metal putty knife
- Catch the mess — a drop cloth or old newspaper
- Optional: an orbital sander to speed up large flat areas and save your arms
Step-by-Step Guide on How to Refinish a Wood Chair
Step 1 – Inspect and Prepare Your Workspace

Set up before you touch the chair. Pick a well-ventilated spot — a garage with the door open, a covered porch, or a backyard on a calm day. Strippers and finishes release strong fumes, so airflow protects you.
Lay your drop cloth and put the chair in the center. Walk around it slowly. Wiggle each joint. If a leg rocks or a rung spins, mark it. Loose joints need glue and clamps before any finishing work begins.
Look closely at the existing surface. A glossy, hard coat usually means varnish or polyurethane. A soft, sticky feel points to old oil. Knowing what you’re removing tells you how aggressive your stripping needs to be.
Step 2 – Strip the Old Finish
Brush the chemical stripper on thick, working in one direction. Don’t spread it thin like paint — a heavy, even coat does the real work. Within minutes, you’ll see the magic. The old finish bubbles, wrinkles, and lifts off the wood like cracked paint peeling in the sun.
Wait the time listed on the can, usually 15 to 30 minutes. Then drag your putty knife across the surface at a low angle. The softened finish should slide off in gummy ribbons. If it resists and scratches the wood, it isn’t ready — apply more stripper and wait longer.
Work the curves and spindles with a stripping pad or old toothbrush. Patience here saves hours of sanding later.
Step 3 – Sand the Wood Smooth
Now the surface tells you the truth. Start with 80-grit sandpaper to knock down leftover finish and rough patches. You’ll feel the paper grab at first, then glide as the wood opens up. Always sand with the grain — going across it leaves scratches that show through stain like fingerprints on glass.
Move to 120-grit next, then finish with 220-grit for a surface that feels like satin under your palm. Run your hand over every section. Any rough spot you feel now will feel worse once stained.
This stage is the core of how to refinish a wood chair properly. Skip it, and even the best finish looks blotchy and cheap.
Step 4 – Clean Off All Dust
Sanding dust is the enemy of a smooth finish. It settles into grain, hides in corners, and ruins stain absorption. Start by brushing the chair with a dry rag or a soft paintbrush to sweep loose dust from joints and carvings.
Then wipe every surface with a tack cloth. It’s slightly sticky and pulls fine particles your hand can’t catch. Pay attention to where the seat meets the legs and inside the spindle gaps — dust loves to hide there.
For a final pass, dampen a lint-free rag with mineral spirits and wipe the wood down. The surface should look clean and slightly darker as it dries. Let it dry fully before moving on. A clean chair takes stain evenly.
Step 5 – Apply Wood Stain
Stir the stain thoroughly — never shake it, since that creates bubbles. Dip your brush or rag and apply a thin, even layer following the grain. The wood drinks it in fast, deepening in color before your eyes.
Work one section at a time: a leg, a rung, then the seat. After two to three minutes, wipe the excess with a clean rag. The longer you leave stain on, the darker it goes. Wipe sooner for a lighter tone, later for richer depth.
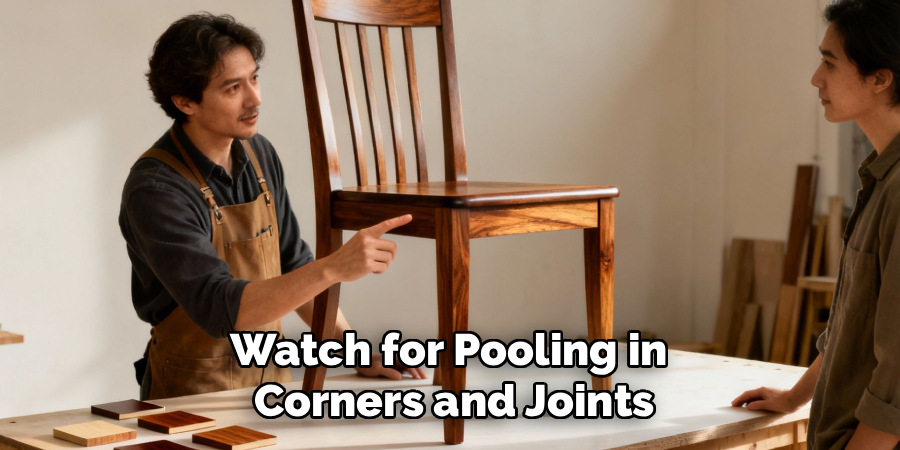
Watch for pooling in corners and joints. Stain that sits too long there dries blotchy and sticky. Want deeper color? Apply a second coat once the first dries. Wood staining rewards restraint over rushing.
Step 6 – Let the Stain Dry Completely
Drying time decides everything that follows. Most stains need 6 to 24 hours to cure, depending on humidity and the product. Check the can, then add a few hours for safety.
Touch a hidden spot with your finger. If it feels tacky or leaves color on your skin, it isn’t ready. A finish applied over wet stain traps moisture, clouds the surface, and peels within weeks.
Use this wait to clean your brushes and inspect your work in good light. Move the chair near a window or take it outside. Daylight reveals streaks and missed patches that indoor lighting hides. Fix any thin areas now with a light touch of stain before you seal everything under a clear coat.
Step 7 – Apply the Protective Clear Coat
The clear coat is what keeps your work alive through daily use. Polyurethane resists spills, scratches, and sunlight. Stir it gently and apply a thin, even layer with a quality brush, moving with the grain in long, smooth strokes.
Watch for drips along the legs and under the seat. Catch them while wet by brushing them out — dried drips harden into bumps you’ll have to sand off. The surface should look wet and glassy, not thick and gloppy.
Let the first coat dry per the label, usually 2 to 4 hours. This protective layer is the final secret to how to refinish a wood chair so it lasts decades, not seasons. A good wood finish turns effort into something permanent.
Step 8 – Sand Lightly and Add a Second Coat
One coat protects. Two coats endure. After the first clear coat dries, the surface feels slightly rough — tiny raised wood fibers and dust nibs you can feel with your fingertips.
Sand lightly with 220-grit or fine steel wool. Use almost no pressure. You’re not removing the coat, just knocking down the texture until it feels smooth again. The surface will turn dull and cloudy, which is exactly right.
Wipe away every speck of dust with a tack cloth. Then brush on your second coat the same way as the first — thin, even, with the grain. This layer goes on smoother and dries to a deeper, richer shine. For high-use chairs, a third coat adds extra armor against wear.
Common Mistakes to Avoid
Rushing the prep work ruins more refinishing projects than anything else. Skipping grits or sanding against the grain leaves scratches that vanish on bare wood but scream once stain hits them. Take the extra twenty minutes. Your finish depends on it.
Over-applying stain is another trap. Beginners often leave stain sitting, hoping for richer color, then panic when it dries sticky and uneven. Stain colors the wood by soaking in, not by sitting on top. Wipe the excess on schedule every time.
Ignoring drying times causes slow, invisible damage. A clear coat brushed over half-dry stain looks fine for a week, then clouds, bubbles, or peels. Wood doesn’t care about your weekend deadline. Respect the cure times printed on every can.
Loading the brush too heavily creates runs and drips, especially on chair legs. Thin coats always beat thick ones. Two thin layers dry harder and look better than one heavy pour.
Finally, poor ventilation isn’t just unpleasant — it’s a health risk. Strippers and finishes release fumes you shouldn’t breathe. Open doors, run a fan, and wear your respirator without exception.
Expert Tips
Test your stain on a hidden spot first — the underside of the seat works well. Every piece of wood absorbs color differently, and oak takes stain nothing like pine does. A thirty-second test saves you from a color you’ll hate.
For tricky woods like pine, birch, and maple, apply a pre-stain wood conditioner. It evens out absorption and prevents the blotchy patches these woods are famous for.
Keep a “wet edge” while you work. Always brush into the section you just coated before it dries. This stops the lap marks that show up as dark overlapping streaks.
Warm wood takes finish better than cold wood. Refinish in temperatures between 65°F and 75°F. Cold air slows drying and traps moisture, while heat dries coats too fast to level out.
Frequently Asked Questions
How Long Does It Take to Refinish a Wood Chair?
Plan for two to three days, though active work takes only 4 to 6 hours. Most of that time is waiting — stain needs 6 to 24 hours to dry, and each clear coat needs another 2 to 4 hours. Rushing these cure times causes peeling and clouding. Spread the project across a weekend for the best results.
Do I Have to Strip the Old Finish First?
Strip it whenever you’re changing colors or the old finish is cracked, peeling, or damaged. If the existing coat is sound and you only want a fresh protective layer, a light sanding and re-coat works fine. But for a true color change or a flawless result, full stripping down to bare wood gives you the cleanest foundation.
What’s the Best Finish for a Wood Chair?
Polyurethane is the top choice for chairs because it resists scratches, spills, and daily wear. Use oil-based poly for maximum durability and a warm tone, or water-based poly for faster drying and a clearer finish. For a softer, natural look on low-use chairs, tung oil or Danish oil works well but offers less protection.
Can I Refinish a Chair Without Sanding?
Yes, with a liquid deglosser or “sand-free” chemical stripper that prepares the surface for new finish. These products dull the old coat so fresh stain or paint adheres. Still, sanding remains the gold standard for smoothness and stain absorption. Sand-free methods save time but rarely match the flawless feel of properly sanded wood.
Why Does My Stain Look Blotchy?
Blotchy stain usually means uneven wood absorption or stain left on too long. Softwoods like pine and birch soak up color unevenly, creating dark and light patches. Prevent this by applying a pre-stain conditioner before staining and wiping off excess on schedule. If blotches already appear, sand the area back and restain with a conditioner first.
Conclusion
Refinishing a chair isn’t complicated — it’s a sequence. Prep, strip, sand, clean, stain, dry, and seal. Follow the steps in order, respect the drying times, and the wood does the rest. The skills you build here carry into tables, dressers, and every wood project you take on next.
You’ve seen how a few inexpensive supplies turn a worn-out chair into a piece you’ll keep for decades. You’ve learned why thin coats beat thick ones, why grain direction matters, and how the right clear coat protects your work against daily use.
Now you know how to refinish a wood chair from start to finish. Pick the most tired chair you own and start with Step 1 this weekend. Set up your space, gather your supplies, and trust the process. The first one teaches you the most — and once you see that fresh grain shine under a smooth finish, you won’t want to stop.
