
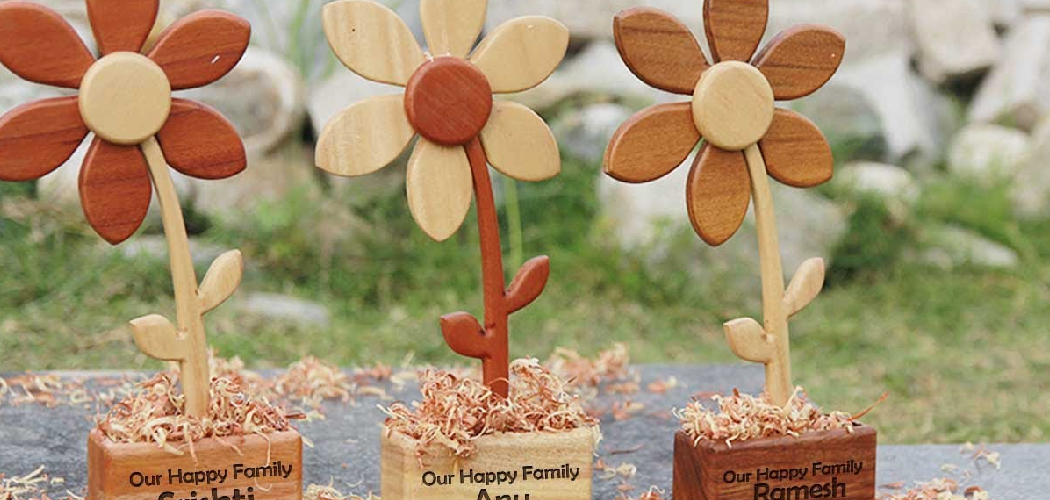
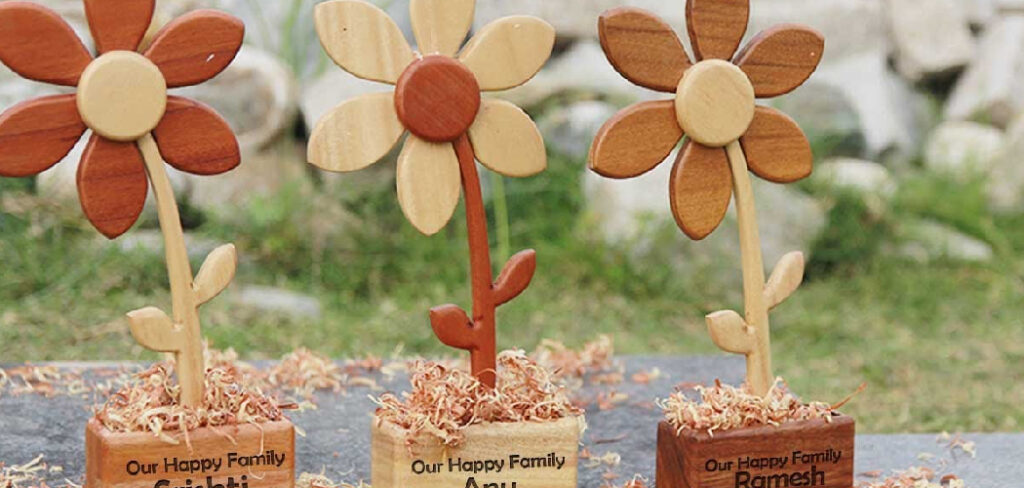
A handmade wooden flower never wilts, never needs water, and never loses its color. That’s the appeal. Whether you want a centerpiece for the dining table, a gift that lasts decades, or a low-stakes way to practice carving, this project delivers. You don’t need a full workshop or years of experience. You need a scrap of wood, a few hand tools, and an hour of focused work. Wooden flowers also make excellent practice for shaping, sanding, and finishing — skills that carry into bigger builds. This guide shows you exactly how to make a wooden flower from raw stock to finished bloom, with the techniques, tools, and timing that produce a clean result on your first try.
Why This Skill Matters
Store-bought wooden decor costs $15 to $40 per piece. You can make better ones for the price of a scrap board. That’s the immediate payoff. But the real value runs deeper.
Carving a flower teaches you wood grain. You learn how the fibers run, where they split, and how to cut with them instead of against them. Those lessons transfer directly to furniture repair, trim work, and any project where a clean cut matters.
You also build confidence. A flower is small and forgiving. Mistakes cost pennies, not lumber. By the time you finish, you’ll handle a carving knife and sandpaper with control. Start here, and bigger projects stop feeling intimidating.
Tools and Materials You’ll Need
Gather everything first. Stopping to hunt for a tool mid-cut breaks your rhythm and ruins clean lines.
- Shape your bloom — a softwood blank like pine, basswood, or balsa (½” to ¾” thick)
- Cut petals cleanly — a sharp carving knife or detail knife
- Define curves and contours — a set of gouges or a rotary tool with sanding bits
- Mark your design — a pencil and a circle template or compass
- Smooth every surface — sandpaper in 120, 220, and 320 grit
- Drill the center — a hand drill with a small bit
- Add the stem — a wooden dowel (¼” diameter) and wood glue
- Protect the finish — clear varnish, oil, or wood stain
- Optional: a bench vise or clamp to hold the blank steady and free both hands
Step-by-Step Guide on How to Make a Wooden Flower
Step 1 – Choose and Prepare Your Wood
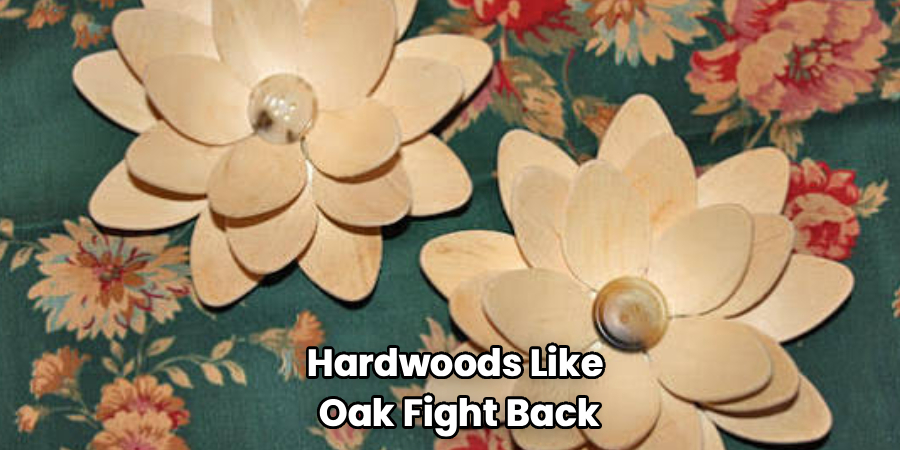
Start with softwood. Pine, basswood, and balsa cut easily and forgive beginner mistakes. Hardwoods like oak fight back and dull your blade fast.
Pick a piece ½” to ¾” thick with a smooth, knot-free face. Knots deflect your knife and split your petals. Run your thumb across the surface — it should feel even, with no rough patches or cracks.
Cut your blank into a square roughly 4″ on each side. This gives you room to shape a flower 3″ to 4″ across. Sand the face lightly with 120-grit to clear any mill marks. You’ll feel the surface go from gritty to smooth. A clean, flat starting point makes every following step easier and your final flower sharper.
Step 2 – Draw Your Flower Design
A clear outline guides every cut. Skip this and you’ll carve blind.
Find the center of your blank and mark it with a pencil dot. Use a compass or circle template to draw the outer boundary of your flower. Then sketch the petals — five or six work well for a beginner. Keep them even in size and spacing.
Draw a small inner circle for the flower’s center. This will become the raised hub later. Press lightly so you can erase and adjust. Look at your sketch from a step back. The petals should radiate evenly, like spokes on a wheel. Lopsided spacing now means a lopsided bloom later. Redraw until the layout looks balanced. This sketch is your map for how to make a wooden flower that looks intentional.
Step 3 – Cut the Outer Shape
Now you rough out the silhouette. Clamp the blank in your vise or hold it firm against a stable surface.
Follow your outer pencil line with a coping saw or scroll saw. Cut just outside the line, leaving a thin margin to refine later. Move slowly through curves. Rushing causes the blade to wander and chip the edge.
You’ll hear a steady, clean rasp as the saw bites. A screeching or skipping sound means you’re forcing it — ease off and let the teeth do the work. Once you’ve cut the full outline, the petal cluster pops free from the waste wood. Hold it up. The basic flower shape should now be recognizable, even before any detail. Clean edges here save sanding time later.
Step 4 – Carve the Petal Contours
This is where a flat shape becomes a flower. Pick up your carving knife and work with the grain, not against it.
Start at the outer edge of each petal and carve toward the center, shaving thin curls of wood. You’ll feel the blade glide when you cut with the grain — smooth and controlled. Fight the grain and it tears, leaving fuzzy, ragged spots.
Round each petal so it dips slightly toward the center and lifts at the tip. This curve catches light and gives the flower depth. Take shallow passes. Removing too much at once snaps a petal clean off. Rotate the piece as you go so you always cut downhill on the grain. Stop when each petal has a gentle, natural curve.
Step 5 – Shape the Flower Center
The hub ties the bloom together. Carve it as a raised dome inside your inner circle.
Use a small gouge or the tip of your knife to define the edge of the center. Cut a clean groove around it to separate the hub from the petals. This shadow line makes the center stand out.
Round the top of the hub into a soft mound. For texture, press a nail or carving tool into the surface to mimic seeds or stamens. You’ll see the center transform from a flat disc into a focal point. Keep the dome symmetrical — an off-center hub draws the eye for the wrong reason. Brush away the dust and check your work in good light. Shadows reveal uneven spots fast.
Step 6 – Sand Every Surface Smooth
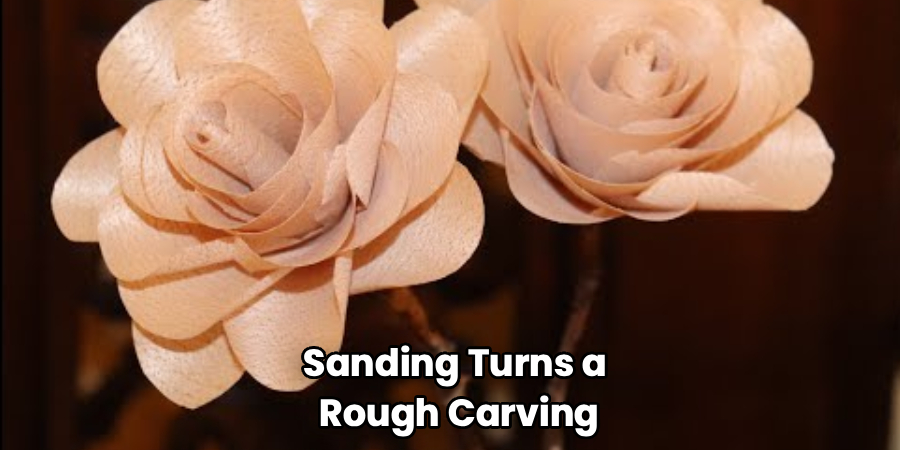
Sanding turns a rough carving into a finished piece. Work through your grits in order.
Start with 120-grit to knock down tool marks and high spots. Move to 220 to refine the curves, then finish with 320 for a glass-smooth feel. Sand in the direction of the grain. Cross-grain scratches show up the moment you apply finish.
Fold the paper to reach into the grooves around petals and the center. Run your fingertips over every surface between grits. Any rough patch you feel now will feel worse under varnish. The wood should turn pale and silky as you progress. Blow off the dust and wipe with a tack cloth before finishing. Clean wood takes stain and oil evenly.
Step 7 – Drill and Attach the Stem
A stem makes your flower display-ready. Drill a hole in the back center of the bloom.
Choose a bit that matches your dowel — a ¼” bit for a ¼” dowel. Drill straight in about ½” deep. Hold the drill perpendicular to the back so the stem won’t lean. A crooked hole gives you a crooked flower.
Add a drop of wood glue inside the hole and on the dowel tip. Twist the dowel in to spread the glue evenly. Wipe away any squeeze-out with a damp cloth before it dries. Let it cure for 30 minutes. Give the stem a gentle wiggle to confirm it’s locked tight. A secure stem keeps your flower upright in a vase or arrangement for years.
Step 8 – Apply the Finish
Finish protects the wood and brings out its character. Choose your look first.
Clear oil deepens the natural grain. Wood stain adds color while keeping the grain visible. Varnish seals everything with a durable shell. Apply your chosen finish with a soft brush or lint-free cloth, working it into every petal and groove.
Wipe off excess after a few minutes so it doesn’t pool or get tacky. You’ll watch the wood darken and the grain jump to life. Let the first coat dry fully — check the label, but plan on two to four hours. Sand lightly with 320-grit between coats for a smooth result. Two coats give lasting protection. Now you know how to make a wooden flower that holds up to handling and time.
Common Mistakes to Avoid
The most common error is carving against the grain. When you push your blade into the fibers the wrong way, the wood tears instead of slicing, leaving fuzzy, splintered petals no amount of sanding fully fixes. Always read the grain direction first, then cut downhill with it. Rotate the piece as needed rather than forcing the knife.
Choosing the wrong wood ruins projects before they start. Beginners often grab whatever scrap is handy, including hardwoods or knotty boards. Hardwoods resist carving and tire your hands. Knots deflect the blade and crack your petals. Stick with clear, soft stock like basswood or pine for your first few flowers.
Removing too much wood too fast is another trap. Deep, aggressive cuts feel productive, but they snap petals and gouge the center. Take thin, shallow passes. You can always remove more wood — you can’t put it back.
Skipping grits during sanding leaves scratches that only appear after you apply finish, when it’s too late to fix easily. Work through 120, 220, and 320 in order. Finally, rushing the finish causes tacky, uneven surfaces. Wipe off excess and let each coat dry fully before adding the next.
Expert Tips
Sharpen your knife before every session, not when it stops working. A razor-sharp blade slices clean curves and stays safer than a dull one, which forces you to push hard and slip. Strop the edge on leather between projects to keep it keen.
Carve a few “throwaway” petals on scrap first. Five minutes of practice teaches you how that specific board’s grain behaves before you touch your real piece.
Dampen the wood slightly before final sanding to raise the grain, let it dry, then sand again. This “grain raising” trick gives you a noticeably smoother finish that resists fuzzing.
Seal the end grain — the cut ends of the fibers — with extra finish. End grain absorbs more and can look blotchy. A second pass evens it out and protects the most vulnerable part of your flower.
Frequently Asked Questions
What Is the Best Wood for a Beginner Wooden Flower?
Basswood is the best choice for beginners. It carves cleanly in any direction, holds fine detail, and rarely splits. Pine and balsa also work well and cost very little. Avoid hardwoods like oak or maple for your first projects — they resist the blade and tire your hands. Start soft, build your skills, then move to harder woods once your technique improves.
How Long Does It Take to Make a Wooden Flower?
A simple wooden flower takes one to two hours of active work. Cutting and carving run about 45 minutes, sanding adds 20, and stem attachment takes 10. Finishing requires more clock time because each coat needs two to four hours to dry. Plan a single afternoon for the build and an overnight wait for the finish to fully cure before handling.
Do I Need Power Tools to Carve a Wooden Flower?
No, hand tools are enough. A sharp carving knife, a coping saw, and sandpaper produce a beautiful flower with full control. Power tools like a rotary carver or scroll saw speed things up, but they’re optional. Many carvers prefer hand tools for small projects because they offer precision and a quieter, calmer workflow. Start with hand tools and add power tools later if you want.
How Do I Keep My Wooden Flower From Cracking?
Use properly dried wood and seal it with finish. Cracking happens when wood loses moisture unevenly, so start with stock that’s already cured, not green or damp. Apply at least two coats of oil or varnish to lock moisture in and out. Keep the finished flower out of direct sunlight and away from heat vents, which dry the wood and cause splits over time.
Can I Paint a Wooden Flower Instead of Staining It?
Yes, paint works beautifully on wooden flowers. Acrylic paint adds bold, lasting color and covers the grain completely. Prime the sanded wood first so the paint adheres evenly and resists chipping. Apply thin coats and let each dry before adding the next. Finish with a clear sealer to protect the color. Paint gives you creative freedom that stain can’t match, especially for decorative arrangements.
Conclusion
A wooden flower proves that small projects teach big skills. You picked the right wood, drew a balanced design, carved with the grain, sanded smooth, and sealed it for years of display. Each step built control you can carry into furniture, trim, and repair work down the line.
The payoff is real. You spent a few dollars and an afternoon to create decor that outlasts anything from a store. You also learned how wood behaves under a blade — knowledge that makes every future build easier.
Now you know how to make a wooden flower from raw blank to finished bloom. Don’t stop at one. Try different petal counts, woods, and finishes. Build a bouquet that never fades, or carve a batch as gifts. Each flower sharpens your hands and your eye.
Grab a scrap board today. Sketch a bloom. Make your first cut. The skills you build on this small project will follow you into every piece of woodworking you tackle next.
