
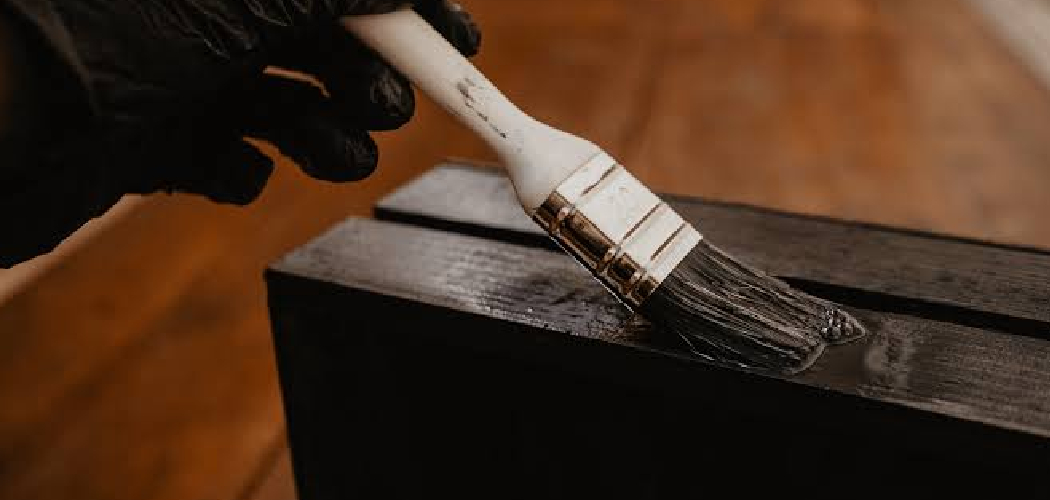
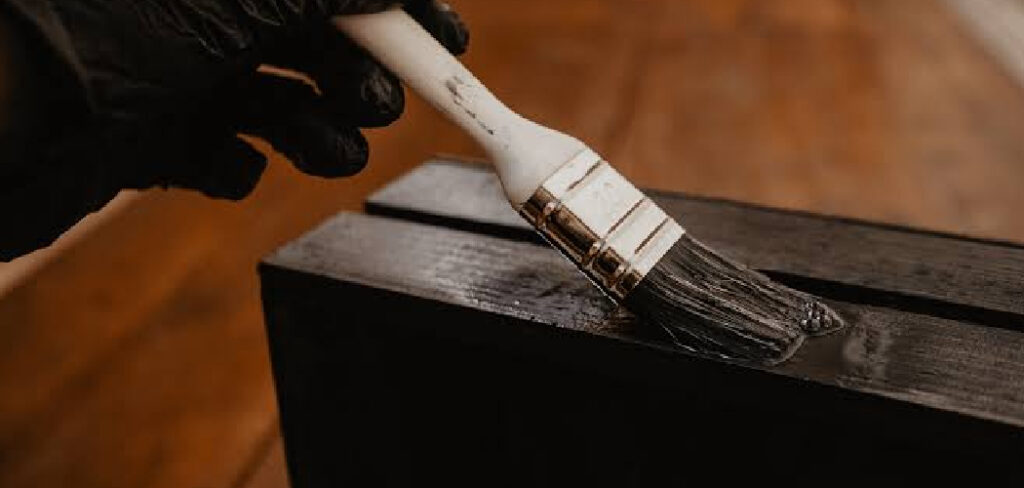
Mahogany resists paint. Its open grain, natural oils, and dense fibers fight adhesion harder than almost any common wood. Skip the prep and your paint peels, bubbles, or bleeds within months. Done right, painted mahogany holds a smooth, durable finish for years.
The good news: you don’t need a pro shop or decades of experience. You need the right primer, the right sanding sequence, and patience between coats. Mahogany’s challenges are predictable, which means they’re beatable.
This guide breaks down exactly how to paint mahogany wood from bare board to finished surface, with the prep steps, products, and timing that lock paint in place for good.
Why This Skill Matters
Botched paint jobs cost money twice. First you pay for materials. Then you pay again to strip, sand, and redo the whole thing. Mahogany punishes shortcuts more than softwoods do, so the stakes run higher.
Learn to paint it correctly and you protect valuable furniture. Mahogany pieces — old dressers, tables, doors — often carry real worth. A clean repaint extends their life and updates their look without replacing them.
You also build transferable skill. The prep mastery that mahogany demands — degreasing, grain filling, primer selection — works on every hardwood you’ll ever paint. Get it right here and oak, walnut, and teak feel easy by comparison. One careful project saves you from a lifetime of peeling finishes.
Tools and Materials You’ll Need
Gather everything before you start. Stopping mid-coat to find supplies leaves brush marks and dry edges.
- Strip old finish — chemical stripper or 80-grit sandpaper
- Smooth the surface — sandpaper in 120, 180, and 220 grit
- Fill the open grain — wood grain filler or high-build primer
- Block oil bleed — shellac-based or oil-based stain-blocking primer
- Apply clean coats — quality angled brush and foam roller
- Lay down color — latex or oil-based paint in your chosen sheen
- Clean before painting — tack cloth and mineral spirits
- Protect the workspace — drop cloths and painter’s tape
- Optional — a paint sprayer for a glass-smooth, brush-free finish
Step-by-Step Guide on How to Paint Mahogany Wood
Step 1 – Strip the Old Finish
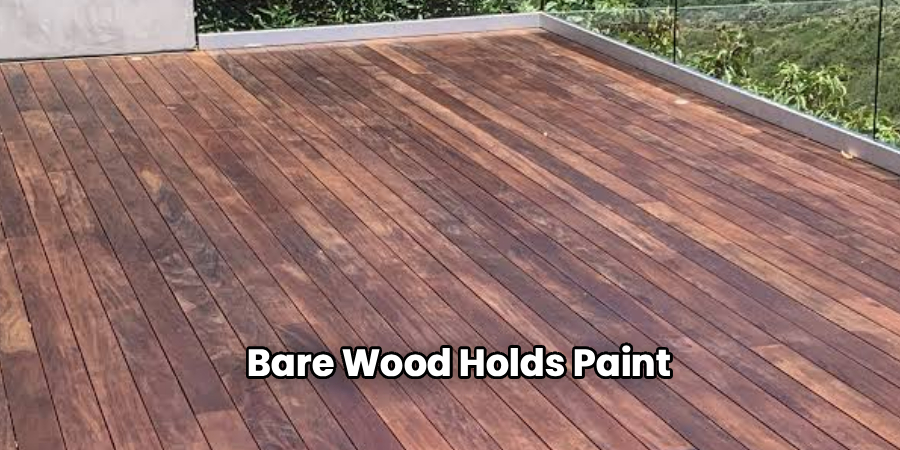
Bare wood holds paint. Sealed, glossy mahogany does not. Start by removing every trace of old varnish, lacquer, or stain.
For a heavy finish, brush on chemical stripper and let it bubble. You’ll see the old coating wrinkle and lift within minutes. Scrape it off with a plastic putty knife, working with the grain. For lighter finishes, 80-grit sandpaper does the job.
Wipe the stripped surface with mineral spirits to clear residue. Run your hand across the wood — it should feel raw and slightly rough, not slick. Any remaining gloss means paint won’t grip. Slick patches catch the light and feel smooth under your fingers. Keep working until the entire surface feels uniformly bare and dull.
Step 2 – Degrease the Surface
Mahogany contains natural oils that push paint away. These oils are why beginners struggle with how to paint mahogany wood and end up with peeling results.
Dampen a clean rag with mineral spirits and wipe the entire surface. Work in sections so the solvent doesn’t evaporate before you reach it. You’ll lift a faint reddish-brown residue — that’s the oil and old finish dust coming up.
Flip to a clean part of the rag often. A dirty rag just spreads oil around. Let the wood dry completely, about 15 minutes, until it stops smelling sharp. The surface should look matte and feel dry, not tacky. This degreasing step is the single biggest factor in lasting paint adhesion on mahogany.
Step 3 – Sand for Adhesion
Smooth wood rejects paint. You need a slightly toothy surface for primer to bite into.
Sand the whole piece with 120-grit, moving with the grain in long, even strokes. You’ll hear a steady, consistent scratch. Switch to 180-grit to refine the surface, then 220 for the final pass. Each grit removes the scratches from the last.
Cross-grain sanding leaves marks that show through paint, so stay parallel to the fibers. Run your fingertips over the surface between grits. It should feel progressively smoother but never glassy — you want fine tooth, not polish. Pay attention to corners and edges where old finish hides. Vacuum the dust, then wipe with a tack cloth until the surface is spotless.
Step 4 – Fill the Open Grain
Mahogany has open, porous grain. Paint over it raw and you’ll see tiny pits and ridges in the final coat.
Spread wood grain filler across the surface with a putty knife held at a low angle. Press it into the pores, working in circular motions, then scrape off the excess across the grain. You’ll feel the filler pack into the open channels.
Let it dry per the label, usually a few hours. The surface will look chalky and uneven — that’s normal. Sand it back with 220-grit until you reveal a flat, smooth plane with filled pores. Wipe away dust. For a perfectly level finish, this step matters most. Skip it only if you want visible grain texture under your paint.
Step 5 – Apply Stain-Blocking Primer
Mahogany’s tannins and oils bleed through ordinary primer, leaving pink or brown stains in your white topcoat. Block them now.
Choose a shellac-based or oil-based stain-blocking primer. These seal the wood and lock pigments in. Apply a thin, even coat with a quality brush, following the grain. You’ll smell the solvent — work in a ventilated space.
Watch for full, opaque coverage with no thin spots. The primer should dry to a uniform, dull surface. Let it cure completely, then check for any bleed-through. Pink or tan shadows mean you need a second primer coat. Sand lightly with 220-grit once dry to knock down any raised fibers. Smooth primer is the foundation for a flawless color coat.
Step 6 – Sand the Primer Smooth
Primer raises tiny wood fibers and leaves brush texture. A light sanding now gives your paint a glass-smooth base.
Use 220-grit sandpaper and sand with a feather-light touch. You’re smoothing, not removing. Move with the grain in gentle passes. You’ll feel rough specks disappear under the paper, leaving a satin-smooth surface.
Don’t sand through to bare wood — if you expose mahogany, the oils bleed again and you’ll re-prime that spot. Watch for shiny patches where primer is thin. Those need another touch of primer before paint.
Wipe the surface with a tack cloth to remove every speck of dust. Run your hand over it one final time. It should feel uniformly smooth, ready to take color cleanly.
Step 7 – Apply the First Color Coat
Now the transformation begins. Knowing how to paint mahogany wood comes down to thin coats and patience here.
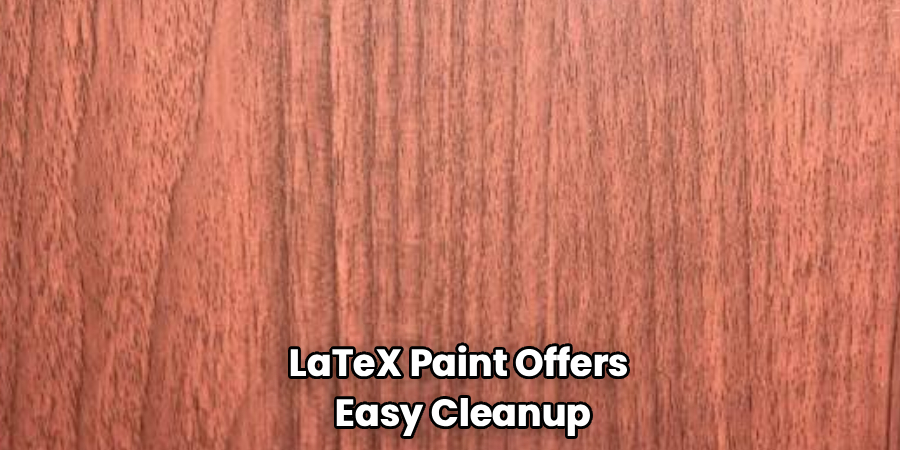
For most projects, latex paint offers easy cleanup and low odor. Oil-based paint gives a harder, smoother shell for high-wear surfaces like tabletops. Pick the sheen you want — satin and semi-gloss hide imperfections better than flat.
Load your brush lightly and lay down a thin coat along the grain. Use the foam roller on large flat areas for a smoother texture. Avoid overloading; thick paint drips and sags. You’ll see the color go on slightly streaky — that’s expected with the first coat. Resist the urge to overwork it. Let it dry fully, two to four hours for latex, longer for oil-based.
Step 8 – Apply the Final Coat
The second coat delivers depth, evenness, and durability. Lightly sand the first coat with 320-grit to remove any dust nibs.
Wipe clean with a tack cloth. Apply your final coat the same way — thin, even, with the grain. This pass should look rich and uniform, with no streaks or thin spots showing primer underneath.
Watch your lighting. Angle a lamp across the surface to catch drips or missed areas while the paint is still wet. Fix them with a light brush stroke before the paint sets. For high-traffic pieces, add a clear polyurethane topcoat once the paint cures fully. Let the finished surface cure for several days before heavy use. Rushing this step leaves soft paint that dents and scratches.
Common Mistakes to Avoid
The biggest mistake is skipping the degrease step. Mahogany’s natural oils sit on the surface and repel paint at the molecular level. Sand and prime over those oils and your finish lifts, peels, or never fully bonds. Always wipe with mineral spirits before you prime, no exceptions.
The second common error is using the wrong primer. Standard latex primer can’t block mahogany’s tannins, so reddish-brown stains bleed straight through your topcoat — especially under white or light colors. Use a shellac-based or oil-based stain-blocking primer every time. It seals the wood and stops bleed-through cold.
Ignoring the open grain causes another failure. Mahogany’s porous surface telegraphs through paint as pits and ridges if you don’t fill it. The result looks rough and unfinished no matter how carefully you paint. Grain filler or high-build primer solves it.
Painting coats too thick ruins otherwise good prep. Heavy coats drip, sag, and take forever to cure, trapping softness underneath. Thin layers dry harder and look smoother. Finally, rushing dry times wrecks adhesion between coats. Patience beats speed on every painted mahogany project.
Expert Tips
Test your primer on a hidden spot first. Mahogany varies in oil content from board to board, so a quick patch tells you whether one primer coat blocks the bleed or you need two. Five minutes of testing saves a full repaint.
Warm the room to 65–75°F before painting. Paint flows smoother and cures harder in that range. Cold surfaces leave brush marks and slow drying to a crawl.
Strain old paint through a mesh filter before use. Dried bits and skin create bumps that no amount of sanding fixes once they’re under your coat.
Sand between every coat, not just the first. Each light pass removes dust nibs and gives the next layer something to grip. The extra ten minutes per coat produces a finish that looks professionally sprayed.
Frequently Asked Questions
Do You Need to Prime Mahogany Before Painting?
Yes, priming mahogany is essential. Its natural oils and tannins bleed through paint and cause peeling without a sealing primer. Use a shellac-based or oil-based stain-blocking primer to lock pigments in and create a surface paint can grip. Skipping primer almost guarantees stains, poor adhesion, and a finish that fails within months. Prime every time for lasting results.
Can You Paint Mahogany Without Sanding?
No, sanding is necessary for paint to bond. Mahogany’s smooth, often glossy surface gives paint nothing to grip, so it peels. Sanding creates fine tooth that lets primer adhere. If you can’t sand, use a liquid deglosser as a backup, but light sanding with 120- to 220-grit delivers far better adhesion and a smoother final finish.
What Kind of Paint Works Best on Mahogany?
Both latex and oil-based paint work on mahogany once it’s primed correctly. Latex offers easy cleanup, low odor, and fast drying for cabinets and decor. Oil-based paint forms a harder, smoother shell, making it ideal for tabletops and high-wear surfaces. Choose satin or semi-gloss sheens — they hide imperfections better than flat and clean up more easily.
Why Does Paint Keep Peeling Off My Mahogany?
Peeling happens for three main reasons: leftover oils, no stain-blocking primer, or skipped sanding. Mahogany’s natural oils repel paint unless you degrease with mineral spirits first. Standard primers let tannins bleed and break the bond. A glossy, unsanded surface gives paint nothing to grip. Fix all three — degrease, sand, and use the right primer — and peeling stops.
How Long Should Painted Mahogany Cure?
Painted mahogany needs several days to cure fully, even though it feels dry within hours. Latex paint reaches full hardness in 2 to 4 weeks, while oil-based paint cures in about 7 days. Wait at least 3 days before heavy use, and longer for tabletops. Rushing leaves soft paint that dents, scratches, and marks easily under normal handling.
Conclusion
Painting mahogany comes down to prep. You stripped the old finish, degreased the oils, sanded for tooth, filled the open grain, and sealed everything with stain-blocking primer. Each step built the foundation that keeps your paint locked in place for years.
The payoff is real. A piece that once looked dated or worn now carries a smooth, durable finish — and you saved the cost of replacing it. More importantly, you learned the prep discipline that works on every hardwood you’ll ever paint.
Now you know how to paint mahogany wood the right way, from bare board to flawless final coat. Don’t let the wood’s reputation scare you off. The challenges are predictable, and you’ve got the process to beat every one of them.
Pick your project. Gather your supplies. Start stripping. The careful work you put in today gives you a finish that holds up long after shortcuts would have failed.
