
A dry cutting board cracks. It splits along the grain, traps bacteria in the gaps, and warps until it rocks on the counter. Oil stops all of that. A few minutes of care keeps your board smooth, sealed, and safe for years.
The job is simple. You don’t need special skills or a workshop. You need the right oil, a clean cloth, and a little patience while the wood drinks it in.
Most people either skip oiling entirely or use the wrong product and ruin the surface. Both mistakes cost you a good board.
This guide shows you exactly how to oil wood cutting board surfaces the right way — from picking the oil to buffing the final shine.
Why This Skill Matters
A quality cutting board costs $40 to $150. Replace it every year because it cracked, and that adds up fast. Oil it regularly and the same board lasts a decade or more.
Dry wood is the enemy. As moisture leaves the fibers, the board shrinks, splits, and lifts at the corners. Those cracks hold food particles and bacteria that no quick rinse removes. A sealed board sheds water and stays sanitary.
Oiling also protects your knives. A conditioned surface stays slightly forgiving, so your edges last longer.
You build a useful habit here too. Board conditioning teaches you how wood reacts to moisture, oil, and wear — knowledge that carries over to every wooden tool, handle, and surface you own.
Tools and Materials You’ll Need
Gather everything first. A complete setup means you finish in one session without dry spots or interruptions.
- Seal and protect the wood — food-safe mineral oil or dedicated butcher block oil
- Lock in the finish — board wax or beeswax-and-oil conditioner
- Apply the oil evenly — clean, lint-free cloth or paper towels
- Smooth rough patches — fine 320-grit sandpaper
- Clean the surface first — mild dish soap and warm water
- Dry the board fully — a second clean towel
- Optional — disposable nitrile gloves for mess-free application
Skip vegetable oil, olive oil, and coconut oil. They turn rancid and leave your board smelling sour. Mineral oil and food-safe butcher block oil stay stable and never spoil.
Step-by-Step Guide on How to Oil Wood Cutting Board
Step 1 – Clean the Board Thoroughly
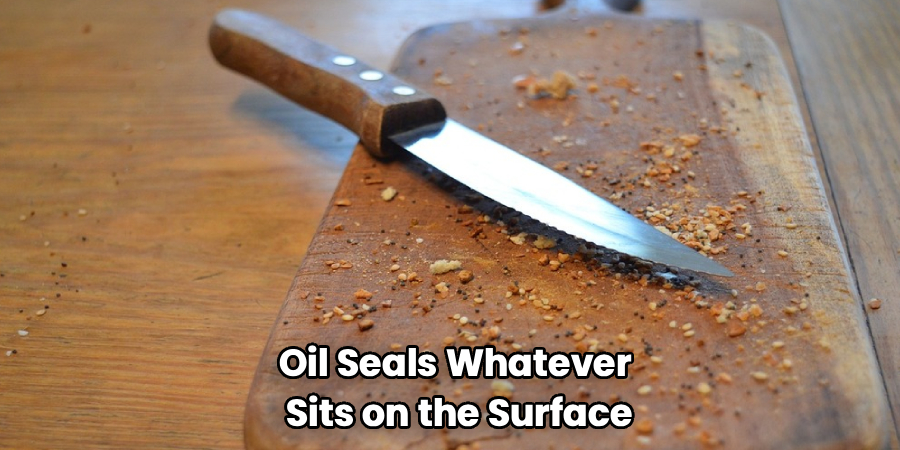
Oil seals whatever sits on the surface. Clean first, or you trap food residue and grease under the finish.
Wash the board with warm water and a few drops of mild dish soap. Use a sponge, not a soak — submerging wood swells the fibers and loosens the joints. Scrub both sides and the edges, working with the grain.
Rinse quickly under running water. You’ll feel the surface go clean and slightly rough as the soap lifts away oils and debris. Don’t let water pool.
Wipe off the excess with a towel. The board should look uniform and feel clean, with no sticky spots or food stuck in the grain. A clean start gives the oil a clear path into the wood.
Step 2 – Dry the Board Completely
Wet wood rejects oil. Water and oil don’t mix, so any moisture left in the fibers blocks the finish from soaking in.
Towel off all visible water, then stand the board upright. Lean it against a wall or set it in a dish rack so air reaches both faces. Trapped moisture on a flat surface warps the board.
Wait at least two to three hours. Overnight is better. Run your hand across the surface — it should feel completely dry and room temperature, never cool or damp.
You’ll know it’s ready when the grain looks light and matte. Damp wood appears slightly darker. Patience here pays off because dry wood pulls oil deep, where it protects best.
Step 3 – Sand Any Rough Spots
Run your fingertips across the board. Feel for raised grain, fuzz, or rough patches where the fibers lifted after washing. Smooth them now.
Sand lightly with 320-grit sandpaper, moving with the grain in long, even strokes. You’ll hear a soft, consistent scratch and feel the surface go silky under the paper. Don’t press hard — you’re polishing, not reshaping.
Most maintenance oilings need only a quick pass on a few spots. A board that’s been dry for months may need a full once-over.
Wipe away every speck of dust with a dry cloth. The surface should feel uniformly smooth, with no grit or fuzz. Smooth wood absorbs oil evenly and looks far better once conditioned.
Step 4 – Apply the First Coat of Oil
Now the wood drinks. Learning how to oil wood cutting board surfaces comes down to generous coats and time.
Pour a tablespoon of mineral oil or butcher block oil directly onto the board. Spread it with a clean cloth, working it into the wood in circular motions, then finish with the grain. Cover every inch — both faces, all four edges, and any handle grooves.
Don’t be stingy. The first coat should look wet and glossy across the whole surface. You’ll watch dry areas darken as they soak it up. Re-oil any spot that turns matte fast.
The wood will feel cool and slick under your cloth. Keep applying until the surface holds a steady, even sheen everywhere.
Step 5 – Let the Oil Soak In
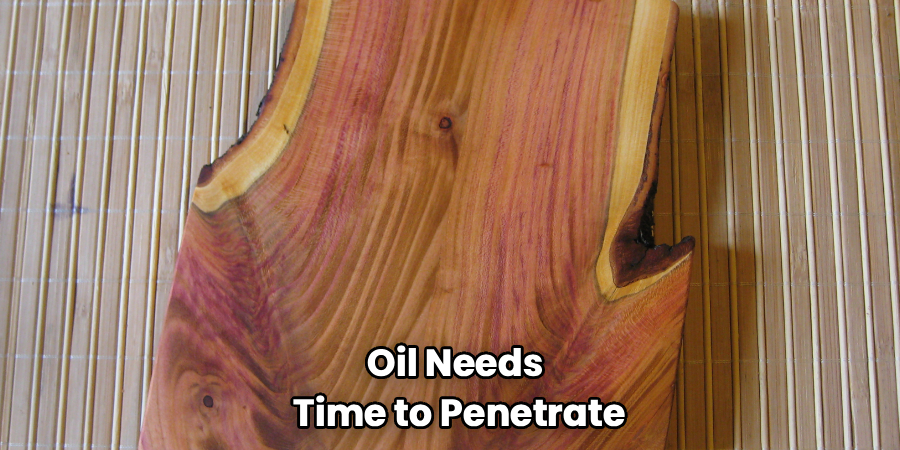
Oil needs time to penetrate. Rush this and you wipe away protection that hasn’t yet reached the deeper fibers.
Lay the board flat and walk away. Give it a minimum of two to four hours, or leave it overnight for a board that was badly dried out. The longer it sits, the deeper the oil travels.
Check back and you’ll see the difference. Areas that looked wet now appear satin as the oil sinks below the surface. Thirsty boards may pull in everything and look dry again.
If the whole board drank the first coat completely, add another. Repeat until the surface still looks slightly oily after a few hours. That tells you the wood is fully saturated.
Step 6 – Wipe Off the Excess
Excess oil sitting on top stays tacky and attracts dust. Remove what the wood didn’t absorb.
Take a clean, dry cloth and wipe the entire board with firm pressure, following the grain. You’ll lift a thin film of leftover oil onto the cloth. Keep wiping until the surface feels smooth and dry to the touch, not slippery.
Pay attention to edges and corners where oil pools. Run your finger along them — any slick residue means keep buffing.
Done right, the board looks rich and even, with a soft glow rather than a wet shine. The color deepens as the grain comes alive. This step turns an oily board into a properly conditioned one that’s ready to handle food.
Step 7 – Apply a Protective Wax Coat
Oil soaks in. Wax sits on top and seals it. This final layer adds water resistance and a smooth, durable finish that oil alone can’t match.
Scoop a small amount of board wax or beeswax conditioner onto a clean cloth. Rub it across the surface in thin, even circles. A little goes far — you’ll feel it glide and leave a faint, waxy slickness behind.
Cover both faces and all edges. Let the wax set for 15 to 20 minutes until it firms up slightly and loses its wet look.
The board should feel smooth and lightly protected, never greasy. Wax is optional for quick maintenance but worth it for boards that see heavy use or frequent washing.
Step 8 – Buff and Cure the Board
Buffing brings out the shine and removes any last residue. Take a clean, dry cloth and rub the whole surface in brisk strokes.
You’ll feel the wax warm slightly and smooth out under friction. The board develops a soft, low sheen — not a mirror gloss, but a healthy, sealed look. Keep buffing until the cloth glides freely and picks up nothing.
Let the board cure for a few hours before use. Stand it upright so air circulates. This sets the finish and ensures nothing transfers to your food.
Once cured, the board is ready. Run your hand across it — smooth, dry, and protected. Repeat this full process every three to four weeks, or whenever water stops beading on the surface.
Common Mistakes to Avoid
The most common mistake is using the wrong oil. Vegetable, olive, and coconut oils are food oils, not wood oils. They go rancid inside the grain, leaving your board smelling sour and tasting off. Always use food-safe mineral oil or a dedicated butcher block oil. These never spoil and stay safe against food.
The second mistake is oiling a wet board. Water blocks oil from penetrating, so the finish sits on top and never seals the wood. Dry the board completely — hours, not minutes — before you apply a single drop. Damp wood looks darker and feels cool, so wait until both faces feel room temperature and bone dry.
Rushing the soak time wastes oil. Wipe it off after ten minutes and you remove protection before it reaches the deeper fibers. Give each coat hours to penetrate.
Soaking or dishwashing a board destroys it fast. Submerged wood swells, cracks, and splits at the joints. Hand-wash quickly and dry upright every time.
Finally, many people oil too rarely. A board needs conditioning every three to four weeks. Wait until it cracks and you’ve waited too long.
Expert Tips
Warm your oil before applying it. Set the bottle in a cup of hot water for a few minutes. Warm oil flows thinner and sinks deeper into the grain than cold oil, giving you better penetration with less waste.
Test whether your board needs oil with a few drops of water. If the water beads and sits on top, the seal holds. If it soaks in and darkens the wood, it’s time to condition.
Oil the end grain twice. The cut ends of the fibers absorb the most and dry out first, so they need extra attention to prevent cracking.
Build a schedule. New boards need oil weekly for the first month, then monthly after that. Mark a recurring reminder so you never let the wood dry out and split.
Frequently Asked Questions
What Kind of Oil Should I Use on a Cutting Board?
Use food-safe mineral oil or a dedicated butcher block oil. Both stay stable, never go rancid, and are safe around food. Avoid cooking oils like olive, vegetable, or coconut — they spoil inside the wood and leave a sour smell. For extra protection, finish with a beeswax-and-mineral-oil conditioner that seals the surface and repels water.
How Often Should I Oil My Wood Cutting Board?
Oil your board every three to four weeks under normal use, or whenever water stops beading on the surface. New boards need more frequent care — oil them weekly for the first month, then switch to monthly. Heavy daily use or frequent washing dries wood faster, so condition more often. A quick water-drop test tells you exactly when it’s time.
Can I Use Olive Oil on My Cutting Board?
No. Olive oil and other cooking oils go rancid inside the wood grain. They leave your board smelling sour, feeling sticky, and tasting off — a problem you can’t reverse once it sets in. Stick to food-safe mineral oil or butcher block oil. These mineral-based products stay fresh indefinitely and keep your board safe and clean.
Why Does My Cutting Board Keep Drying Out?
Boards dry out from washing, heat, and time as moisture leaves the wood. Frequent water exposure strips oil from the surface, and dry kitchen air pulls more out. End grain dries fastest because cut fibers absorb the most. The fix is regular conditioning. Oil the board on a schedule and the wood stays saturated, smooth, and crack-free.
Do I Need Wax or Is Oil Enough?
Oil alone protects most boards well. Wax adds an extra layer that sits on top, sealing the oil in and boosting water resistance. For light home use, oil is enough. For boards that see daily chopping and frequent washing, a wax topcoat extends the finish and keeps water beading longer between oilings. It’s optional but worth the few extra minutes.
Conclusion
A well-oiled board lasts for years. You cleaned it, dried it fully, sanded the rough spots, then worked food-safe oil deep into the grain. You let it soak, wiped the excess, and sealed everything with a wax topcoat. Each step locked in protection that keeps the wood smooth, sanitary, and crack-free.
The payoff is real. A board you condition regularly outlives a dozen neglected ones — and you save the cost of constant replacement. You also keep your kitchen safer, since sealed wood resists bacteria far better than dry, cracked surfaces.
Now you know how to oil wood cutting board surfaces the right way, from first wash to final buff. The process takes minutes and rewards you for years.
Check your board today. Drop a little water on it. If it soaks in instead of beading, grab your oil and get started. A few minutes now saves you a cracked board later.
