
A worn, scuffed banister can drag down the look of an entire staircase, yet most people walk right past it every day without a second thought. The good news? Giving it a fresh coat of paint is one of the most satisfying weekend projects you can tackle. Learning how to paint a wood banister doesn’t require fancy skills or expensive gear—just a bit of patience and the right approach. Whether your stair railing is dull, dated, or simply due for a color change, a smooth paint job can make it look brand new. This guide walks you through every step, from prep to final coat, so you finish with a durable, professional-looking result you’ll be proud to grip.
Why Painting Your Banister Matters
Your banister takes more abuse than almost any other woodwork in your home. Hands grab it daily, kids swing on it, and oils from skin slowly wear down the finish. Repainting protects the wood underneath, sealing out moisture and preventing cracks that lead to costly repairs down the road.
Beyond protection, this project saves you serious money. Hiring a pro to refinish a staircase can cost hundreds, but doing it yourself runs the price of a few supplies. It’s also a confidence builder. Once you’ve mastered prepping and painting balusters, you’ll feel ready to take on bigger woodworking jobs. A freshly painted railing instantly lifts the look of your whole entryway, adding value and warmth without a major renovation.
Tools and Materials You’ll Need
Gather everything before you start so you’re not running to the store mid-project. Here’s your essential kit:
- Fine-grit sandpaper (120 and 220 grit) or a sanding sponge
- Tack cloth or a damp microfiber rag
- Painter’s tape
- Wood filler for dents and gaps
- A quality wood primer
- Interior paint (satin or semi-gloss holds up best)
- A 2-inch angled brush for detail work
- A small foam roller for flat sections
- Drop cloths or old sheets
- Mild cleaner or degreaser (TSP works well)
- Safety gloves and a dust mask
- Optional: A paint pyramid or small risers to lift removable parts off the ground for easier coating
Step-by-Step Guide on How To Paint a Wood Banister
Step 1 – Clear and Protect the Work Area
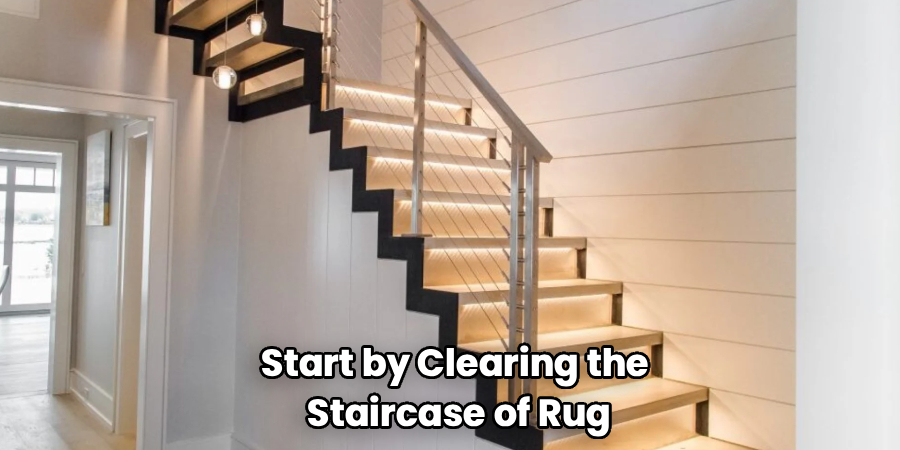
Start by clearing the staircase of rugs, decor, and anything you might bump into. Lay drop cloths along the steps and floor below, tucking them snug against the base of each post. Staircases get messy fast, and dried drips on hardwood are a pain to scrape off later.
Tape off any walls, treads, or trim that meet the railing. Press the edge of the painter’s tape down firmly with your fingernail so paint can’t seep underneath. You’ll feel a slight resistance when the seal is tight.
Good prep here saves headaches later. When learning how to paint a wood banister, the cleanest results almost always come from the people who took protection seriously before opening a single can.
Step 2 – Clean Every Surface Thoroughly
Years of hand oils, dust, and grime cling to a banister, and paint simply won’t stick to a dirty surface. Mix a mild degreaser or TSP solution and wipe down the entire rail, spindles, and newel posts with a damp cloth.
Pay extra attention to the handrail itself, where skin oils build up the most. Run your fingers across it afterward—if it still feels slick or tacky, clean it again. You want a surface that feels clean and slightly matte.
Let everything dry completely, usually an hour or two. Skipping this step is one of the fastest ways to ruin paint adhesion, so don’t rush it. A truly clean banister sets the stage for every coat that follows.
Step 3 – Repair Dents, Cracks, and Gaps
Inspect the wood closely for chips, dents, or open joints. Scoop a small amount of wood filler onto a putty knife and press it firmly into each flaw, smoothing the surface flush. Work it in until you hear that soft scraping sound of the blade gliding clean across the wood.
Filler shrinks slightly as it dries, so slightly overfill deep gouges and plan to sand them level later. Give it the full drying time listed on the container—usually 30 minutes to a couple of hours.
Once cured, the patches should feel hard and look slightly lighter than the surrounding wood. Don’t paint over soft filler; it’ll crack and ruin your finish. Patience now means a seamless surface later.
Step 4 – Sand for Smoothness and Grip
Sanding is where the magic happens. Start with 120-grit sandpaper to knock down the old finish and rough up the glossy surface, giving the new paint something to grip. Move with the grain in steady strokes, and you’ll hear the satisfying scratch of grit cutting through old varnish.
Get into the tight curves of each baluster with a folded sponge or rolled sandpaper. Then switch to 220-grit for a final smoothing pass that leaves the surface silky to the touch.
The whole railing should feel uniformly dull when you’re done—no shiny patches reflecting light. Glossy spots mean paint will peel there. Run your palm across every section to check, since your hands often catch what your eyes miss.
Step 5 – Wipe Away All Dust
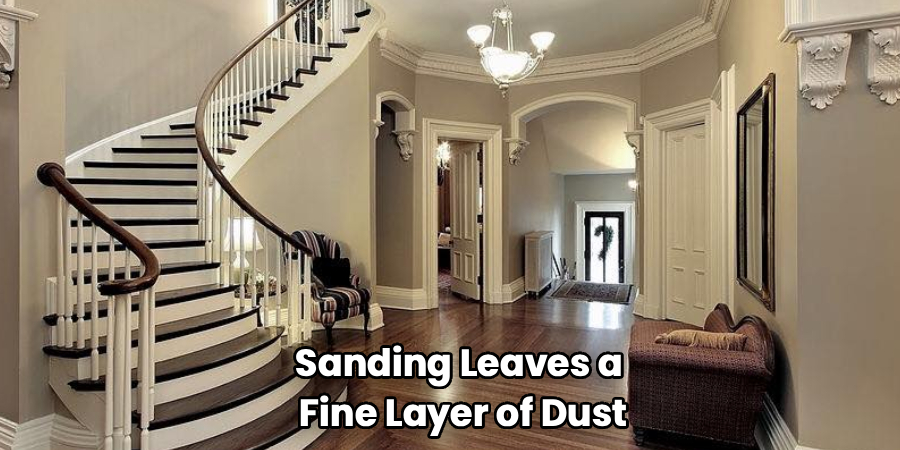
Sanding leaves a fine layer of dust that will turn your smooth finish gritty if you leave it behind. Grab a tack cloth and wipe down every surface, pressing into the grooves where dust loves to hide.
For stubborn powder, follow up with a slightly damp microfiber rag, then let the wood dry. Hold the railing up to the light and look for any cloudy film—that’s leftover dust signaling you need another pass.
The wood should look clean and feel completely smooth, almost cool to the touch. This quick step makes a huge difference in the final result. Skipping it leaves tiny bumps trapped under the primer that you’ll feel forever after.
Step 6 – Apply a Coat of Wood Primer
Primer is the unsung hero of a lasting finish. It blocks stains, evens out the surface, and dramatically improves paint adhesion. Dip your angled brush lightly and apply thin, even strokes along the handrail, then move down to the spindles.
Work the wood primer into every contour, but watch for drips pooling at the bottom of the balusters. Catch them quickly with your brush before they harden into ugly ridges. A good primer coat looks slightly streaky and translucent—that’s normal.
Let it dry fully, then run your hand over it. If you raised any wood fibers, give it a quick scuff with 220-grit and wipe clean. This solid base is what separates a quick fix from a finish that lasts years.
Step 7 – Paint the First Topcoat
Now for the fun part. Stir your paint thoroughly and load your brush with just enough to coat without dripping. Start at the top of the handrail and work down, using long, smooth strokes that follow the length of the wood.
For the spindles, paint from the bottom up to catch runs early. A small foam roller handles flat newel posts quickly and leaves a smooth, even layer. Listen for that soft, tacky sound the brush makes as the paint lays down evenly.
Keep your coats thin. Thick paint sags, drips, and takes forever to cure. The first coat won’t look perfect or fully opaque, and that’s exactly right. Let it dry completely before judging your work or reaching for more.
Step 8 – Apply the Final Coat and Cure
Lightly sand the first coat with 220-grit if it feels rough, then wipe away the dust. This second pass is what gives you that flawless, factory-smooth look. Apply your final coat the same way—thin, even, and patient.
Check your angles as you go, tilting your head to catch missed spots or thin areas where the primer shows through. Good coverage looks rich and uniform from every direction.
Once finished, resist the urge to touch it. Paint may feel dry in hours, but it needs days to fully cure and harden. Avoid heavy use for at least a week so daily grips don’t leave marks. Then peel your tape slowly at a 45-degree angle for crisp, clean edges.
Common Mistakes to Avoid
The biggest mistake beginners make is rushing the prep. Painting over a dirty or glossy surface almost guarantees peeling within weeks. Those hand oils and old varnish create a barrier that paint simply can’t grip, no matter how nice the color looks going on. Take the extra hour to clean and sand properly—it’s the difference between a finish that lasts years and one that flakes by next season.
Another frequent error is applying paint too thick. It feels faster to slap on one heavy coat, but thick paint sags, drips, and develops an uneven, leathery texture that never fully hardens. Thin coats always win.
Skipping primer is a costly shortcut, too. Without it, you’ll need extra topcoats, and you’ll still get poor adhesion and stains bleeding through. Primer saves paint and frustration.
Many folks also forget to sand between coats, leaving raised fibers and gritty bumps locked into the finish. A quick scuff makes the next layer glassy smooth.
Finally, people often use the banister too soon. Paint dries to the touch quickly but stays soft underneath for days, so early gripping leaves permanent fingerprints and dents.
Expert Tips
Here’s a trick pros swear by: paint when the room temperature sits between 60 and 75 degrees with low humidity. Paint cures evenly in those conditions, while heat makes it dry too fast and humidity leaves it tacky for days.
Use a high-quality angled brush and clean it thoroughly between coats. Cheap brushes shed bristles into your finish, and a clogged brush drags instead of glides.
Work in natural daylight whenever possible. Side lighting reveals drips, holidays, and thin spots that overhead lighting hides completely. For the handrail, a satin or semi-gloss sheen wipes clean easily and resists the constant wear of busy hands. Finally, label your leftover paint with the date and room—touch-ups down the line will be effortless.
Frequently Asked Questions
Do I Need to Sand a Banister Before Painting?
Yes, sanding is essential for a lasting finish. It removes the old glossy coating and roughens the surface so new paint can grip properly. Skipping this step leads to peeling and chipping within weeks. Use 120-grit to start, then smooth with 220-grit. Your railing should feel uniformly dull and slightly textured when you’re ready to prime.
What Kind of Paint Works Best on a Wood Railing?
A water-based interior paint in satin or semi-gloss is your best bet for a banister. These sheens resist scuffs, wipe clean easily, and handle the daily wear of constant gripping. Semi-gloss is especially durable for high-touch handrails. Pair it with a quality wood primer for strong adhesion and a smooth, professional-looking finish that holds up for years.
How Many Coats of Paint Does a Banister Need?
Most banisters need one coat of primer plus two coats of paint for full, even coverage. The first topcoat builds the base, while the second delivers that rich, flawless look. Always apply thin layers and let each dry completely. Rushing with thick coats causes drips and a soft finish that never fully hardens, so patience pays off here.
How Long Should Paint Cure Before Using the Stairs?
Paint usually dries to the touch within a few hours, but it isn’t fully cured yet. For a banister that gets daily use, wait at least a week before regular gripping. The paint hardens completely during this time, resisting fingerprints and dents. Light use is fine after 24 hours, but gentle handling protects your hard work the longest.
Can I Paint Over a Stained or Varnished Banister?
Absolutely, but proper prep is key. Clean the surface well to remove oils, then sand thoroughly to dull the glossy varnish. Follow with a stain-blocking primer to prevent the old finish from bleeding through. Without this prep, paint won’t adhere and stains may show. Done right, you can transform a dark, dated railing into a fresh, modern feature.
Conclusion
Painting your banister is one of those projects that delivers a huge payoff for a modest weekend of effort. By now you know that success comes down to the prep work—cleaning, sanding, and priming carefully before that first stroke of color ever touches the wood. Thin coats, patient drying time, and a quick sand between layers turn an ordinary railing into a smooth, durable centerpiece for your home.
Don’t be intimidated if it’s your first time. Learning how to paint a wood banister is a beginner-friendly skill that builds real confidence for bigger woodworking projects down the road. You’ll save money, protect your wood from years of wear, and gain a satisfying sense of accomplishment every time you walk up your stairs.
So grab your supplies, take your time, and trust the process. With a little care and the steps in this guide, you’ll end up with a finish that looks professional and lasts for years to come. Happy painting.
