
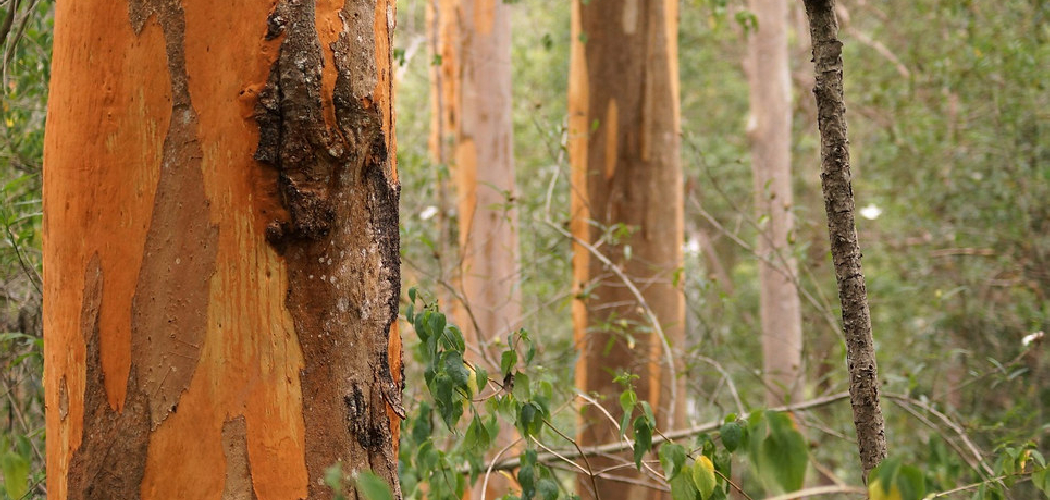
Bark falls off. That single problem ruins more live edge projects than any other. You sand, you finish, you mount your slab on the wall — and within months, chunks of bark crack loose and scatter across the floor. Frustrating, and completely avoidable.
That natural edge is the whole point of a live edge piece. It carries the raw shape of the tree, the texture, the story. Lose it, and you lose the character that made you choose the slab in the first place.
Learning how to preserve live edge bark protects that character and your time. Done right, the bark stays locked in place for decades. This guide walks you through the exact steps to dry, stabilize, and seal your slab so the bark stays put.
Why Preserving Live Edge Bark Matters
A failed bark edge costs you twice. First, the slab itself — quality live edge wood runs anywhere from $50 to several hundred dollars per board. Second, the hours you spent flattening, sanding, and finishing. When bark peels, that investment walks out the door.
Preservation also separates a piece that looks handmade from one that looks unfinished. Tight, intact bark signals craft. Gaps, loose flakes, and crumbling edges signal a rushed job.
For beginners, this skill builds confidence fast. You learn moisture behavior, adhesion, and sealing — fundamentals that carry into every future project. Master bark preservation early and you stop guessing. You start producing natural edge tables, shelves, and countertops that hold up to daily use and last for years.
Tools and Materials You’ll Need
Gather everything before you start. Stopping mid-process to hunt for supplies leads to mistakes.
- Confirm dryness fast — a pin-type moisture meter
- Stabilize loose bark — thin penetrating CA glue (cyanoacrylate)
- Lock the edge permanently — clear two-part epoxy sealer
- Protect the surface — tung oil or hardwax oil finish
- Clean out debris — stiff nylon brush and compressed air
- Apply with control — small foam brushes and disposable gloves
- Knock down rough spots — 120, 180, and 220 grit sandpaper
- Protect your space — drop cloth or plastic sheeting
- Mix accurately — graduated mixing cups and stir sticks
- Optional for speed — a heat gun to thin epoxy and improve penetration into tight bark cavities
One quality moisture meter saves more failed projects than any other tool on this list.
Step-by-Step Guide on How To Preserve Live Edge Bark
Step 1 – Check the Moisture Content First
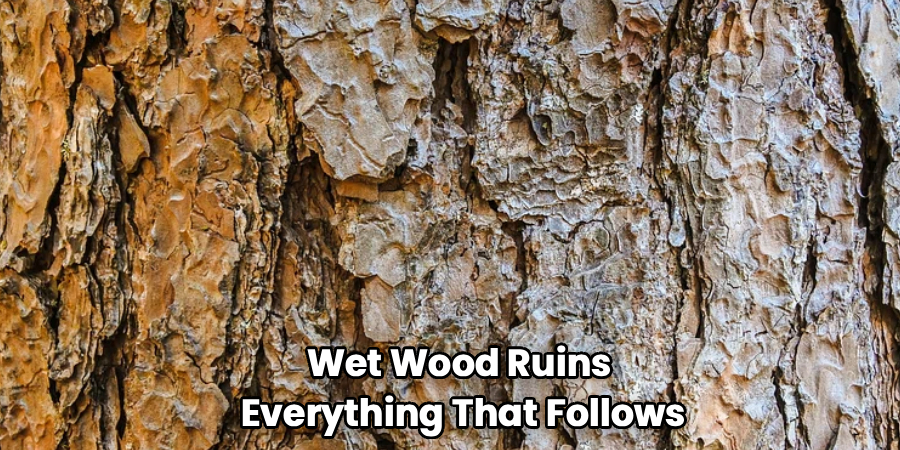
Wet wood ruins everything that follows. Push your moisture meter pins into the slab at several points along the live edge and across the face. You want a reading of 8% to 12% for indoor work.
Anything above 15% means the slab is still releasing water. Seal it now and you trap moisture under the finish, where it warps the wood and pushes the bark loose from underneath.
Listen for a dull, heavy thud when you tap a wet slab. A properly dried slab gives a sharper, lighter knock. If your numbers run high, set the slab aside in a dry, ventilated space and check again weekly. Patience here protects every later step.
Step 2 – Inspect and Test the Bark Adhesion
Run your fingers firmly along the entire live edge. Press, wiggle, and tug. Tight bark feels solid and resists movement. Loose bark shifts, crackles, or flakes away under light pressure.
Mark the weak zones with painter’s tape so you know where to focus. Look closely at the cambium layer — that thin, sometimes spongy band between bark and wood. This layer is where most failures start.
If large sections lift easily or sound hollow when tapped, that bark may not be worth saving. Be honest with yourself now. Knowing how to preserve live edge bark also means knowing when a section is too far gone to rescue. Trim the unsalvageable pieces cleanly rather than fighting them later.
Step 3 – Clean Out Loose Debris and Dirt
Glue and epoxy bond to clean surfaces, not dust. Work a stiff nylon brush along the bark to dislodge dirt, insect frass, and crumbling fibers. Brush with the grain of the bark, not against it, so you don’t tear good material loose.
Follow with compressed air. Blast into every crevice and cavity until no more debris flies out. You’ll see a cleaner color and feel a firmer surface once the loose junk is gone.
Skip this step and your sealer sits on a layer of grit. That bond fails within months. A clean edge feels slightly rough but stable — never powdery or shedding. Take your time and clear it completely.
Step 4 – Stabilize Loose Sections with CA Glue
Now reinforce the weak spots you taped earlier. Thin penetrating CA glue wicks deep into gaps and hairline cracks, locking bark to the wood beneath.
Apply a few drops at the top of each gap and watch it disappear into the crevice. Capillary action pulls it where brushes can’t reach. Add more until the glue stops absorbing. Work in a ventilated space — the fumes are sharp.
You’ll hear a faint crackle as it sets and feel the section firm up under your fingertip within seconds. Done right, the loose flake no longer moves. If glue pools on the surface and dries shiny, you used too much. Wipe excess fast before it cures.
Step 5 – Mix and Apply the Epoxy Sealer
Epoxy is what makes bark preservation permanent. Measure your two-part epoxy by the exact ratio on the label — usually 1:1 or 2:1. Guessing the mix leaves you with a sticky surface that never cures.
Stir slowly for two full minutes, scraping the sides and bottom of the cup. Rushing whips in air bubbles. Brush the epoxy generously over the entire bark edge, working it into every cavity with a foam brush.
A heat gun, passed quickly over the surface, thins the epoxy and releases trapped bubbles — you’ll see them rise and pop. The bark darkens and gains a wet, glossy depth. Let it cure fully, often 24 hours, before touching it.
Step 6 – Sand the Cured Surface
Once the epoxy hardens, it may feel slightly uneven or have sharp drips. Knock those down with 120 grit, then refine with 180 and 220.
Sand only the surface you intend to smooth. Don’t grind into the natural texture of the bark — that texture is the appeal. Light, controlled passes are all you need.
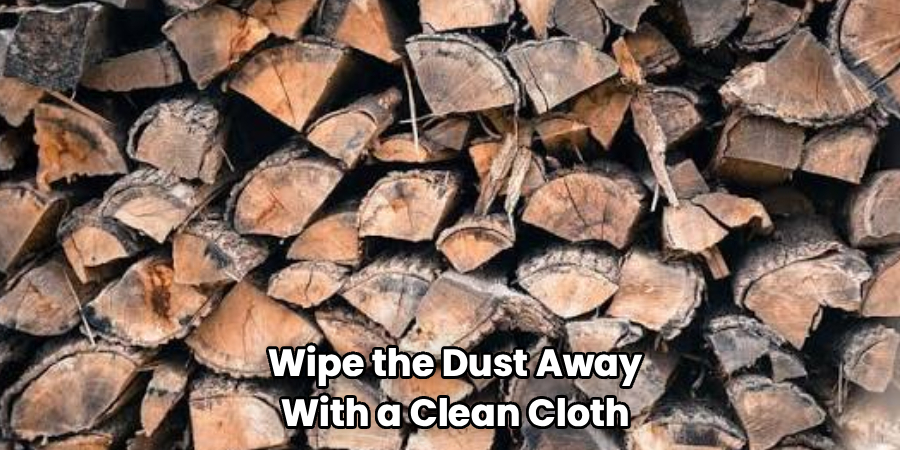
Wipe the dust away with a clean cloth and inspect under raking light. A correctly sanded edge feels smooth where epoxy pooled and retains its rugged character everywhere else. If you see white, cloudy patches, you sanded through the epoxy and exposed raw bark. Spot-seal those areas again before moving on.
Step 7 – Apply the Finishing Oil
The final layer protects color and adds warmth. Tung oil and hardwax oils soak into the wood and the sealed bark, deepening the grain without a plastic-looking film.
Pour a small amount onto a clean cloth or foam brush and work it into the slab and the live edge in thin, even coats. The wood drinks the first coat fast — you’ll watch it darken and richen instantly.
Wipe off any excess after 15 minutes so it doesn’t turn tacky. Let each coat dry, then apply two or three more for durability. A finished edge feels silky and looks alive. Sticky or streaky spots mean too much oil sat too long.
Step 8 – Inspect, Cure, and Final Check
Give the whole piece a final pass. Run your hand across the bark one more time, checking for any flake you missed. Tap lightly and listen for hollow spots that suggest hidden gaps.
Let the finish cure fully before use — oils often need several days to harden completely. Rushing this stage leaves fingerprints and dull patches on an otherwise flawless edge.
A properly preserved slab feels solid edge to edge, with bark that won’t budge under firm pressure. The surface carries a soft, even sheen. This is the payoff of doing it right — a natural edge that holds its shape and character for the life of the piece.
Common Mistakes to Avoid
The biggest mistake is sealing wet wood. When the moisture content sits above 15%, water trapped under the epoxy expands and contracts, slowly forcing bark loose from the inside. Always confirm dryness with a meter before you seal anything. No exceptions.
Second, beginners skip the cleaning step. Epoxy and CA glue need a clean surface to bond. Dust, insect debris, and crumbling fibers create a weak layer that fails within a season. Brush and blow out every crevice first.
Third, people mix epoxy by eye. A sloppy ratio produces a soft, gummy finish that never fully hardens. Measure precisely and stir for the full time the label specifies. Accuracy here decides whether your seal lasts decades or weeks.
Fourth, over-sanding destroys the texture that makes live edge worth doing. Grinding hard into the bark strips away the rugged surface and can cut through your epoxy layer. Use light passes and stop early.
Finally, many rush the cure time. Touching epoxy or oil before it hardens leaves dents, prints, and dull marks. Walk away and let chemistry finish the job.
Expert Tips
Stabilize from the back when you can. Flip the slab and flood thin CA glue into the bark seam from behind, where it won’t show. This anchors the edge without leaving glossy spots on the visible face.
Warm your epoxy before mixing. Setting the bottles in warm water for a few minutes lowers the viscosity, so it flows deeper into tight bark cavities and releases bubbles faster.
Work in stable conditions. Epoxy cures best between 70°F and 80°F. Cold rooms slow the cure and trap bubbles; hot rooms speed it up and shorten your working time.
Finally, build epoxy in thin layers rather than one thick pour. Multiple thin coats penetrate better, cure more evenly, and bond stronger than a single heavy flood that skins over before it sets.
Frequently Asked Questions
Does All Live Edge Bark Need to Be Preserved?
No. Some species hold bark naturally well, while others shed almost immediately. Oak, elm, and cherry often keep tight bark, while pine and poplar tend to lose it. If the bark is already loose across most of the edge, removing it cleanly and finishing the bare edge often looks better and lasts longer than fighting a losing battle.
Can I Preserve Bark Without Using Epoxy?
You can, but the results won’t last as long. CA glue alone stabilizes small loose sections, and oil finishes add minor protection. For lasting adhesion on a high-use piece like a table, epoxy remains the most reliable sealer. It penetrates deep, hardens fully, and locks the bark to the wood far better than oil or glue by themselves.
How Long Does Bark Preservation Last?
Properly preserved bark lasts for decades. The key factors are starting with dry wood, cleaning thoroughly, and sealing completely with epoxy. A slab that holds steady at 8% to 12% moisture and sits indoors away from humidity swings will keep its bark indefinitely. Skipping any core step shortens that lifespan dramatically, sometimes to just a few months.
Will Preserving Bark Change Its Color?
Yes, slightly. Epoxy and oil both deepen and enrich the bark’s tone, much like wetting it with water. The bark darkens and gains visible depth and contrast. Most people prefer this richer look. If you want to keep the color lighter, test your finish on an offcut first and choose a matte oil over a glossy epoxy topcoat.
What Moisture Level Is Safe for Sealing?
Aim for 8% to 12% for indoor projects. This range matches the equilibrium moisture content of most heated interior spaces, so the slab stays stable after finishing. Sealing above 15% traps water and leads to warping and bark failure. Always measure with a pin-type meter at several points before you apply any glue, epoxy, or oil.
Conclusion
Bark stays put when you respect the process. Dry the slab, test the adhesion, clean every crevice, stabilize the weak spots, seal with epoxy, sand lightly, and finish with oil. Each step builds on the last, and skipping any one of them puts your whole project at risk.
The reward is worth the effort. A well-preserved natural edge holds its character for decades, turning a raw slab into a piece you’ll be proud to show off. You save money, avoid redo work, and build skills that carry into every future build.
Now you know how to preserve live edge bark from start to finish. Start with a dry slab, work methodically, and give each layer time to cure. Do that, and your bark won’t crack, flake, or fall — it’ll stay locked exactly where it belongs. Pick your next slab, set up your workspace, and put these steps to work.
