
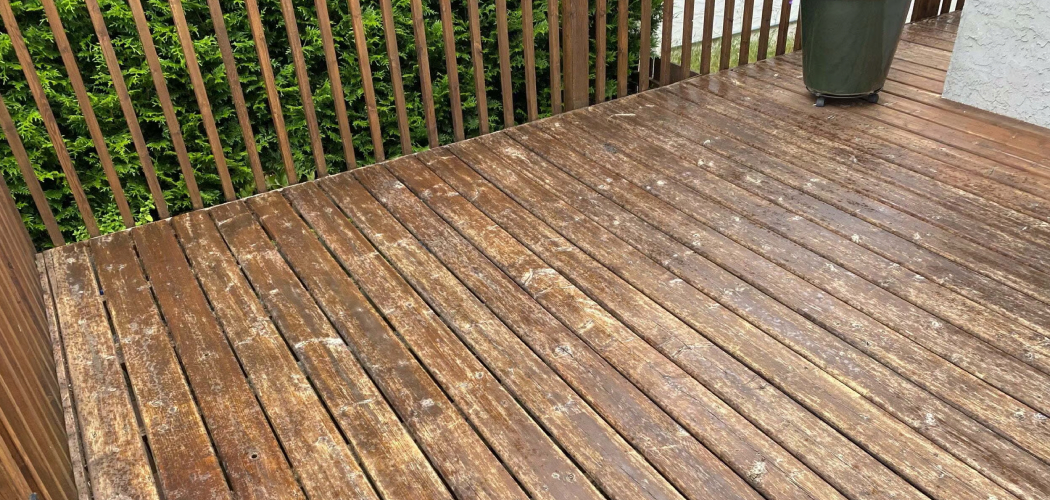
Water always wins. Given enough time, it warps, rots, and ruins almost any unprotected piece of wood. That truth is a little uncomfortable, but it’s also the start of your solution. If you’ve ever watched a beautiful tabletop swell or a boat trim split, you know the pain. The good news is you can stop it. Learning how to seal wood with marine epoxy gives your projects a tough, waterproof shell that lasts for years, not months.
It fills tiny pores, locks out moisture, and creates a glass-smooth surface ready for paint or varnish. You don’t need a workshop full of fancy gear. You need patience, a clean surface, and the right steps. This guide walks you through the whole process, from prep to final cure, so you can protect your wood with confidence.
Why Sealing Wood With Marine Epoxy Matters
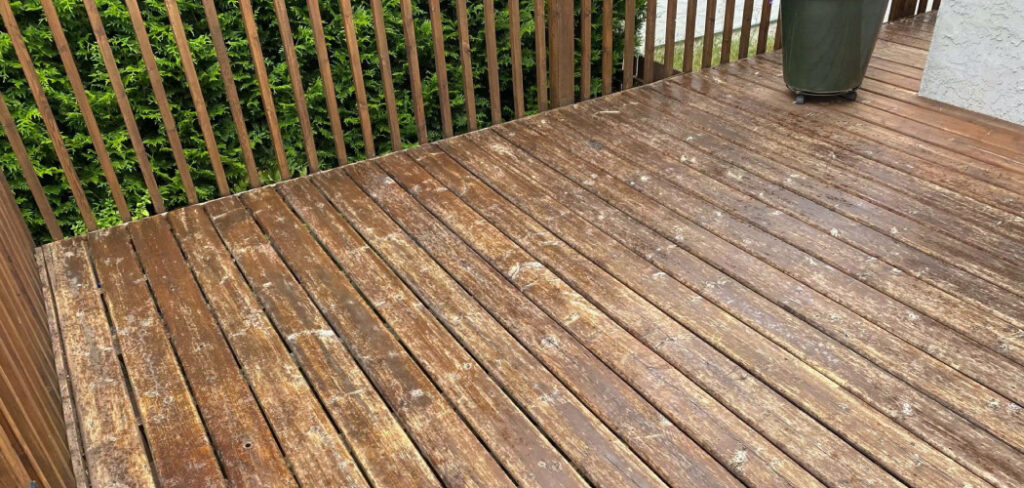
Skipping a proper seal feels cheaper. It isn’t. Unsealed wood drinks moisture. It swells. It cracks. Then you’re rebuilding a project you already paid for once.
Marine epoxy changes that math. It bonds deep into the grain and creates a barrier no standard sealant can match. That means fewer repairs, fewer replacements, and far less wasted money over time.
For a beginner, the payoff is also confidence. You learn how wood breathes, how moisture moves, and how to stop costly mistakes before they start. A sealed outdoor bench survives rain. A coated boat hatch shrugs off spray. A protected garden planter outlives three unsealed ones.
You’re not just finishing a project. You’re extending its life. And every hour you spend sealing now saves you days of repair later.
Tools and Materials You’ll Need
Gather everything before you mix. Epoxy waits for no one once it’s combined.
- Two-part marine epoxy (resin and hardener, matched to your project size)
- Mixing cups with measurement marks for accurate ratios
- Stir sticks (flat wooden ones work best)
- Disposable brushes or foam rollers for even coats
- Plastic spreader or squeegee for flat surfaces
- Sandpaper in 80, 120, and 220 grit
- Tack cloth to remove dust between coats
- Nitrile gloves and safety glasses
- Respirator mask rated for fumes
- Clean rags and denatured alcohol for cleanup
- Painter’s tape to protect edges and hardware
- Plastic sheeting to shield your work area
- (Optional) A digital scale for precise weight-based mixing — a small convenience that removes guesswork on larger pours
Step-by-Step Guide on How to Seal Wood With Marine Epoxy
Step 1 – Prepare a Clean, Dry Workspace
Start with your environment. Epoxy hates dust, cold, and damp air.
Pick a spot with good airflow and steady temperature, ideally between 70 and 85 degrees. Lay down plastic sheeting to catch drips. Drips will happen.
Wipe every surface near your project. Floating dust settles into wet epoxy and leaves tiny bumps you’ll feel later. Run your hand over the table. If it feels gritty, clean again.
Check the wood’s moisture too. If the surface feels cool or damp to the touch, wait. Sealing wet wood traps moisture inside, and that defeats the whole purpose.
A clean, dry, warm space is the quiet foundation of every good epoxy job. Set it up right, and the rest gets easier.
Step 2 – Sand the Wood Until Smooth
Run your palm across the bare wood. Feel the rough patches, the raised grain, the old finish clinging on.
Now sand. Start with 80-grit to knock down anything stubborn. Move to 120-grit for an even surface. The wood should start to feel cool and uniform under your fingers.
Listen as you work. A consistent, soft scratching sound means even pressure. A skipping, uneven sound means you’re missing spots.
Sand with the grain, not against it. Cross-grain scratches show up dark and ugly once epoxy goes on.
Wipe away the dust with a tack cloth when you finish. The surface should look dull and feel velvety, never glossy. Gloss means the epoxy won’t grip. Dull means it will.
Step 3 – Mix the Marine Epoxy Correctly
This is the heart of how to seal wood with marine epoxy, so slow down here.
Read your product’s ratio. Most marine epoxies use a precise resin-to-hardener mix, often 2:1 or 1:1. Get it wrong and the epoxy stays sticky forever, or cures brittle and weak.
Pour the resin first, then the hardener, into a clean mixing cup. Stir slowly for at least two full minutes. Scrape the sides and bottom as you go.
You’ll see the mixture turn from cloudy to clear. That clarity tells you it’s blended. Streaks mean you’re not done.
Don’t whip it fast. Whipping traps air bubbles that surface as ugly craters. Stir with patience, and you’ll get a clean pour.
Step 4 – Apply the First Seal Coat
Move quickly now. Mixed epoxy starts its clock the moment it’s combined.
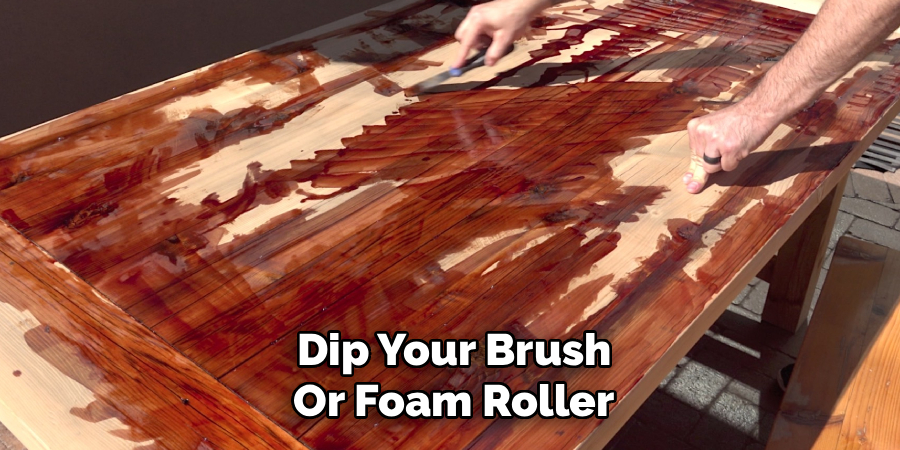
Dip your brush or foam roller and spread a thin, even layer across the wood. Work it into the grain. You’ll watch the epoxy soak in and darken the wood, like water across dry sand.
Thin is the rule. A thick first coat traps bubbles and drips down vertical edges. A thin coat penetrates deep and locks the surface.
Keep your strokes overlapping and steady. Listen for the soft, wet sound of even coverage.
Watch for dry spots. They look dull next to the wet sheen. Hit them again before the epoxy starts to gel.
This first coat is the true seal. It anchors everything that follows.
Step 5 – Pop the Bubbles
Look closely at the wet surface. You’ll see tiny bubbles rising as air escapes the wood pores.
Leave them and they harden into permanent pinholes. Remove them now and your finish stays glassy.
A heat gun or small propane torch works best. Wave it a few inches above the surface, moving constantly. The gentle heat thins the epoxy just enough for bubbles to burst.
You’ll hear faint pops and see the surface go smooth and clear. That’s the sign it’s working.
Never hold the heat in one place. Scorching shows up as yellow or brown patches that ruin the look.
No torch? A quick exhale through a straw across the bubbles works in a pinch. Slower, but effective on small projects.
Step 6 – Let the First Coat Cure
Walk away. This step tests your patience more than your skill.
Most marine epoxies need several hours to reach a tacky, fingerprint stage and a full day to harden. Read your label for exact times. Temperature changes everything; cold slows the cure dramatically.
Touch the edge gently with a gloved finger. If it feels sticky but doesn’t transfer, it’s ready for the next step. If epoxy lifts onto your glove, wait longer.
Resist the urge to rush. A coat that isn’t cured will smear when you sand it, gumming your paper and wasting your work.
Keep dust off during this window. Drape light plastic above if your space is open. A clean cure means a clean surface for coat two.
Step 7 – Sand Between Coats
Once the first coat hardens, it’ll look glossy. Epoxy won’t stick to gloss. So you’ll knock it back.
Sand lightly with 220-grit. You’re not removing the coat, just scuffing it. The surface should turn from shiny to a soft, even haze.
Watch for shiny low spots. Those are dips the sandpaper missed, and they tell you the surface isn’t flat yet. Keep working until the whole thing looks uniformly dull.
Run your hand across it. It should feel smooth and matte, with no slick patches.
Wipe everything down with a tack cloth or denatured alcohol. Every grain of dust you leave becomes a bump in the next coat. Clean it all.
Step 8 – Apply Additional Coats and Final Cure
Knowing how to seal wood with marine epoxy means knowing one coat is rarely enough.
Mix a fresh batch and apply your second coat just like the first: thin, even, and worked into the surface. Pop any bubbles. Most projects need two or three coats for full waterproofing.
Between each coat, repeat the cure-and-sand rhythm. It’s repetitive, but it builds that deep, durable shell.
On your final coat, skip the sanding afterward if you want a glossy finish. Let it self-level into a smooth, mirror-like surface.
Then let it cure fully. Full chemical cure can take several days, even if the surface feels hard sooner. Don’t load weight or expose it to water until that window closes.
Patience here is what separates a lasting seal from a quick failure.
Common Mistakes to Avoid
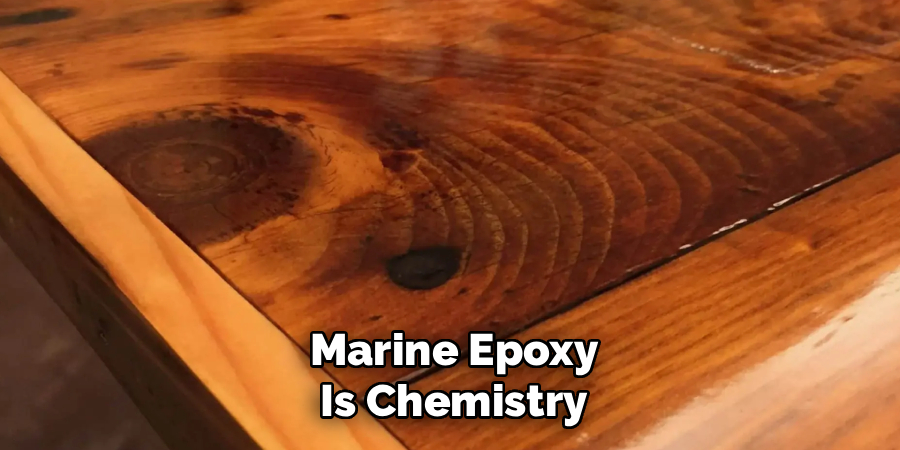
The biggest mistake is rushing the mix ratio. Marine epoxy is chemistry, not paint. Eyeball the measurements and you risk a surface that stays gummy for weeks or cures so brittle it cracks under light pressure. Use marked cups or a scale every single time, even when you’re tired and close to finishing.
Another common trap is applying coats too thick. Beginners assume more epoxy means more protection. It doesn’t. Thick coats trap bubbles, run down edges, and cure unevenly with cloudy spots. Thin, layered coats always win.
Skipping the sanding between coats causes failures too. Cured epoxy is slick, and fresh epoxy can’t grip a glossy surface. Without that scuff, your layers peel apart down the road.
Many people also ignore temperature and humidity. Epoxy applied in cold or damp conditions cures slowly, traps moisture, and turns hazy. Check your conditions before you mix.
Finally, don’t seal damp wood. Trapped moisture has nowhere to go. It pushes back, lifts the coating, and rots the wood beneath the shell you worked so hard to build.
Expert Tips
Warm your resin before mixing. Set the bottle in warm water for a few minutes. Warm resin flows easier, mixes cleaner, and releases bubbles faster. It’s a small trick pros use on cold mornings.
Mix in small batches. A large cup of epoxy generates heat as it cures, and that heat speeds the reaction, shortening your working time. Smaller batches stay workable longer.
Decant your epoxy. Pour mixed epoxy into a wide, shallow tray instead of leaving it in the cup. The spread-out surface releases heat and buys you extra minutes.
Watch the gel stage closely. The moment epoxy starts to thicken, stop brushing. Pushing it then drags ridges into the surface that won’t level out. Know when to walk away.
Frequently Asked Questions
How Many Coats of Marine Epoxy Do I Need?
Most projects need two to three coats for full waterproof protection. The first coat penetrates and seals the grain, while later coats build thickness and durability. For surfaces facing constant water or heavy wear, like boat decks, add a fourth. Always sand between coats so each layer bonds tightly. More thin coats outperform fewer thick ones every time.
Can I Apply Marine Epoxy Over Old Paint or Varnish?
You can, but only if the old finish is sound and well-prepared. Sand it thoroughly until the surface is dull and rough, giving the epoxy something to grip. Remove any flaking, peeling, or loose material first. If the old finish is failing, strip it down to bare wood. Epoxy is only as strong as the surface beneath it.
How Long Does Marine Epoxy Take to Fully Cure?
The surface usually feels hard within 24 hours, but full chemical cure takes several days, often three to seven. Temperature matters a lot here; warmth speeds curing while cold slows it. Don’t expose your project to water, weight, or heavy use until that full window closes. Rushing this step is one of the easiest ways to weaken your finish.
Do I Need to Sand Between Every Coat?
Yes, unless you apply the next coat within the epoxy’s recoat window, when it’s still slightly tacky. Once a coat fully hardens, it turns glossy and slick. Fresh epoxy can’t bond to that smooth surface, so layers risk peeling later. A quick scuff with 220-grit creates the tooth your next coat needs to grip properly.
Is Marine Epoxy Waterproof or Just Water-Resistant?
True marine epoxy is fully waterproof once cured, which is why it’s trusted for boats and docks. It forms a solid, non-porous barrier that water can’t penetrate. Keep in mind that UV light can slowly degrade epoxy over time, so for outdoor projects, add a UV-protective varnish or paint topcoat to keep the seal looking sharp and lasting longer.
Conclusion
Water always wins against unprotected wood. But you now hold the method to change that. You know how to prep, mix, coat, and cure. You know why thin layers beat thick ones, why ratios matter, and why patience protects your work.
That’s the real lesson here. Sealing isn’t hard. It’s just careful. Each step builds on the last, and skipping one weakens the whole.
Learning how to seal wood with marine epoxy gives you more than a waterproof finish. It gives you projects that survive rain, spray, and seasons of use. It saves you money. It saves you the frustration of rebuilding what you already made.
So start small. Pick one project this week, a cutting board, a planter, a piece of trim. Set up a clean space, gather your tools, and walk through the steps. Take your time on the mix and the cure.
Your wood will last longer for it. Are you ready to seal your first one?
