
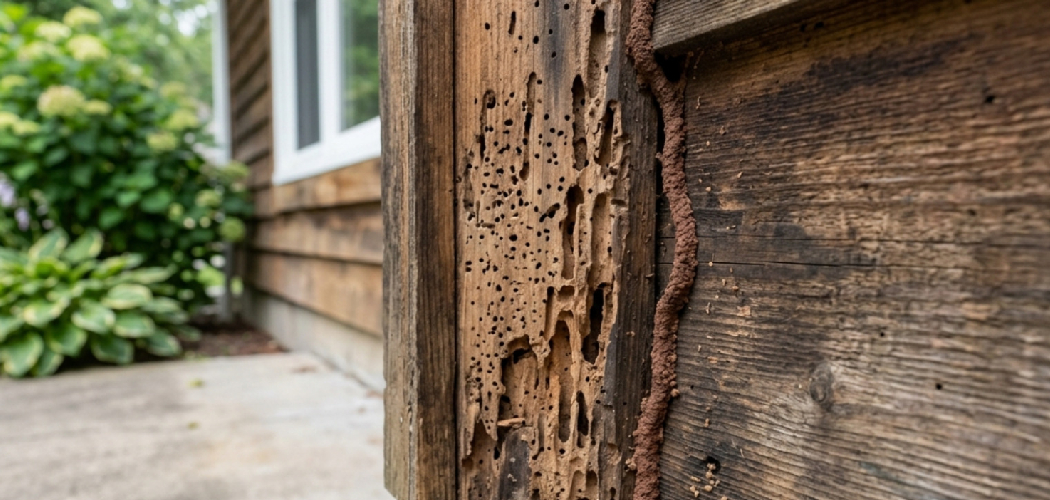
Wood splits. That truth catches many beginners off guard. You finish a beautiful project, set it on the shelf, and weeks later a crack runs straight through your work. It feels personal. It isn’t. Wood moves because it breathes, soaking up moisture and releasing it as the air changes. When that movement gets out of control, cracks and splits follow.
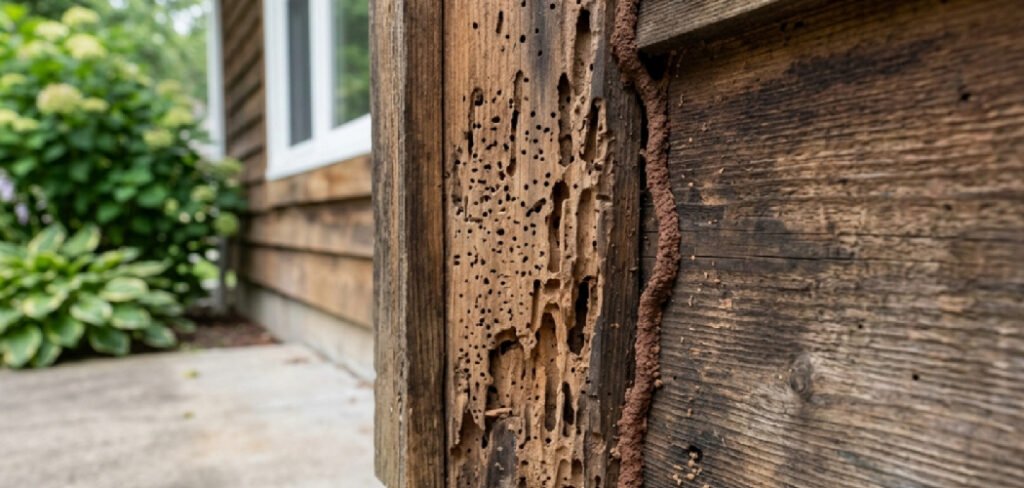
The good news? You can prevent most of them. Learning how to stop wood cracking is one of the most useful skills a woodworker can build, because it protects every hour you pour into your craft. This guide walks you through the causes, the tools, and a clear step-by-step method to keep your wood strong, smooth, and crack-free for years.
Why Preventing Wood Cracks Matters
A crack is not just an eyesore. It is wasted time, wasted money, and a weak spot waiting to spread. You buy good lumber. You shape it with care. Then one split undoes all of it.
Preventing cracks saves your wallet. Quality wood is expensive, and replacing a cracked board hurts. Preventing cracks builds confidence too. When your projects last, you trust your own hands more. And there’s a structural payoff: a sealed, stable piece of wood resists warping, checking, and rot far longer than a neglected one.
For beginners, this skill changes everything. You stop fighting the wood and start working with it. That shift is what separates a frustrated hobbyist from a steady maker. Worth learning, isn’t it?
Tools and Materials You’ll Need
Gather your supplies before you start. Having everything within reach keeps your workflow smooth and your wood protected from the first cut.
- Moisture meter — to read the wood’s internal moisture before you build
- End grain sealer or anchor seal — to slow moisture loss from the cut ends
- Penetrating wood finish — oil-based finish or polyurethane for full coverage
- Sandpaper — assorted grits, from 120 up to 220
- Clean lint-free rags — for applying oils and wiping excess
- Natural-bristle brush — for spreading sealer and finish evenly
- Painter’s tape — to mask edges and joints
- Stickers (thin spacer strips) — for stacking and air-drying lumber
- Hygrometer (optional) — to monitor humidity in your workshop or storage space
Step-by-Step Guide on How to Stop Wood Cracking
Step 1 – Check the Moisture Content First
Start with a number. Press your moisture meter into several spots on the board and watch the reading. Indoor furniture wood should sit between 6% and 8%. Outdoor projects can run a little higher.
If the meter reads high, the wood is still releasing water, and that movement causes splits. You’ll sometimes feel it too. Damp wood feels cool and slightly heavy in your hands. Dry, stable wood feels light and warm.
Knowing how to stop wood cracking begins here, before a single tool touches the board. Skip this step and you build on a moving target. Take the reading. Write it down. Let the number guide your next move.
Step 2 – Dry the Wood Slowly and Evenly
If your wood is too wet, slow it down. Fast drying is the enemy. When the surface dries faster than the core, tension builds and the wood tears itself apart.
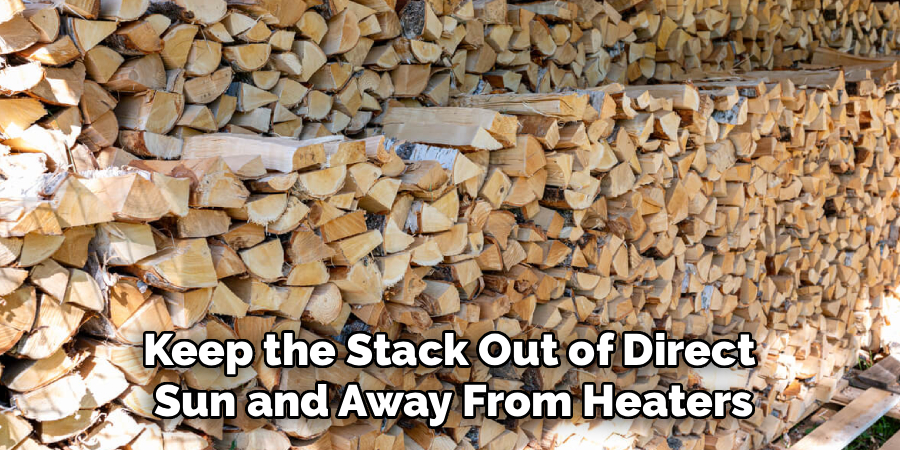
Stack your boards flat. Place thin spacer strips, called stickers, between each layer so air flows on all sides. Keep the stack out of direct sun and away from heaters. You want gentle, even airflow.
Listen as the wood settles. A faint tick or pop sometimes means fibers are adjusting. That’s normal in moderation. Loud, sharp cracking is not. Patience pays off here. Rushing this stage is the most common reason beginners watch good lumber ruin itself overnight.
Step 3 – Seal the End Grain Right Away
End grain is the open mouth of the wood. It drinks and releases moisture ten times faster than the face of the board. That uneven speed is where most cracks, called checks, begin.
Brush a generous coat of end grain sealer or anchor seal onto both cut ends. The surface should look wet and slightly glossy, fully covered with no bare patches. A thin, patchy coat won’t hold the moisture back.
Run your finger near the edge after it dries. You should feel a smooth, slightly waxy film. That film slows the escape of water and keeps both ends drying at the same pace as the rest of the board.
Step 4 – Acclimate the Wood to Its Final Home
Wood needs time to match its surroundings. Bring your boards into the room where the finished project will live. Let them rest there for one to two weeks before you build.
During this time, the wood adjusts to the local humidity. A board that swelled in a damp garage will shrink slightly in a dry living room. Better that movement happens now, loose and unglued, than later when it’s locked into a joint.
Stack the boards with stickers again so air reaches every face. Re-check the moisture meter near the end of the rest period. When the reading holds steady for a few days, the wood has settled and you’re ready to work.
Step 5 – Sand the Surface Smooth
Smooth wood absorbs finish evenly, and even absorption means even protection. Start with 120-grit sandpaper and work your way up to 220.
Sand with the grain, never across it. Run your palm over the surface between passes. Rough spots feel gritty and catch on your skin. A properly sanded board feels like polished stone, cool and seamless.
Watch the dust too. Fine, consistent powder tells you the grit is doing its job. Wipe the board clean with a dry rag before moving on. Any leftover dust will block the finish from soaking in. This step sets the stage for the sealing coat that locks moisture control in place.
Step 6 – Apply a Penetrating Finish
Now protect the whole board. A penetrating finish, like an oil or thinned polyurethane, soaks into the fibers and slows how fast moisture moves in and out. That control is the heart of how to stop wood cracking over the long term.
Dip your rag or brush and spread a thin, even coat. Follow the grain. The wood will darken slightly and look rich as it drinks the first coat in.
Wait for it to dry, then sand lightly with 220-grit and apply a second coat. Two or three thin layers beat one thick layer every time. Wipe away any pooled finish so the surface dries smooth and tack-free, not sticky.
Step 7 – Coat Every Surface, Including the Hidden Ones
Wood doesn’t care which side you can see. Moisture enters and leaves from all faces, so seal them all. The back of a tabletop, the underside of a shelf, the inside of a box — coat every inch.
When one side is sealed and the other is bare, the two faces move at different rates. That imbalance bows the board and opens cracks. You’ve seen warped shelves that cup like a shallow bowl. This is why.
Flip the piece and check for missed spots. Hold it to the light at an angle. Sealed wood shows a soft, even sheen. Bare patches look dull and flat. Cover those gaps before you call it done.
Step 8 – Store and Maintain in Stable Conditions
Your work isn’t over once the finish dries. Wood keeps responding to its environment for its entire life. Store your finished pieces away from radiators, sunny windows, and damp basements.
Aim for steady humidity, somewhere between 40% and 50%. A simple hygrometer on the wall tells you when conditions swing too far. In dry winter months, a small room humidifier keeps wood from shrinking and splitting.
Refresh the finish once a year on heavily used pieces. Wipe on a thin coat of oil and let it soak in. Wood that gets this small bit of care stays smooth, strong, and free of splits decade after decade. Consistency protects everything you built.
Common Mistakes to Avoid
The biggest mistake is building with wet wood. Beginners grab fresh lumber, skip the moisture meter, and assemble right away. Weeks later the wood dries, shrinks, and splits at the joints. Always check moisture first. That single habit prevents most heartbreak.
Another frequent error is leaving the end grain bare. Those open ends lose water at lightning speed compared to the rest of the board. You think the project is fine, then a check creeps in from the edge. Seal the ends the same day you cut them.
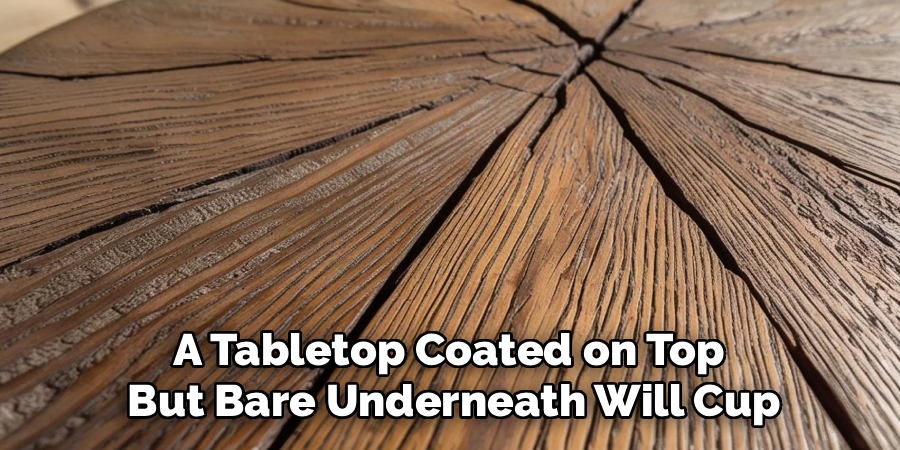
Sealing only one side is just as damaging. A tabletop coated on top but bare underneath will cup and bow as the two faces fight each other. Treat every surface equally, even the ones nobody sees.
Many also rush the drying stage. They stack wood near a heater or set it in direct sun, hoping to speed things up. The surface dries while the core stays wet, and the tension tears the wood apart. Slow and even always wins.
Finally, ignoring storage conditions undoes good work. A finished piece left by a sunny window or a damp wall will still move, crack, and warp over time.
Expert Tips
Buy your lumber a few weeks before you need it. Let it sit in your shop and acclimate while you plan and sketch. By build day, the wood has settled and surprises drop sharply.
Watch the seasons. Wood swells in humid summers and shrinks in dry winters. Pros leave tiny gaps in panels and frames to give the wood room to move without splitting.
Seal end grain with a wax-based product, not just regular finish. Wax holds moisture back far better on those thirsty cut ends.
Keep a cheap hygrometer in your storage area. When humidity drops below 35%, add moisture to the air. That small habit alone prevents most winter cracks.
Frequently Asked Questions
Why Does Wood Crack as It Dries?
Wood holds water inside its fibers. As it dries, it shrinks, but the outer surface dries faster than the inner core. That uneven movement creates tension, and the wood splits to relieve it. Slow, even drying and sealing the end grain keep this tension low. Control the speed of moisture loss and you control most cracking.
Can I Stop a Crack That Has Already Started?
Yes, in many cases. For small cracks, fill them with wood glue or clear epoxy and clamp until cured. Larger splits may need a bowtie key or a filler strip for strength. Sealing the wood afterward slows further movement. You can’t fully reverse a crack, but you can stabilize it and stop it from spreading.
Does Sealing Wood Really Prevent Cracking?
Sealing doesn’t stop wood movement completely, but it slows it dramatically. A good penetrating finish acts like a brake on moisture, letting water move in and out gradually instead of in sudden swings. Those slow, gentle changes rarely build enough tension to split the wood. Seal every surface, including end grain, for the best protection.
How Long Should Wood Dry Before I Use It?
It depends on thickness and starting moisture. A rough rule for air-drying is one year per inch of thickness. Kiln-dried lumber is ready much faster. The reliable answer is to use a moisture meter. When the reading holds steady between 6% and 8% for indoor work, the wood is ready to build.
What Humidity Level Keeps Wood From Splitting?
Aim for steady indoor humidity between 40% and 50%. The exact number matters less than keeping it stable. Wide swings cause the most damage, as wood swells and shrinks repeatedly. A small hygrometer helps you track it. In dry winters, run a humidifier, and in damp seasons, use a dehumidifier to hold the balance.
Conclusion
Wood will always move. You can’t change that. But you can control how it moves, and that control is everything.
Check the moisture. Dry it slowly. Seal the ends. Coat every surface. Store it with care. Each step is small, yet together they protect everything you build. Knowing how to stop wood cracking turns frustrating failures into lasting work you’re proud to show off.
You don’t need fancy equipment or years of experience. You need patience and a few steady habits. Measure before you build. Seal before you stack. Respect the wood’s nature and it will reward you with strength and beauty for decades.
So pick up your moisture meter. Test that next board before you cut it. Start one good habit today and watch your projects last. Your wood is ready to work with you. Are you ready to work with it?
