
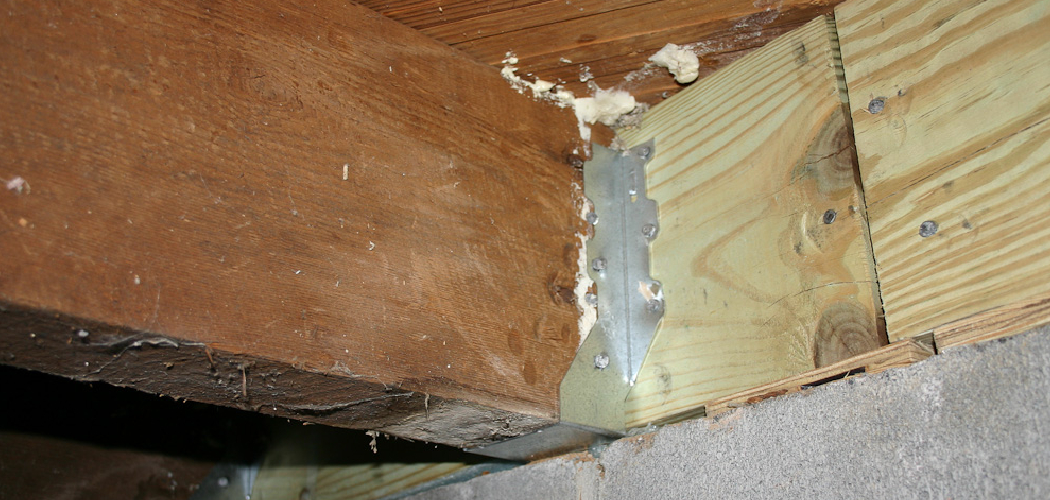
A wobbly shelf or a sagging frame usually traces back to one weak point: the connection between wood and concrete. Get that joint wrong, and your project pulls loose within weeks. Get it right, and it holds for decades. Concrete feels intimidating because it’s hard, dense, and unforgiving.
But with the right fasteners and a few simple techniques, learning how to connect wood to concrete wall becomes a skill you’ll use again and again. You’ll attach furring strips, mount cabinets, build a workbench against a basement wall, or hang a heavy mirror without fear.
This guide walks you through every step, from drilling clean holes to driving the right anchor, so your wood stays locked to concrete the first time and stays that way.
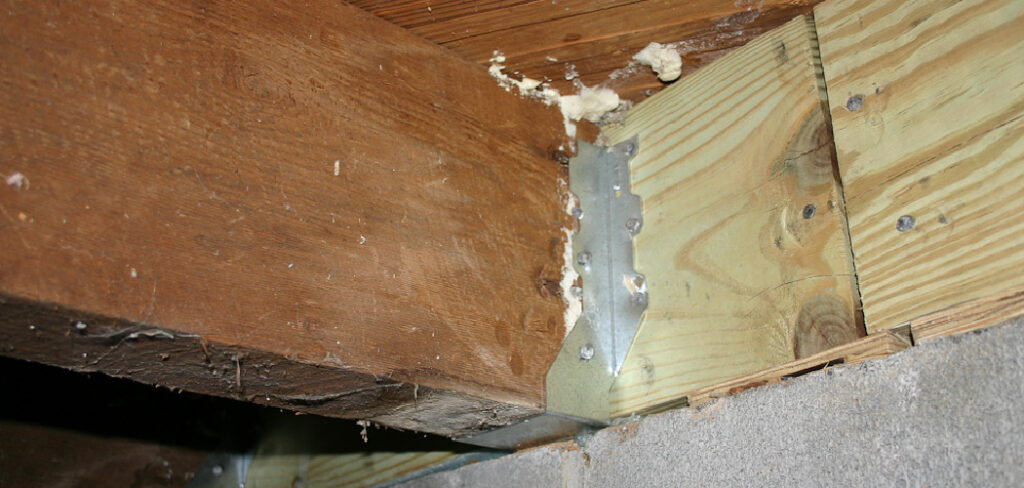
Why This Matters
Hire a contractor to mount a few cabinets and you’ll pay for a 20-minute job at full labor rates. Do it yourself and you keep that money. More importantly, you build confidence. Once you’ve sunk your first concrete anchor and felt it bite tight, you stop avoiding masonry projects.
A bad connection costs more than money. A shelf that rips out of the wall can damage drywall, ruin what it was holding, or injure someone. Wood that pulls away from a damp basement wall invites rot and mold behind it. Master this skill and you avoid those failures. You extend the life of your projects, protect your home, and earn the satisfaction of work that holds. That payoff makes the learning worth every minute.
Tools and Materials You’ll Need
Gather everything before you start. Stopping mid-job to find a missing bit kills your momentum.
- Hammer drill — drives masonry bits through concrete with ease
- Masonry drill bit — sized to match your fasteners
- Tapcon screws or concrete anchors — your primary masonry fasteners
- Pressure-treated lumber — for any wood touching concrete
- Tape measure and pencil — for accurate marking
- Level — keeps your wood straight and true
- Safety glasses and dust mask — concrete dust is sharp and gritty
- Shop vacuum or blower — clears dust from drilled holes
- Impact driver or wrench — sets screws and anchor bolts
- Construction adhesive (optional) — adds shear strength and seals against moisture
A hammer drill is the one tool you can’t skip. A regular drill will burn out trying to bore concrete.
Step-by-Step Guide
Step 1 – Plan Your Layout and Mark Your Points
Hold your wood against the concrete and decide exactly where it sits. Use a level to set it straight, then trace the top edge with a pencil. Mark every fastener point along the wood.
Space your anchors every 16 to 24 inches for framing, closer for heavy loads. Avoid mortar joints if you’re working with block; the solid face holds far better than the seam. Knowing how to connect wood to concrete wall starts with this layout, because every later step depends on accurate marks.
Press firmly and check your lines twice. A crooked layout shows up later as a leaning shelf or a frame that won’t sit flush. Clean pencil marks on smooth wood give you clear targets to drill.
Step 2 – Drill Pilot Holes Through the Wood
Set the wood aside or clamp it in place. Using a standard wood bit, drill through your marked points. The bit should pass cleanly through the lumber, leaving crisp holes without splintering the back face.
Match this bit to the diameter of your fastener’s shaft. Too tight and the screw won’t pass; too loose and it spins without grip. You’ll feel the bit cut fast and smooth through softwood, with light curls of sawdust spilling out.
Keep the drill straight and steady. Angled holes throw off your alignment when you transfer marks to the concrete. Clean, square holes here make the whole assembly come together tight and flush against the wall.
Step 3 – Transfer Marks to the Concrete
Hold the wood back in position against the wall, leveled and aligned. Push your pencil or a marker through each pilot hole and dot the concrete behind it. These dots become your drilling targets.
Take your time. Slip the wood mid-mark and your holes won’t line up, forcing you to fight the fasteners later. A helper or a few clamps keeps the board locked while you work.
When you pull the wood away, you should see a clean row of marks matching your layout exactly. Double-check the spacing against your original plan. Accurate transfer is the bridge between your wood holes and your concrete holes, and it has to be precise.
Step 4 – Drill Into the Concrete
Switch to your hammer drill and a masonry drill bit sized for your anchors. Set the drill to hammer mode. Press the bit to your first mark and pull the trigger.
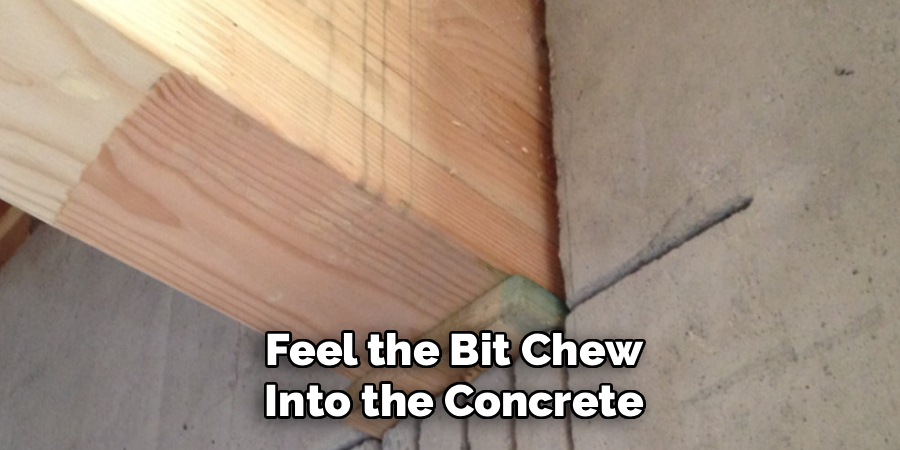
You’ll hear a sharp, rapid pounding and feel the bit chew into the concrete. Gray dust streams out as you go. Push with firm, steady pressure, but let the tool do the work. Forcing it overheats the bit and slows you down.
Drill each hole about a quarter inch deeper than your fastener length. This extra space catches dust and lets the anchor seat fully. Wrap a piece of tape around the bit as a depth marker. Pull out periodically to clear debris and keep the bit cutting clean.
Step 5 – Clean Out the Holes
This step looks minor but decides whether your anchors hold. Concrete dust packs the bottom of each hole, and packed dust stops fasteners from gripping.
Blow out the holes with a shop vacuum, a blower, or even a drinking straw if you’re working small. You want bare concrete walls inside the hole, not a cushion of powder. Run the vacuum nozzle right up to each opening until no more gray dust comes out.
Mastering how to connect wood to concrete wall comes down to details like this. A clean hole lets a Tapcon screw cut full threads into solid concrete. A dusty hole strips out under load. Spend the extra minute here and your connection holds far longer.
Step 6 – Position the Wood and Drive the Fasteners
Line the wood back up so its pilot holes match the drilled concrete holes. Hold it level. Insert your first Tapcon screw or concrete anchor through the wood and into the wall.
Drive it with an impact driver or wrench, depending on your fastener. With Tapcons, you’ll feel steady resistance as the threads cut into the concrete. The sound shifts to a tight, low grind as the head seats. Stop when the head pulls snug against the wood. Overdriving strips the threads in the concrete.
Work down the line, snugging each fastener evenly. Tighten one fully before moving on, or alternate to keep the board from shifting. When all anchors are set, the wood should feel rock solid with no flex or rattle.
Step 7 – Check for Square and Flush Contact
Run your hand along the seam where wood meets concrete. You’re feeling for gaps. A board that sits flush across its whole length carries load evenly and resists pulling loose.
If you spot a gap, the wall may be uneven or a fastener isn’t fully seated. Tighten the loose anchor, or shim behind the wood with thin wedges. Re-check with your level once everything’s snug.
Give the wood a firm push and pull. It shouldn’t budge, flex, or creak. A solid connection feels dead still under your hand. This final check catches problems while they’re easy to fix, before you load the wood with shelves, cabinets, or framing.
Step 8 – Seal and Finish
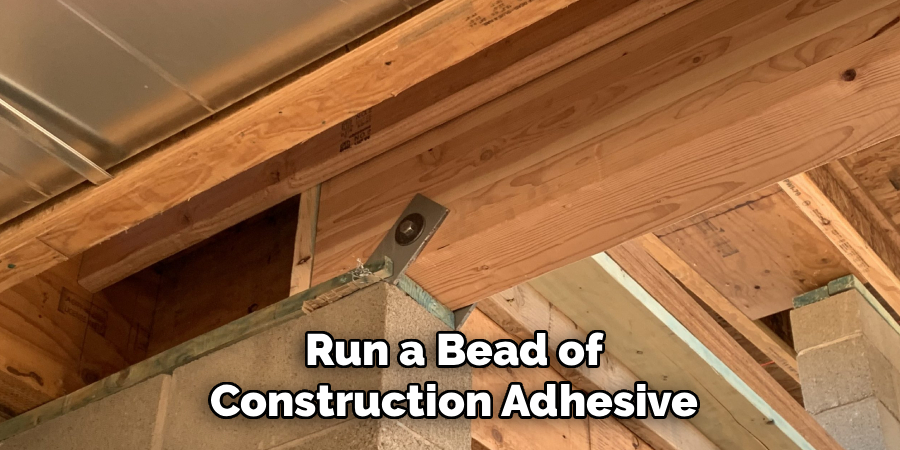
Wood against concrete sits in the path of moisture. Concrete wicks water, and that water rots untreated lumber from behind. If you used pressure-treated wood, you’re protected at the contact point. For extra defense, run a bead of construction adhesive or sealant along the seam.
Wipe away squeeze-out before it skins over. Let the adhesive cure fully according to the label, usually 24 hours.
Once cured, your connection is locked mechanically by the fasteners and bonded chemically by the adhesive. That combination resists both pull-out and shear. Stand back and look down the board. It should read straight, tight, and flush, ready for whatever you mount to it.
Common Mistakes to Avoid
The most common failure is using the wrong drill. People grab a regular drill, struggle for ten minutes, and barely scratch the concrete. A hammer drill is not optional for masonry work. Its pounding action is what breaks through dense concrete, and skipping it wastes bits and time.
Skipping the cleanout step ruins more connections than anything else. Drilled holes fill with fine dust that acts like a cushion. Drive a fastener into that powder and it never grips solid concrete. The anchor feels tight at first, then works loose under weight. Always vacuum or blow every hole clean.
Wrong bit size is another trap. A masonry bit that’s too large leaves the anchor spinning with no bite. Too small and the fastener won’t seat or it cracks the concrete. Match the bit to your fastener’s exact spec every time.
Many beginners also overtighten. Once a Tapcon head meets the wood, stop. Cranking harder strips the cut threads in the concrete, and a stripped hole holds nothing. Finally, never use untreated wood against concrete. It pulls moisture and rots, no matter how strong your fasteners are.
Expert Tips
Buy the matched bit and screw kit together. Tapcon sells bits calibrated to their screw diameters, and that pairing alone prevents most grip failures.
Drill one test hole and set one anchor before committing to the full layout. You’ll learn how your specific concrete behaves. Old concrete crumbles; high-strength concrete fights back. That test tells you whether to adjust depth or fastener type.
For heavy loads, step up from screws to sleeve or wedge anchors. They expand inside the hole and hold under serious shear, the kind a ledger board or wall-mounted rack demands.
Keep a second masonry bit on hand. Bits dull fast in concrete, and a worn bit overheats, drills slow, and produces sloppy holes. Swap to a sharp one the moment cutting slows down.
Frequently Asked Questions
Can I Attach Wood to Concrete Without a Hammer Drill?
You can, but it’s a struggle. A regular drill lacks the pounding action that breaks through concrete, so you’ll burn out bits and barely make progress. For occasional small jobs, a powder-actuated fastener tool drives pins into concrete without drilling. For anything routine, rent or buy a hammer drill. It’s the right tool and pays for itself fast.
What Are the Best Fasteners for Connecting Wood to Concrete?
Tapcon screws are the easiest choice for most home projects. They cut their own threads and install fast. For heavier loads, use sleeve anchors or wedge anchors, which expand inside the hole for serious holding power. Powder-actuated fasteners work for high-volume framing. Match the fastener to your load, and always size your masonry bit to that fastener.
Do I Need Pressure-Treated Wood Against Concrete?
Yes, whenever the wood touches concrete directly. Concrete wicks moisture, and that water rots untreated lumber from behind, often before you ever notice. Pressure-treated wood resists that decay for years. If you must use untreated wood, install a moisture barrier or sill seal between it and the concrete, and run a sealant bead along the seam for extra protection.
How Deep Should I Drill Into Concrete?
Drill about a quarter inch deeper than the length of your fastener. That extra space catches dust pushed down during drilling and lets the anchor seat fully. Wrap tape around your bit at the target depth so you stop in the right spot every time. Too shallow and the fastener bottoms out; too deep wastes effort but won’t hurt the hold.
Why Does My Concrete Anchor Keep Coming Loose?
Three usual causes: a dusty hole, the wrong bit size, or overtightening. Dust cushions the fastener so it never grips solid concrete, so always vacuum the hole clean. An oversized bit leaves the anchor spinning. Overdriving strips the threads you just cut. Fix all three and your anchor bites tight. For heavy loads, switch to an expanding wedge anchor.
Conclusion
Connecting wood to concrete comes down to a few solid habits: mark accurately, drill with a hammer drill and the right masonry bit, clean every hole, and match your fastener to the load. Do those things and your shelves, cabinets, and framing lock to the wall and stay put for years.
You don’t need a contractor for this work. With a hammer drill, the right concrete fasteners, and the steps above, you can handle it in an afternoon and keep the labor savings in your pocket. Each project builds your confidence for the next.
Now that you know how to connect wood to concrete wall, start small. Mount a single shelf or a furring strip, feel that first anchor bite tight, and learn how your concrete behaves. Once you trust the process, bigger projects stop feeling out of reach. Grab your tools, mark your first line, and put a connection on the wall that holds.
