
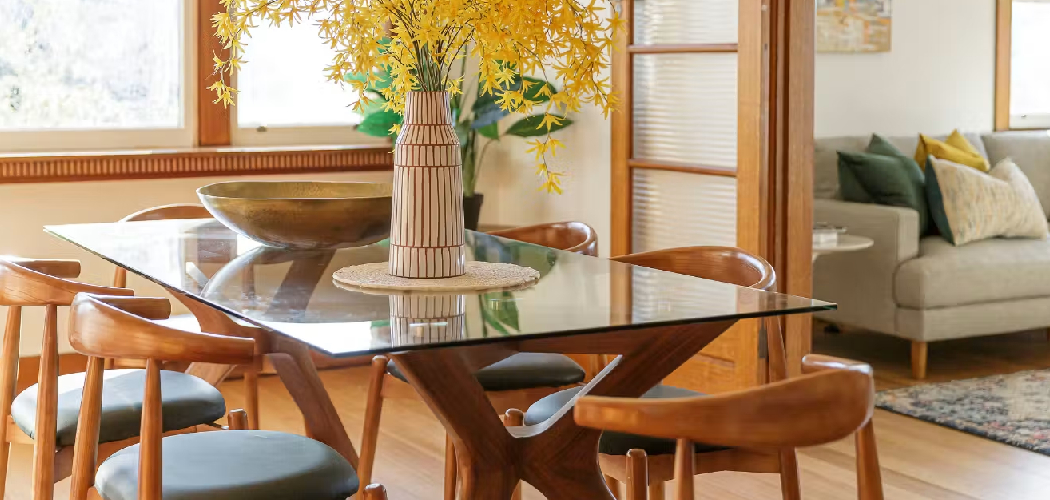
Your wood dining table takes a beating. Plates slide, keys drop, chairs scrape, and kids press hard with crayons. Over time, those little marks add up and steal the warm, polished look you paid for. The good news? Learning how to protect wood dining table from scratches is simple, affordable, and well within your reach—even if you’ve never picked up a sanding block.
A few smart habits and the right protective layer keep your surface smooth, glossy, and scratch-free for years. You don’t need a workshop or pro-level skills. You just need a clear plan and a little patience. This guide walks you through every step, from cleaning and sealing to daily care, so your table stays beautiful long after the meals are done.
Why Protecting Your Wood Dining Table Matters
A quality wood dining table costs hundreds, sometimes thousands. Scratches and water rings cut its value fast and force expensive refinishing or early replacement. Protecting the surface saves you that money.
Daily protection also keeps the wood structurally sound. Scratches break the finish, and once moisture seeps into bare wood, you get swelling, staining, and warping. A solid protective layer blocks all of that.
There’s a confidence payoff too. When you know how to seal and maintain wood, you stop fearing every dinner party and craft session. You relax. Your table becomes a place to live, not a museum piece you guard.
Master this skill and you extend your table’s life by a decade or more. That’s real furniture maintenance value with minimal effort and cost.
Tools and Materials You’ll Need
Gather everything before you start. A complete setup keeps the job smooth and prevents half-finished mistakes.
- Microfiber cloths – Lift dust and dirt without scratching the surface.
- Mild dish soap and warm water – Clean grime without harsh chemicals.
- Fine-grit sandpaper (220–320) – Smooth rough spots before sealing.
- Tack cloth – Remove every speck of sanding dust.
- Wood finish (polyurethane or hardwax oil) – Seal the surface with a scratch-resistant coating.
- Foam brush or applicator pad – Spread finish evenly with no streaks.
- Felt pads – Stop chairs and objects from gouging the wood.
- Table protector or quality tablecloth – Shield against daily wear.
- Wood cleaner or conditioner – Maintain shine between treatments.
- Optional: Tempered glass tabletop cover – Add a near-invisible barrier for full wood surface protection.
Step-by-Step Guide on How to Protect Wood Dining Table From Scratches
Step 1 – Clear and Inspect the Surface
Remove everything from the table first. Runners, centerpieces, place mats—all of it. You want a bare surface so nothing hides damage.
Now run your hand across the top. Feel for rough patches, ridges, or sticky residue. Your fingertips catch flaws your eyes miss. Tilt the table toward a window and watch how light skims the surface. Scratches show as thin lines; dull spots reveal worn finish.
Mark trouble areas with a small piece of painter’s tape. This gives you a clear map before you clean or sand. A careful inspection now prevents wasted effort later. Skip it, and you’ll seal over problems that resurface in weeks. Take five minutes here—it pays off.
Step 2 – Clean the Wood Thoroughly
A clean surface is the foundation of good dining table care. Mix a few drops of mild dish soap into warm water. Dampen a microfiber cloth, wring it nearly dry, and wipe along the grain.
You’ll feel grime lift as the cloth glides smoother with each pass. Avoid soaking the wood—standing water is your enemy. If you hear a squeak as you wipe, the surface is clean and dry enough.
Follow with a second cloth dampened in plain water to remove soap residue. Then dry immediately with a fresh microfiber towel. Look for a uniform, streak-free sheen. Any cloudy film means soap is left behind, so wipe again. Let the table air-dry completely before moving on.
Step 3 – Sand Rough Spots and Old Scratches
Light sanding smooths damage and helps new finish bond. Fold 220-grit sandpaper and work only the flagged areas. Sand with the grain, never across it. Use light, even pressure.
Listen for the sound. A smooth, consistent whisper means you’re doing it right. A harsh, grabbing scratch means you’re pressing too hard or going against the grain. Stop and adjust.
Check your progress often by running a clean finger over the spot. It should feel level with the surrounding wood. Don’t over-sand—you only want to blend the scratch, not dig a crater. When the rough patch feels seamless and the surface looks evenly hazy, you’re done. Wipe away dust with a tack cloth before the next step.
Step 4 – Apply a Protective Wood Finish
This is the core of how to protect wood dining table from scratches: a durable sealing layer. Choose polyurethane for a hard, glossy shield or hardwax oil for a natural, matte feel.
Stir the finish gently—never shake it, which creates bubbles. Dip your foam brush and apply thin, even strokes along the grain. A thin coat dries faster and resists drips better than a thick one.
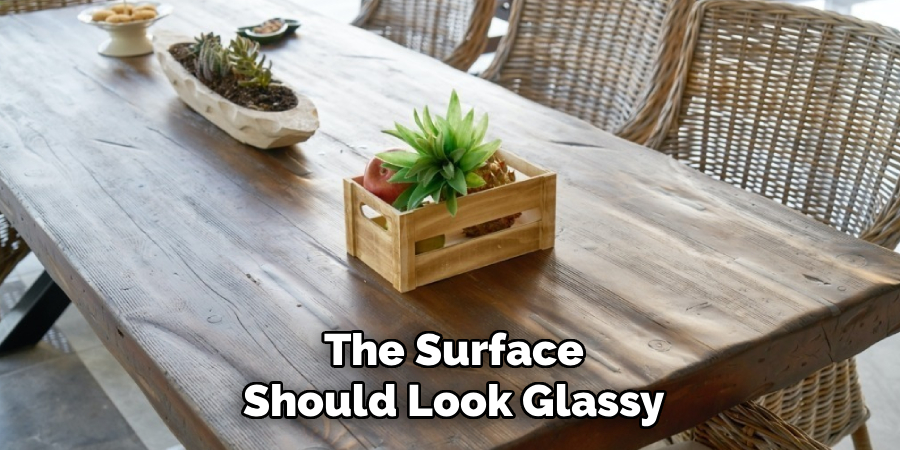
Watch for an even, wet sheen as you go. Streaks or pooled spots mean too much product, so smooth them out fast. The surface should look glassy and uniform.
Let it cure fully—check the label, but most need several hours. Resist touching it. Patience here gives you a flawless, scratch-resistant coating.
Step 5 – Add a Second Coat for Durability
One coat protects. Two coats armor your table. Once the first layer cures and feels dry to the touch, lightly scuff it with 320-grit sandpaper. This dulls the shine and helps the next coat grip.
You’ll see a fine white powder form—that’s normal. Wipe it clean with a tack cloth until the surface feels silky and powder-free.
Apply the second coat exactly like the first: thin, even, with the grain. The deeper, richer sheen tells you the finish is building properly. Two coats double your defense against daily wear, hot plates, and stray scratches.
Let this layer cure even longer than the first. A full overnight wait gives you a tough, lasting barrier and is the heart of solid wood surface protection.
Step 6 – Install Felt Pads and Bumpers
Now protect against the everyday scrapes. Flip over any centerpieces, lamps, or decorative bowls that sit on the table. Stick felt pads to their bases.
Press each pad firmly for a few seconds so the adhesive bonds. You’ll feel it grip and resist a gentle tug when it’s set right. Loose pads peel off and let hard edges gouge your fresh finish.
Don’t forget chair legs and the table’s own feet if it ever shifts. These small additions stop the screech and scrape that carve permanent marks. Run your hand under each object afterward—everything that touches the wood should feel soft, not sharp. This quick step is one of the easiest wins in furniture maintenance, and it costs almost nothing.
Step 7 – Use a Table Protector or Cover
Add a daily barrier for high-traffic surfaces. A quality table protector pad, a felt-backed tablecloth, or a tempered glass top shields the wood from spills, heat, and impact.
Lay your chosen cover flat and smooth out wrinkles. A snug fit prevents shifting and trapped debris that could scratch from underneath. For glass tops, place small clear bumpers beneath the corners so air flows and moisture doesn’t get trapped.
You’ll notice the difference at your next meal—plates land softly, spills wipe away, and you stop wincing at every clink. The wood underneath stays pristine. For families with kids or frequent dinner guests, a removable protector is the smartest line of defense you can add.
Step 8 – Set Up a Maintenance Routine
Protection lasts only with upkeep. Wipe the table daily with a dry or barely damp microfiber cloth to clear crumbs and dust before they grind in.
Every week, clean with a gentle wood cleaner and buff to a soft shine. You’ll feel the surface stay slick and smooth, a sign the finish is holding strong. If it starts to feel dry or dull, that’s your cue to recondition.
Reapply a fresh finish coat every one to two years, depending on use. High-traffic family tables need it sooner. A simple, consistent routine keeps your dining table care effortless and your table looking new for decades.
Common Mistakes to Avoid
The biggest mistake is skipping surface prep. People rush straight to applying finish over a dirty or rough table. Dust and grime get sealed in, leaving a gritty, cloudy result that scratches even faster. Always clean and sand first.
Another common error is using too much finish. Thick coats look tempting but dry unevenly, trap bubbles, and stay tacky for days. They also peel later. Thin coats cure harder and last longer—patience beats shortcuts every time.
Many beginners use the wrong cleaners. Harsh, ammonia-based or all-purpose sprays strip protective layers and dull the wood. Stick to mild soap or a dedicated wood cleaner. Vinegar, despite its popularity, can etch some finishes over time.
Placing hot dishes directly on the surface is a frequent killer. Heat creates white rings and bubbles the finish instantly. Always use trivets and coasters.
Finally, people forget felt pads. Bare metal, ceramic, and plastic bases drag across the wood and carve permanent gouges. A few cents of felt prevents costly refinishing. Avoid these slip-ups and your protection holds for years.
Expert Tips
Test your finish on a hidden spot first—usually the underside edge. Different woods and old finishes react in surprising ways, and a small test saves you from a ruined tabletop.
Control your environment when you seal. Apply finish in a dust-free room at moderate temperature and low humidity. Cold or damp air slows curing and dulls the result. Pros chase a clean, stable space for a reason.
For scratch repair between full refinishes, rub a walnut along a light scratch. The natural oils darken and mask the line instantly—an old furniture-maker’s trick.
Buff your final coat with #0000 steel wool and a touch of paste wax. This gives a silky, hand-rubbed feel and adds an extra scratch-resistant layer that store-bought tables rarely have.
Frequently Asked Questions
What Is the Best Finish to Protect a Wood Dining Table?
Polyurethane is the most durable choice for dining tables. It forms a hard, water-resistant shell that handles daily use, heat, and spills. For a natural look, hardwax oil works well and is easy to spot-repair. Choose oil-based polyurethane for maximum toughness, or water-based for faster drying and a clearer finish that won’t yellow over time.
How Often Should I Reapply a Protective Coating?
Reapply every one to two years for most tables. High-use family tables may need a fresh coat yearly, while lightly used surfaces can stretch to three years. Watch for warning signs: a dull surface, rough texture, or finish that no longer beads water. When water soaks in instead of pooling, it’s time to recoat and restore protection.
Can I Prevent Scratches Without Refinishing the Table?
Yes. Daily protection prevents most scratches without any refinishing. Use placemats, coasters, and felt pads under every object. Add a table protector pad or tablecloth for meals. Keep the surface clean so grit doesn’t grind in. These simple habits shield the existing finish and dramatically reduce wear, buying you years before any refinishing is needed.
Are Glass Tabletop Covers Worth It?
Glass covers are worth it for high-traffic or family tables. A tempered glass top blocks nearly all scratches, spills, and heat damage while keeping the wood visible. Use clear bumpers underneath so air circulates and moisture doesn’t get trapped against the wood. The main downside is weight and cost, but the protection it delivers is hard to beat.
How Do I Remove Light Scratches at Home?
For shallow scratches, rub a shelled walnut along the mark to mask it with natural oils. For finish-deep scratches, lightly sand the spot with 320-grit paper, wipe clean, and apply a matching finish coat. Always work with the grain. Test any repair product on a hidden area first to confirm the color blends with your existing surface.
Conclusion
Protecting your table comes down to a few clear actions: clean it well, seal it properly, and guard the surface every day. Knowing how to protect wood dining table from scratches turns a fragile surface into a tough, lasting centerpiece you can actually enjoy.
Start with thorough prep and a quality finish, then back it up with felt pads, coasters, and a good table protector. Build a simple maintenance routine and recoat every year or two. Each step is easy, affordable, and well within your skills.
The payoff is real. You save money on refinishing, extend your table’s life by years, and stop stressing over every meal and craft project. Your table becomes a place to gather, not something to fuss over.
Grab your supplies and start today. A few hours of work now rewards you with a smooth, gleaming surface for the next decade. Your dining table—and everyone who sits around it—will thank you.
