
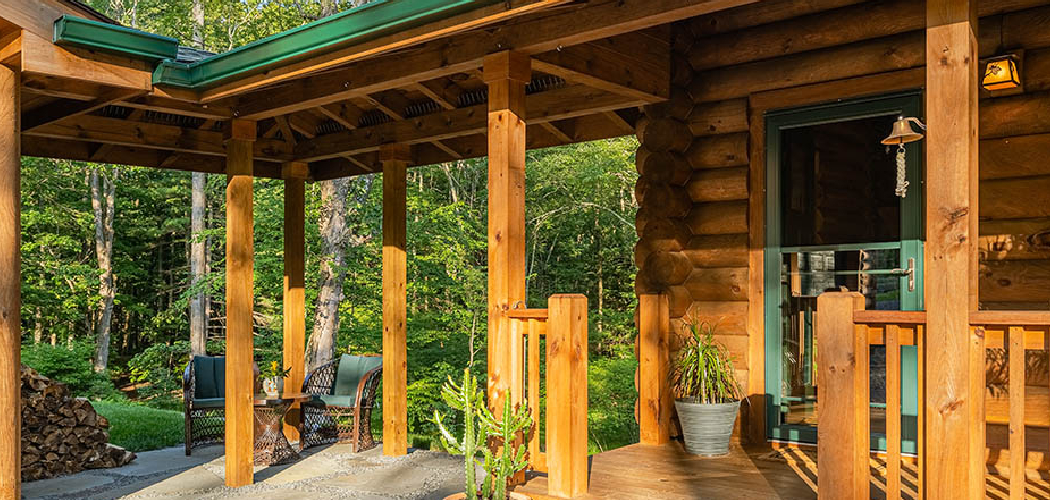
A bare porch post does one job: it holds up a roof. A wrapped wooden pillar does something more. It frames your entryway. It adds weight and warmth. It tells visitors your home was built with care. The good news is that you don’t need a contractor or a wall of fancy tools to get there.
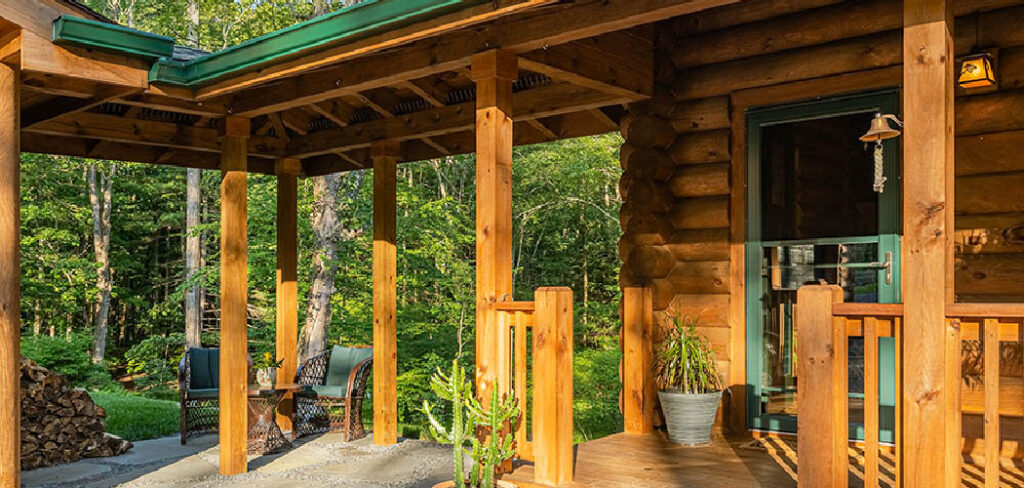
If you’ve ever wanted to learn how to make wood pillars that look custom yet cost a fraction of store-bought columns, you’re closer than you think. With a few boards, sharp cuts, and patience, you can wrap a plain support or build a decorative post from scratch. This guide walks you through every step, from planning and measuring to assembly and finishing, so you can craft sturdy, handsome wooden columns that last for decades.
Why Making Wood Pillars Matters
Pre-made columns are expensive. A single fiberglass or solid wood post can cost hundreds. Build your own, and you spend a fraction of that.
But money isn’t the only reason. Making your own pillars teaches you real skills. You learn to measure with precision. You learn to cut clean miters. You learn to hide a seam so well that nobody sees it.
There’s confidence in that. The first cut feels nervous. The tenth feels natural. By the end, you trust your hands.
A well-built pillar also protects what it covers. Post wraps shield ugly steel supports or weathered 4x4s from rain and sun. They extend the life of structural columns underneath. They turn a flaw into a feature. That payoff is worth every hour you put in.
Tools and Materials You’ll Need
Gather everything before you start. A smooth build depends on having the right gear within reach, and most of these items already live in a basic home workshop.
- Wood boards – primed MDF, cedar, or pine for the four sides of each pillar
- Tape measure and pencil – for accurate marking
- Miter saw or circular saw – to cut clean, square ends
- Wood glue – exterior-grade for outdoor pillars
- Finish nailer or hammer and finishing nails – to fasten the joints
- Wood filler and putty knife – to hide nail holes and seams
- Sandpaper – 120-grit and 220-grit
- Caulk and caulk gun – to seal the corners
- Primer and exterior paint or stain – to protect and finish
- Safety glasses and a dust mask – protect your eyes and lungs
Optional but handy: a brad nailer with an air compressor speeds up assembly and frees your hands.
Step-by-Step Guide on How to Make Wood Pillars
Step 1 – Measure the Existing Post or Plan Your Column
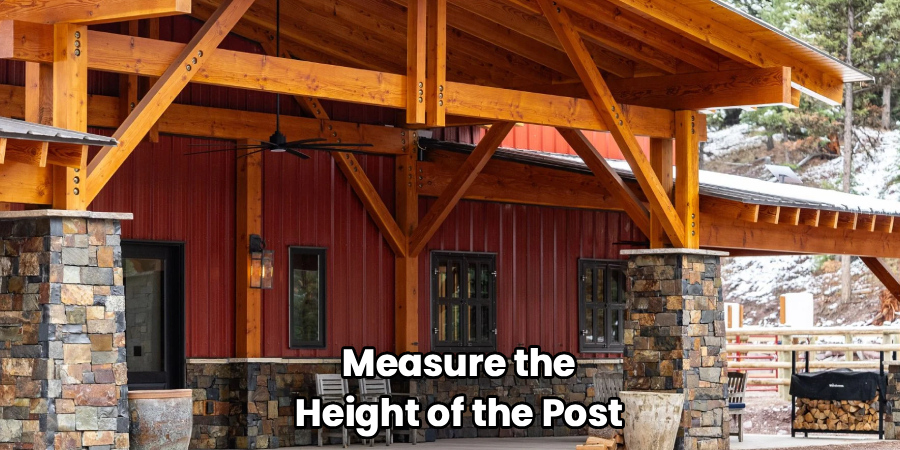
Start with numbers. Measure the height of the post or area where your pillar will stand. Measure the width on all four sides. Posts are rarely perfect, so check the top and the bottom separately.
Write everything down. A crooked measurement now becomes a crooked pillar later. That is the kind of mistake you only catch after the glue dries.
Decide whether you’re wrapping a load-bearing post or building a freestanding decorative column. A wrap covers an existing support. A solid build stands on its own with brackets.
Picture the finished proportions before you commit. A pillar that’s too thin looks weak under a heavy roofline. Knowing how to make wood pillars starts with reading the space and sizing them right.
Step 2 – Choose the Right Wood for the Job
Run your hand down each board before you buy it. Good lumber feels dry and smooth, with no sticky sap or soft spots. For outdoor porch pillars, reach for cedar or primed MDF rated for exterior use. Both resist rot and hold paint well.
Sight down the length of each board like you’re aiming a rifle. A straight board shows a clean, even edge. A warped one bows or twists, and that twist will fight you the whole way through.
Tap the wood. Solid lumber rings sharp and clean. Damp or rotten wood thuds flat and dull. Set aside anything cracked, cupped, or stained with water marks. Sound wood now means a pillar that stays true through years of heat and rain.
Step 3 – Measure and Mark Your Cuts
Accuracy here saves you grief later. Lay your boards on a flat surface. Transfer your post measurements onto each piece with a sharp pencil and a square.
A crisp, dark line beats a faint smudge every time. Mark the length of all four sides, remembering that two boards overlap the other two at the corners. This overlap is what gives the pillar its clean, square look.
Double-check each mark before you cut. The old rule holds: measure twice, cut once. Rushing this stage leads to gaps you’ll have to fill and seams you’ll struggle to hide.
Take the extra minute. A careful mark today becomes a tight joint tomorrow. That precision is the quiet difference between a homemade look and a custom one.
Step 4 – Cut the Boards Cleanly
Now bring your marks to life. Put on your safety glasses and dust mask. Cut along each line with steady, even pressure, and let the saw do the work instead of forcing it.
Listen as you cut. A smooth, consistent whir means a sharp blade slicing clean. A grinding sound or a burning smell tells you the blade is dull or you’re pushing too hard.
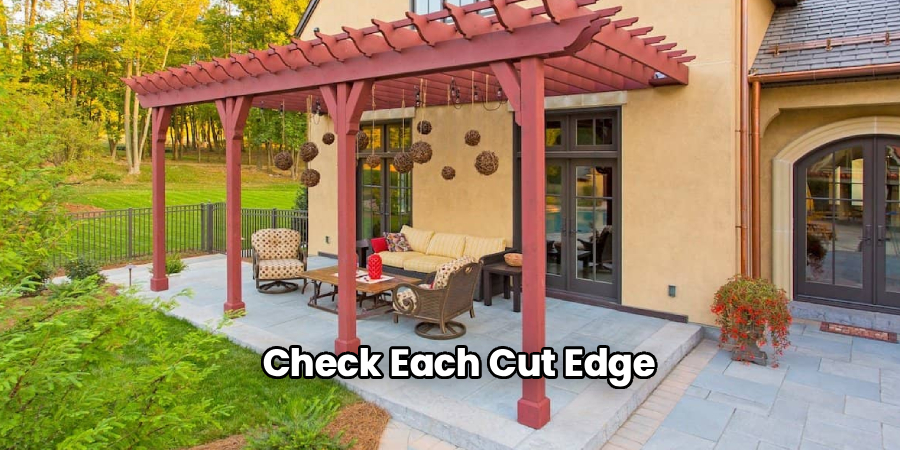
Check each cut edge. A clean cut leaves a smooth, splinter-free surface. A ragged one leaves fuzz that ruins a tight joint.
Stack your pieces in order as you finish them. Keep the four sides of each pillar together. An organized pile now means an easy, stress-free assembly when you reach the gluing stage.
Step 5 – Assemble the Pillar Box
Time to build the shape. Most wooden columns are simply a four-sided box wrapped around a hollow center. Lay two opposite boards down, then stand the other two between them to form a square tube.
Run a thin, even bead of exterior wood glue along each joint. Press the boards together until a small line of glue squeezes out. That squeeze-out tells you the joint is snug, so wipe the excess with a damp cloth right away.
Drive finishing nails every six to eight inches to lock the corners. You’ll hear a solid thunk as each nail seats. Check that every corner sits square as you go. A box that’s true now wraps the post cleanly later, with no gaps fighting you at the end.
Step 6 – Fit the Pillar Over the Post
Slide your assembled box over the existing support, or set your freestanding column in place. It should slip on with a little resistance, snug but not forced.
If it sticks, don’t hammer it. Find the tight spot and sand it back. Forcing a wrap splits the seams you just glued.
Check the pillar with a level on all four sides. A plumb post stands dead straight. A leaning one throws off the whole entryway and catches the eye for all the wrong reasons.
Shim the base if needed to bring it true. Once it stands plumb and steady, fasten it to the floor and ceiling with hidden brackets or trim. Learning how to make wood pillars that stand perfectly straight comes down to this patient fitting and checking.
Step 7 – Fill, Sand, and Smooth
Raw seams and nail holes show every flaw, so this step earns its keep. Press wood filler into each nail hole and along any tight gaps with a putty knife. Overfill slightly, since filler shrinks as it dries.
Let it cure fully. Rushing this step leaves dents that show through paint like potholes under fresh asphalt.
Sand the filled spots flush with 120-grit, then smooth the whole pillar with 220-grit. Always sand with the grain, never against it. Going against it leaves scratches that scream once the paint goes on.
Run your fingertips across the surface. Smooth wood glides under your hand with no catch. Rough patches snag. Keep sanding until every corner and seam feels like one continuous piece.
Step 8 – Add Trim Caps and Base Molding
Trim turns a plain box into a finished column. Add a base molding at the bottom and a cap molding at the top to frame the pillar with classic proportions.
Cut your trim with crisp miter joints at each corner. A tight 45-degree miter meets cleanly with no gap. A sloppy one leaves a triangle of daylight you’ll never fully hide.
Glue and nail each piece in place. Set the nails just below the surface so you can fill them later. Step back often and check that the trim sits level all the way around.
This molding does more than decorate. It hides the joint where the pillar meets the floor and ceiling, giving your decorative wood posts a built-in, custom appearance.
Step 9 – Caulk, Prime, and Paint
Caulk the seams first. Run a thin bead along every corner and where the trim meets the pillar. Smooth it with a wet finger. This seals out moisture and hides hairline gaps in one move.
Prime the entire pillar next, even if the wood came pre-primed. Primer gives paint a surface to grip and blocks stains from bleeding through.
Apply paint or exterior stain in thin, even coats. Follow the grain with your brush. Watch the color deepen as the surface evens out. Let each coat dry fully before adding the next.
The finished pillar should look smooth and uniform, with a soft sheen and no drips or pooling. A proper finish protects the wood from rain and sun for years to come.
Common Mistakes to Avoid
The most common error is sloppy measuring. You eyeball a cut, skip the square, and end up with boards that won’t meet flush. The gaps that follow are hard to hide and harder to forgive. Slow down. Mark every line with a square and double-check before you cut.
Another frequent slip is using the wrong wood. Interior MDF or untreated pine swells, rots, and peels when it meets outdoor weather. For any porch or exterior column, choose cedar or exterior-rated material every time. The cheaper board costs more in the end.
Skipping the level is a third trap. A pillar that looks straight to the naked eye often leans a degree or two. That lean catches every visitor’s eye and undercuts all your careful work. Check plumb on all four sides before you fasten anything.
Many beginners also rush the filler and caulk. They paint over soft filler or skip the caulk entirely. The result is cracked seams and visible nail holes that ruin the custom look. Let everything cure, then sand and seal properly.
Finally, don’t forget primer. Bare wood drinks paint unevenly and lets stains bleed through, leaving a blotchy finish that won’t last a single season.
Expert Tips
A few pro habits separate a good pillar from a great one. Cut all four sides of a column at once using a stop block on your saw. This guarantees identical lengths and corners that meet without a fight.
Pre-drill or use a brad nailer near board ends to stop splitting. Wood cracks easily close to the edge, and a split corner ruins an otherwise perfect joint.
Plan your seams to face away from the main line of sight. A wrap has a visible joint somewhere, so turn it toward the wall or a low-traffic angle where nobody looks twice.
Test your stain or paint on a scrap offcut first. Different boards drink color differently, and a quick test saves you from an ugly surprise on the finished piece.
Frequently Asked Questions
What Wood Is Best for Outdoor Wood Pillars?
Cedar is the top choice for outdoor pillars because it naturally resists rot, insects, and moisture. Primed MDF rated for exterior use is another solid, budget-friendly option that holds paint beautifully. Avoid untreated pine or interior MDF outdoors, since both swell and rot fast. Whatever you choose, make sure it’s dry and straight, then seal it well to protect against rain and sun.
Can Wood Pillars Be Load-Bearing?
Yes, but with care. A solid wood post can carry weight if it’s sized and installed correctly for the load. Most decorative pillars, however, are hollow wraps placed around an existing structural support that does the real work. If your project involves actual load-bearing posts, check your local building codes and consult a professional. Never replace a structural column with a hollow wrap that can’t carry the weight.
How Do I Hide the Seams on a Wood Pillar?
Tight joints and good caulk do the heavy lifting. Cut your boards cleanly so corners meet flush, then run a thin bead of caulk along each seam and smooth it with a wet finger. Fill nail holes with wood filler, sand smooth, and prime before painting. Turning the seam toward a wall or low-visibility angle also helps. Done right, the joint disappears completely under paint.
How Long Does It Take to Build a Wood Pillar?
A single wrapped pillar takes most beginners a weekend. Cutting and assembly run a few hours, but drying time stretches the project across two days. Plan one day to measure, cut, assemble, and fit, then a second day for filler, caulk, primer, and paint to dry fully. Building multiple columns at once saves time, since you repeat each step in batches rather than one by one.
Do I Need Power Tools to Make Wood Pillars?
No, but they help. You can build a pillar with a hand saw, a hammer, finishing nails, and sandpaper. It takes more effort and patience, especially for clean cuts. A miter saw and a brad nailer speed the work and give crisper results, particularly on miter joints. If you’re building several pillars, the time saved by power tools quickly pays for itself.
Conclusion
Building your own pillars is one of the most rewarding upgrades you can give your home. You start with a few plain boards and end with handsome wooden columns that frame your space and hide what’s ugly underneath. Along the way, you pick up real skills, save serious money, and gain the confidence to take on bigger projects.
Remember the keys to success. Measure twice and cut once. Choose wood rated for the job. Check plumb on every side. Fill, sand, caulk, and prime before you paint. Each step builds on the last, so take your time and let the work breathe.
Now that you know how to make wood pillars from measuring to the final coat, nothing stands between you and a custom-looking entryway. Grab your tape measure. Pick your boards. Make the first cut this weekend. Whether you wrap a tired old post or build a fresh decorative column, your finished pillars will stand strong and look sharp for years to come.
